I love Gallery Walls.
My favorite gallery walls are made up of eclectic frames and interesting art.
After months of collecting and creating our entryway, I love our Gallery Wall.

Disclosure: This page includes affiliate links.
Creating a Gallery Wall can be a little intimidating at first. The first one I finished is in our son’s nursery (nope, I haven’t shared his room yet… this is just a little teaser!).

Both of my Gallery Walls have an eclectic mix of frames and plenty of color. However, I can totally appreciate a very clean, simple Gallery Wall (like this one… ooo la la).
I think the first step, before you start collecting the frames, art and photos is choosing the look that you want.
STEP #1: Decide on the Style of your Gallery Wall.
For our entryway, I wanted (1) it to feel “collected” and (2) to have lots of colors.
Once you’ve chosen a style for your Gallery Wall, start shopping! If you’ve read our blog long, you know Erica and I love to thrift. However, thrifting does require some patience because you won’t find everything overnight.
Some of my first purchases were a vintage floral print in a gold frame, mirrors in a metallic finish, and some empty metallic frames.

STEP #2: Start shopping for items that fit the Style of your Gallery Wall.
All these metallic frames and my vintage print definitely were creating that “collected” feel I was going after, but didn’t amount to lots of color. I was also getting a smidge worried my “collected” Gallery Wall might turn into just an old Gallery Wall. It needed some color and some modern touches.
STEP #3: Evaluate what you’ve purchased. Ask yourself “what is my Gallery Wall missing?”
So next I picked out a brightly colored painting, some embroidery hoop art and quirky bird art.

The Gallery Wall was starting to feel more modern — but it was still lacking some color. So it was time to tackle some DIY projects to bring in more (the tutorials are here and here).
I also like DIY projects for a Gallery Wall because it makes it more personal.
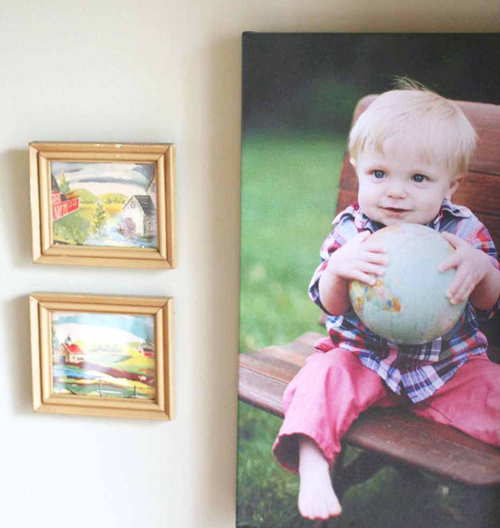
Adding some family photos makes it personal too. As “collected” as I want my art to be, I still want it to feel like our home — and not a museum.
STEP #4: Make the Gallery Wall personal with DIY art and family photos.
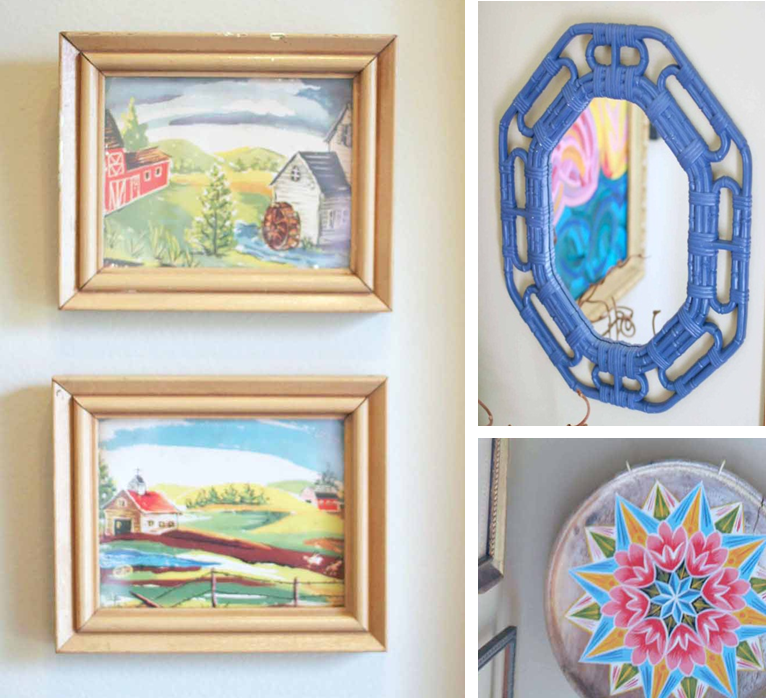
Most likely, you’ll need to tweak it a bit. I added some details like the wooden plate and those cute little vintage paintings after I got the rest of the Gallery Wall hung. The faux bamboo mirror actually replaced a piece of art that just wasn’t fitting in.
STEP #5: Tweak your Gallery Wall to get that finished look!

I’m sure I’ll tweak some more as time goes by but I just love how bright and happy this Gallery Wall is in our entryway. In case you are interested, I’ve included a Source List with all the details.
Source List (from top left)
Faux Bamboo Mirror, thrifted
Hot Air Ballon Print, by Sloe Gin Fizz
“Life is a Great Big Canvas…” Quote, free printable
Vintage Paintings, thrifted
Vintage Floral Print, thrifted
Colorful Wooden Plate, thrifted
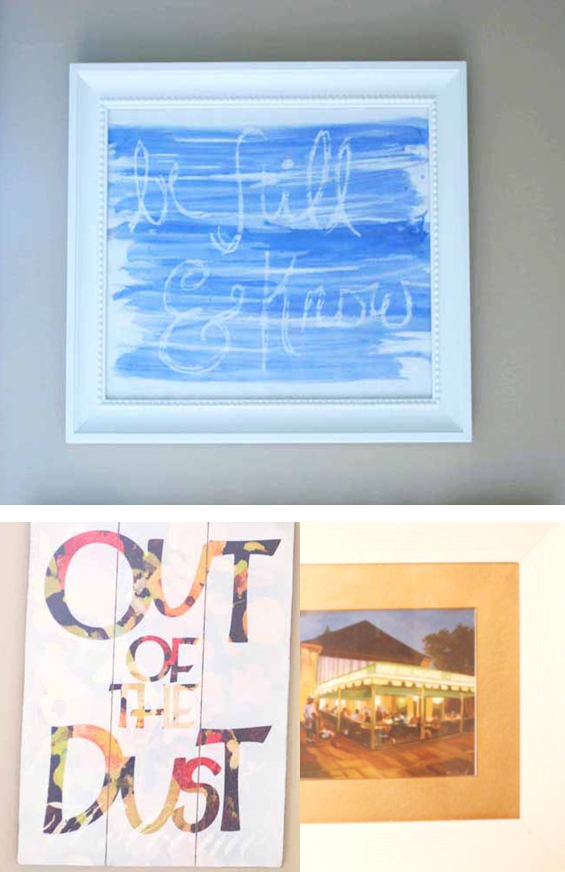
“Be Still & Know” Watercolor, DIY {tutorial}
Square Mirror, thrifted
Canvas Portrait, Canvas on Demand
Typing Bluebird Print, thrifted
Horseshoe, thrifted
“Cafe Du Monde” Print, a souvenir from New Orleans {tutorial}
Painting in Gold Frame, painted by an Art Therapy student
“Out of the Dust” Art, DIY {tutorial}
Have you been hesitant to tackle a Gallery Wall? What are you waiting for? Go for it! I’d love for you to share what you create!
Craftivity Designs
Monday 6th of May 2013
Glad you stopped by Alison! I think it so much more fun when the items in your home have a story, you know? And a gallery wall definitely lets you do that!
Craftivity Designs
Monday 6th of May 2013
Thanks, Anne. Glad you stopped by too!
Alison Bayne
Sunday 5th of May 2013
Wow, never thought of this. What a lovely idea, creating your own art museum within your own home, full of things which have real meaning. Just next to you on the Frugal Crafty Home blog hop. Best wishes from the UK!
Anne
Sunday 5th of May 2013
Love the pretty colours mixed together like this. So fresh and bright!
Thanks for popping by my blog. Happy Sunday!
Craftivity Designs
Friday 3rd of May 2013
Thanks so much Ingrid :) I love his nursery and am looking forward to sharing! A gallery wall definitely takes some time & tweaking!