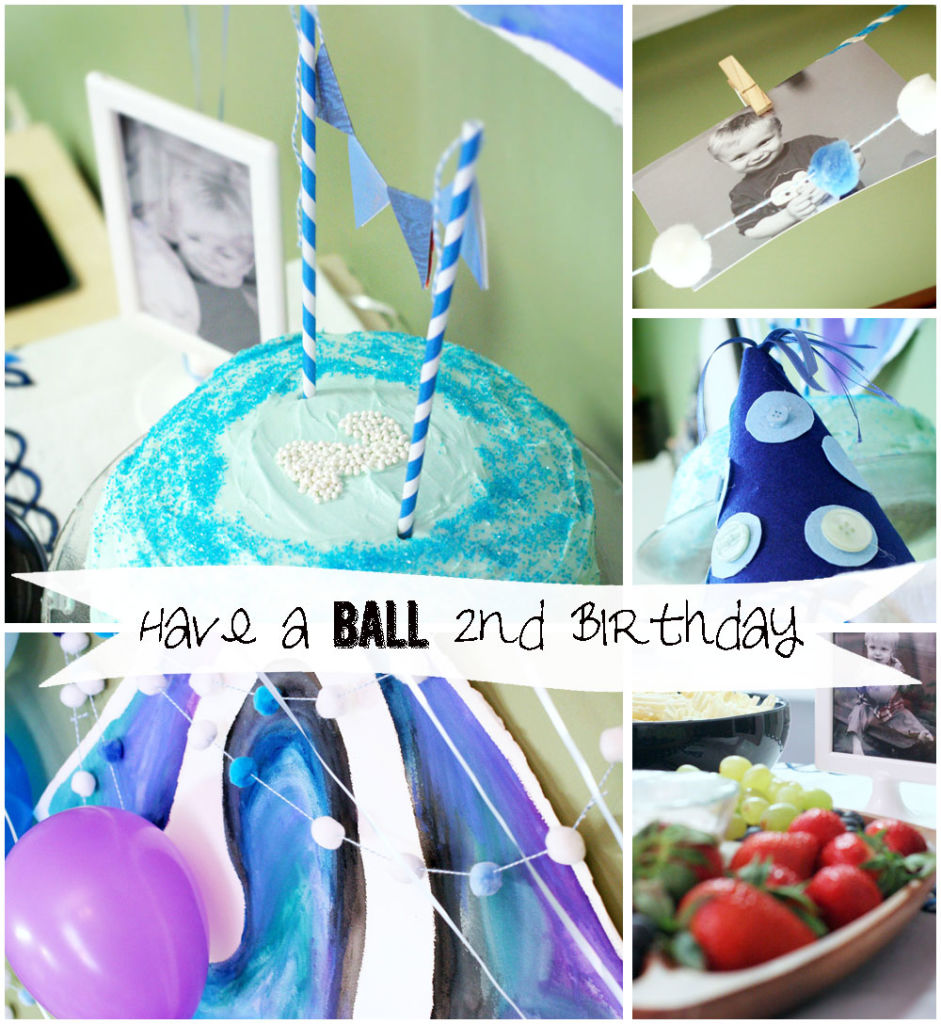
On Monday I shared my little boy’s “Have a Ball” Birthday Party.
Disclosure: This page includes affiliate links.
Today I’m going to share 3 simple, DIY projects from his party — all of which could easily be adjusted to fit any party color scheme.
The Pom-Pom garland was one of my favorite projects — and it turned out quite simple too!
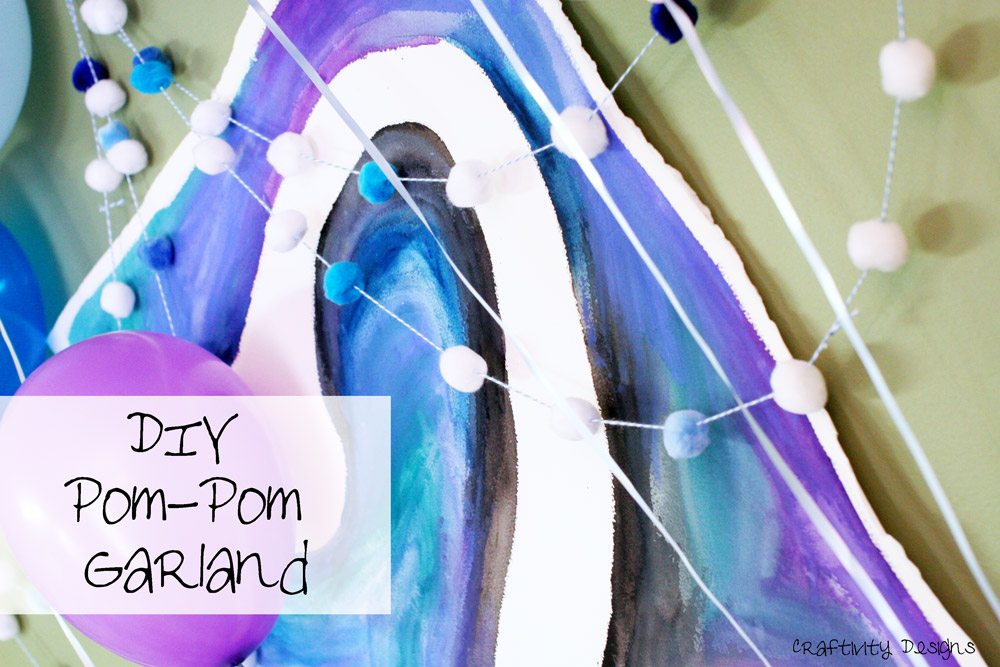
I love the look of felt ball garlands and since we were going with a ball theme, it would be a perfect fit. After reading some tutorials on how to make felt balls, I decided I needed an easier route (that’s because I’m so efficient? or lazy?).
I picked up some Pom-Poms at Michael’s (with a 40% coupon of course) and some bakers twine (like these) from a local scrapbook store.
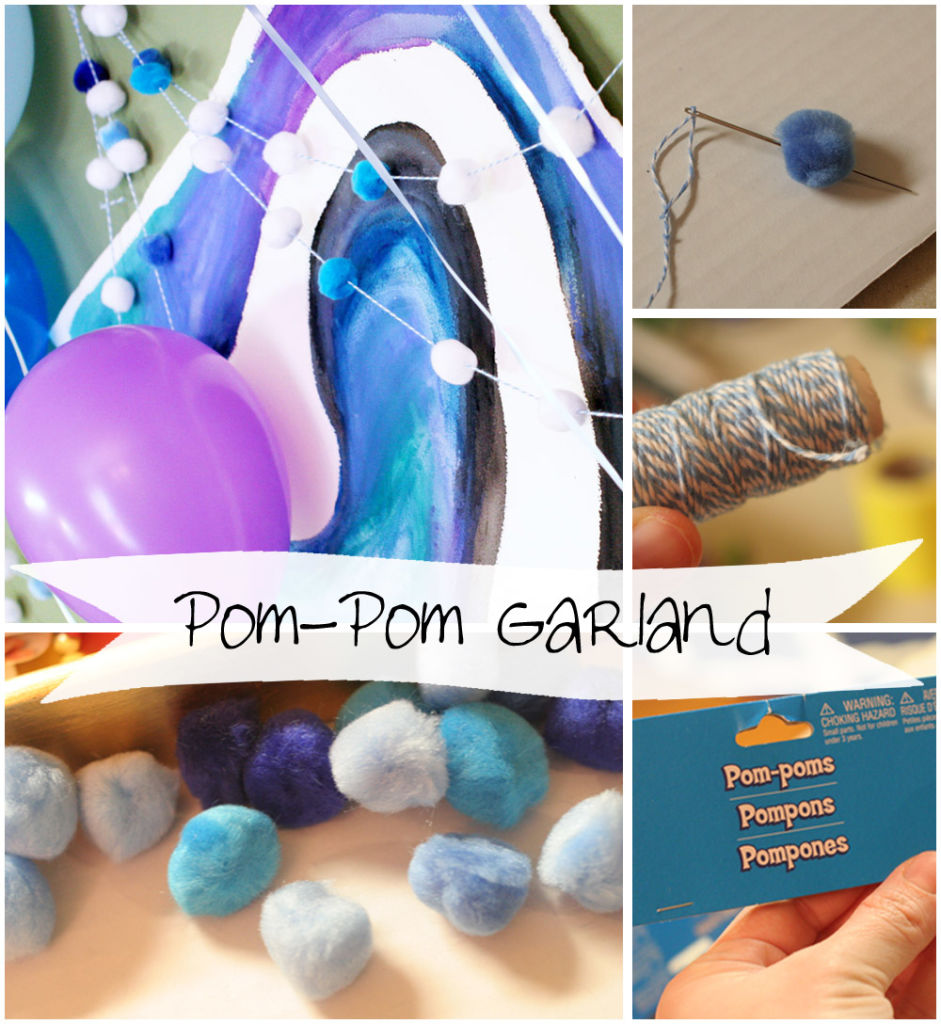
All you have to do is string the twine on a needle through the middle of each Pom Pom and you’re done. It was super easy and didn’t take much time at all. Afterwards, I rolled it up on a paper towel roll, for storage. I’ll be using this little garland for many more parties to come!
Another quick DIY I’ve used to decorate at both his 1st & 2nd birthdays is a Photo Garland.
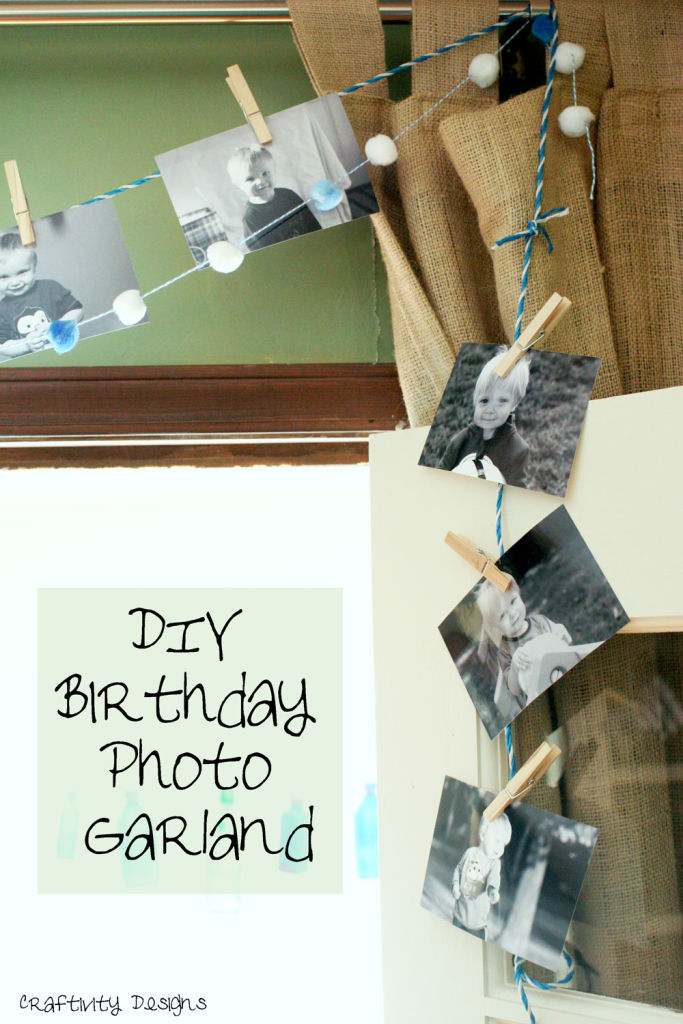
What is that heavy-duty “baker’s twine” the photos are hung on? Got it at the dollar store. It’s a clothesline and came in both red and blue.
It’s not like you need a tutorial for this one, just a year’s worth of photos…

… plus some clothespins.
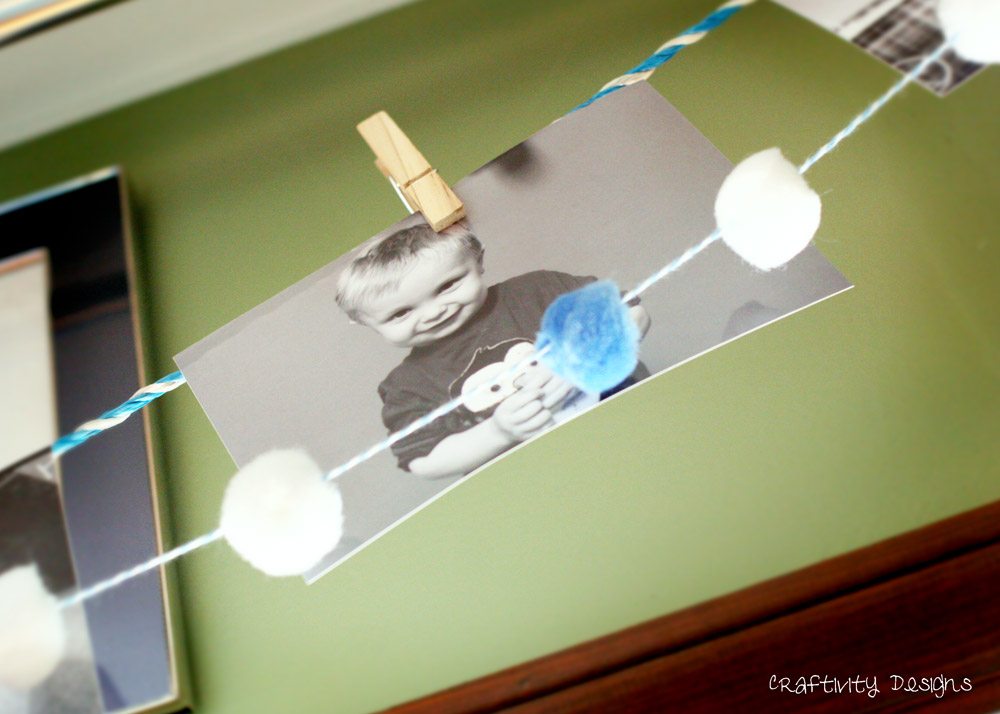
This year I went with with just the photos, but last year I mixed in some bunting too.

Your guests will love this decoration too — it’s so fun to see how a little one has changed over the course of a year.
The third project I’m sharing was inspired by a beautiful Watercolor Birthday Party by Ashley at The Handmade Home. I followed her tutorial on painting No.5 to make my No. 2!
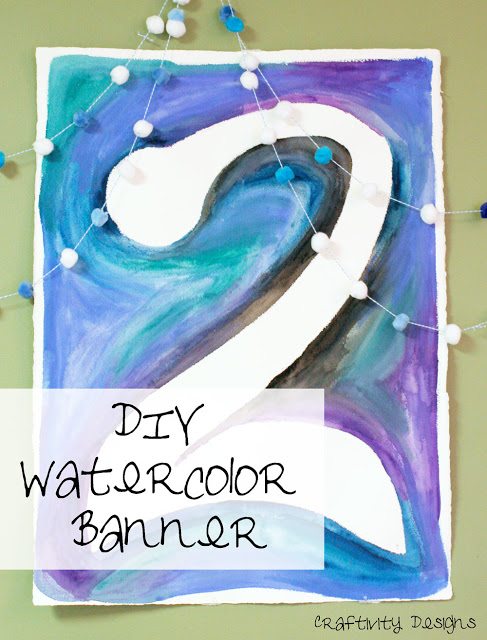

I was a bit intimidated to recreate this look but after reading Ashley’s tutorial, I decided to go for it. She describes watercolors as somewhat forgiving and suggests creating a small trial version first. I studied the rest of her tips, picked up a sheet of Watercolor Paper and a Watercolor Kit from Michael’s (again — with 40% off coupons!) and got to work.

My trial version turned out pretty good and taught me A LOT. I got a feel for how quickly the paint dries, how much water to use, how the colors blend, etc. So unless you have done a lot with watercolors, I would encourage you to create a trial version first.

I loved my watercolors so much, I made some art for the gallery wall that is coming together in our entry way too!

Get the other party details here.
8 Easy Miraculous Ladybug Birthday Ideas – Craftivity Designs
Monday 16th of May 2022
[…] the party. Just set it on the porch by the door to greet guests. Add a few ladybug balloons and a DIY black and red pom pom garland for […]
Craftivity Designs
Monday 8th of April 2013
I'm so with you on the "YAY FOR POM POMS", lol! Thanks for stopping by!
Craftivity Designs
Monday 8th of April 2013
He loved it -- so much that he was exhausted by the end of the day!
Amy
Saturday 6th of April 2013
So cute!!! This is so fun!! I love how you can use these for so many different things to! YAY FOR POM POMS!!! Thanks for sharing this inspirational post and linking up at Give Me The Goods Monday! Features will be posted Sunday!!! Amy @ www.commona-myhouse.blogspot.com
Danielle
Thursday 4th of April 2013
Lora, these are lovely ideas to make birthday more festive. Hope your son had a lovely 2nd birthday! x