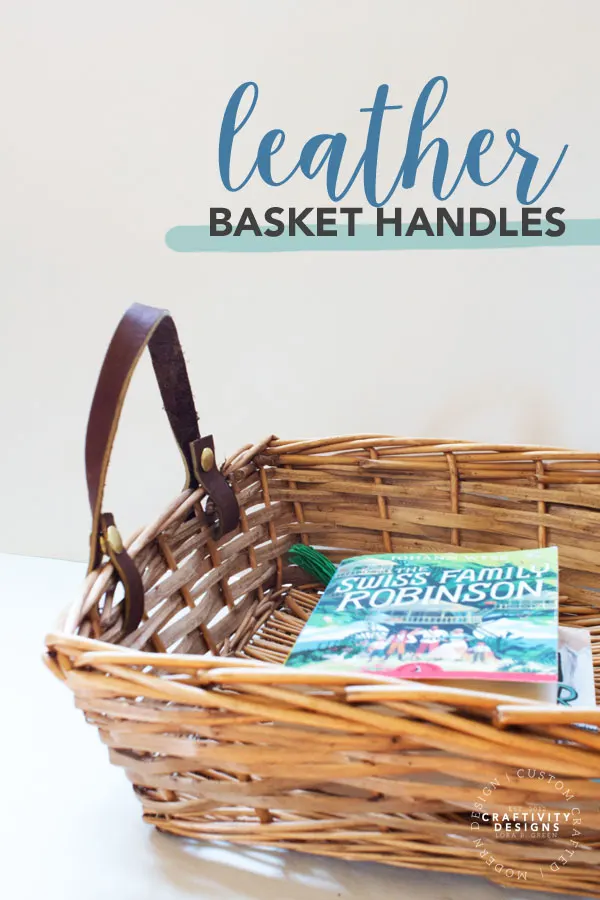
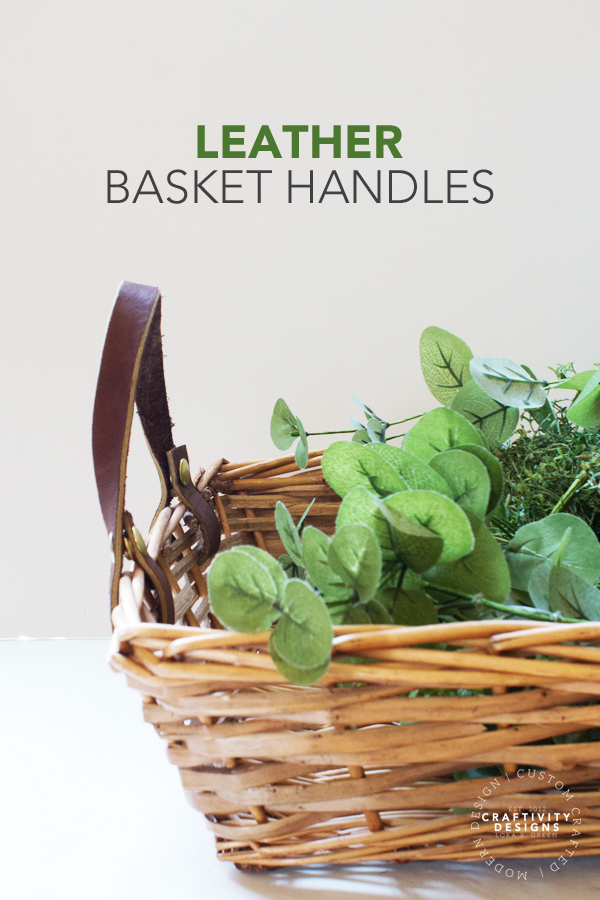
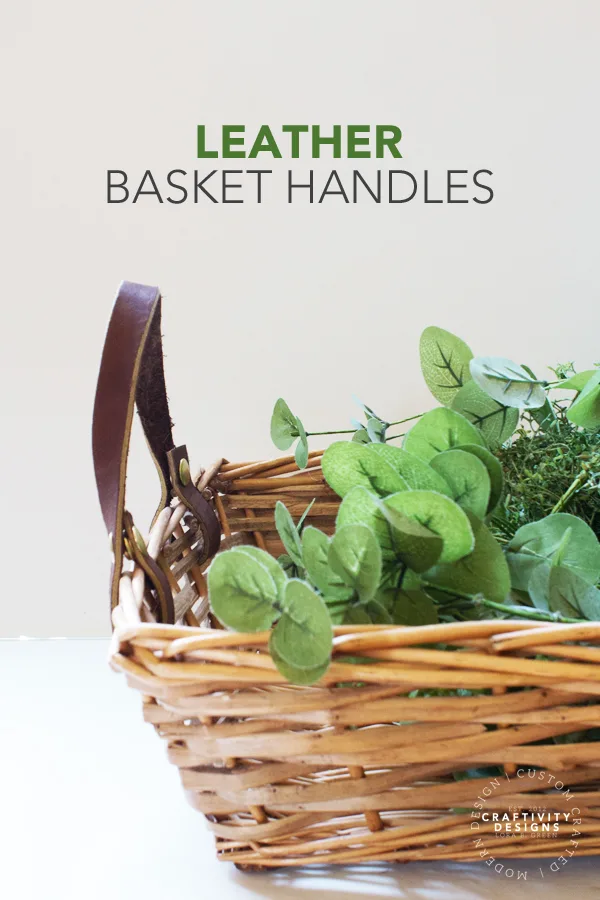
Basic wicker basket? Broken handles on an old basket? Learn how to add leather handles to baskets, a modern update that can be completed in no time!
While wicker baskets are one of the best organization solutions, they can feel a bit basic. Before you go buy new totes or bins, try this quick update. A set of stylish leather handles make old baskets feel new again!

Disclosure: This page includes affiliate links.
How to Update Old Baskets
I’m a girl that loves a good basket… and I’m a girl that loves a good deal. When the two meet? Sold! But, I’m no stranger to giving them a little extra love. After all, a typical thrift store basket can feel a bit dated or boring! Here are a few ways to liven up a basic basket:
- stain a wicker basket
- paint part of the basket
- add tassels to a basket
- turn a basket into a wreath
- add pom poms to a basket
- turn a shallow basket into a wall mirror
How to Make Leather Handles for Baskets
It’s not expensive or difficult to start making leather crafts! You only need a few tools to get started and you can find scrap leather at second-hand stores. I’ve recycled old leather coats, pants, and belts into scrap leather.
Disclosure: This page includes affiliate links.
Supplies
- Scrap Leather
- Rotary Cutting Set (Cutter, Ruler, and Healing Mat)
- Leather Hole Punch Tool
- Pen / Permanent Marker
- Leather Snaps and Fastener Kit (make sure it includes a Snap Setting Tool)
- Small Hammer
Instructions
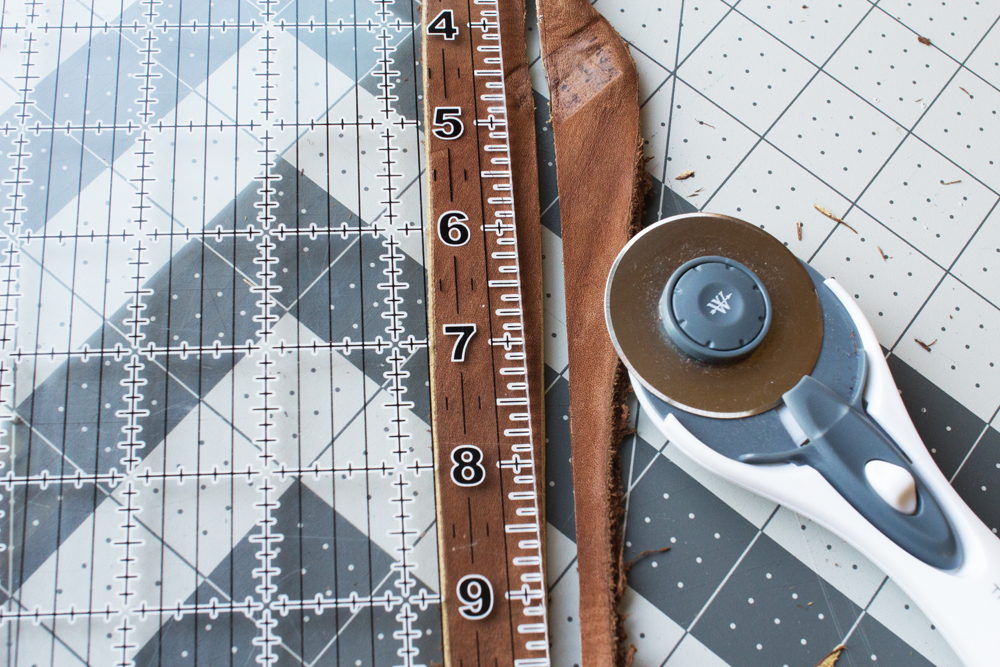
1. Cut 1″ Leather Strips
Place the scrap leather on the healing mat so that it is aligned straight. Then, place the ruler over the fabric and use the rotary cutter to cut a leather strip approximately 1″ wide.

2. Cut Leather Handles to Length
Next, hold the leather strip up to the basket to determine the correct length. Once measured, cut the leather handle to length.
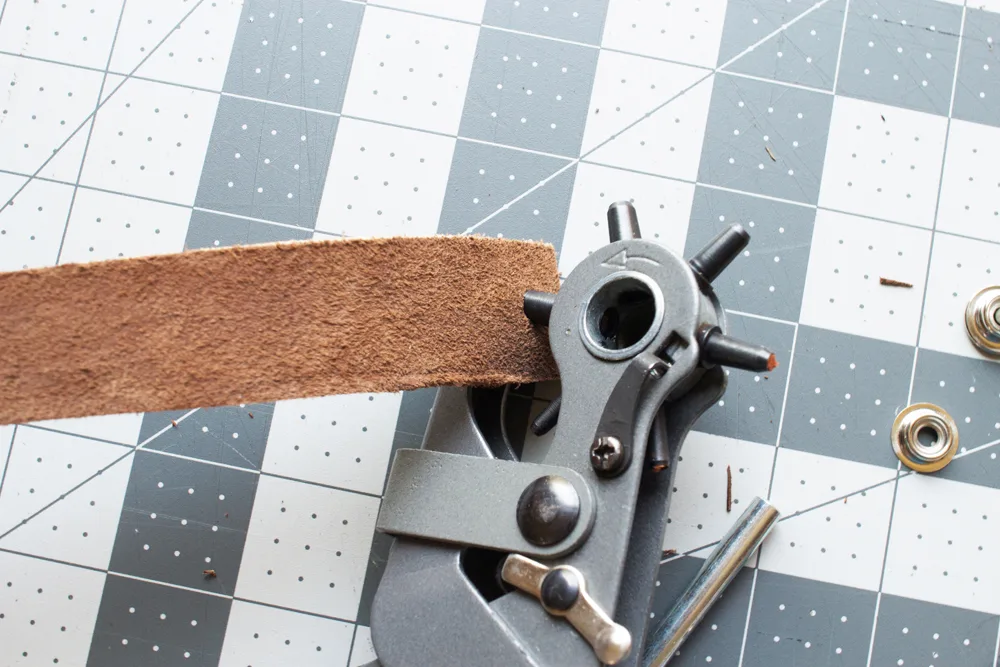
3. Punch a Hole in the Leather Strip
Once cut, use the leather hole punch tool to add a hole at one end of the leather handle. The hole should be located approximately 1/2″ from the edge of the leather strip.

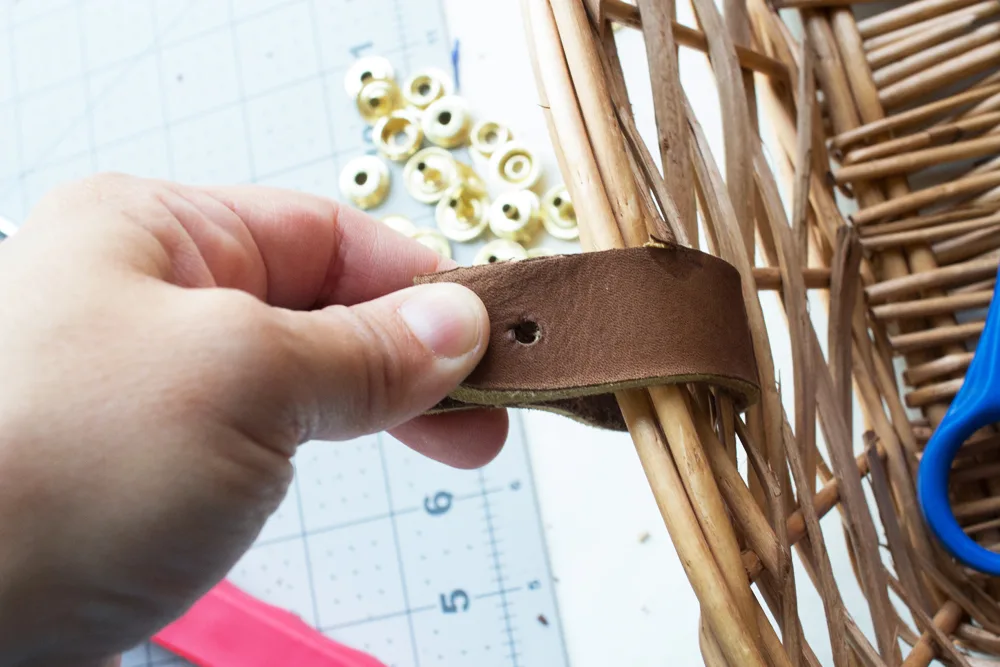
4. Mark the Location of the Second Hole
After the first hole is punched, wrap it through the basketweave to determine the location of the second hole. Once properly aligned, mark the spot with a pen or permanent marker.

5. Punch a Second Hole in the Leather Handle
Once marked, remove the leather strip from the basketweave and use the leather hole punch tool to add a hole at the marked location.
6. Repeat Steps 3-5
Now, repeat steps 3-5 on the opposite end of the leather handle.
7. Attach the Leather Snaps
Now that the holes are punched, it is time to attach the snaps. This is the trickiest part, so make sure to double-check the orientation and reference the package instructions.
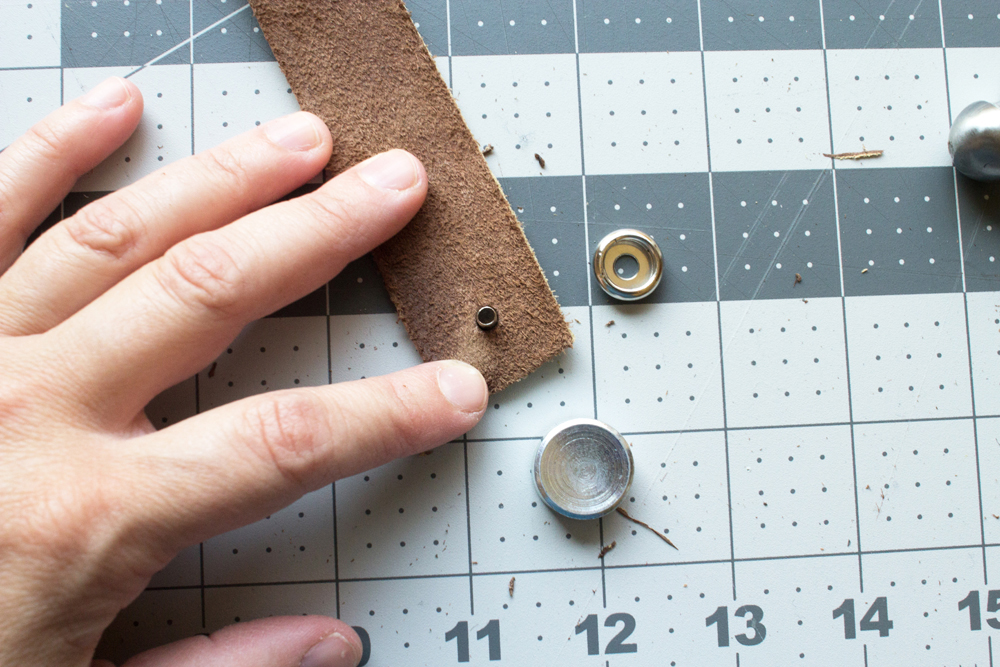
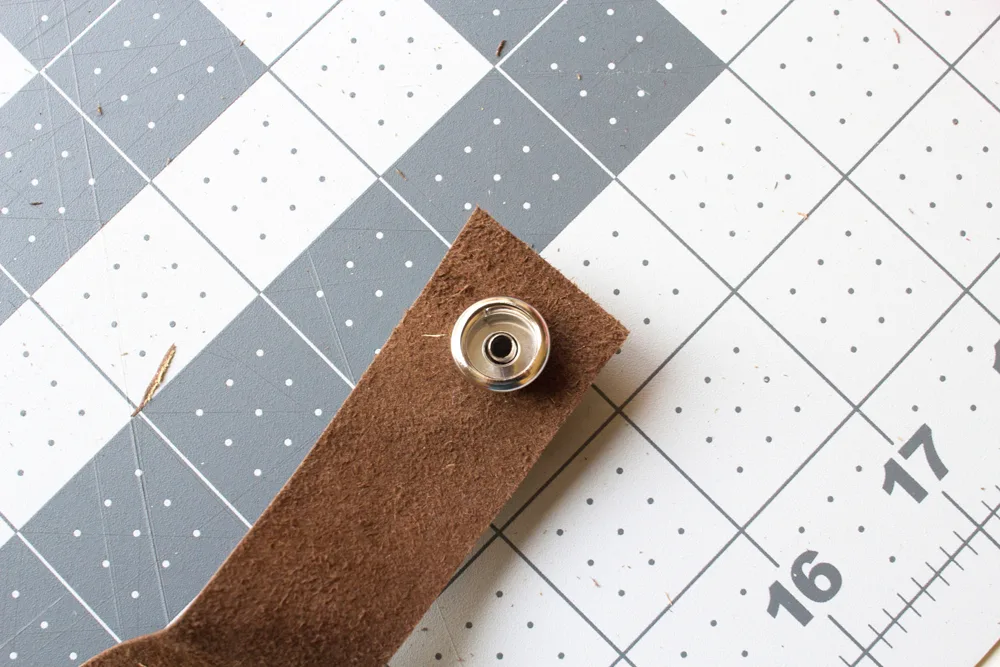
8. Insert the Cap through the First Hole
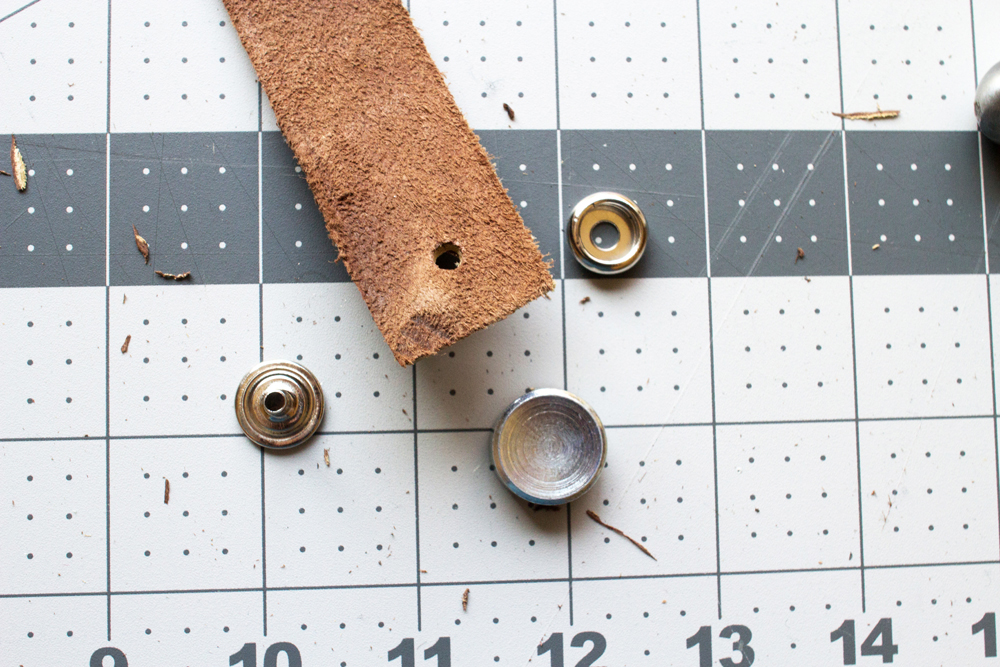
First, attach a cap and socket at the end of the leather handle. Begin by inserting the cap through the leather hole.
The cap is located on the front side of the leather. So, in the image below, the backside of the leather is visible with the cap’s stem poked through the hole.

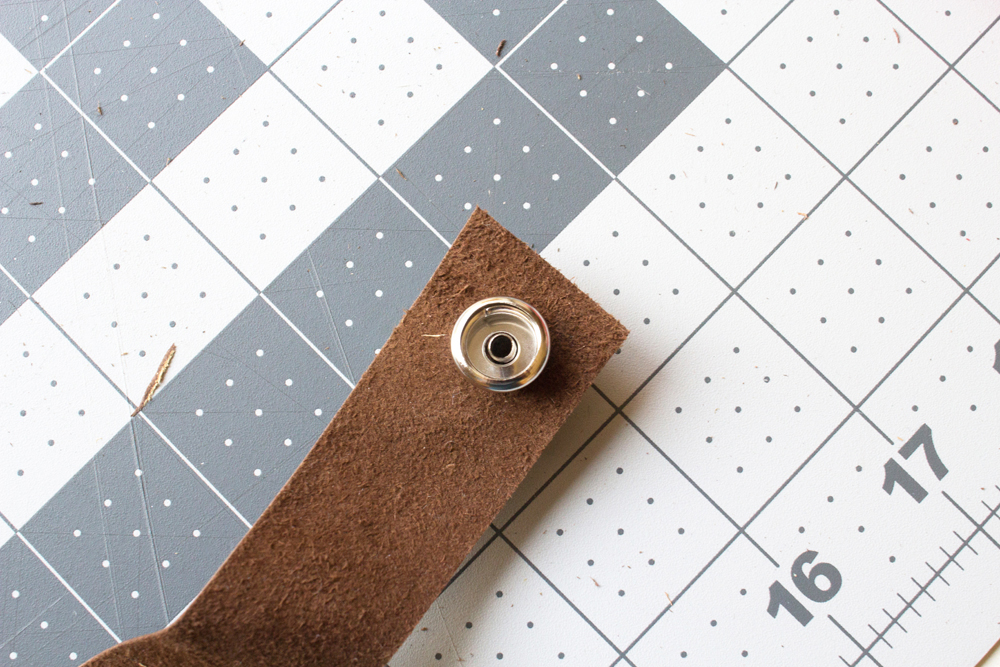
9. Place the Setter under the Cap
One the cap is inserted through the hole, place the setter under the cap.
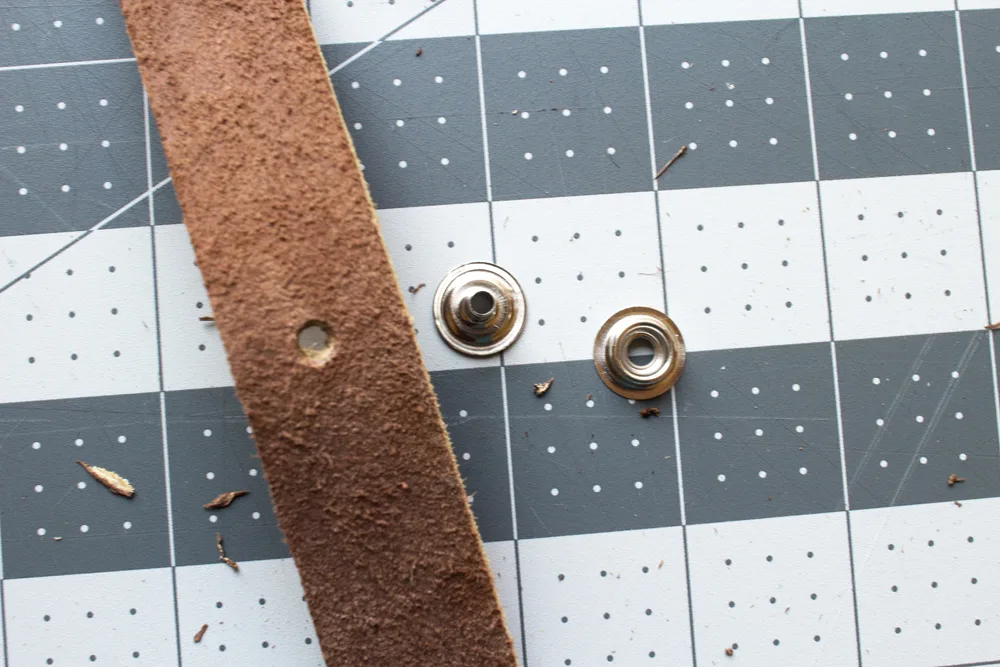
10. Set the Socket in Place
Next, place the socket over the cap’s stem, as shown below. Now, you should have the following stack (from bottom to top): setter, cap, leather, socket.
11. Set the Cap and Socket with the Setting Tool
Once stacked, use the snap setting tool and a small hammer to set the cap and socket.
12. Repeat Steps 8-11
Next, repeat steps 8-11 for the opposite end of the leather handle.
Once this step is complete, you should still have two empty holes towards the center of the leather strip.
Similarly, both of the holes at the end of the leather handle should be set with snaps.
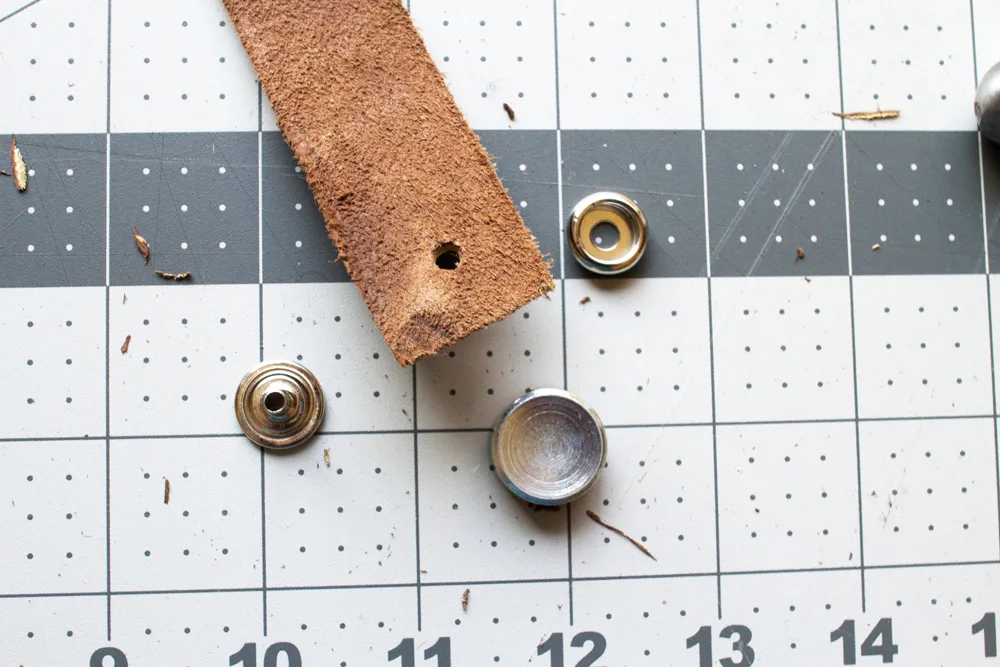
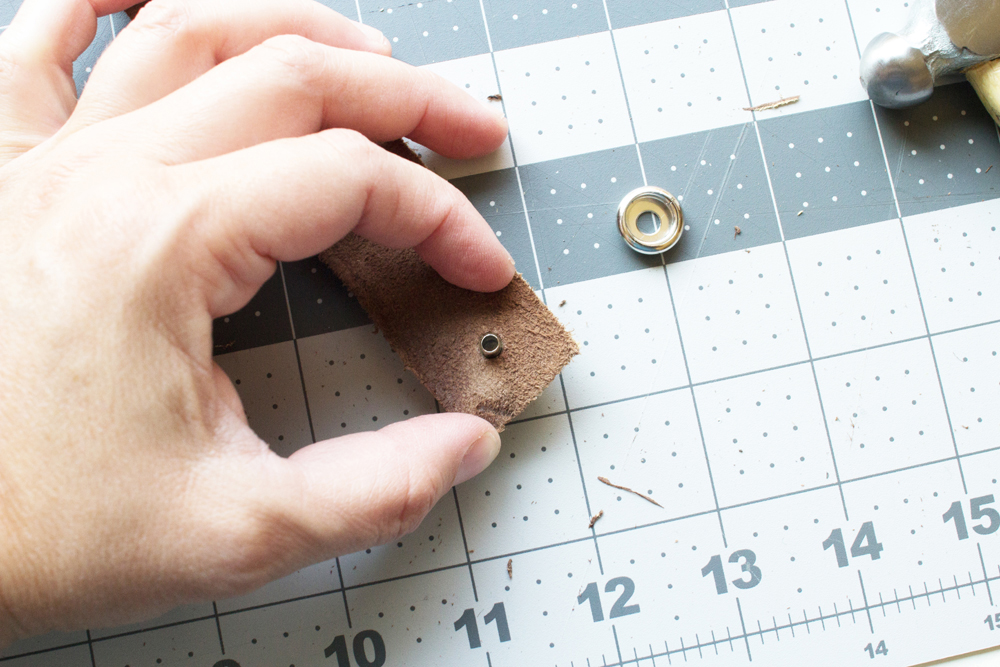
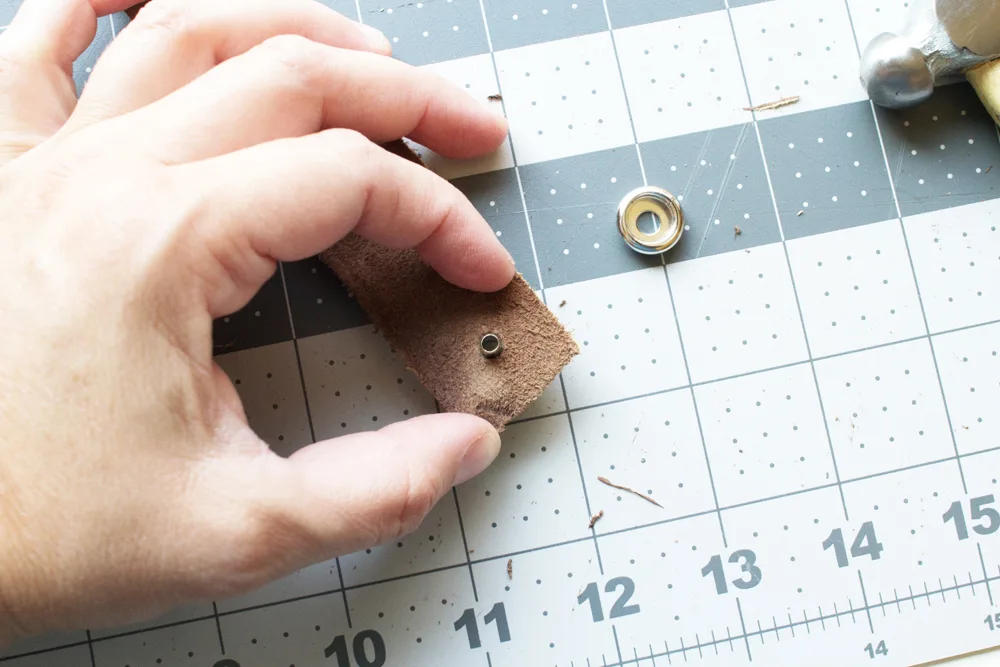
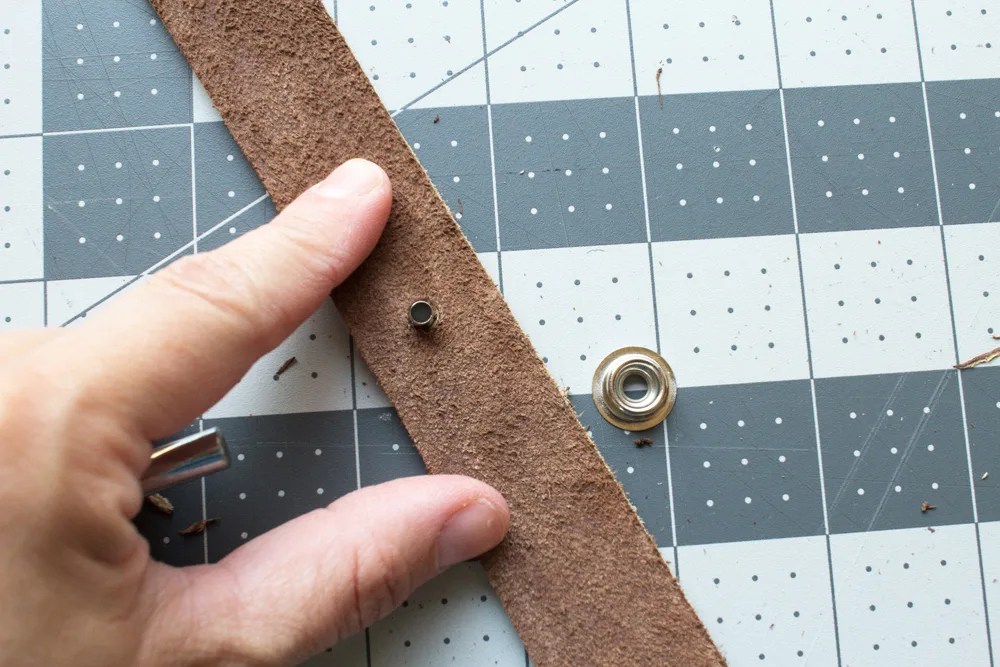
13. Insert the Post through the Hole
Now, insert the post through the leather hole.

The base of the post is located on the front side of the leather. So, in the image below, the backside of the leather is visible with the post’s stem poked through the hole.

14. Set the Stud in Place
Next, place the stud over the post’s stem. Now, you should have the following stack (from bottom to top): post, leather, stud.
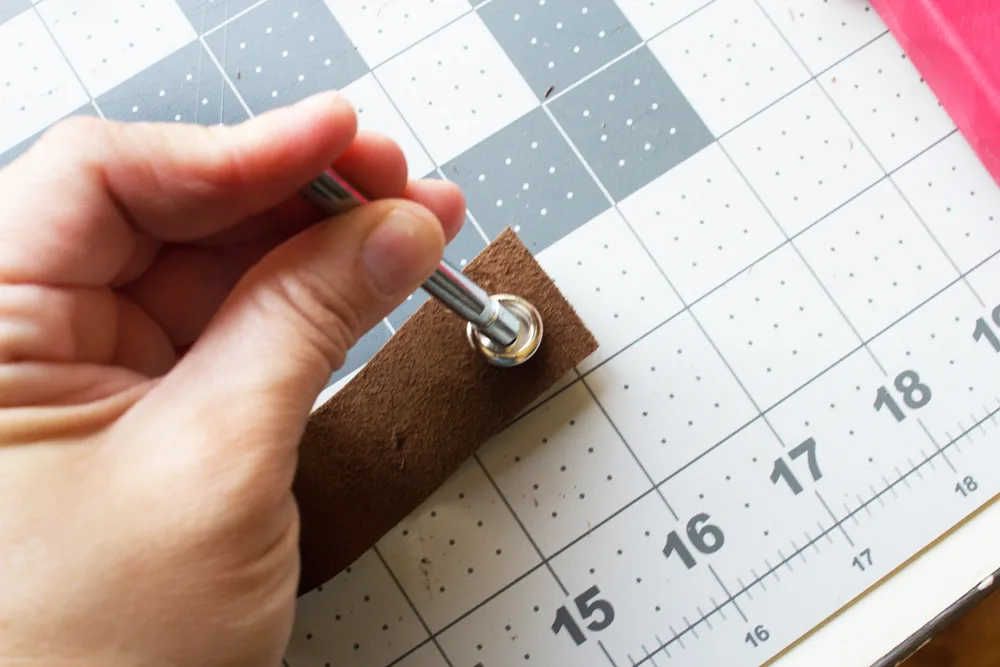
15. Set the Post and Stud with the Setting Tool
Once stacked, use the snap setting tool and a small hammer to set the post and stud.

16. Repeat Steps 13-15
Once the post and stud are in place, repeat steps 13-15 for the remaining hole. Each end of the leather handle should have two hardware sets, as shown below.
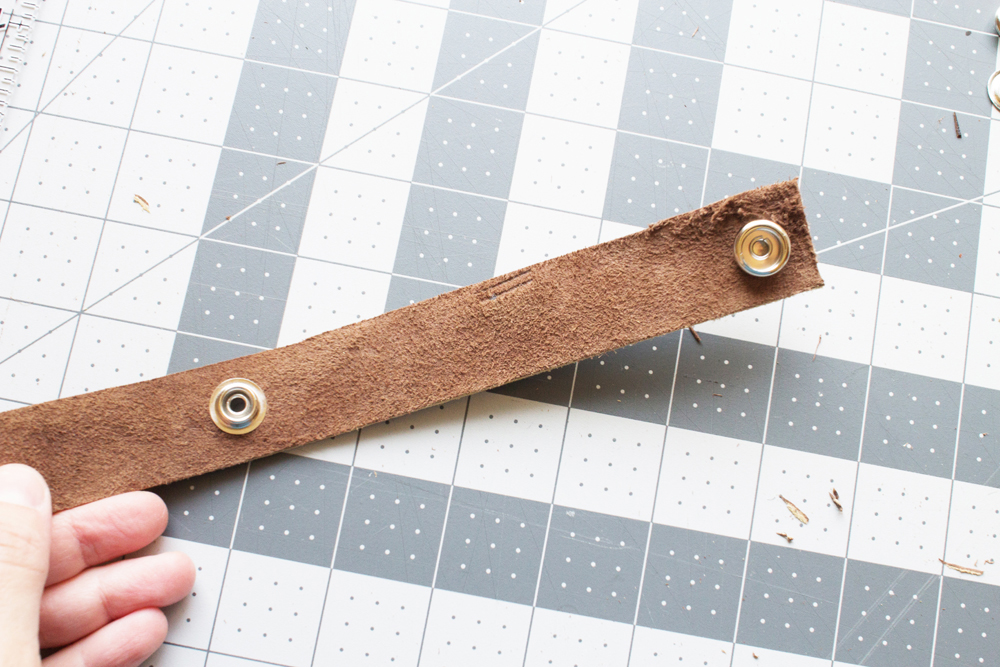

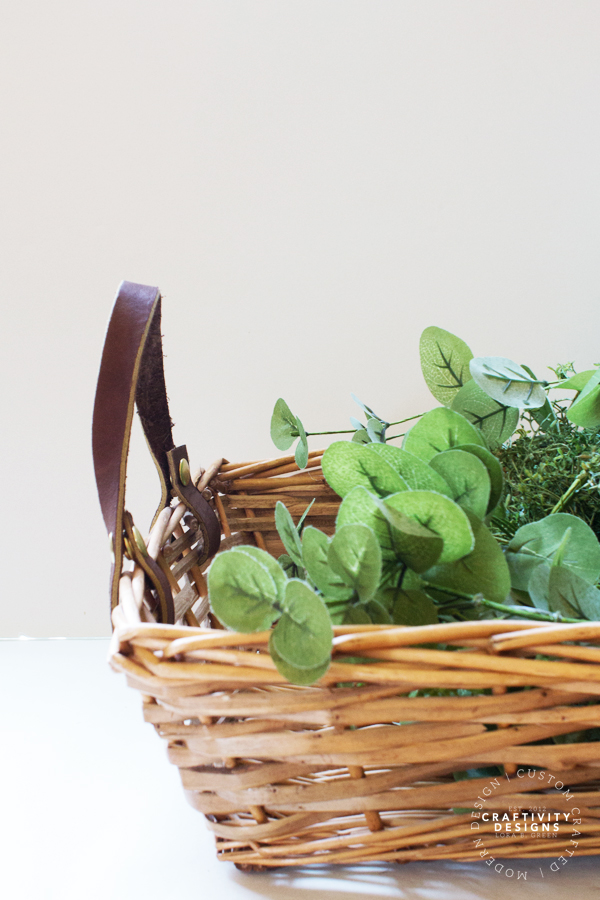
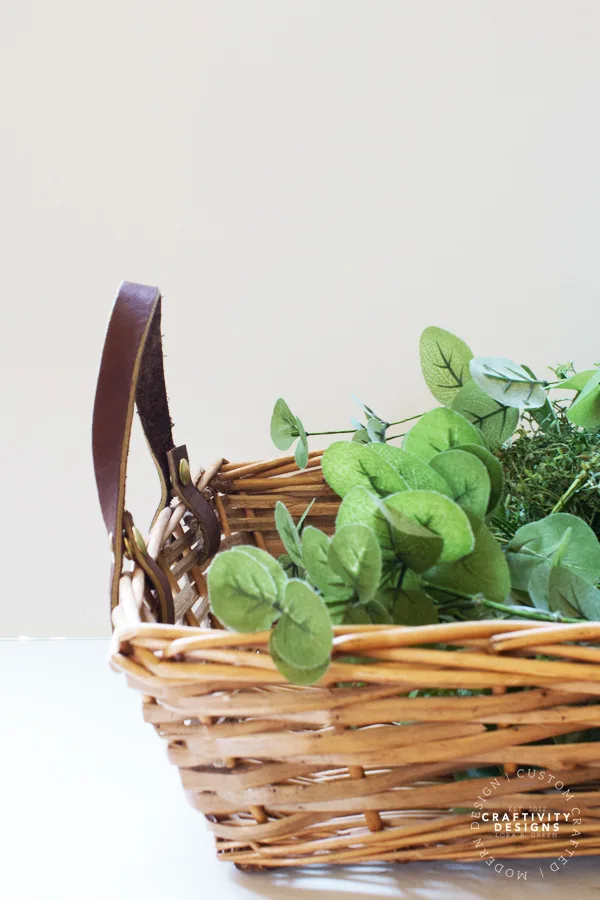
17. Attach the Leather Handles to the Basket
In order to attach the leather handles, wrap each end around the basketweave and snap into place.
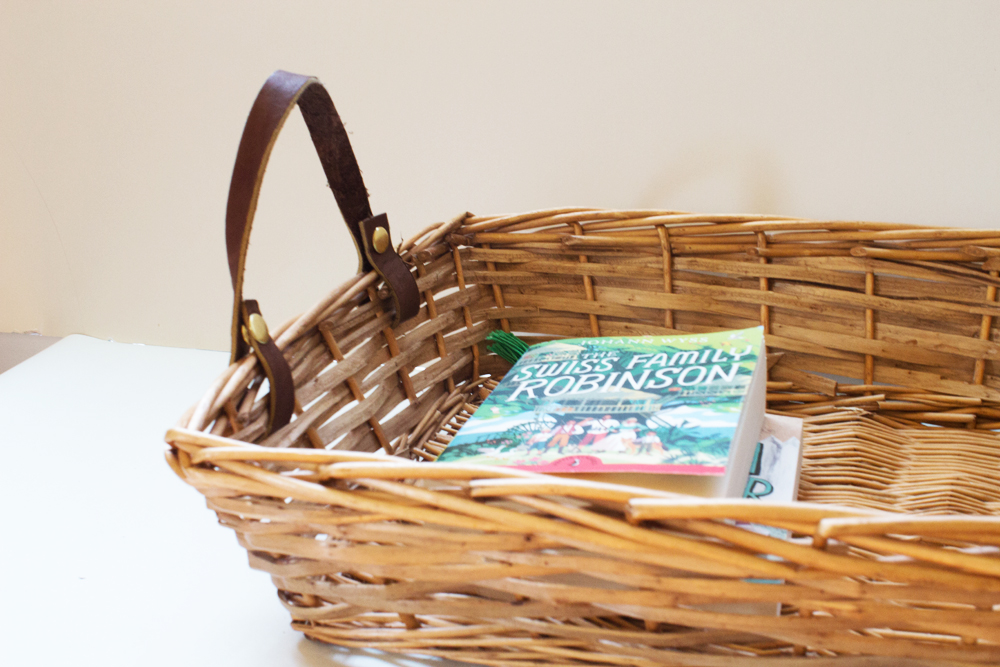

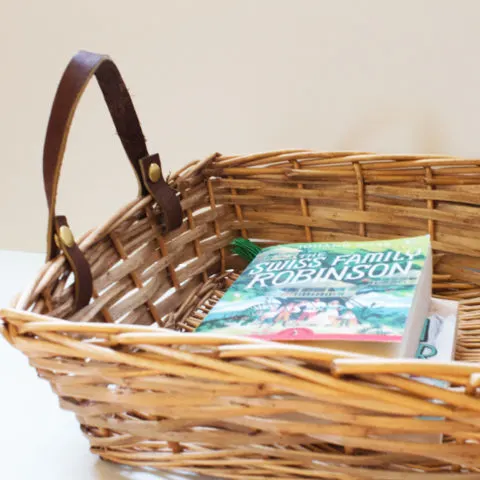
Baskets with Leather Handles
Leather handles are a stylish detail to add to a wicker basket, but that’s not all!
For example, we store library books in two shallow baskets. The wicker handles aren’t sturdy enough to lift baskets filled with books. So, a set of leather handles is much stronger than wicker.

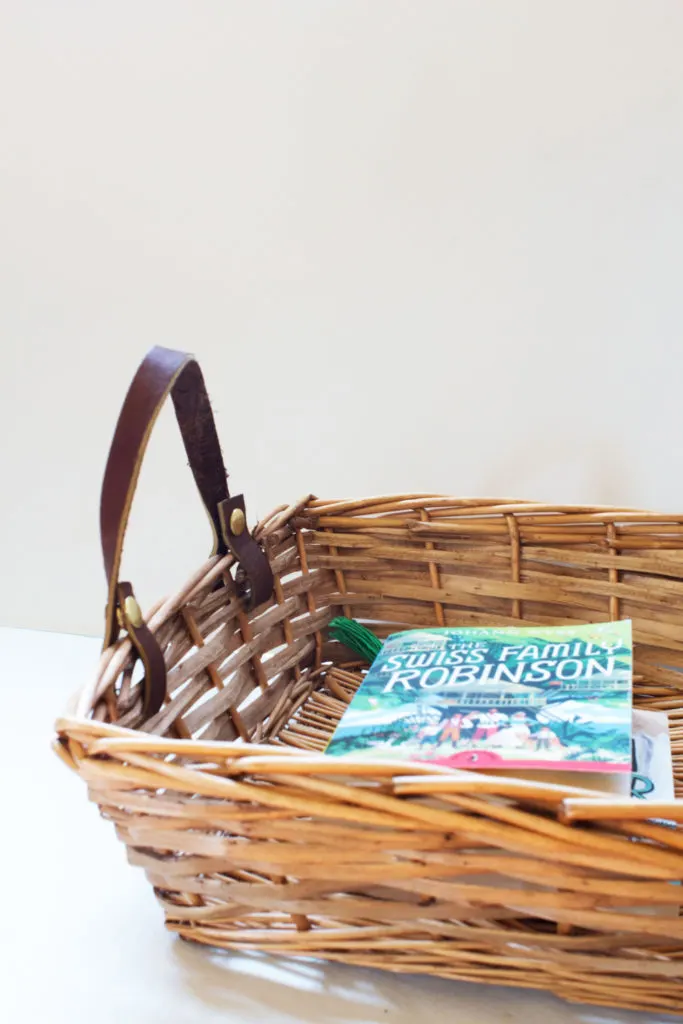
Kids can be tough on wicker and I’ve found that leather straps and handles on baskets are durable and kid-friendly.
Did you like this leather craft idea? Pin it!

How to Make Leather Handles for Baskets
Basic wicker basket? Broken handles on an old basket? Learn how to add leather handles to baskets, a modern update that can be completed in no time!
Materials
Tools
- Rotary Cutting Set
- Leather Hole Punch Tool
- Leather Snap Setting Tool
- Small Hammer
- Pen/Permanent Marker
Instructions
- Place the scrap leather on the healing mat so that it is aligned straight.
- Then, place the ruler over the fabric and use the rotary cutter to cut a leather strip approximately 1" wide.
- Next, hold the leather strip up to the basket to determine the correct length.
- Once measured, cut the leather handle to length.
- Once cut, use the leather hole punch tool to add a hole approximately 1/2" from the edge of the leather strip.
- After the first hole is punched, wrap it through the basketweave to determine the location of the second hole.
- Once properly aligned, mark the spot with a pen or permanent marker.
- Once marked, use the leather hole punch tool to add a hole at the marked location.
- Now, repeat steps 5-8 on the opposite end of the leather handle.
- Next, inserting a cap through one of the leather hole at the end of the strip.
- One the cap is inserted through the hole, place the setter under the cap.
- Next, place the socket over the cap's stem. You should have the following stack (from bottom to top): setter, cap, leather, socket.
- Once stacked, use the snap setting tool and a small hammer to set the cap and socket.
- Now, repeat steps 10-14 for the opposite end of the leather handle.
- Next, insert the post through one of the leather hole in the center of the strip.
- Once inserted, place the stud over the post's stem. You should have the following stack (from bottom to top): post, leather, stud.
- Once stacked, use the snap setting tool and a small hammer to set the post and stud.
- Now, repeat steps 15-17 for the remaining hole.
- Finally, In order to attach the leather handles, wrap each end around the basketweave and snap into place.
How To Make A Leather Wreath Hanger For Fall Wreaths - Ideas for the Home
Tuesday 28th of December 2021
[…] How to Add Leather Handles to Baskets […]
How to Display LEGO® Minifigures in Minutes! – Craftivity Designs
Monday 8th of November 2021
[…] carrying baskets […]
How to Make a DIY Snow White Costume – Craftivity Designs
Wednesday 3rd of November 2021
[…] If you’d like to download and print these instructions (with links to the supplies, included), click here to jump to the instruction card. […]