Learn 5 Easy Shibori Techniques to try at home! Make cloth napkins, pillow covers, linen towels, and more in an array of beautiful patterns and simple tie-dye designs.
If you’ve been falling in love with the art of Shibori — stunning indigo and white patterns which are both bold and organic — you’ll be excited to know that it’s easy to recreate the look at home. Yes, these easy shibori techniques are DIY friendly, both for adults and kids (yes, even kids can participate in this modern tie dye technique!).
Even better, you won’t need fancy supplies. Most likely you’ll only need to buy fabric and dye (here is my favorite indigo dye recipe), while the rest of the tools can be found around the house.
You Might Also Like: 15+ DIY Shibori Decor Projects for the Home
Japanese Tie Dye Designs
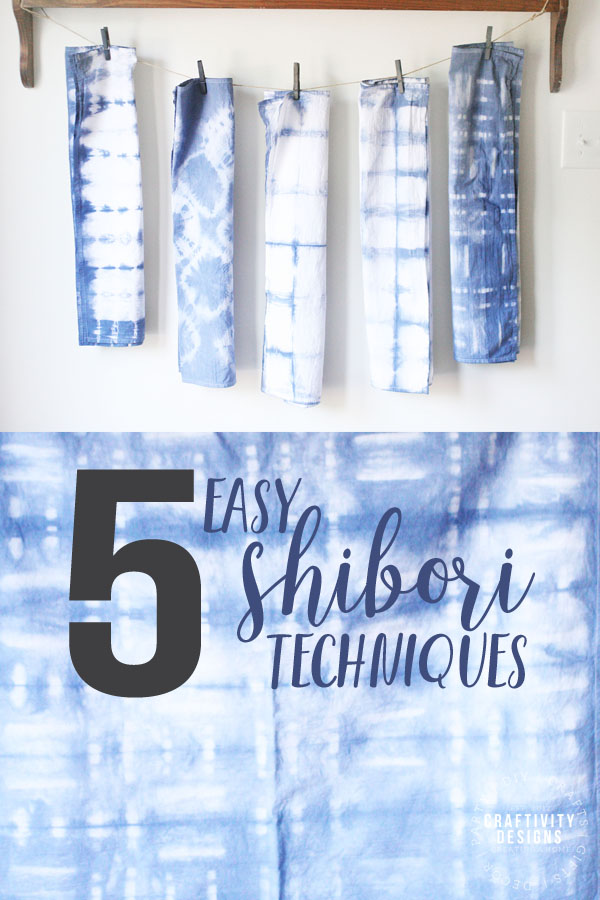
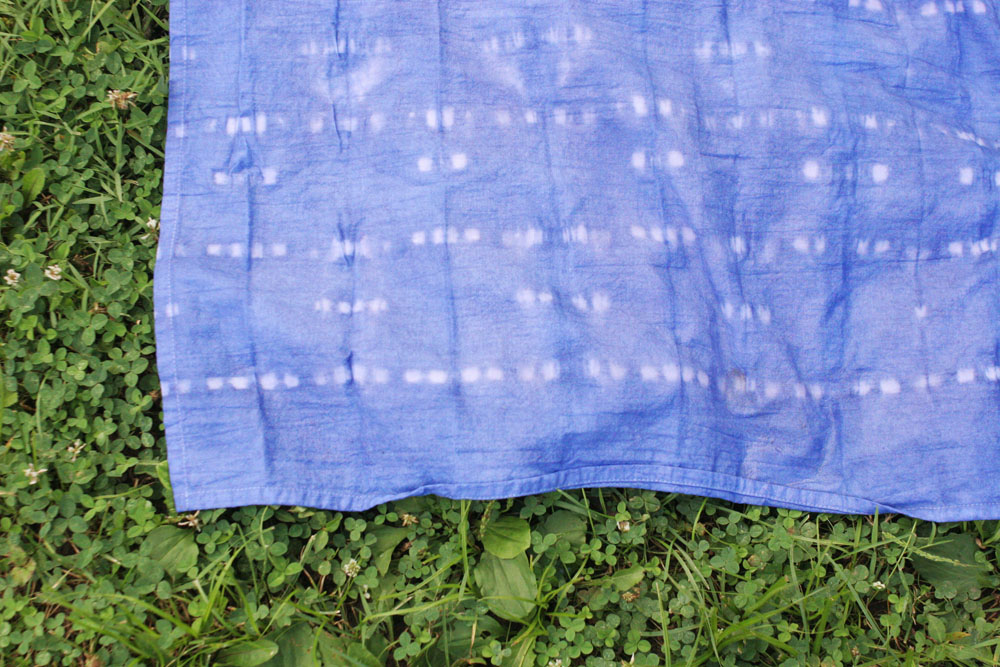
Shibori is a tie dye technique that originates in Japan which has been popping up all over the modern design world. Accent pillows, throw blankets, cloth napkins and more, have brought new life to an ancient art.
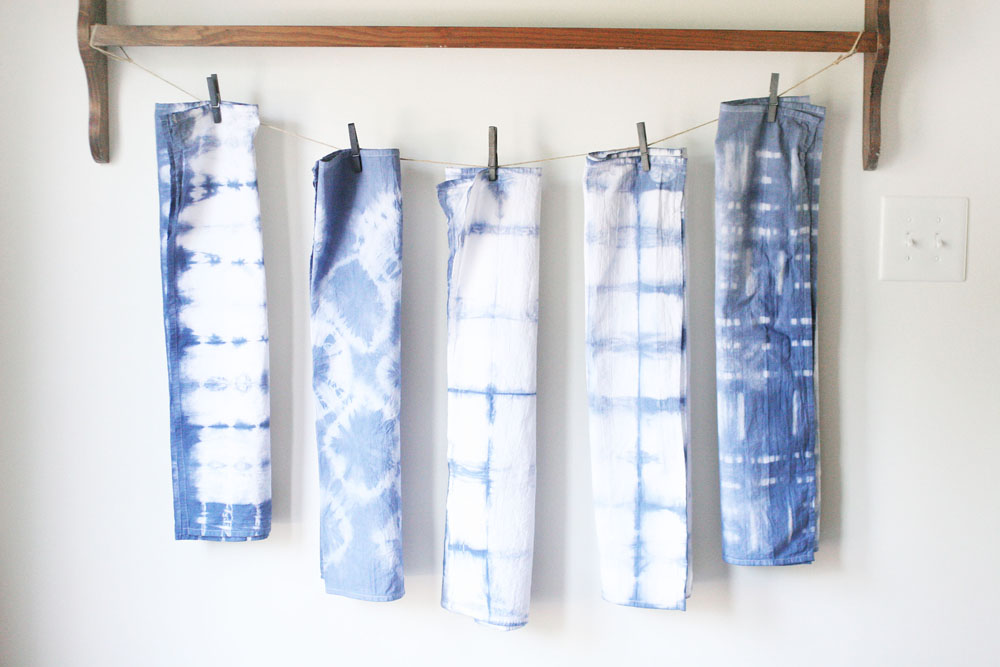
Most often utilizing a deep indigo dye, tie-dye designs are created through folding and manipulating cotton fabrics. The crux of the shibori technique is a resist method. In other words, through the manipulation of fabric and use of various tools, you can resist the application of the dye onto desired areas of the fabric. Thus, creating beautifully organic white and indigo patterns.
In this post, I’ll show you 5 of my favorite tie-dye techniques which will result in a variety of designs, inspired by the ancient Japanese art of Shibori.
You Might Also Like: 12 Gorgeous Shibori Fabrics for DIY Projects
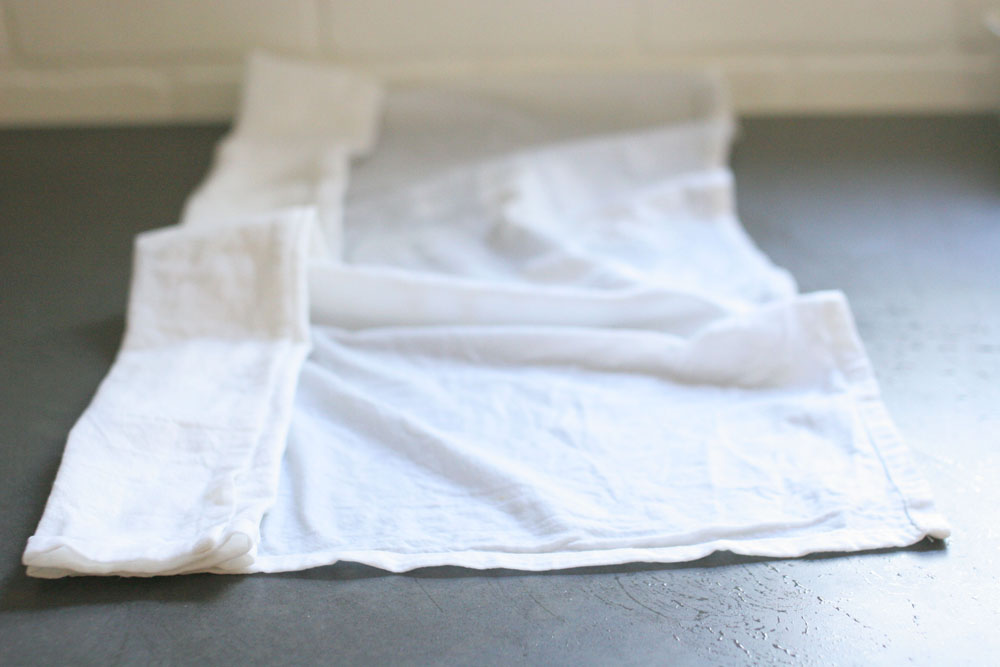
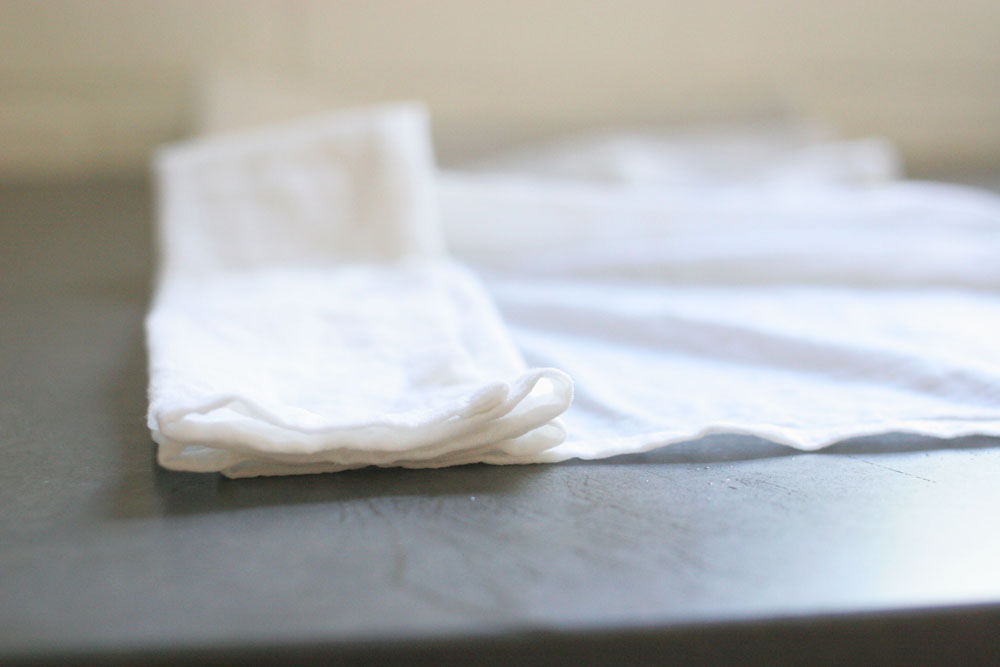
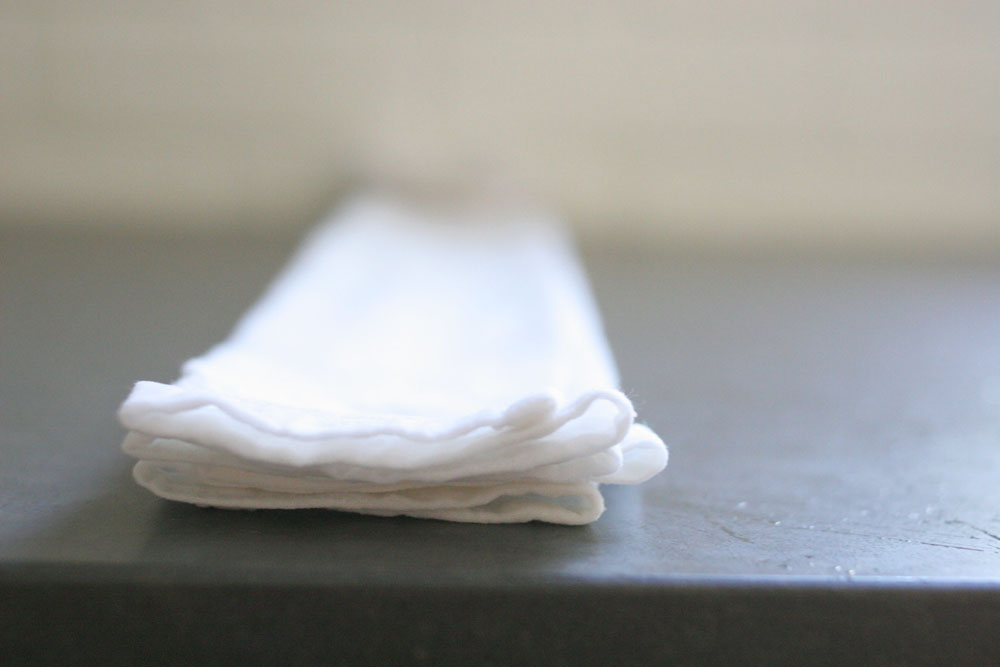
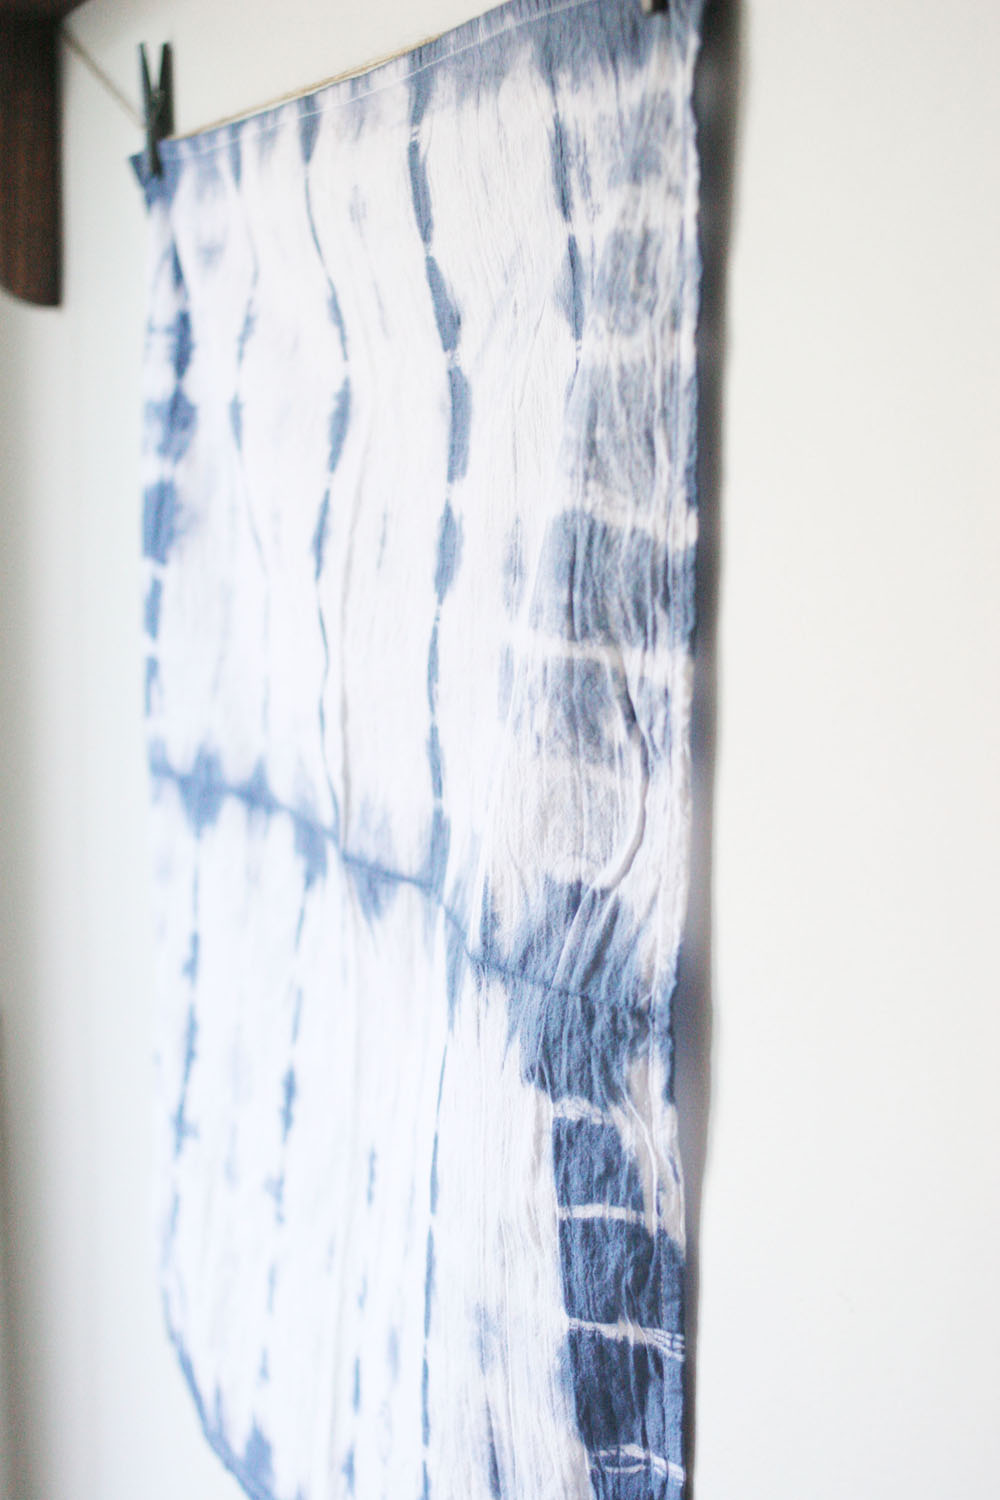
Shibori Techniques – The Accordion Fold
Before we start, note that all but one of the 5 Easy Shibori Techniques begins with an accordion fold (fold, flip, fold, flip).
5 Easy Shibori Techniques
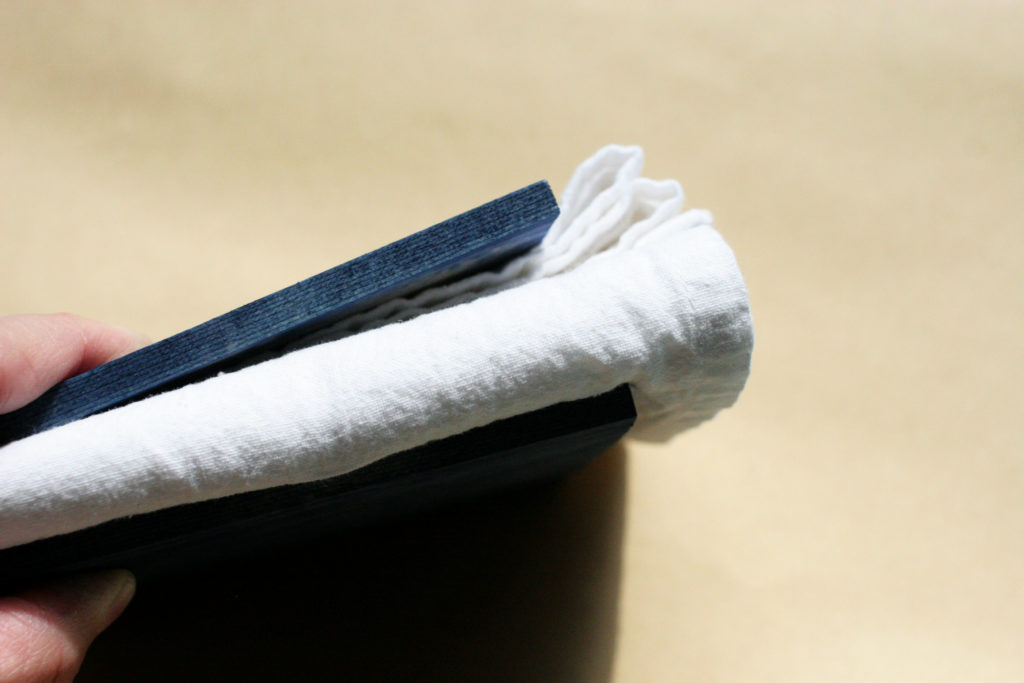
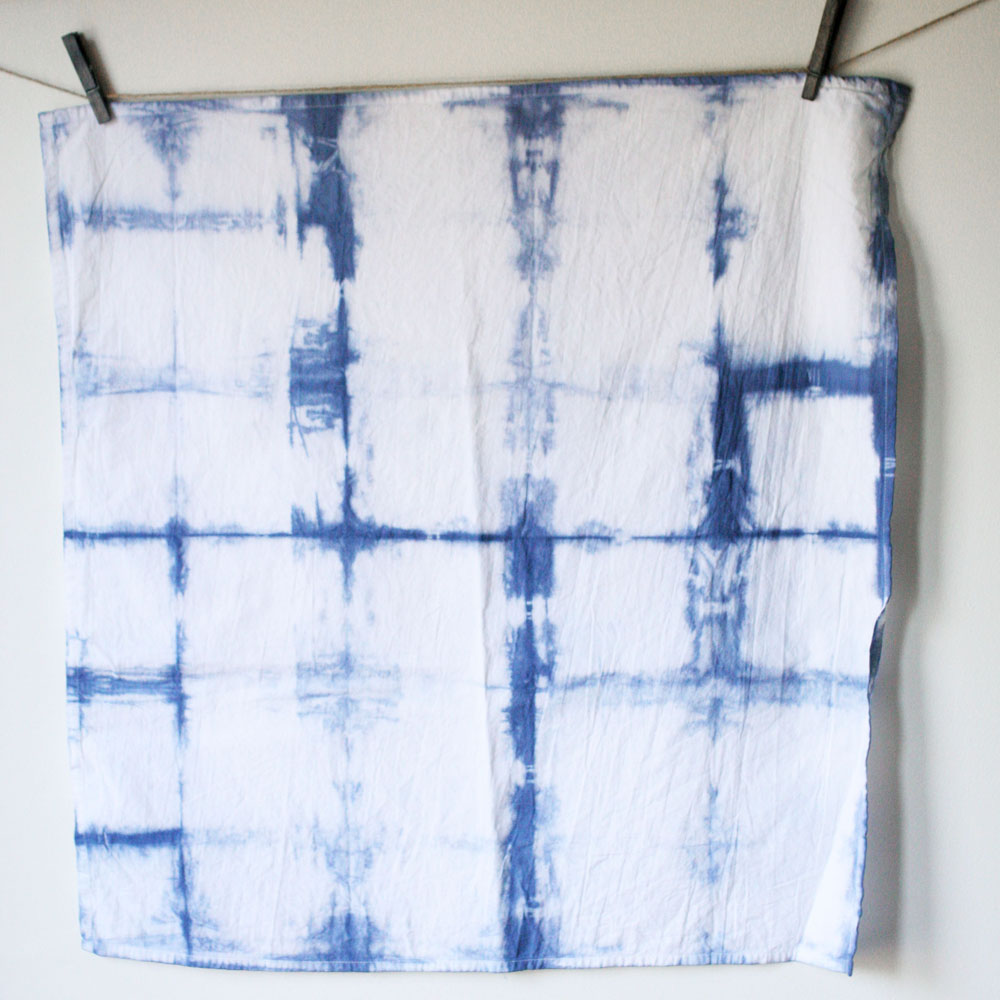
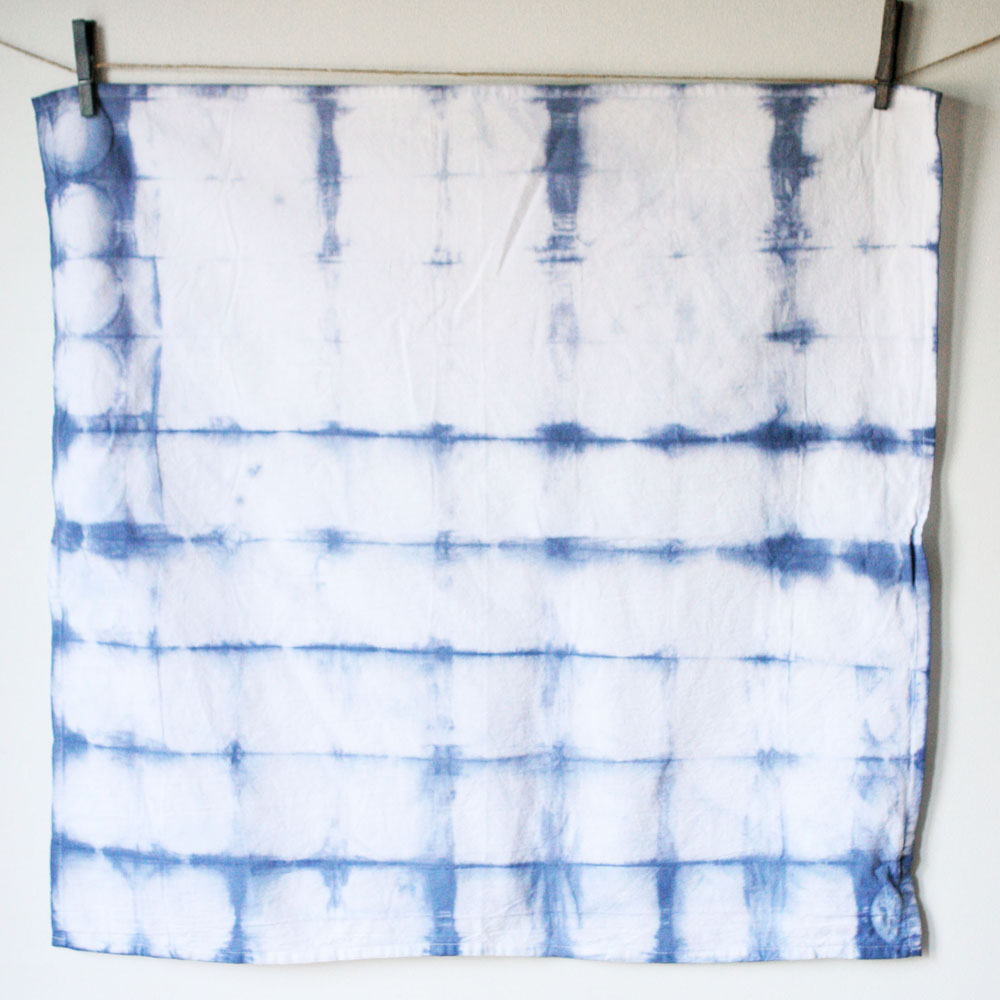
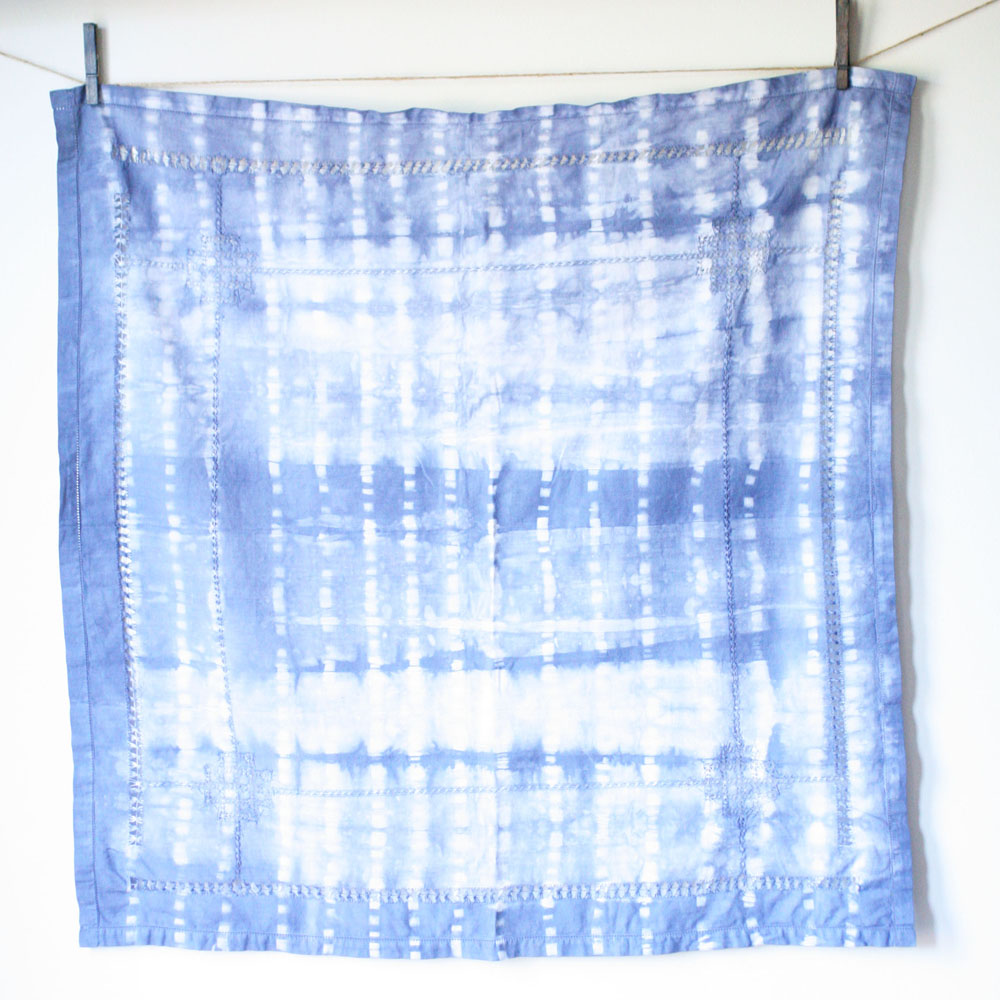
Shibori Technique #1: Wood Squares (Itajime)
Itajime, the most common Shibori technique, is created using wood squares. I found 4″x4″ wood squares at a local craft store, but you could simply use scrap wood cut to size, instead.
- Accordion fold the fabric lengthwise. The folds should be just slightly wider than the wood square.
- Once the fabric is folded lengthwise, complete the second set of accordion folds until the fabric is a square. Again, the folds should be just slightly wider than the wood square.
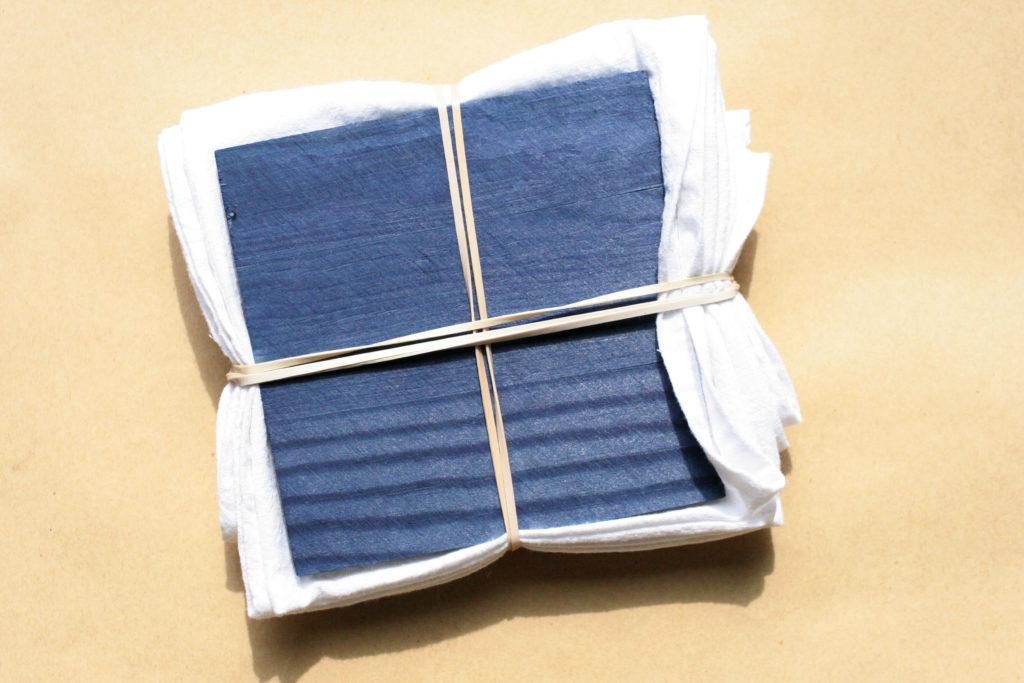
- Make a sandwich with the wood squares.

- Wrap the sandwich securely with rubber bands.


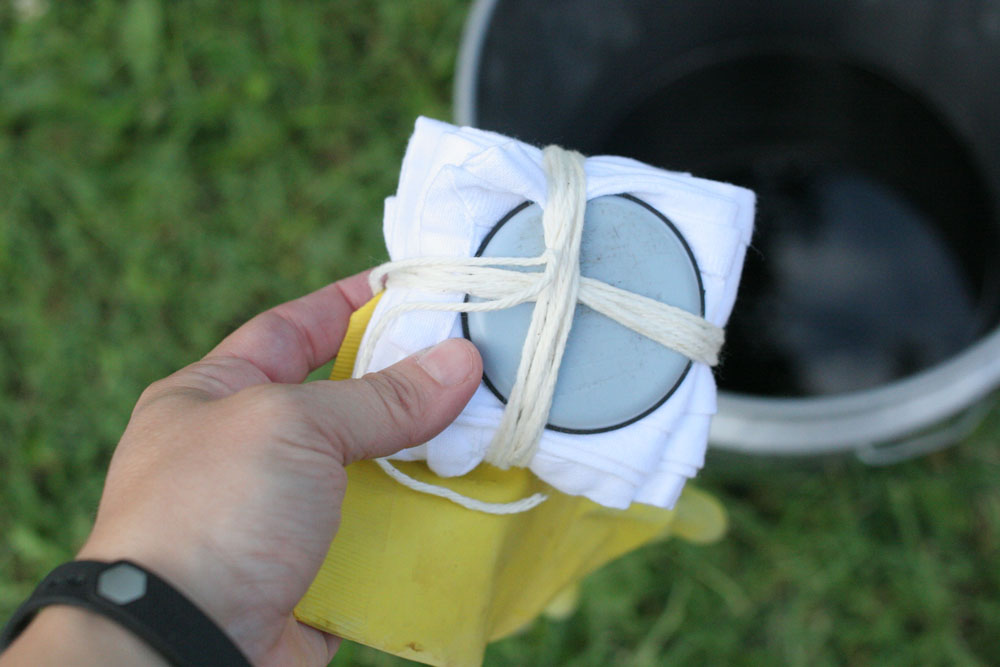
Shibori Technique #2: Round Furniture Slides
Another take on Itajime, this Shibori Technique follows the same steps as the wood squares, except the folds are smaller and the resist object is round — a furniture slide. Yes, furniture slides! I searched the garage for small items that were non-porous (so they wouldn’t absorb the dye) and purely functional (in other words, if they did happen to turn blue, they’d still work just fine as furniture sliders).
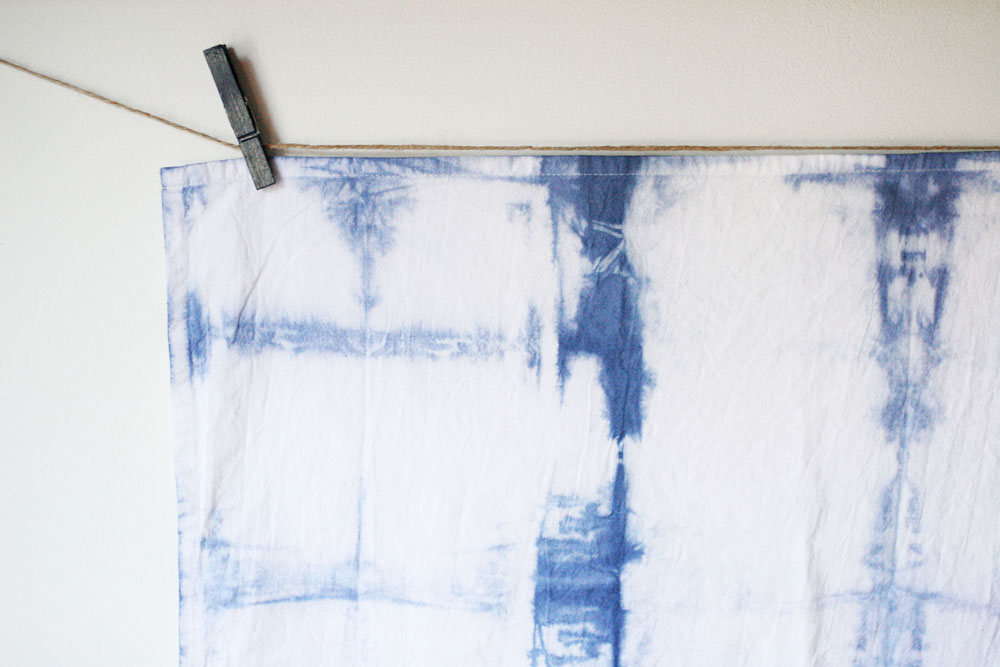
The furniture slides worked great — and they didn’t turn blue (#winwin)! Like Itajime, it creates a grid-like pattern, with softer, rounded centers inside each square.
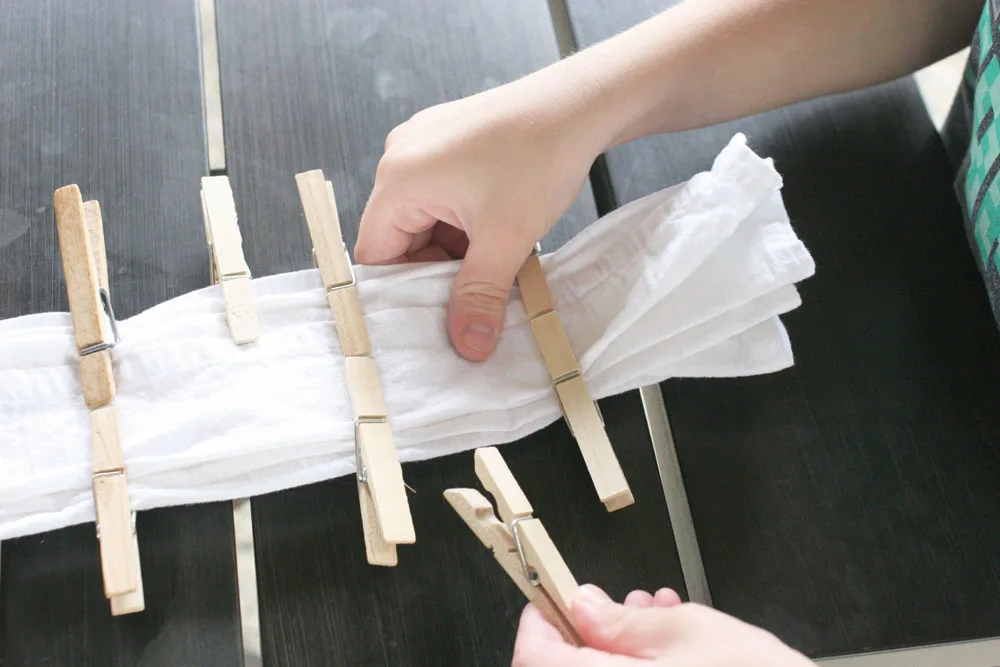
Shibori Technique #3: Clothespins + Bulldog Clips
A favorite, this Shibori technique is created with clothespins and bulldog clips.
- Accordion fold the fabric lengthwise. The folds should be approximately 2-3″ in width.
- Attach clothespins and bulldog clips along the length of the fabric in any order or pattern.

This Shibori design was created using only clothespins (note that the white spots are fairly small, like the tip of a clothespin).
This Shibori design was created using a mix of clothespins and bulldog clips. The large white sections are where the bulldog clips were located on the folded fabric.
Shibori Technique #4: Tie Dye Design
Much like the popular tie-dye designs found in America during the 1960s (and since), this Shibori technique is created using rubber bands. It is the only method in this list that does not begin with an accordion fold.
- Beginning in the center, pinch the fabrics and wrap it securely with a rubber band.

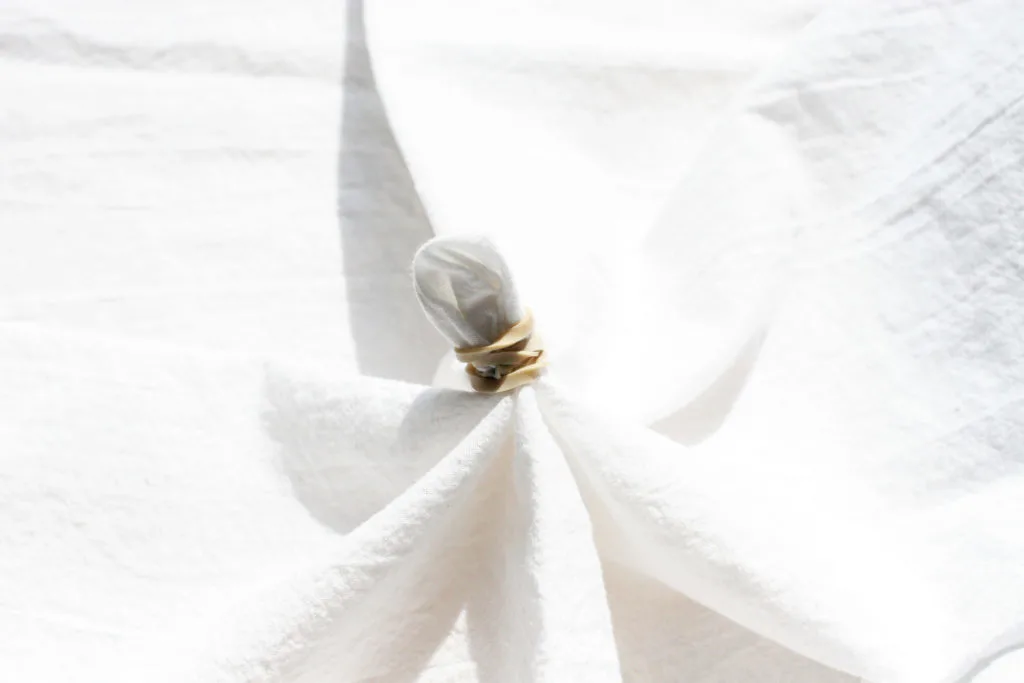
- Repeatedly pinch the fabric, and wrap it with a rubber band, working outwards from the center.


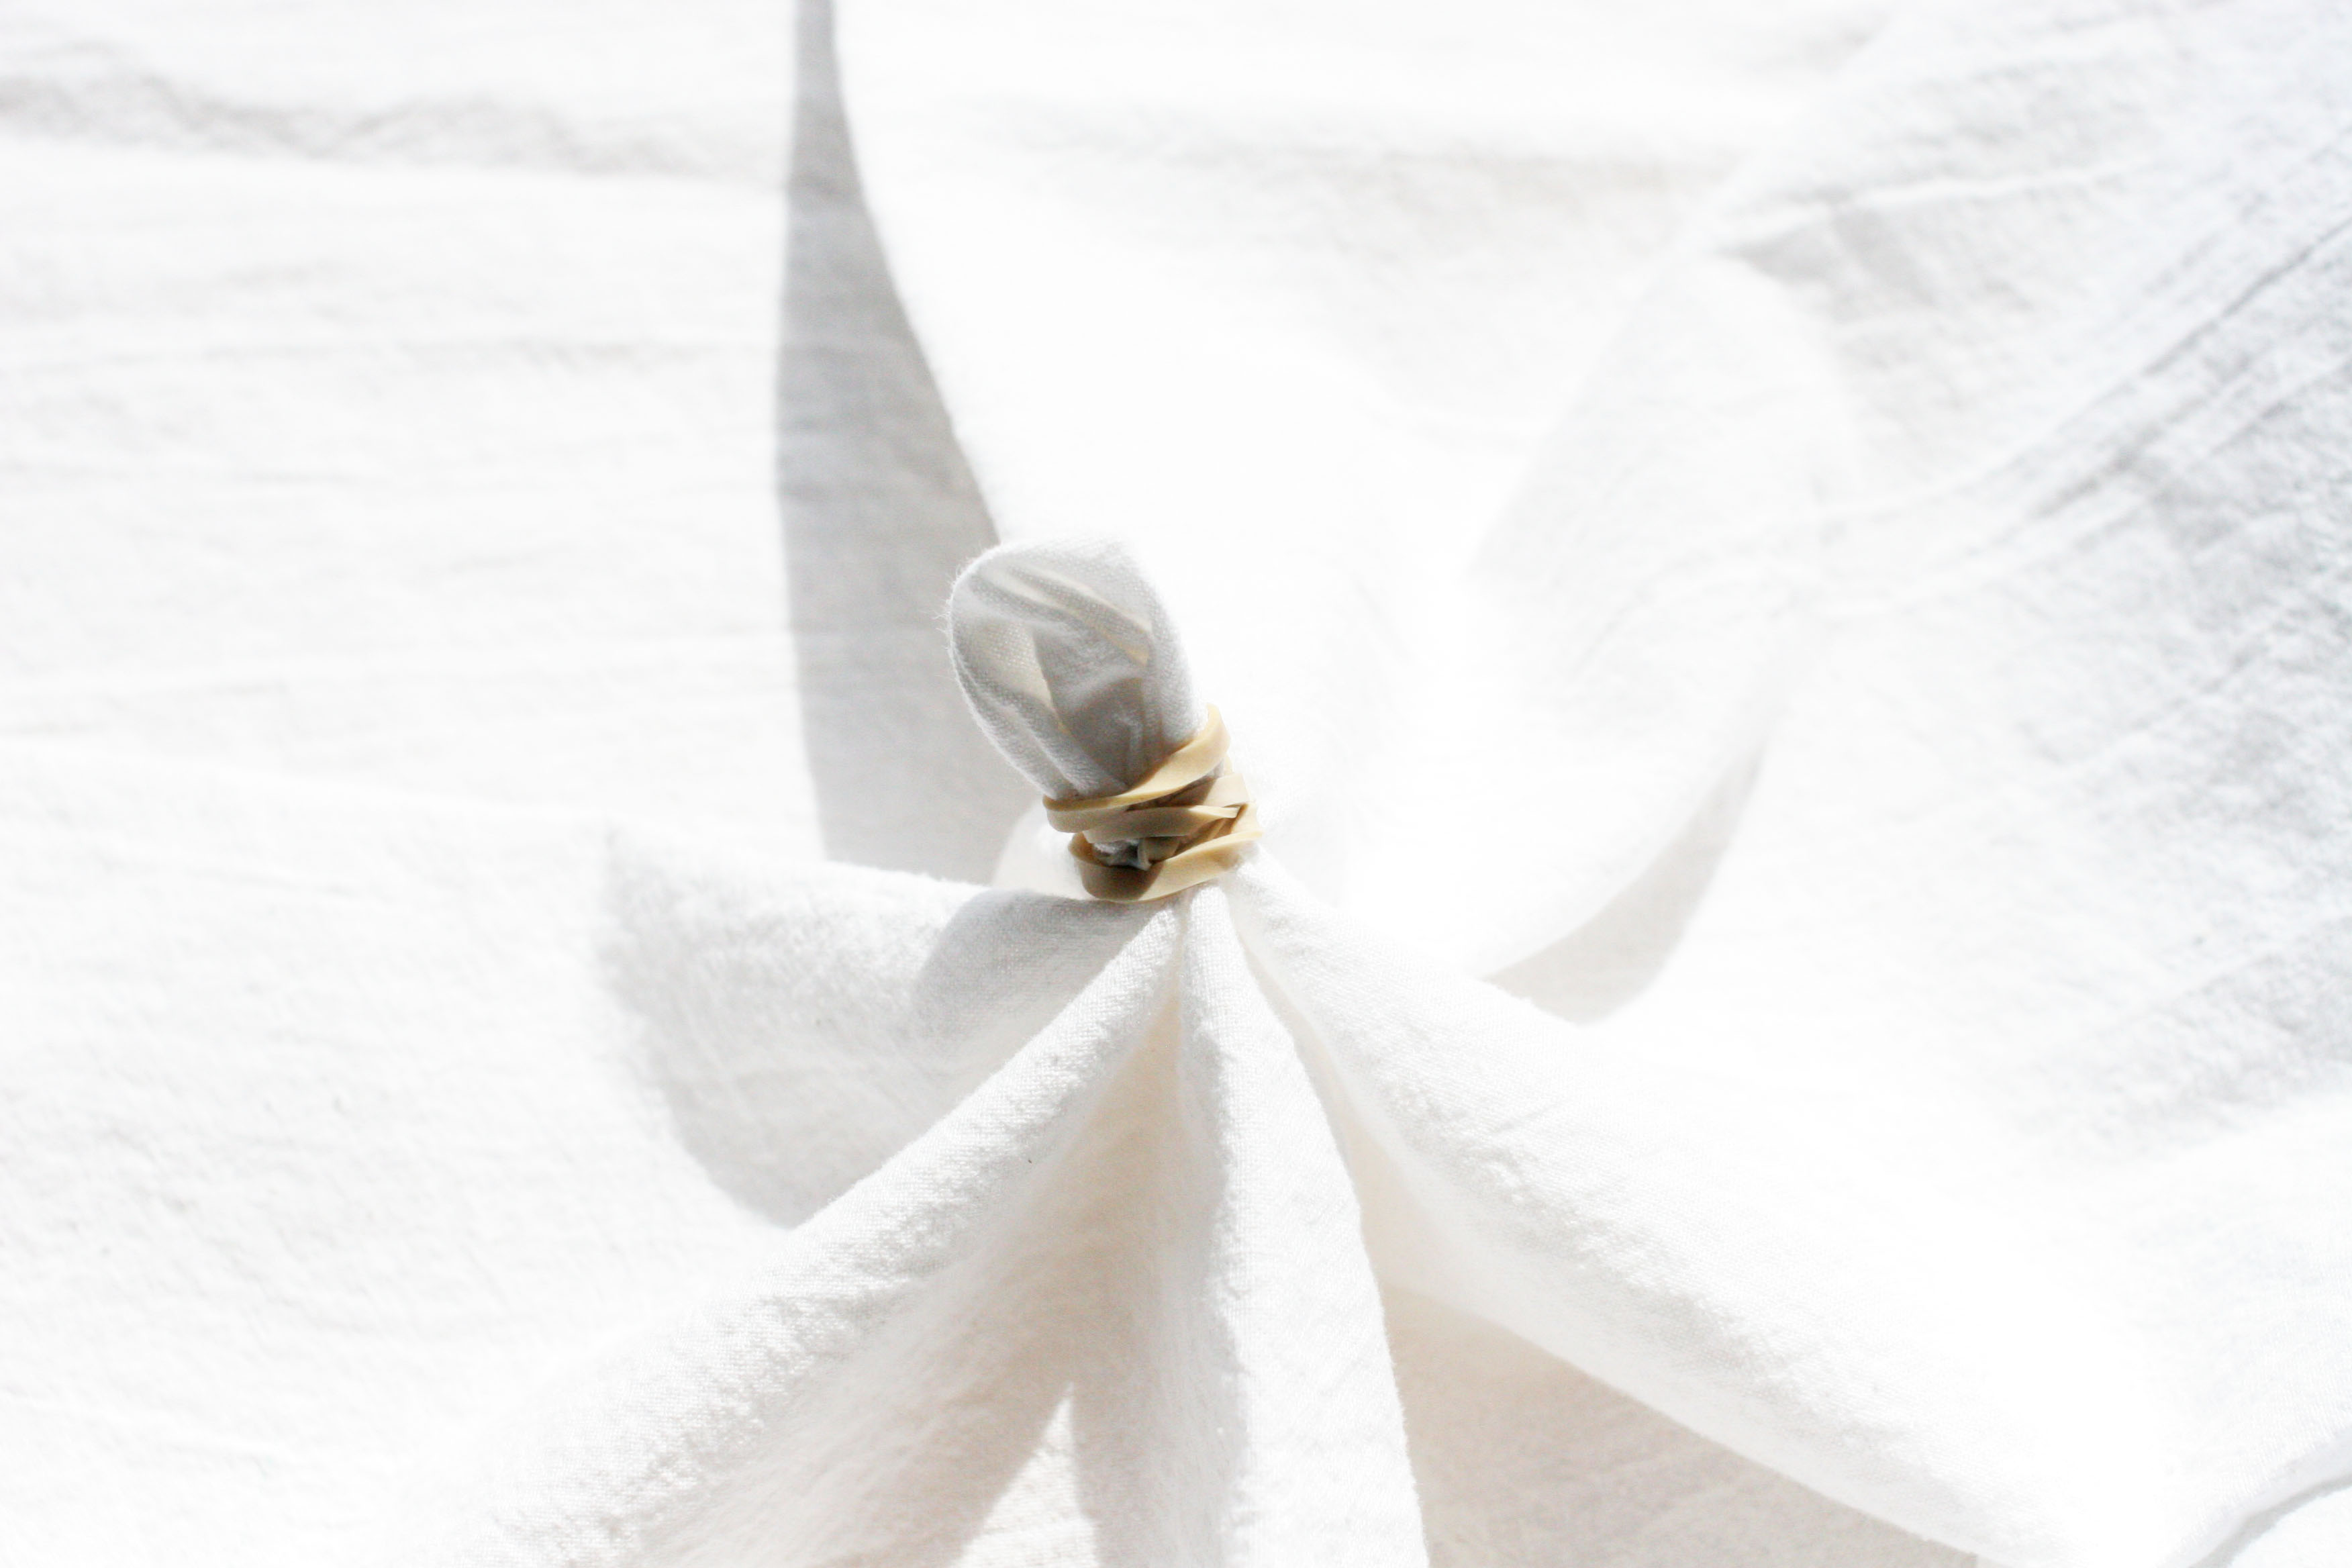
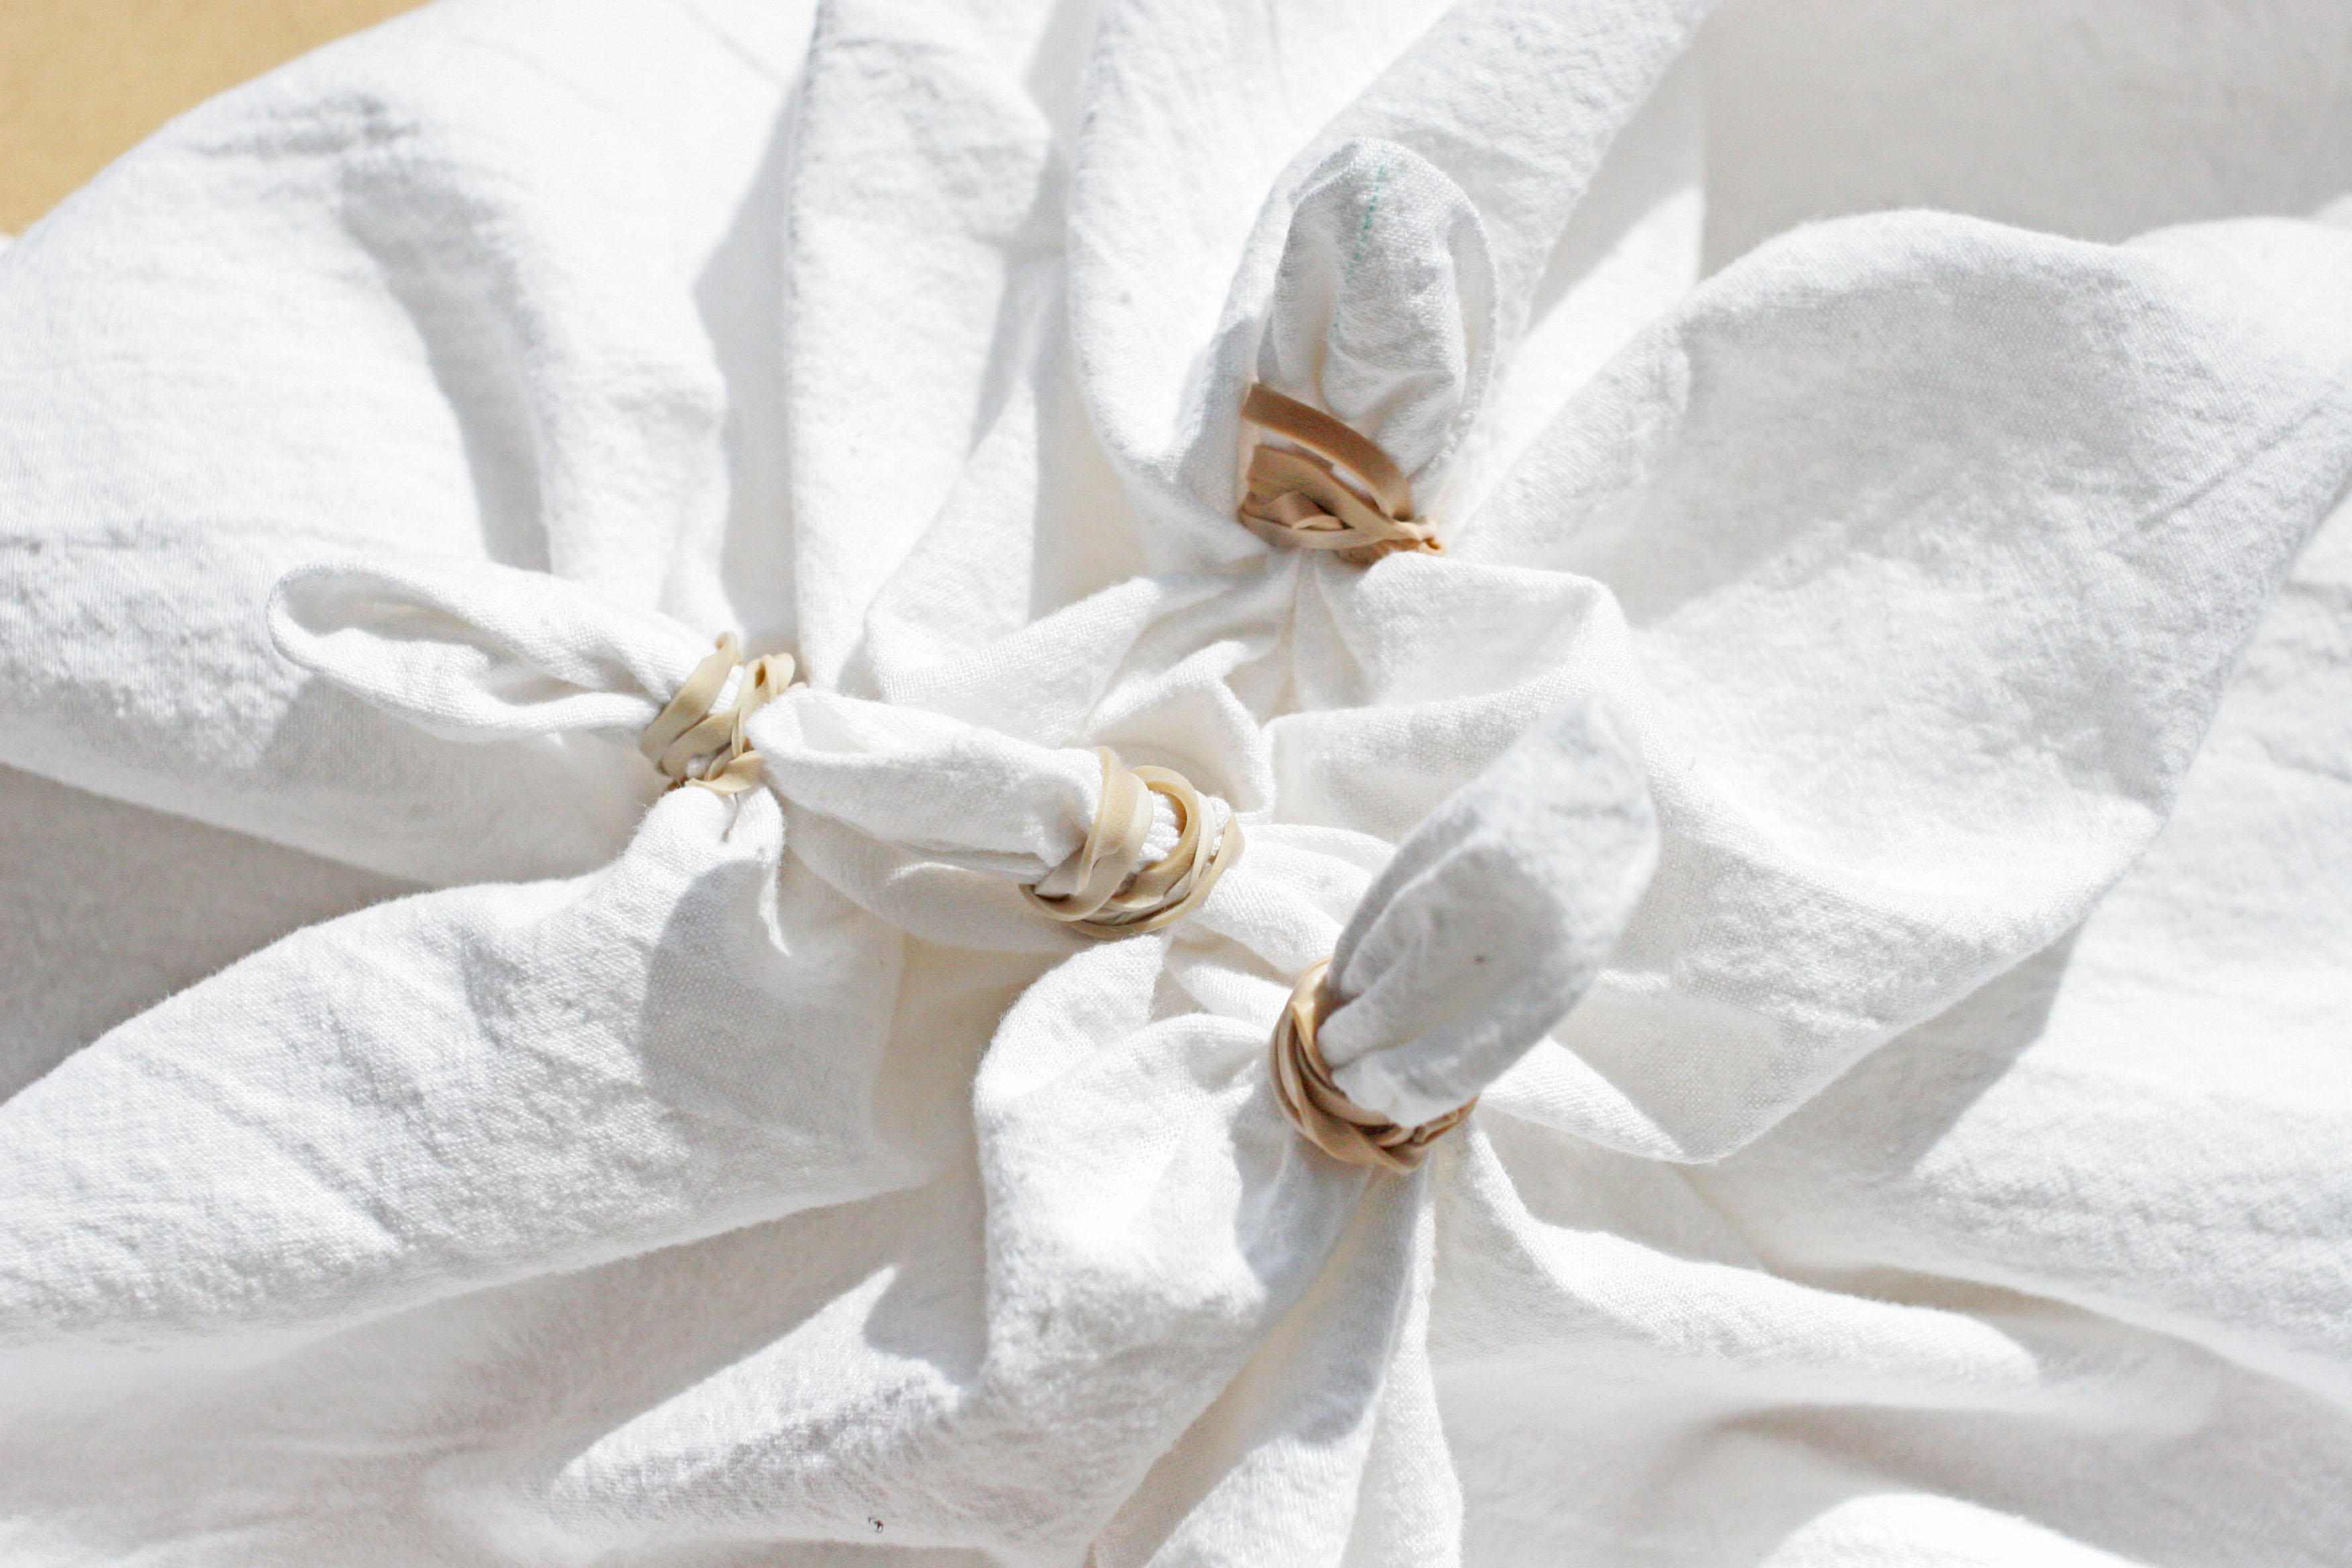
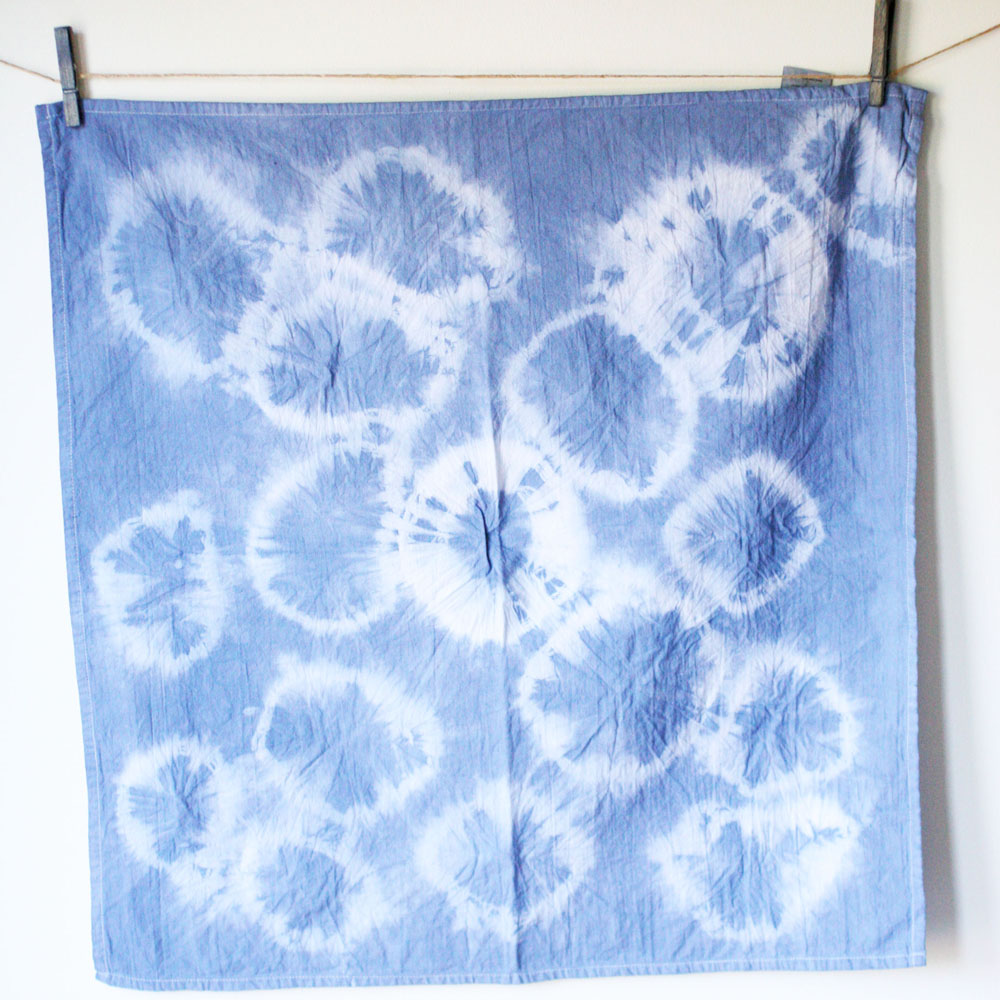
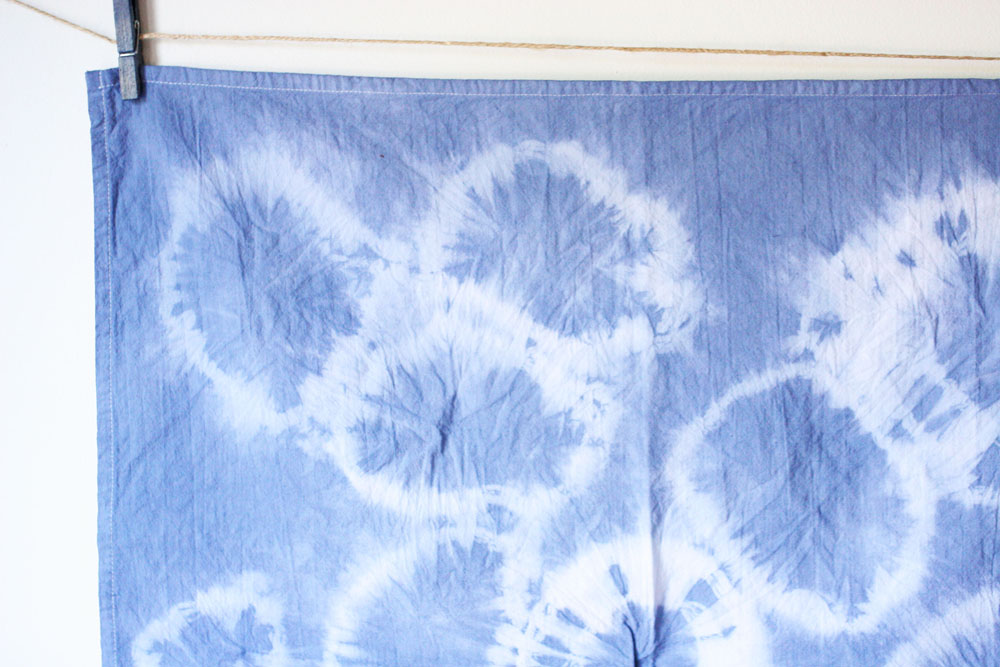
Create smaller circles in the Shibori design with smaller pinches of fabric. Similarly, create larger circles in the Shibori design with larger pinches of fabric.
Shibori Technique #5: Rubber Bands
Finally, another one of my favorite methods is also created using rubber bands. However, unlike the tie-dye design, it still begins with an accordion fold. Hop over to The Crazy Craft Lady, where I shared the details on this technique and a set of DIY Shibori Napkins.

So, I’d love to hear, which Shibori Pattern is your favorite?
New to Shibori? Need to go back to the basics?
- Learn how to make your own Indigo Dye Recipe with Rit
- Follow a step by step tutorial for DIY Shibori Napkins — the perfect beginner Shibori project!
- Find the Best Shibori Fabric Products for Shibori and Tie Dye Projects
- Check Out 15+ DIY Shibori Decor Project Ideas for the Home
If you liked this simple craft project, you might also like:
- How to Make DIY Napkin Rings from Leather
- Make DIY Bath Bombs in Vintage Linens
- How to Make a Modern Photo Holder
Chelcea
Saturday 19th of September 2020
So mine looked great after the dyeing process and letting them sit for about an hour before rinsing. But then when I put it in the cold rinse cycle (no detergent) after they had been dyed, they all bled so bad! The white all turned into light blue and the indigo parts are now faded blue. Used 100% cotton tea towels. What went wrong?!
Lora Green
Sunday 20th of September 2020
Hey Chelcea - That so frustrating, I'm sorry to hear that. Did you use the recipe here: https://craftivitydesigns.com/indigo-dye-rit/ ? If so, did you use the salt? If another dye recipe, let me know which one. I will try to help you figure out what is going on. Thanks!
Sophie
Thursday 2nd of July 2020
Hello! I was wondering which of the dye methods was used on the hoodie in the pictures used to show the product? Thank You! I'm loving the kit so far
Lora Green
Tuesday 7th of July 2020
Hi, Sophie - I can't find the hoodie picture you are referencing. Feel free to email me the picture to craftivitydesigns @ gmail . com , and I'll try to help out! I'm glad you are enjoying the dye kit :)
Amy
Saturday 4th of April 2020
Thank you so much-this is for exactly what I’ve been searching!
Lora Green
Sunday 5th of April 2020
Great! Hope you enjoy your shibori projects :)
Amy
Tuesday 26th of March 2019
Hi Lora, after rubber banding the wood squares do you dip and soak the entire piece?
Lora Green
Tuesday 26th of March 2019
Yes, correct! The wood will likely pick up some die, too -- unless it is a non-pourous material. So don't use anything that can't be died a bit :)
Sandra Harrop
Sunday 7th of October 2018
In the tye dying instructions you never mention and at what point you added your coloring.
Lora Green
Monday 8th of October 2018
Hi, Sandra, here are the dye instructions: https://craftivitydesigns.com/indigo-dye-rit/