We’ve got 90 sq ft for a guest bath, laundry room and mudroom. It’s small; but it must be hard-working. That space must provide us coat hooks, towel hooks and hanging space for laundered clothes — plus ample storage. Oh, and I’d like it to be pretty.
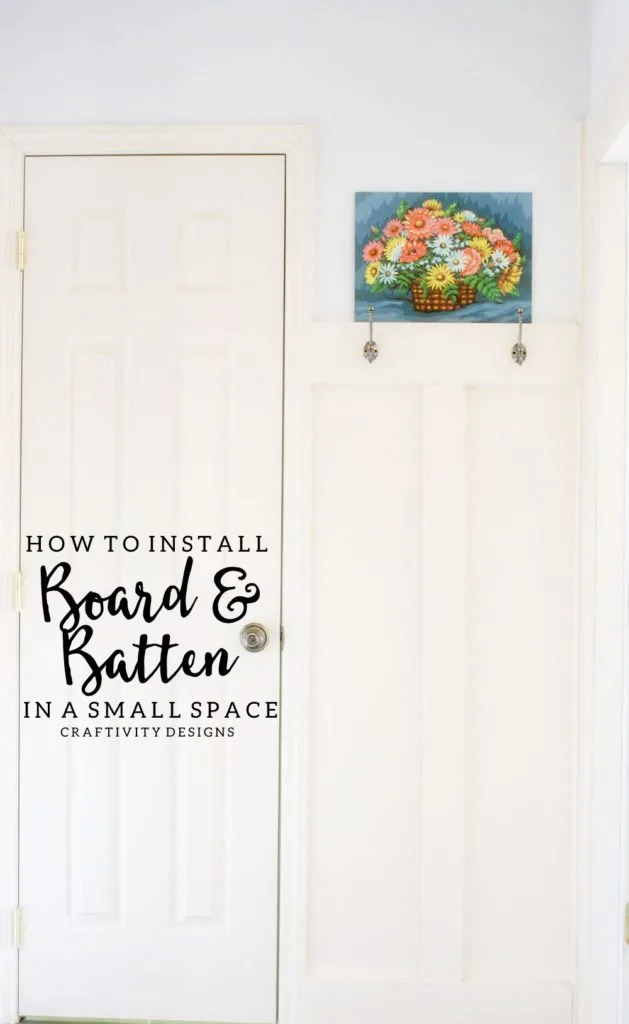
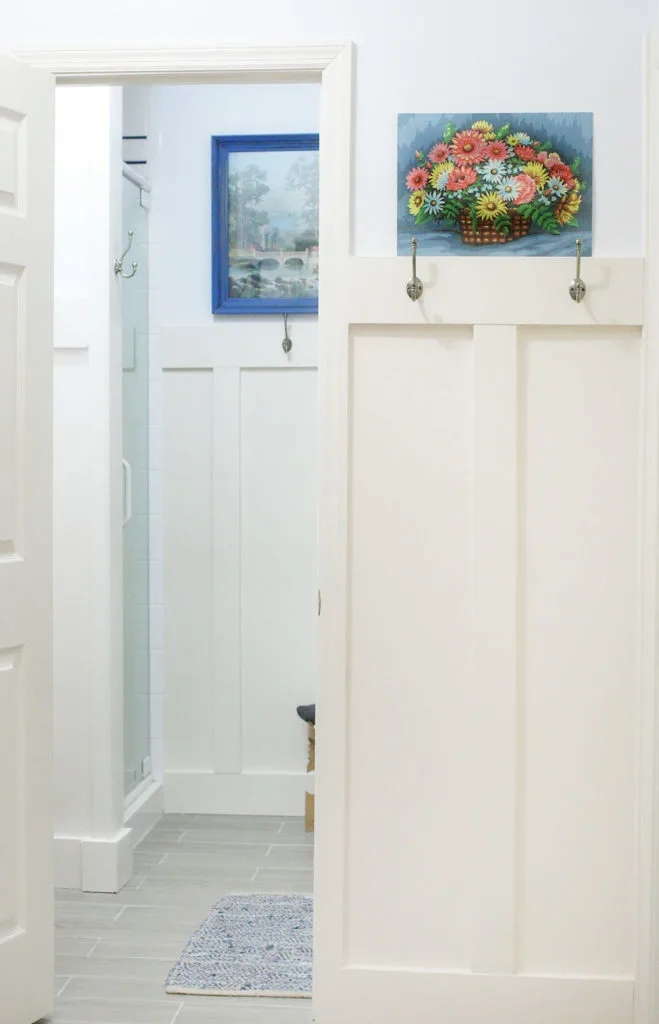
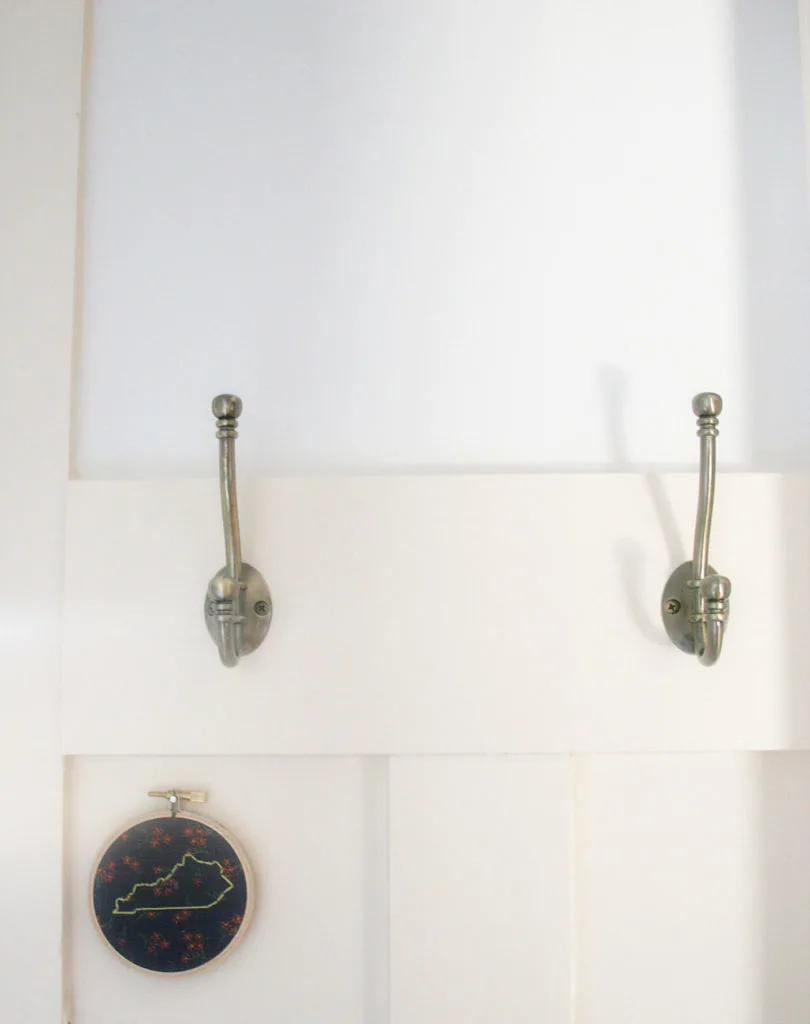
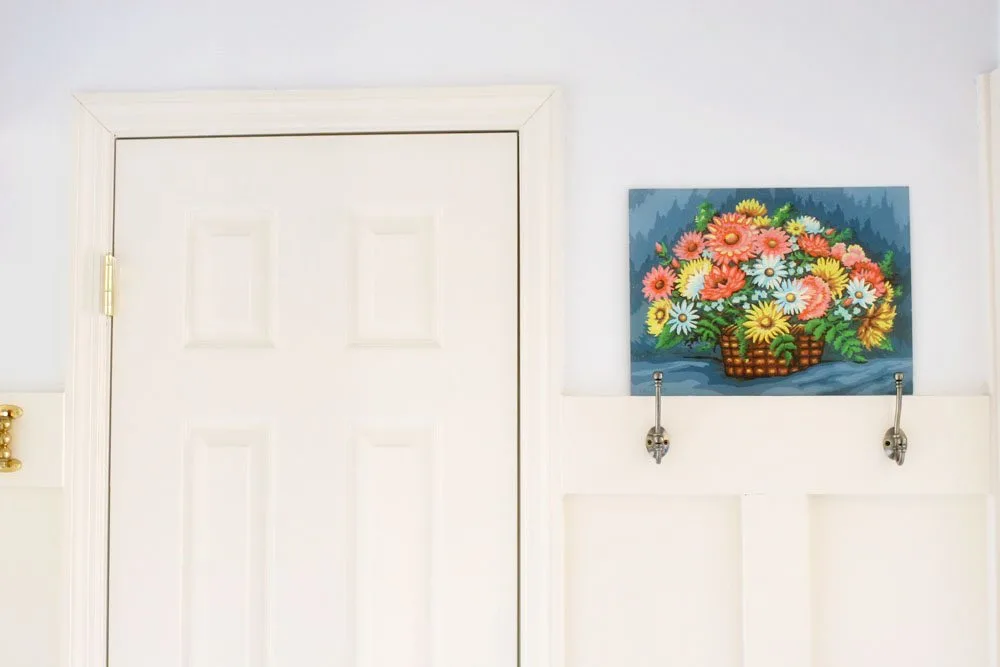
That is why the most important detail — in both the Laundry Room and Bathroom renovations — is the Board and Batten. The trim work defines the space, adds character and creates a perfect spot for oh-so-functional wall hooks.
**Amazon Affiliate links included in this post.
I have to inject — my husband and I aren’t major DIYers. We didn’t grow up with parents who were handymen {they hired handymen, instead}. But, we are willing to learn new things, save money, and challenge ourselves.
Sometimes, you learn via baby steps. This window seat is the biggest trim work project that we had tackled; but it allowed us to practice the basics of cutting mitered corners and caulking trim. It was solid baby step, that we could build upon.
How to Install Board and Batten
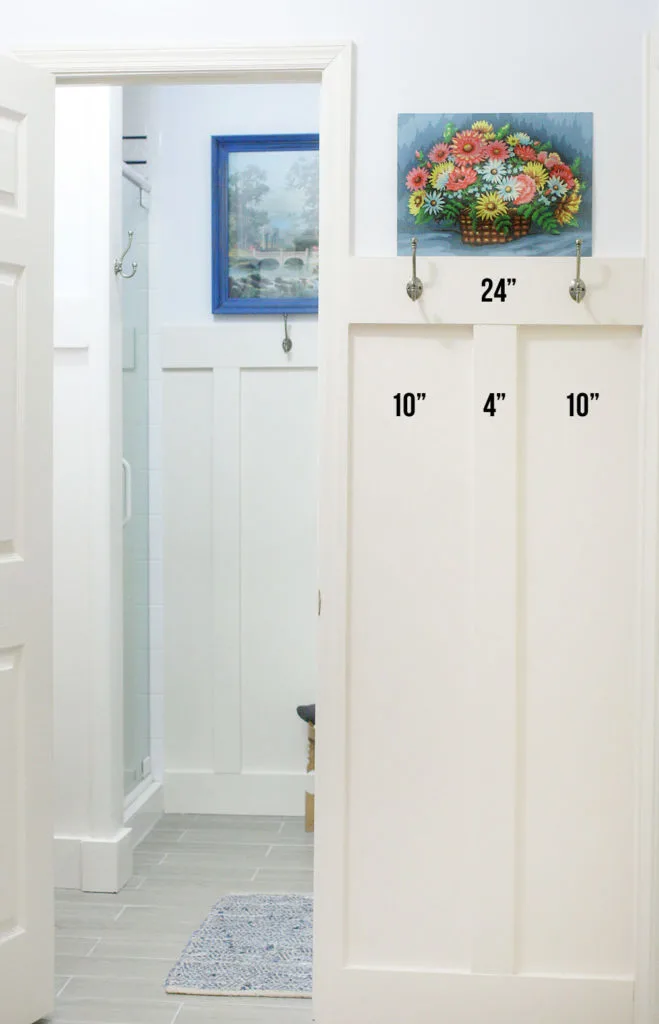
#1 Determine board sizes – we chose 6″ baseboards, 6″ top boards and 4″ battens
#2 Determine the distance between each batten – we chose 12″
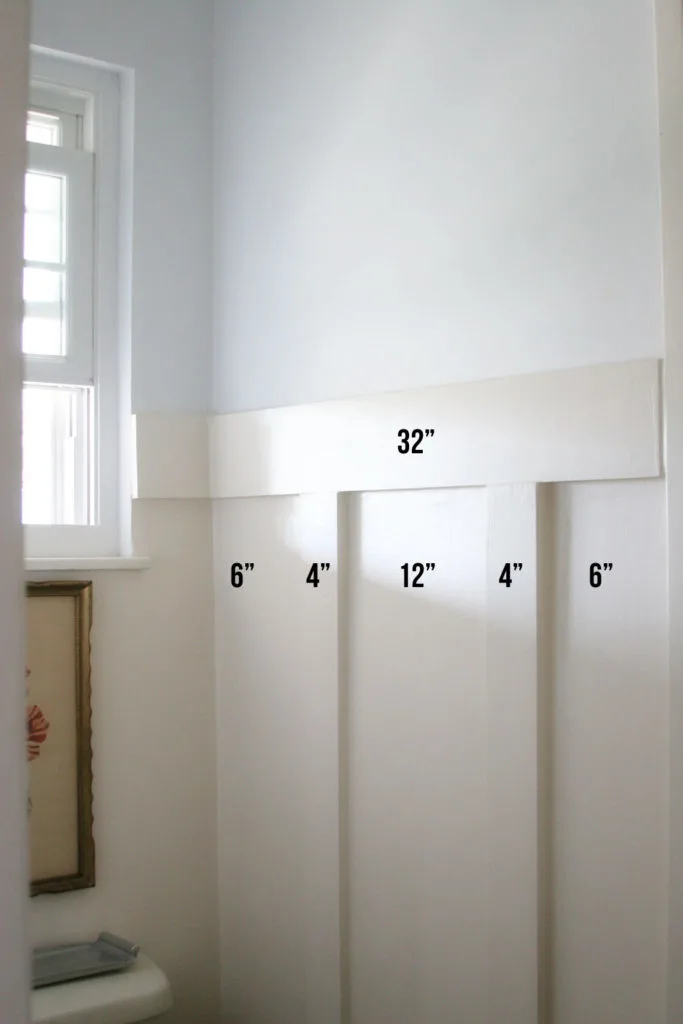
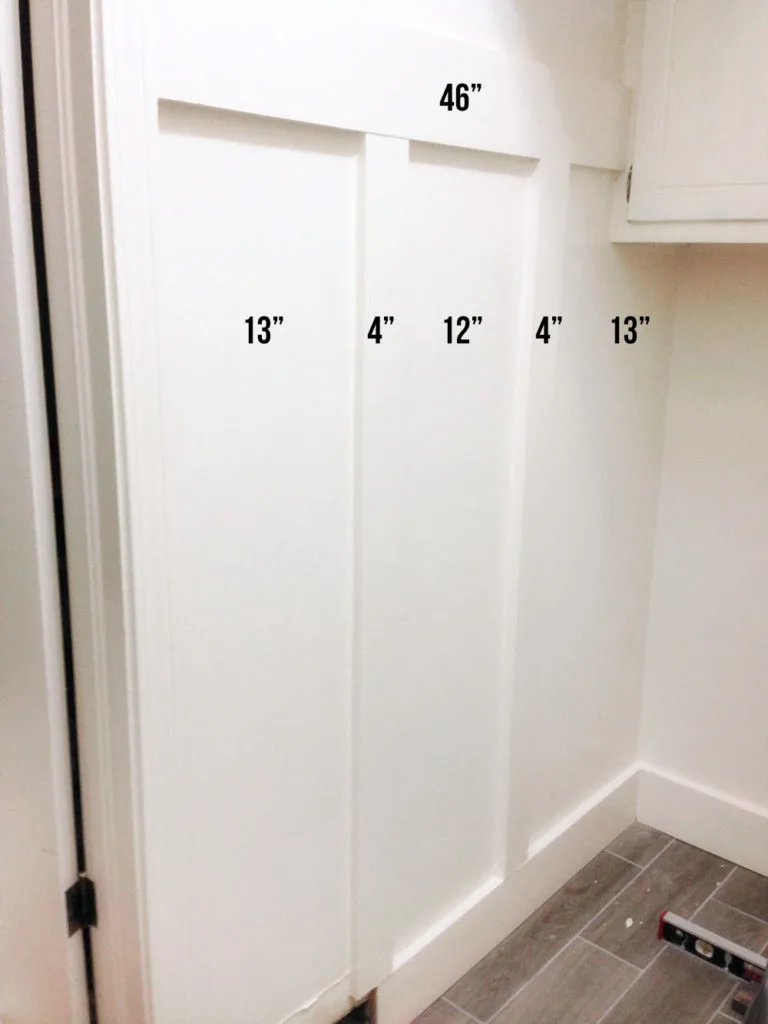
Almost every wall in this space is short — at less than 4′ long — so each wall was measured separately. We DID NOT start in one corner and simply measure every 12 inches. This would have placed some battens directly up against door trim and most of it would have looked off-centered. Therefore, each section of wall is based on centering the battens.
Here are some examples:
24″ Wall
32″ Wall
46″ Wall
[Tweet “Transform a small space with Board and Batten”]
#3 Mark the batten locations directly on the wall with pencil
#4 Count the number of battens and measure the total length of baseboard and trim
#5 Purchase wood planks according to measurements, quantity and board widths
#6 Prep the walls with primer and paint {use a semi-gloss sheen to match the trim}
#7 Cut boards to length
#8 Prep the boards with primer and paint {semi-gloss}
#9 Attach the boards to the wall using a nail gun {our Hitachi Brad Nailer has been great, SOOO much easier and quicker than a hammer}
#10 Fill nail holes with wood filler
#11 Sand wood filler
#12 Caulk along all of the edges to create a smooth, seamless look and hide any imperfections
#13 Finish with a final coat of paint, or more as needed
The most difficult part of this job is finalizing all of the measurements — figuring out the puzzle. After the measurements are done; you just need patience to complete the painting, sanding and finishing. It’s worth it — because this small, 90 sq ft space, is now making a big impact in our daily life.
Have you ever installed Board and Batten? In your experience, what was most difficult about it — and what was simplest? Would you do it again?
Sharing at Thrifty Decor Chick.

A Small Mudroom with Laundry Room (on a budget!) – Craftivity Designs
Monday 25th of April 2022
[…] we replaced the peeling linoleum with an affordable wood-look tile and installed a DIY board and batten treatment on the […]
Beautiful Vintage Laundry Room with Dark Green Cabinets – Craftivity Designs
Monday 31st of January 2022
[…] of my favorite tips for small spaces is adding board and batten with hooks along the wall. It’s a clever use of vertical storage when you are tight of floor […]
Marisa
Monday 4th of November 2019
I’ve got a long wall (104”) with a toilet and a vanity. My OCD reeeeeally wants the battens centered behind both vanity and toilet but the measurements are off. Will people notice if the spacing is 1” off here and there throughout the single wall? Must.be.centered 😭
Lora Green
Friday 8th of November 2019
I feel your pain! Totally understand that OCD feeling, but no I don't think people would notice. If you want to be sure, try just leaning the battens in place for a week or two and see how you feel about it. Do you notice the slight difference in spacing? If not, then definitely go for it!!
Gretchen@BoxyColonial
Wednesday 24th of February 2016
I remember that there were SO MANY decisions to make when we did board and batten--spacing, size of wood, height, all of that--actually putting it up was the easy part ;). Yours looks great! We're going back and forth about board and batten in our hallway right now....
craftivitydesigns@gmail.com
Saturday 27th of February 2016
Yes -- the planning portion is the most difficult part!