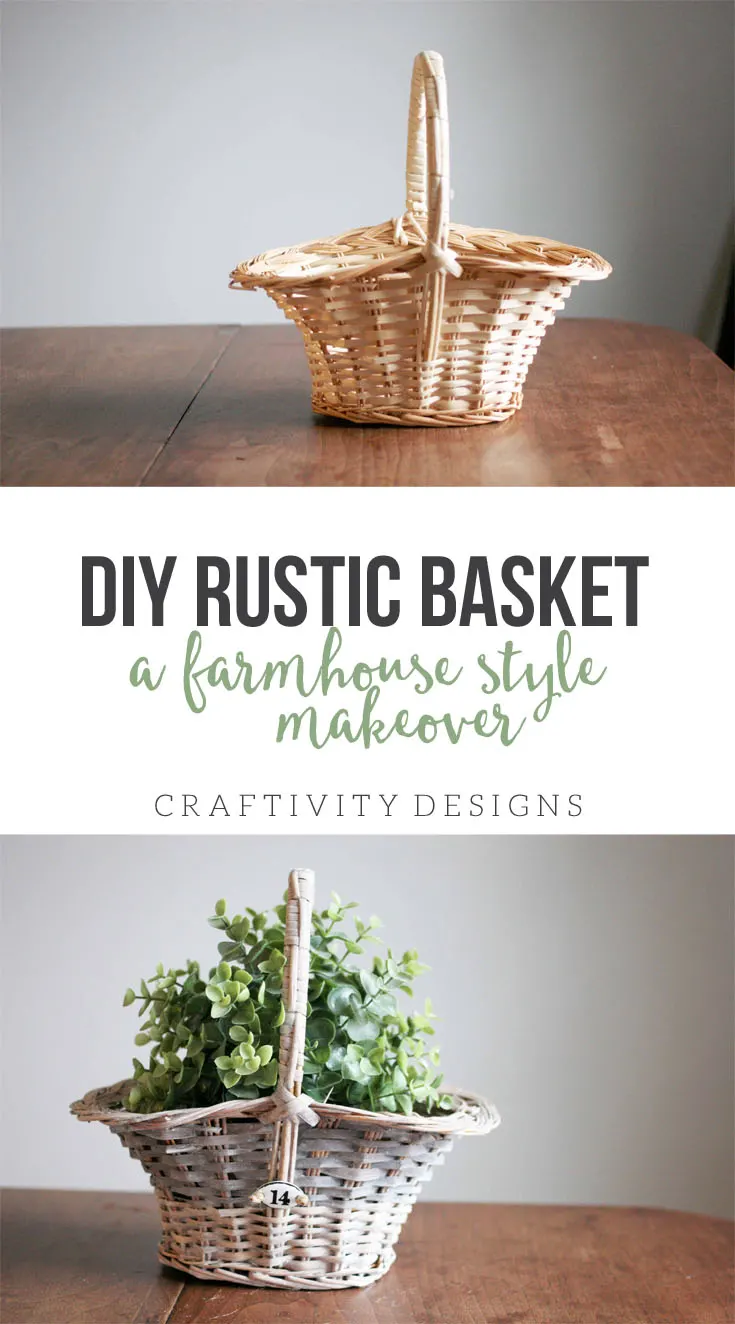
Learn how to stain a basket with this simple tutorial. Instead of tossing boring baskets, create a stylish, rustic basket in minutes!
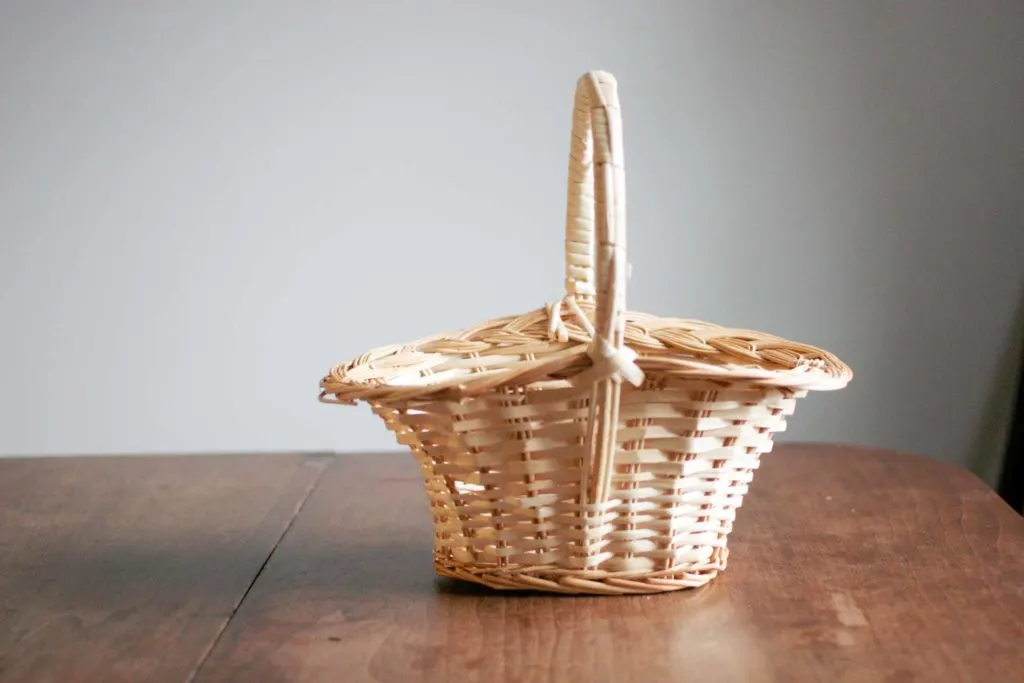
It’s hard for me to skip purchasing a perfectly good basket in a thrift shop. Even if it is not the prettiest basket, it can still be used in cabinets and closets to organize and store items. However, there’s no reason to even be limited by that, because you can make a basic basket look like something you would buy in a store.
**Affiliate links are included in this post.
Supplies: DIY Rustic Basket
Basket
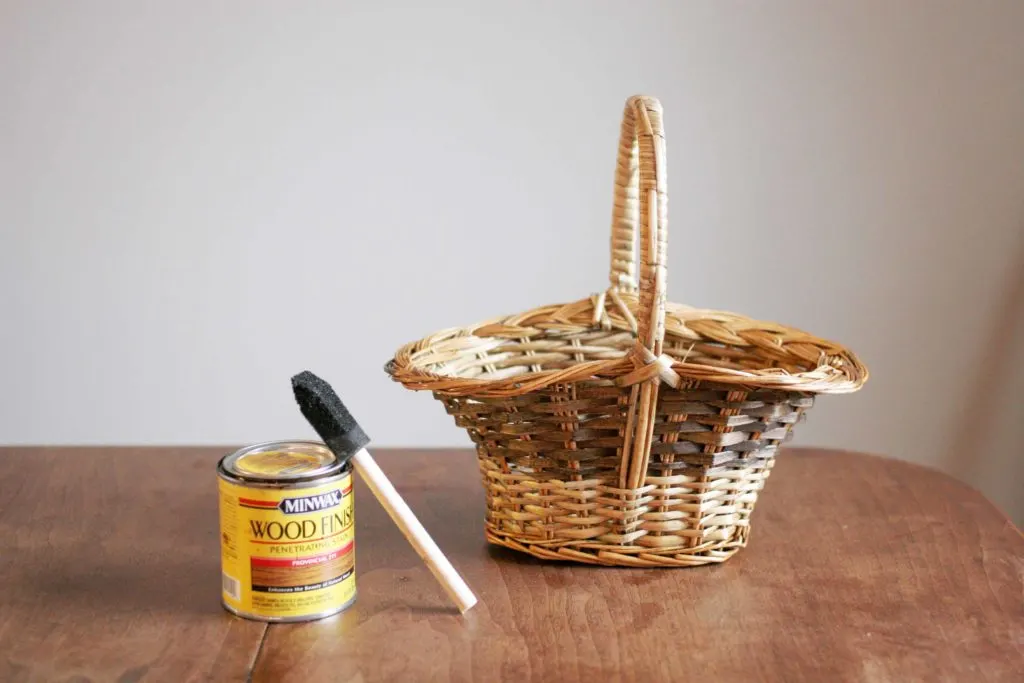
Stain {I like Minwax in Provincial}
White Paint {water based paint only}
2 Foam Brushes
Paper Towels
Water
Enamel Tag
Twine
Instructions: DIY Rustic Basket
Begin by applying stain to the basket with a foam brush. The stain will apply to the basket easily since it is watery and not thick. I started with the bottom of the basket to check the color and get a feel for how much to apply at once.
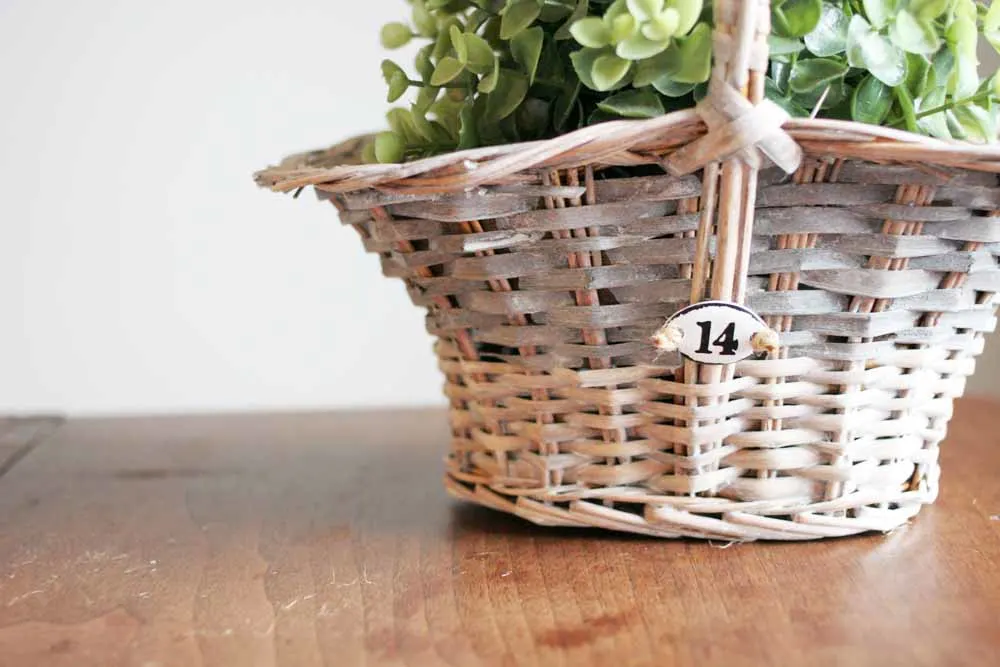
Not all of the basket material took the stain the same, as you can see in the next image. The top half of the basket resulted in a darker stain than the bottom half. Even with the variation in color, I really liked how it looked. It’s not that clear in the photos, but the color of the basket felt rich and warm compared to the original.
While the stain is wet, use a paper towel to wipe off excess, similar to how you would stain wood. Let the stain dry before moving onto the next step.
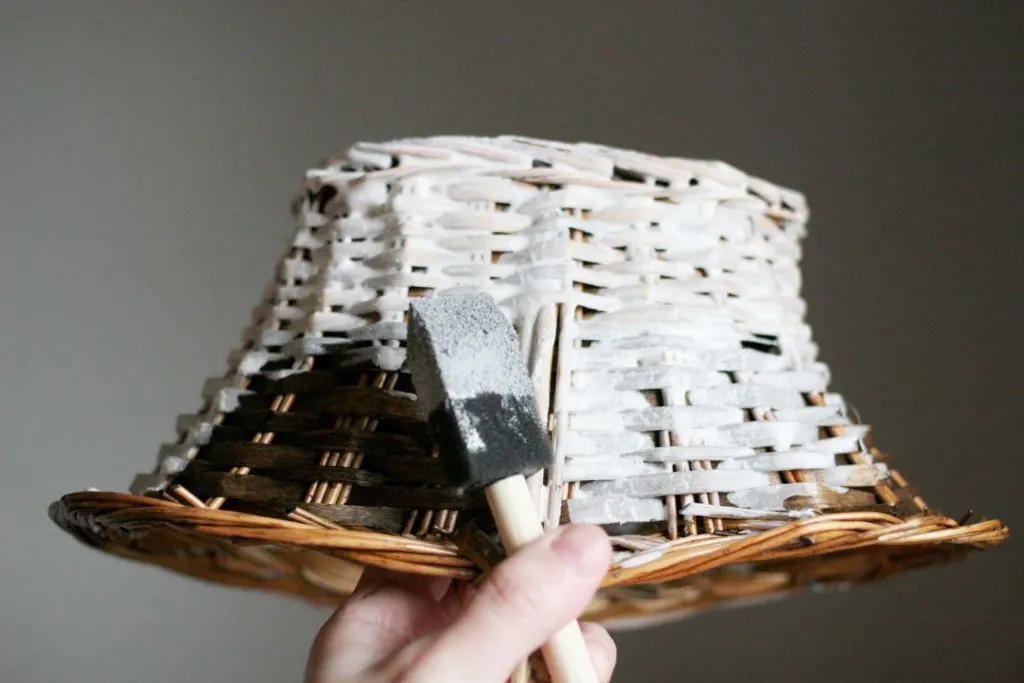
Once dry, prepare a whitewash. I used Valspar Chalky Finish Paint in Kid Gloves mixed with a little bit of water. If you don’t mix in water, it will be difficult to get even coverage of the paint. There are too many nooks and crevices in the basket weave to apply a thick paint evenly. By mixing in water, it applies easily, similar to the stain.
Of course, the whitewash will be semi-transparent and not full coverage. For a rustic, farmhouse style, that was my goal. I wanted the warmth of the stain to show through a light coat of white paint.
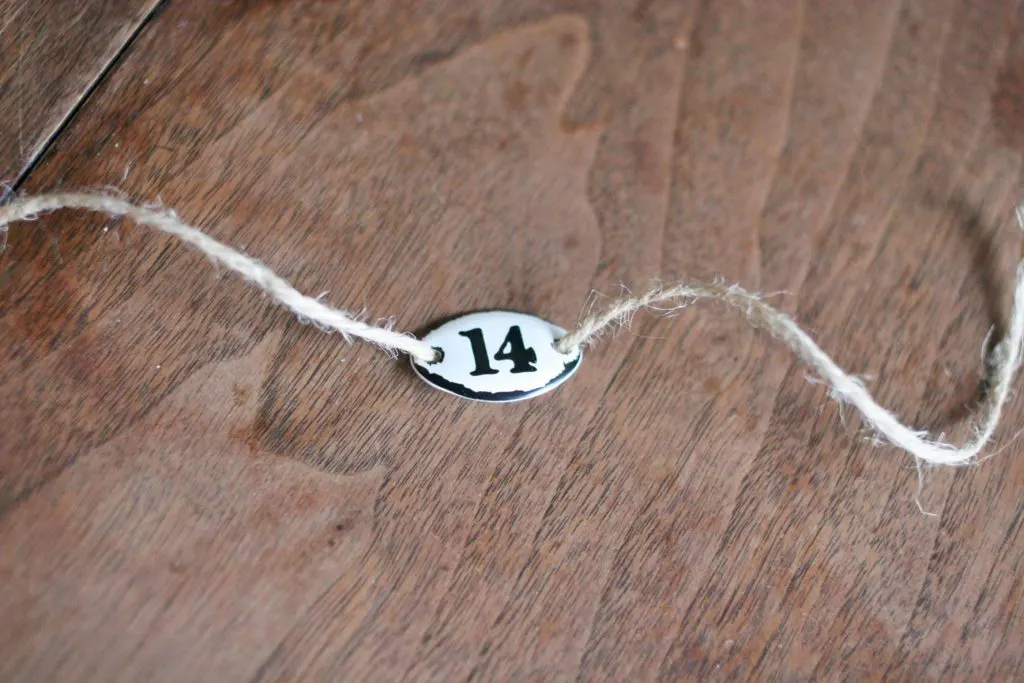
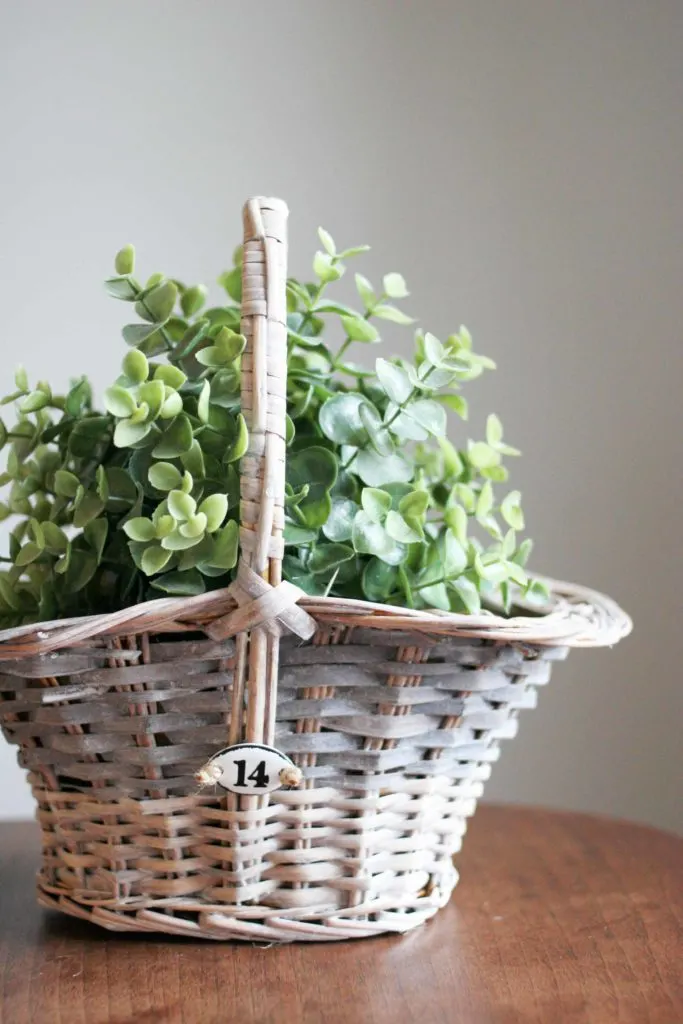
To make the basket feel a bit more custom, I added an enamel tag with twine. It’s a simple detail that really adds to the farmhouse style. I tucked in a faux plant from Ikea to make the basket look like a planter, but it could also hold utensils, art supplies, etc.
And now for more thrifty goodness!
This post is part of a Thrifty Upcycle series. Check out what my fellow up-cyclers created, below!

Emy
Thursday 13th of July 2017
I love how this turned out! I have some of those metal numbers and never know what to do with them. I love this idea!
Megan
Saturday 4th of February 2017
I feel like raiding my mom's basket stash, ha! Nice!
Shani | Sunshine & Munchkins
Friday 3rd of February 2017
Wow, the new and improved basket looks great! Definitely better than the original. And I love so many of the other upcycles the other hosts put together. My creative juices are flowing!
Sarah
Tuesday 31st of January 2017
So adorable Lora! I Love it! The pretty tag just completely makes the basket.
craftivitydesigns@gmail.com
Tuesday 31st of January 2017
Thanks!
Vanessa @ {nifty thrifty things}
Monday 30th of January 2017
This is such a cute little makeover! I love your upcyling idea! :) XO! Vanessa
craftivitydesigns@gmail.com
Tuesday 31st of January 2017
Thanks, Vanessa!