Short bathroom vanity? Learn how to make a vanity taller and deeper. A bathroom vanity makeover can be an affordable update!
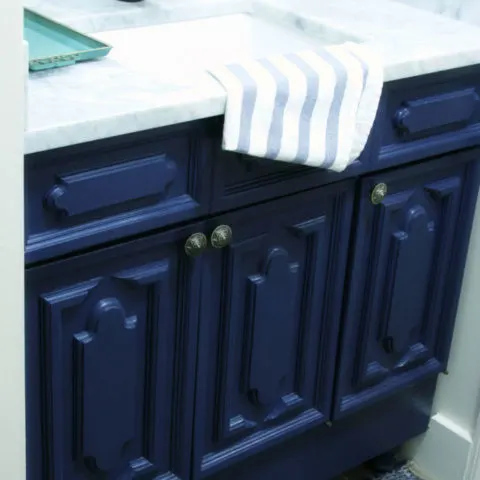
Our bathroom vanity makeover is complete and it is a huge transformation! The updated vanity not only looks better, but it is more functional, too. Today, I’ll explain how to make a vanity taller, and deeper, using scrap wood and paint. A vanity makeover is a budget-friendly way to achieve a new look.
Bathroom Vanity Makeover
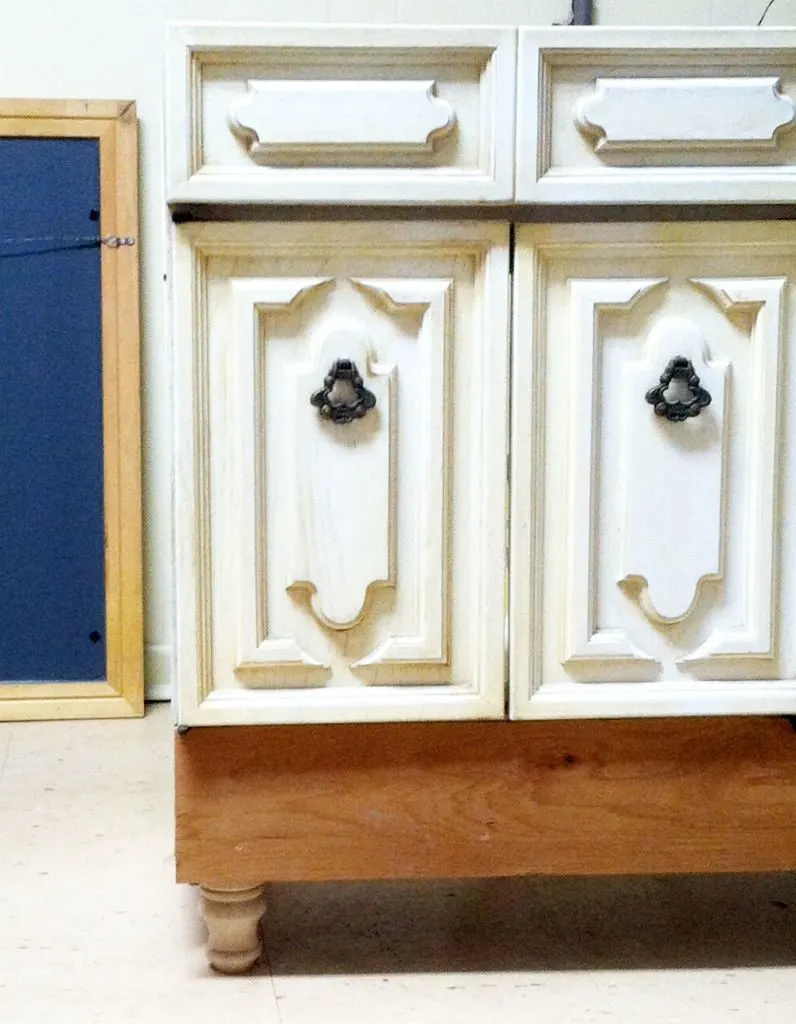
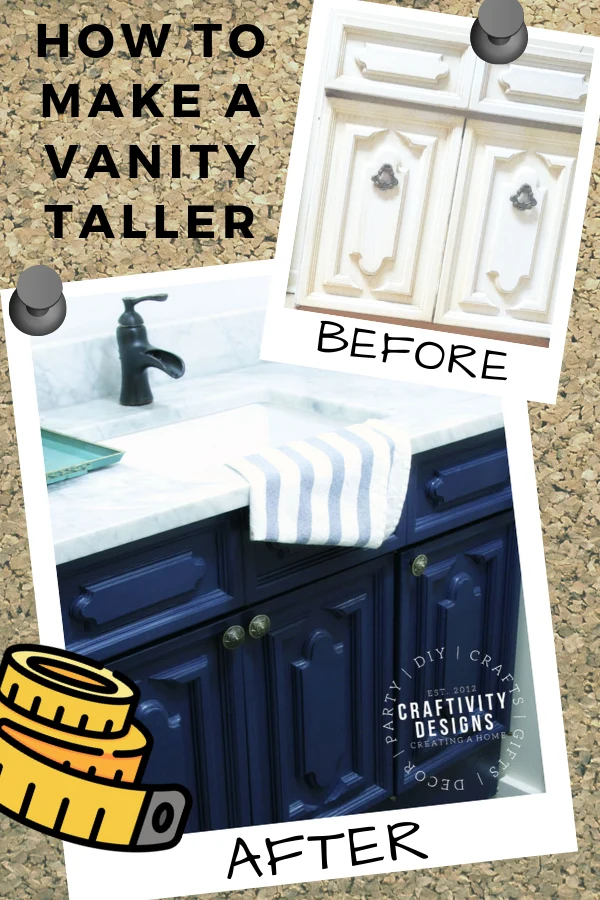
After we tore this sink out, I realized that I didn’t have a true “before” photo. The closest I have is this grainy picture:
Hopefully, you get the general idea of what the vanity looked like beforehand — even if it’s sitting in the garage with no countertop or faucet. The vanity was outdated, with a cream color cultured marble countertop. While I didn’t mind the detail on the doors, the yellowed paint felt dingy and dirty.
Beyond that, the vanity was short and shallow, offering us limited counter space and forcing us to bend over to the sink.
How to Make a Vanity Taller
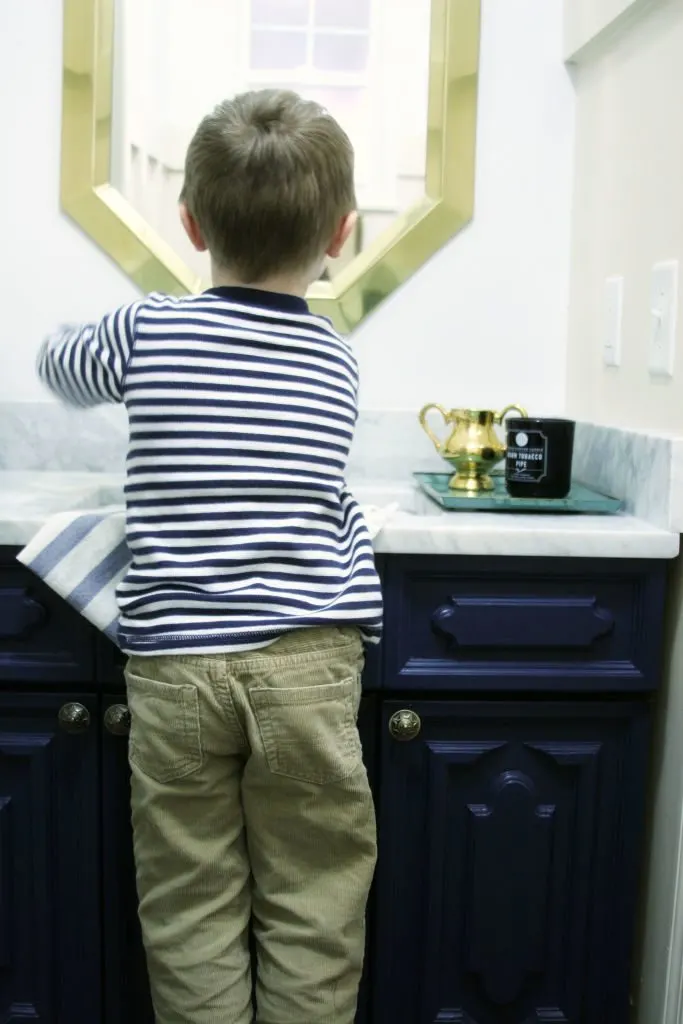
The standard vanity height is 32 inches. However, “comfort height” vanities, at 36 inches tall, have become the norm in recent years. Four inches may not seem like a large increase, but it feels much taller. We had comfort height sinks in our last home and are accustomed to a tall sink.
Supplies Needed
- furniture feet/cabinet feet (2)
- scrap wood (4×4, 2×4, 1×2, etc.)
- hammer
- nails
- drill
- drill and screw bits
- wood screws
- caulk gun
- paintable caulk
- wood filler
- cabinet paint
- brass knobs
How to Make a Vanity Taller
- First, make the plan. Typically, cabinetry has a toe kick. You won’t need the toe kick once the vanity is taller. Therefore, you’ll need to plan for
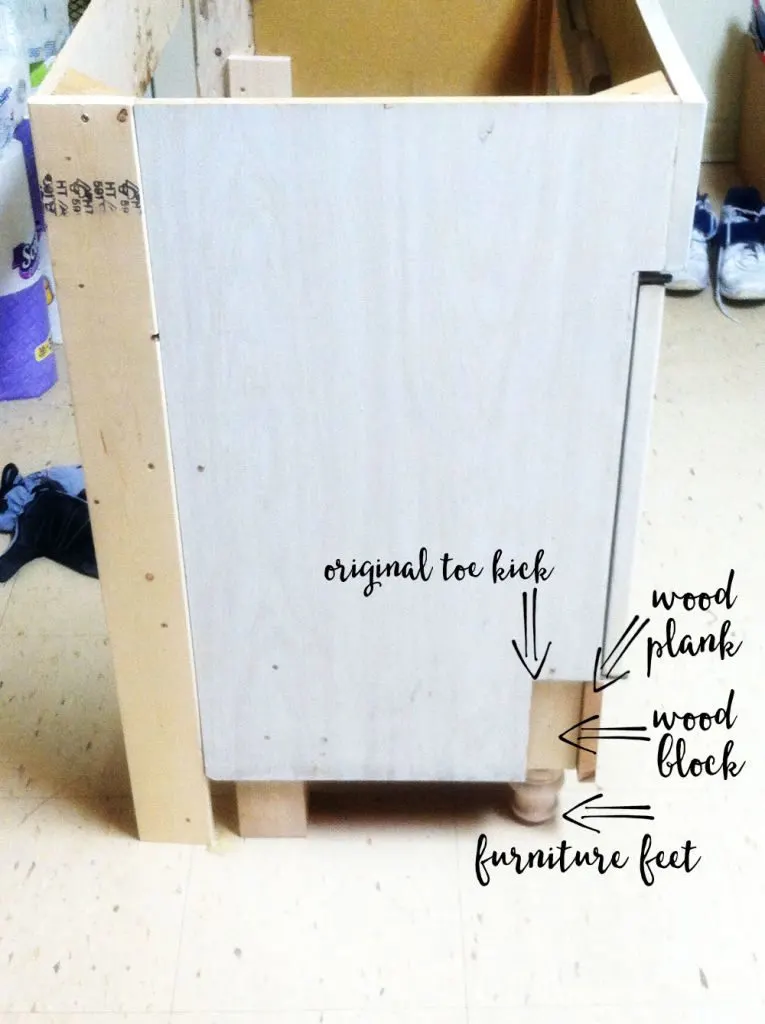
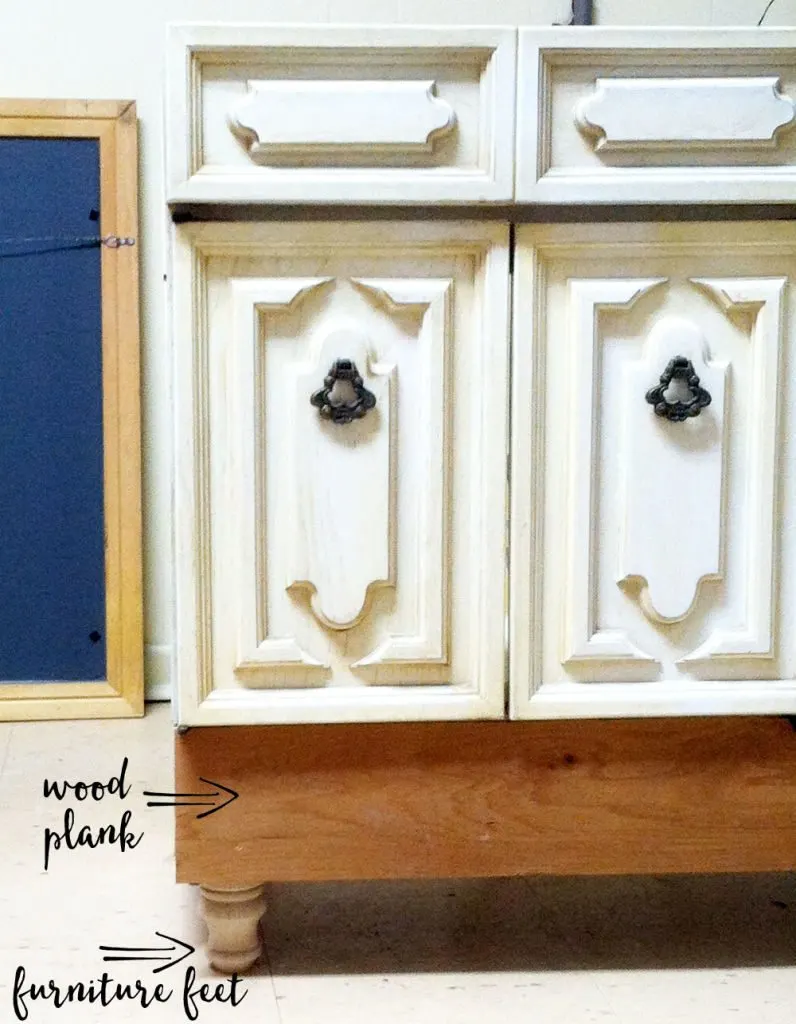
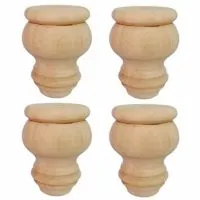
- Use a combination of scrap wood blocks and furniture feet (also called cabinet feet) to raise the vanity 4 inches. Depending on the location of your bath vanity, you may need to use furniture feet on the backside. In our case, the back of the vanity is not visible because it sits into a nook in the walls. Therefore, we simply used scrap wood blocks on the backside.
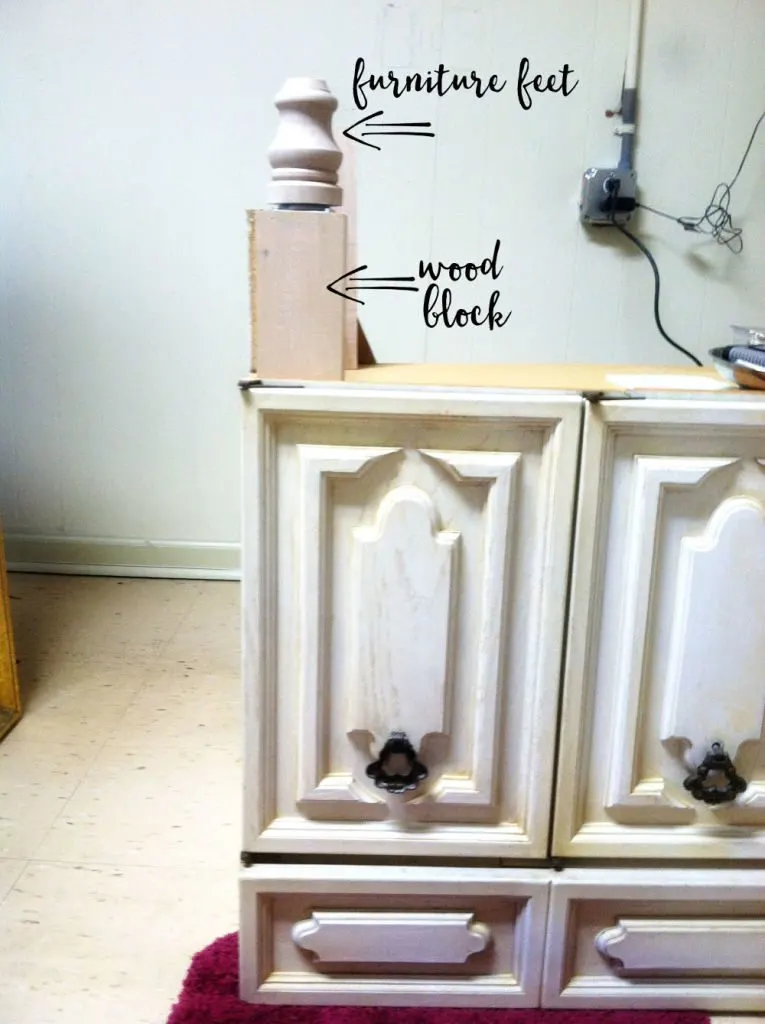
- Once the cabinet feet and wood blocks are in place, attach a wood plank across the toe kick area to act as an apron. The apron:
How to Make a Vanity Deeper
- Again, begin with a plan. Make a plan for
- extra height, (see the previous section for height)
- covering the toe kick area on the front, (see the previous section for height)
- and increasing the depth on the back.
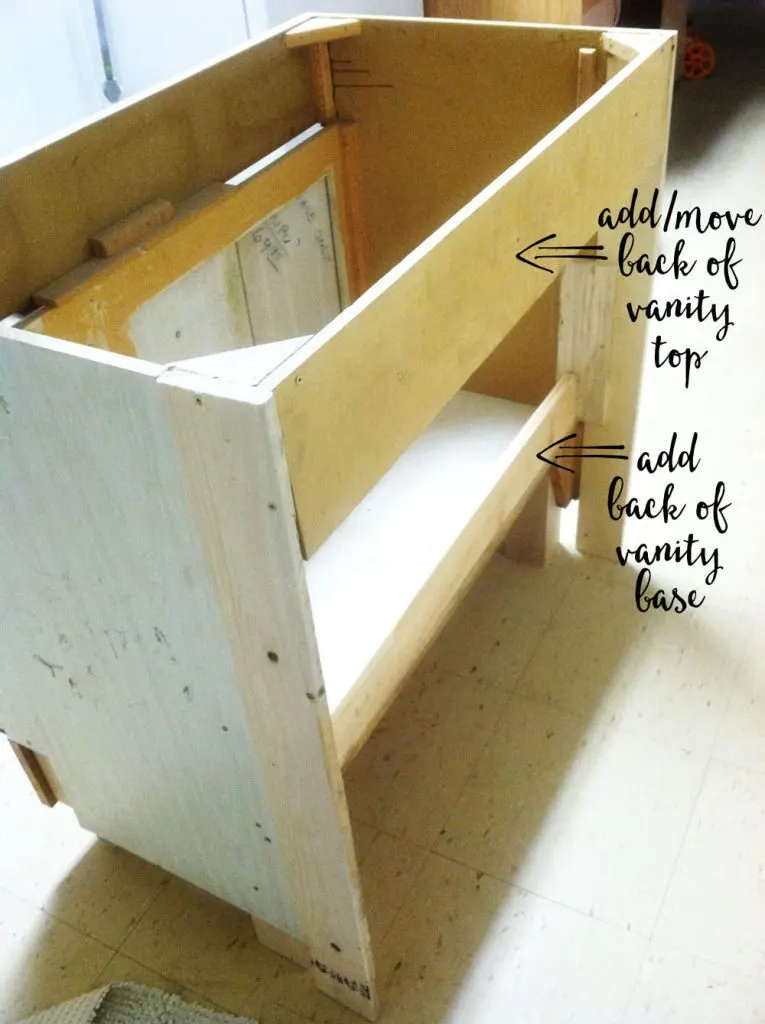
- Once the plan is determined, use scrap wood to increase the depth. Attach wood planks to the back of the vanity. We extended the planks to the ground because the side is not visible in our bathroom. If the side of your vanity is visible, stop at the base of the side panel.
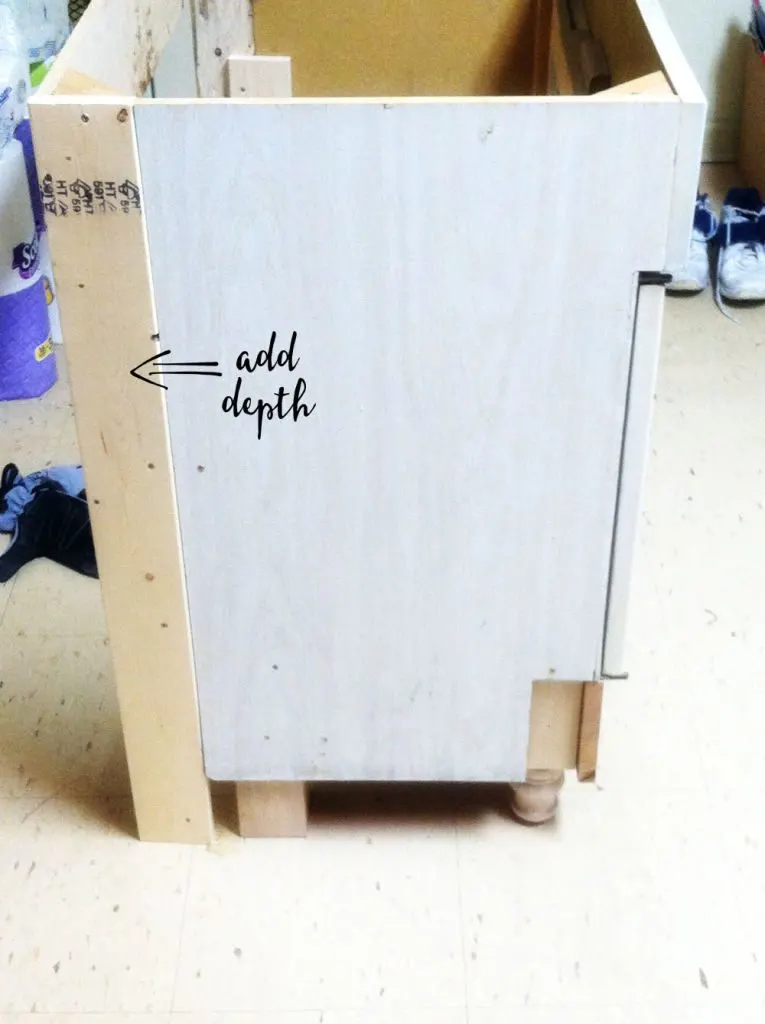
- Next, adjust the back of the vanity as applicable. Often, vanities are fairly open on the back. You may choose to:
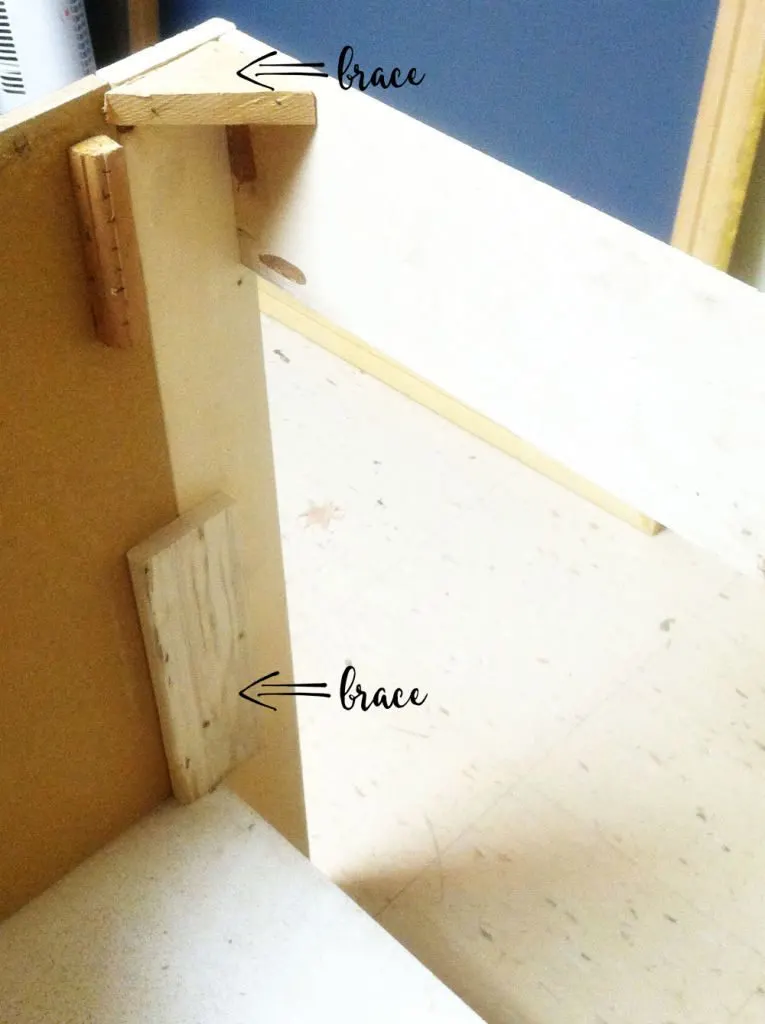
- Next, brace the back of the vanity as needed. Brace on the inside of the vanity, so that it isn’t visible from the outside. You’ll notice that we added:
- Even if you didn’t need the lower back support for strength and stability, you may choose to add a wood plank in order to prevent items from falling behind the cabinet. Again, this will depend on the original design of the back of the vanity.
- If applicable, consider whether any additional bracing will be needed for the countertop. Since we were installing a marble vanity top, it was much heavier than the original top.
How to Make a Vanity Taller and Deeper
Short bathroom vanity? Learn how to make a vanity taller and deeper. A bathroom vanity makeover can be an affordable update!
Materials
- Furniture Feet / Cabinet Feet
- Scrap Wood / Wood Blocks
- Nails
- Wood Screws
- Cabinet and Trim Paint
- Wood Filler
- Paintable Caulk
- Brass Knobs
Tools
- Hammer
- Drill
- Drill and Screw Bits
- Paintbrush
- Caulk Gun
- Sandpaper
Instructions
- First, make a plan and sketch it out so that you have a visual.
- Once the plan is set, use a combination of 4" furniture feet and wood blocks to raise the vanity.
- Attach a wood plank across the front, where the old toe kick was located, as an apron.
- Next, attach wood to the sides of the cabinet to make it deeper.
- Place wood planks across the back, as needed, to prevent items from falling out the back, and to support the stability of the cabinet.
- Brace as needed (in corners and on the sides).
- Once the vanity is taller and deeper, caulk all of the wood joints.
- Fill nail holes, screw holes, and wood blemishes with wood filler.
- Sand wood filler to smooth surface.
- Paint with a high-quality trim and cabinet paint.
- Finally, finish the bath vanity makeover with new knobs.
Notes
View the post, How to Make a Vanity Taller, in order to view photos which depict each step in detail.
Recommended Products
As an Amazon Associate and member of other affiliate programs, I earn from qualifying purchases.
Finishing a Bath Vanity Makeover
These steps won’t translate exactly to your vanity and your bathroom. It will depend on how the vanity is made, which sides of the vanity are visible, etc. However, if you take a good look at the vanity before tearing it out and have a tentative plan in place; this tutorial can probably get you going in the right direction.
So, now that the vanity is taller and deeper… how do you make it pretty? After all, pieced together scrap wood isn’t exactly aesthetically appealing…
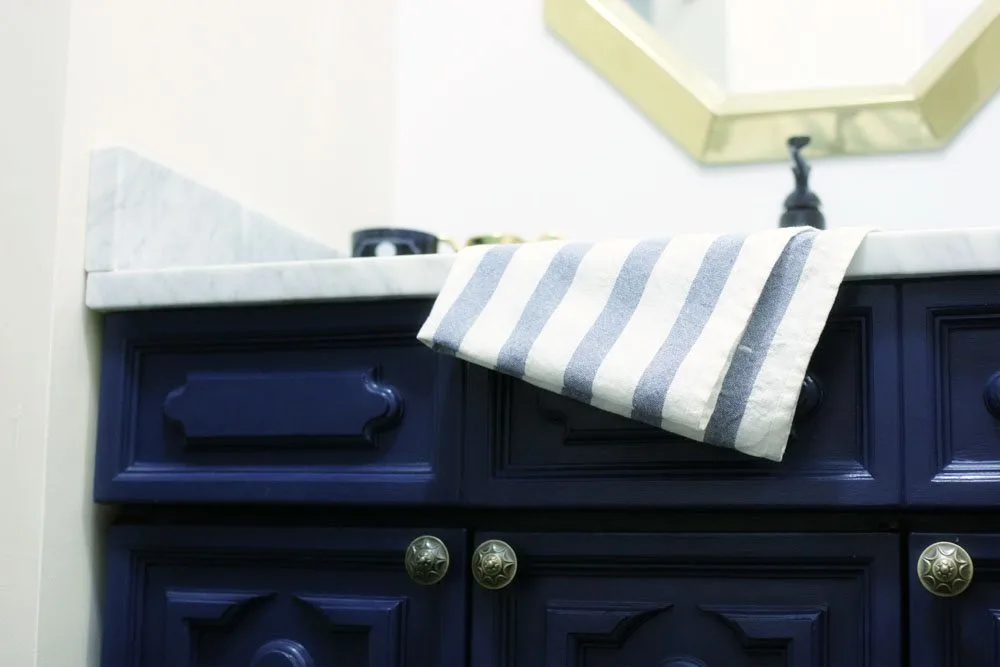
- First, caulk all of the joints between the scrap wood and vanity.
- Next, use wood filler to cover and screw holes, nail holes, or blemishes in the scrap wood.
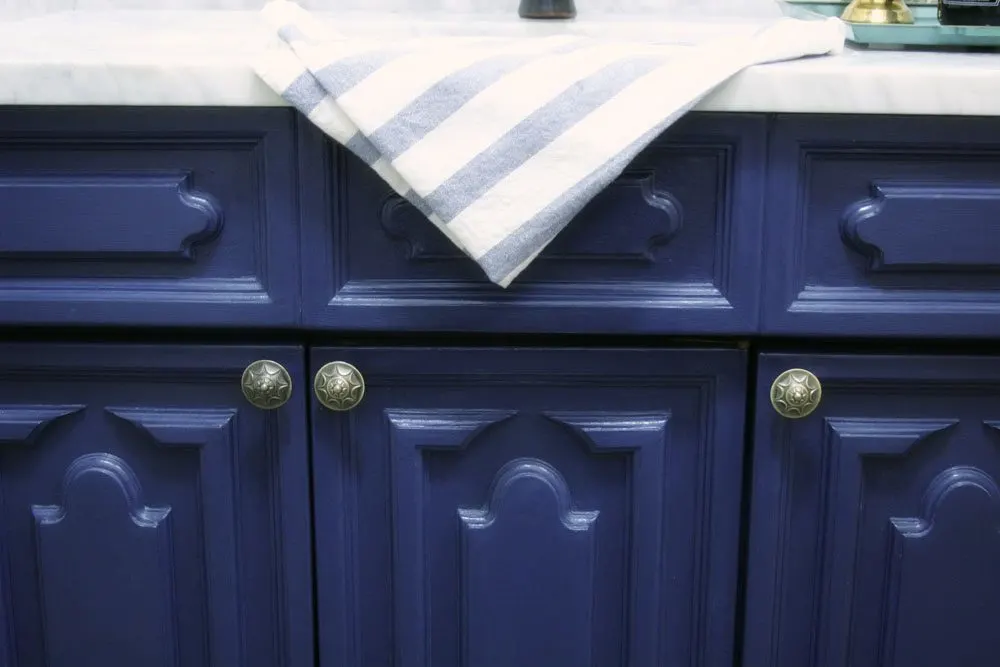
- Paint with high-quality cabinetry paint.
- Finish it off with pretty new knobs!
- in this post about why we chose marble
- and this post which details how to care for marble (and includes a one year review).
Or, check out the full tour of our navy and white bathroom renovation.
Like this bathroom renovation post? Pin it!
You might also like these bathroom renovation posts:
- Navy and White Bathroom Renovation
- 10 Ideas to Organize a Small Bathroom
- Would I Buy Marble Again?
- How to Install Board and Batten in a Small Space


Sue
Wednesday 6th of April 2016
Can I ask the color/brand of paint you used for the vanity? It's a really beautiful shade of navy!
craftivitydesigns@gmail.com
Friday 8th of April 2016
The color is Ink Pad by Easycare in an Eggshell sheen. Here is the link: https://www.truevaluepaint.com/explore-color/color/Ink-Pad
TwoPlusCute
Thursday 25th of February 2016
Excellent job! Love, love the blue hue you chose and the re-modelling of the vanity. It's a stunner now. :)
craftivitydesigns@gmail.com
Saturday 27th of February 2016
Thanks :) We love it!
Nicole
Monday 15th of February 2016
Absolutely love DIY's and seeing everyone's creations. I'm a sucker for blue, I think it looks gorgeous, GREAT WORK! :) I wish I had something in the house to transform, I watch a lot of HGTV and I am itching to get creative!!
craftivitydesigns@gmail.com
Monday 15th of February 2016
Thanks, Nicole! I'm totally a sucker for blue, too :)
Gretchen@BoxyColonial
Tuesday 9th of February 2016
Great job! I love the navy....I always love navy, of course, but here it really makes the woodwork look sophisticated and fabulous :)