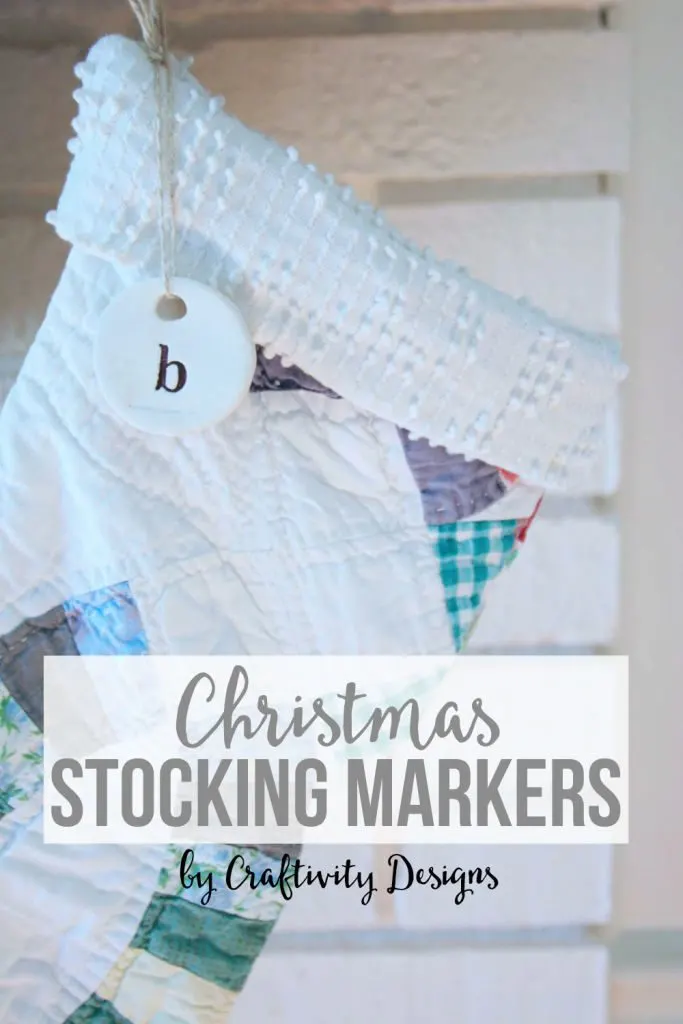
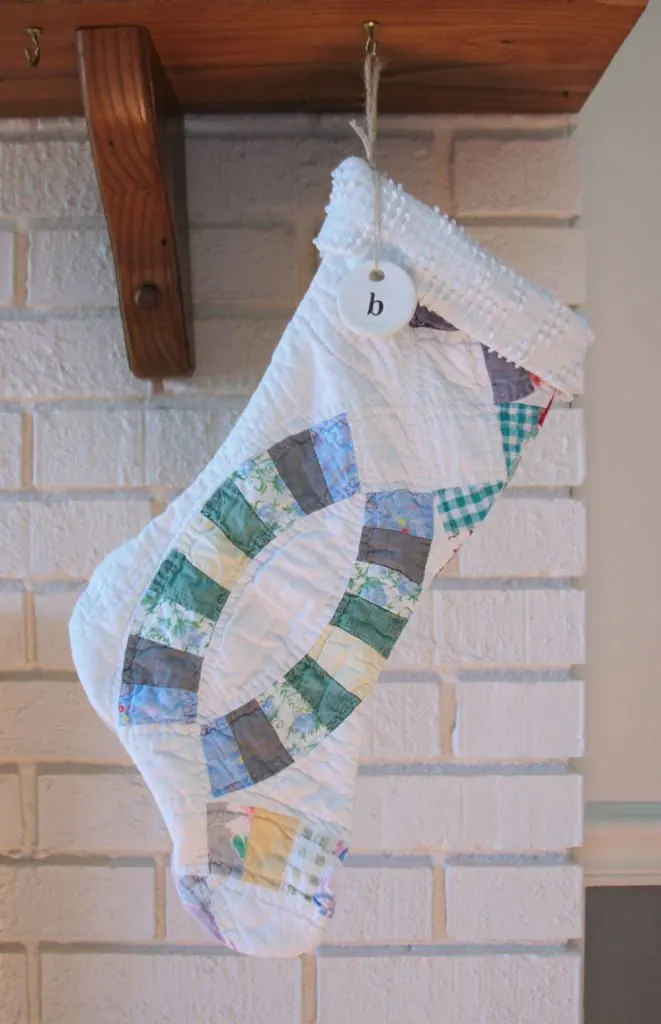
I’ve said it before, sometimes, necessity is the mother of invention DIY projects. We make things when we can’t find exactly what we want or need {and that dates back long before Pinterest and HGTV}. Christmas Stocking Markers have been on my wish list for several years; and these Clay Initial Tags turned out much better than what I had found in stores.
**Amazon Affiliate Links are included in this post.
The key ingredient was Sculpey Clay, which I’ve used for several clay craft projects in the past.
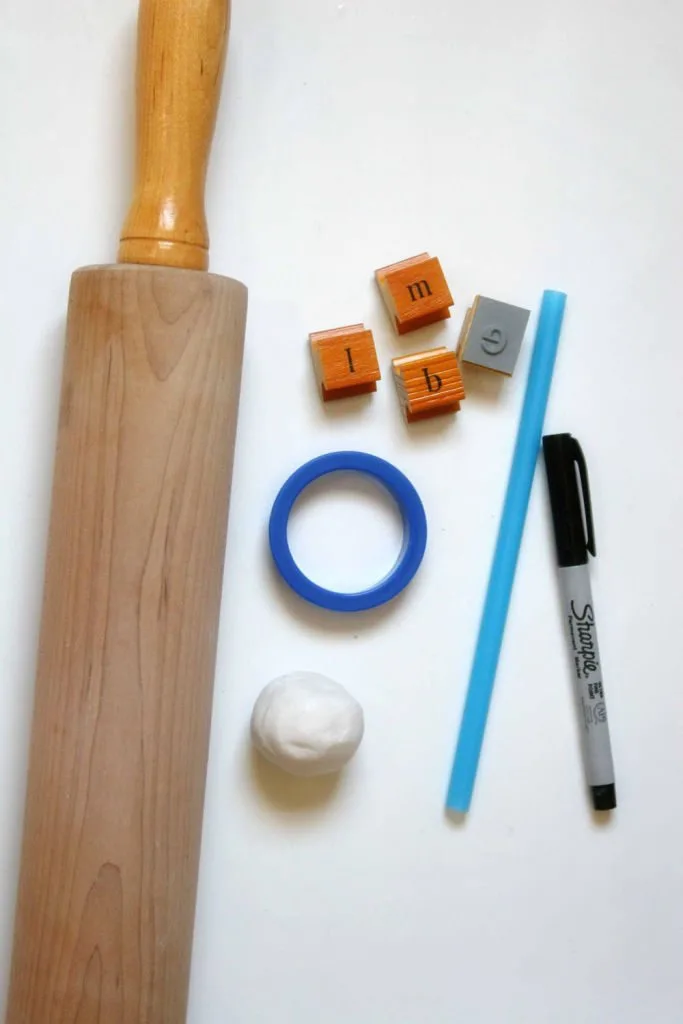
Christmas Stocking Markers : Supplies
Sculpey Clay
Rolling Pin
Cookie Cutter
Straws
Alphabet Stamps
Fine-Tip Sharpie
This clay is easy to use. The heat of your hands allows you to mold the clay and roll it into a ball. Then, use a rolling pin {I wrap mine in saran wrap to protect the wood} to flatten the clay out evenly — around a 1/4 inch.
I chose a round cookie cutter for the shape of the tag; and pressed a drink straw into the clay to add the hole for hanging.
Use the stamps to press letters into each tag. Don’t add any ink to the stamp, this is just to create the impression in the clay. The tags will need to bake for around 15 minutes {read the directions on the box}.
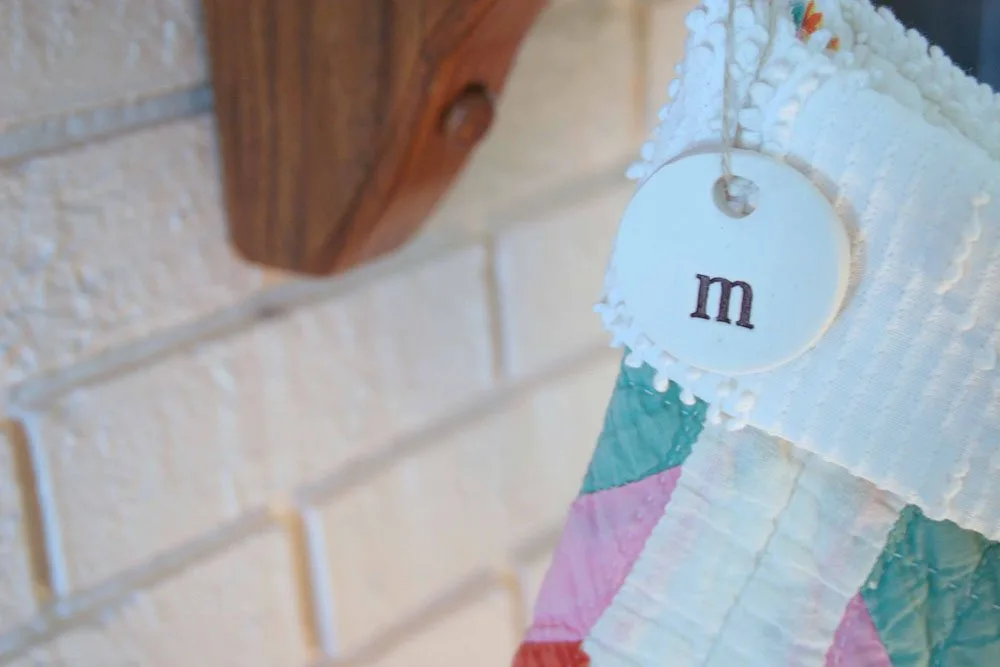
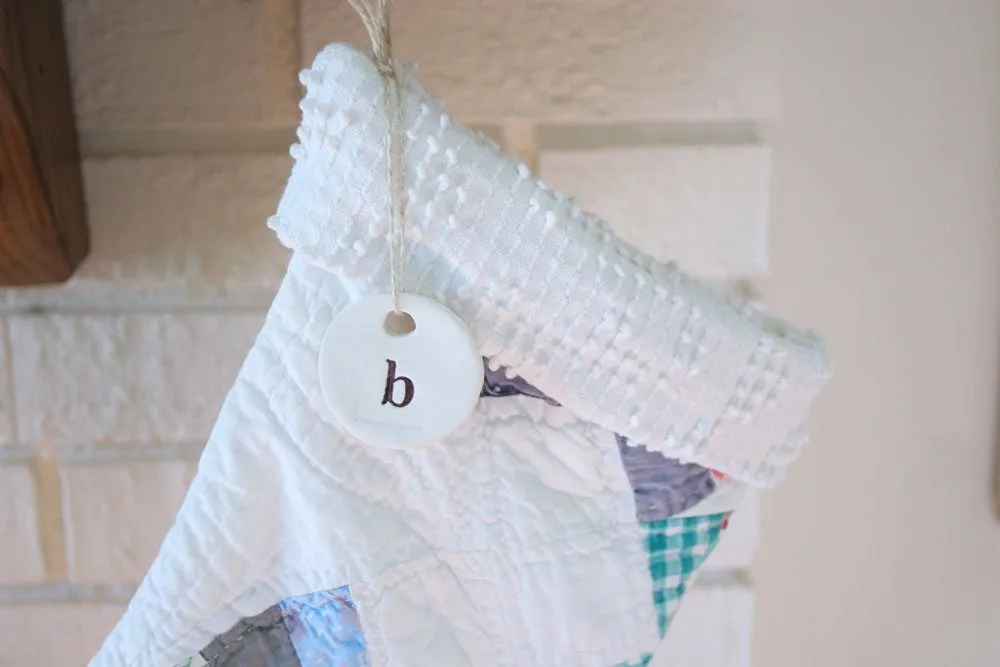
Once the tags are cool, use the fine-tip Sharpie to color the letters. Seriously, an easy project — and this clay is great for so many crafts and small gift items. In fact, anytime I work with this clay, I usually end up working on a batch of projects.
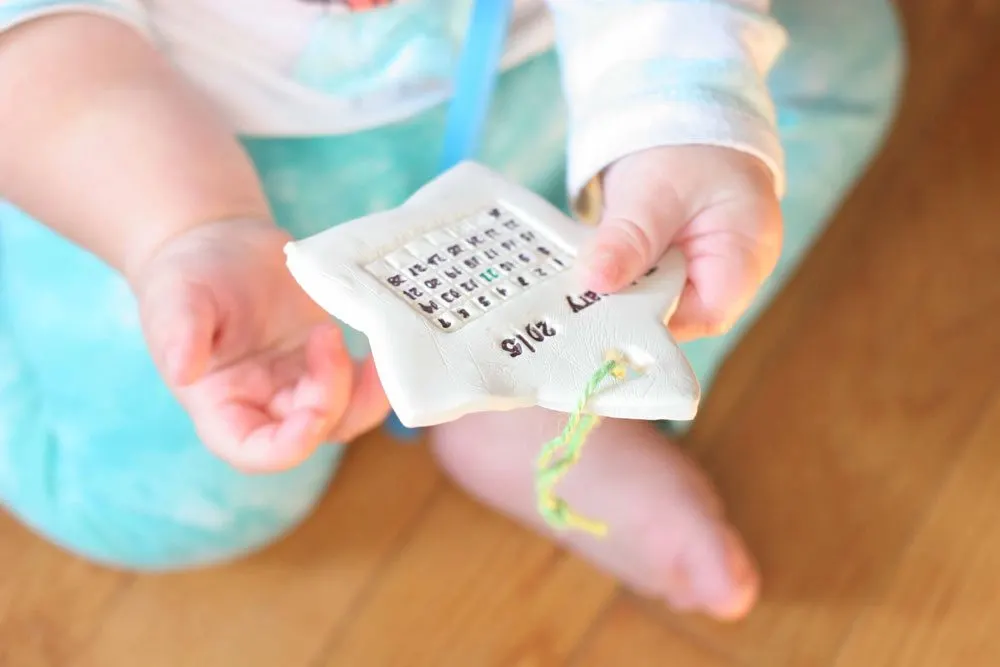
Here’s a peak at one of the other items from this batch:
See? So many possibilities… if you like to craft, add Sculpey Clay to your craft supply stash.
[Tweet “Personalize your Christmas Stockings with Clay Initial Tags. “]
This project is part of the Creative Christmas Blog Hop. Take some time and check out these other great projects! From gift ideas to decorating, get creative this Christmas 🙂
Note: If you are reading this via email, click over to the Craftivity Designs website to see all of the projects.

Macy
Friday 4th of December 2015
These are super cute!! I have been trying to figure out a way to get our initials onto our stocking without getting them monogrammed (I will do that after Christmas for next year!) and this is perfect!
craftivitydesigns@gmail.com
Saturday 5th of December 2015
Quick and inexpensive! My type of project :)
Marissa
Thursday 3rd of December 2015
These turned out so cute! I love how simple they are so that they don't take away from the beauty of the stockings themselves, which by the way your stockings are darling!!!! Did you make them? I'm having a great time being apart of this blog hop and look forward to checking out more of your blog!
craftivitydesigns@gmail.com
Saturday 5th of December 2015
Thanks :) That was one of the things I wanted from them -- just a simple addition to the stockings. I didn't make the Stockings; my mom gifted them to us from a craft show {though she's a quilter and could definitely make her own if she wanted!}. It has been great to share in this blog hop!
Tiffany
Wednesday 2nd of December 2015
These are so cute!! I love those stockings too. :) Even as an adult, we still go through the "who's stocking is who's??" when we all gather at my parent's house. haha. This is perfect!
craftivitydesigns@gmail.com
Wednesday 2nd of December 2015
Thanks! :)
Lecy | A Simpler Grace
Wednesday 2nd of December 2015
These little tags look so professional and your tutorial makes them look so easy! I might try a few ornaments like this. Thanks for sharing with the blog hop! :)
craftivitydesigns@gmail.com
Wednesday 2nd of December 2015
They'd be great as ornaments, or labels, they could be used for all kinds of things!
Jenna
Tuesday 1st of December 2015
Hi Lora! This is a super cute idea. I'd never heard of sculpey clay before but I definitely want to make these for my son!
craftivitydesigns@gmail.com
Tuesday 1st of December 2015
It's so handy for crafts - I've become addicted, ha :)