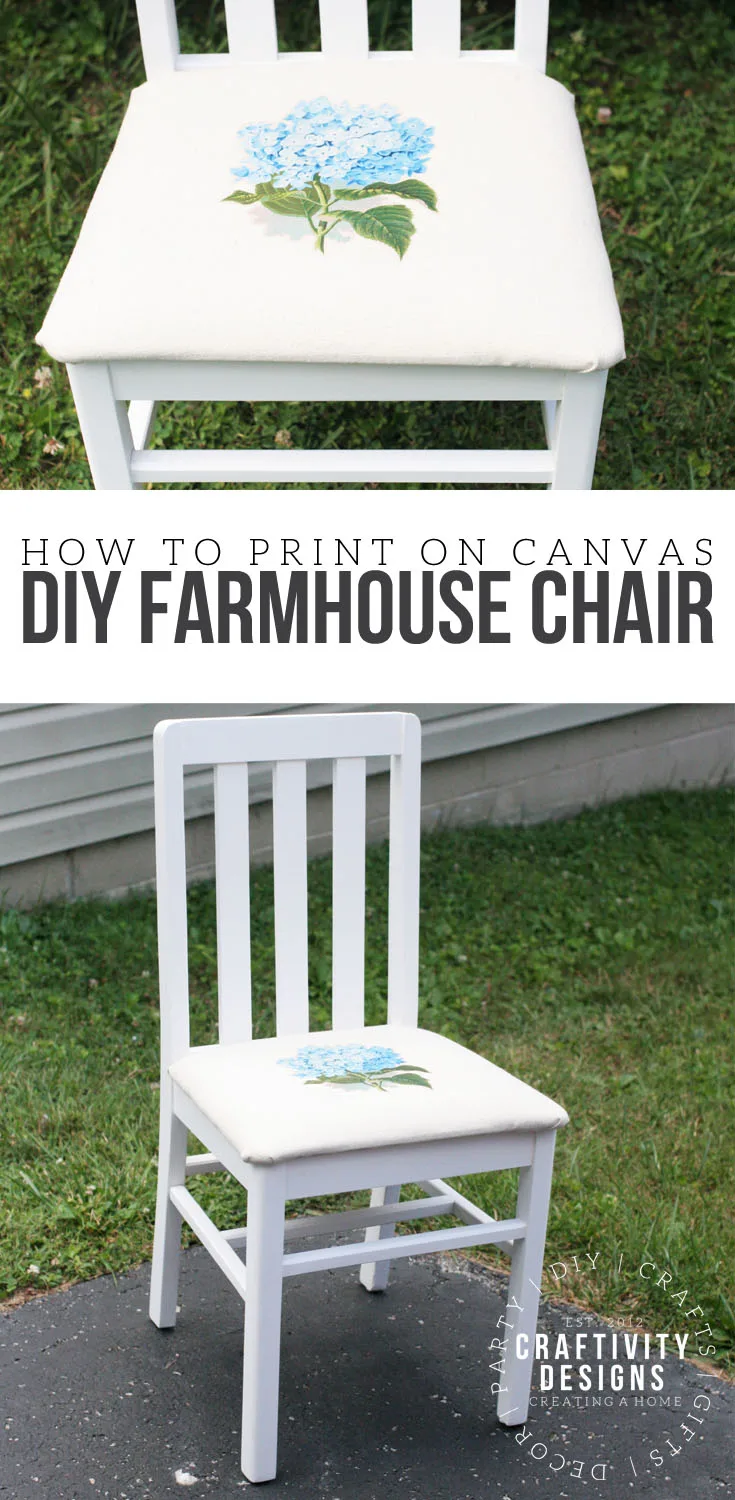
Learn how to make a DIY Farmhouse Chair. Update an old chair with linen canvas, white paint, and farmhouse details.
Disclosure: Products for this post were provided by DecoArt. All opinions are mine alone.
My house would not be a home without my mom’s handiwork. From pillows to curtains and cushions {just to name a few}, she has helped me create a home by sharing her sewing skills.
Given all she has done for me {oh, and you know, raising me *wink*}, I was more than excited to transform a thrifted wooden chair into a Farmhouse Chair — for her.

This project is my sixth Thrift Store Decor Upcycle Challenge {check out the projects from past months}. Don’t remember how it works? Here’s a refresher:

The Rules:
1. Upcycle an item(s) from a thrift store, resale store, or garage sale into a new piece of decor.
2. There’s no monthly theme.
3. There’s no budget to stick to.
Meet the Hosts
Michelle | Our Crafty Mom
Vicki and Jennifer | 2 Bees in a Pod Pili | My Sweet Things
Angela | Simply Beautiful by Angela Kim | Made in a Day
Lindsay | Crazy Organized Marie | DIY Adulation Ann | Duct Tape and Denim
Denise | My Thrifty House Jeanie | Create and Babble Debra | Shoppe No. 5
Shirley | Intelligent Domestications Victoria | Dazzle While Frazzled Lora | Craftivity Designs
Jeanee | Centsably Creative
Florence | Vintage Southern Picks Deborah | Salvage Sister & Mister
Make sure you follow our board on Pinterest for more upcycled decor inspiration!
DIY Farmhouse Chair: Supplies
- Chair
- Sand Paper
- Clean Rags
- HomeRight Finish Max HVLP Sprayer
- DecoArt Everlasting Chalky Finish Paint
- Finishing Wax
- Canvas Dropcloth
- Fabric Scissors
- Hydrangea Image Download
- Iron-On Transfers for Inkjet Printer Paper
- Regular Scissors
- Printer & Ink
- Iron
- Staple Gun & Staples
DIY Farmhouse Chair: Instructions
Begin by removing the upholstered seat from the chair. Next, give the paint {or stain} a quick sanding in order to rough up the finish. If you are using a chalk finish paint, like DecoArt Everlasting Chalky Finish Paint, there is no need to do any more than a light sanding. Once the finish has been sanded, wipe off dust with a clean rug.

I set up my project in our garage, surrounded by a DIY Paint Booth, so that I don’t have to worry about the weather outside or making a mess inside. A HomeRight Sprayer and paint booth make furniture makeovers quicker and simpler.

Typically, I’ll apply 3 coats of chalky finish paint from DecoArt {the color is Everlasting}. If you use a sprayer, each coat will only take minutes — literally — minutes. Can you tell I’m a fan? It’s just, I used to dread furniture makeovers and the tedious brush painting. Owning a paint sprayer has changed my entire attitude toward painted furniture makeovers.
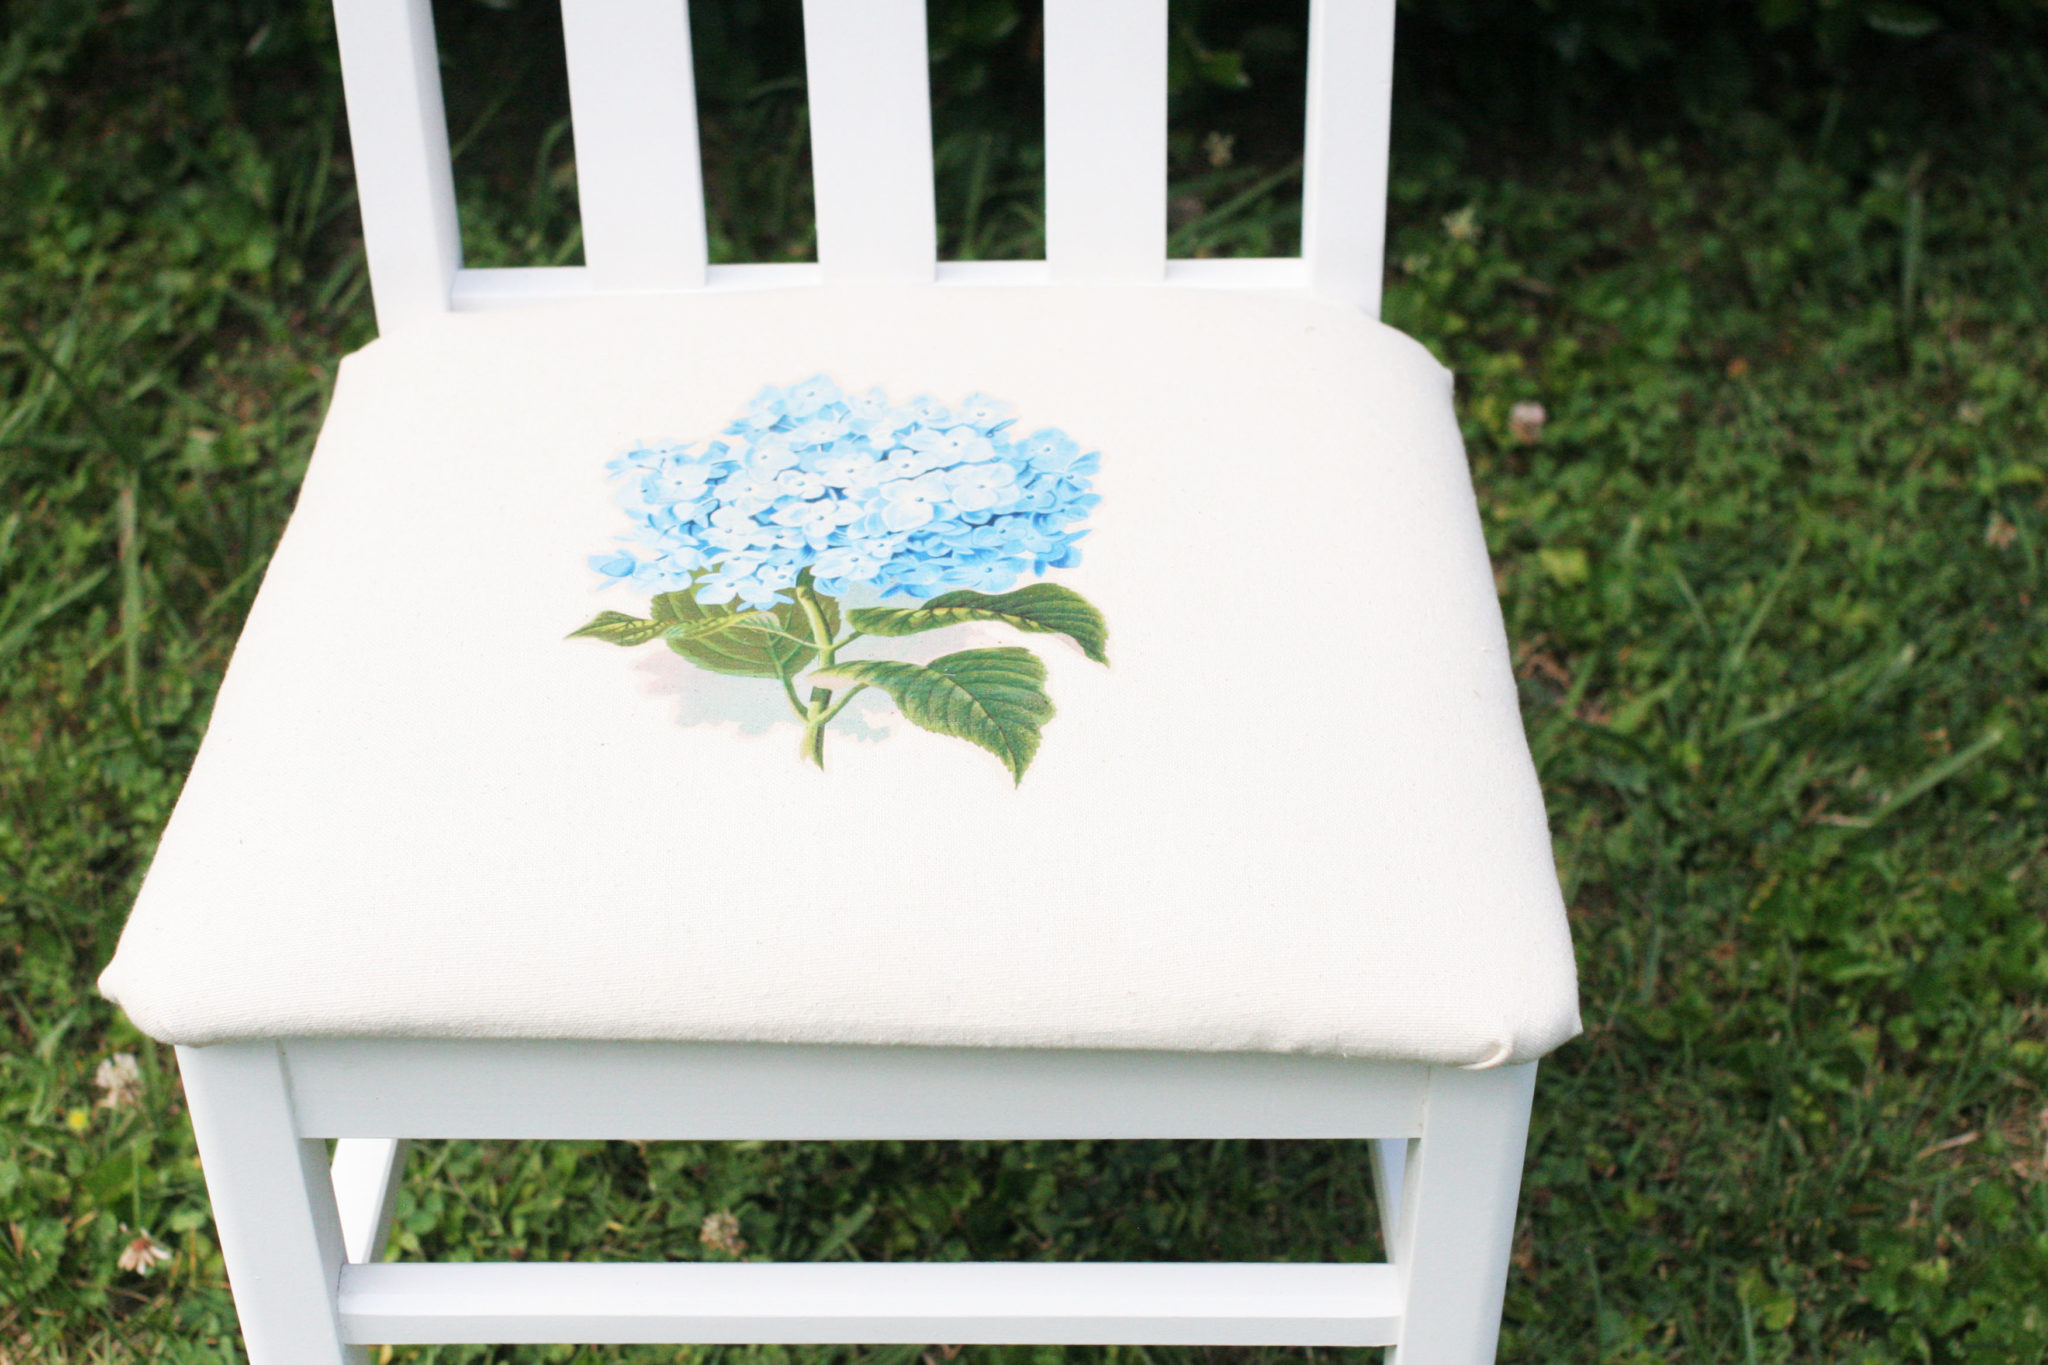
While the paint is drying, download a Farmhouse Style image file. I chose a Hydrangea Blossom, but don’t feel limited to that design. If the image you choose has any letters or words, you will need to flip it with this simple online tool.
More Farmhouse Style images:
- Feed Sack with BumbleBee
- Grain Sack with Wheat
- French Winemaker Label
- Magnolia Flower
- Mason Jar
- Daisies
- Bicycle
- Cow
- Pig on Sign
Print the file onto Iron-On Transfer Paper and cut out the image with scissors. Stay close to the edge of the image when cutting. Leave only 1/2″ or less of excess transfer paper around the image.
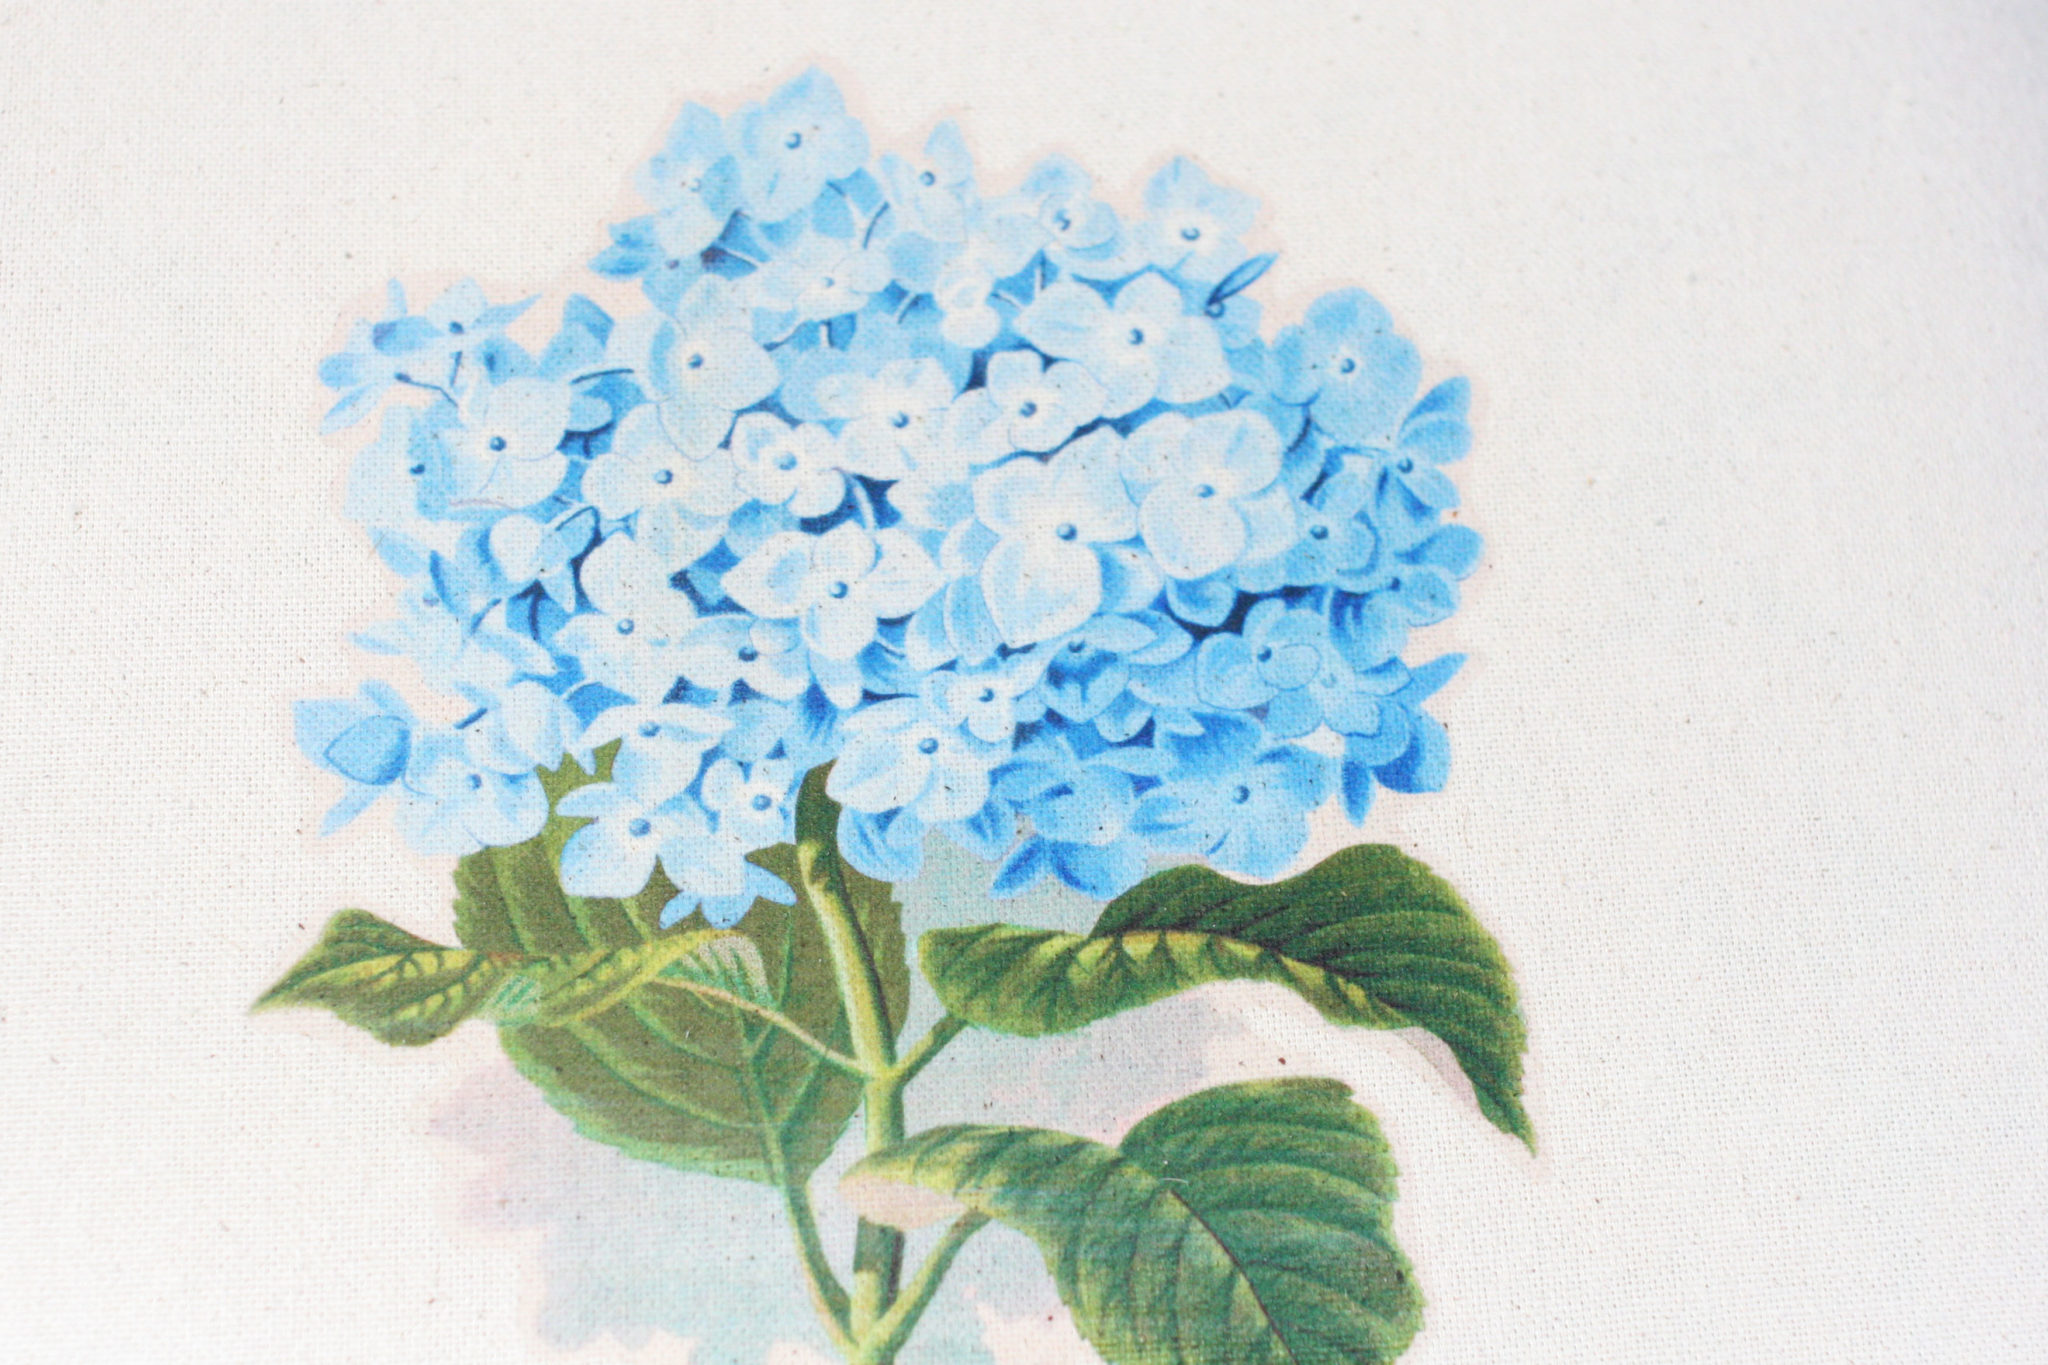
Cut out a section of canvas dropcloth that is large enough to cover the seat of the chair. Iron the canvas, if needed, and find the center point of the fabric before applying the image. Follow the ironing instructions included with the Iron-On Transfer Paper to apply the image to fabric.
Of course, you don’t have to use canvas dropcloth. Any neutral, light-colored, iron-friendly fabric will work. I chose canvas dropcloth because it is affordable and can be used for many craft and DIY projects {check out 50+ Drop Cloth Ideas}.

Attach the finished fabric to the chair seat with an upholstery staple gun. Make sure to fold corners in and pull the fabric tight while stapling. This is a skill I’ve not yet mastered, but it’s very forgiving. You can always pop staples out, pull the fabric tighter, and staple again.
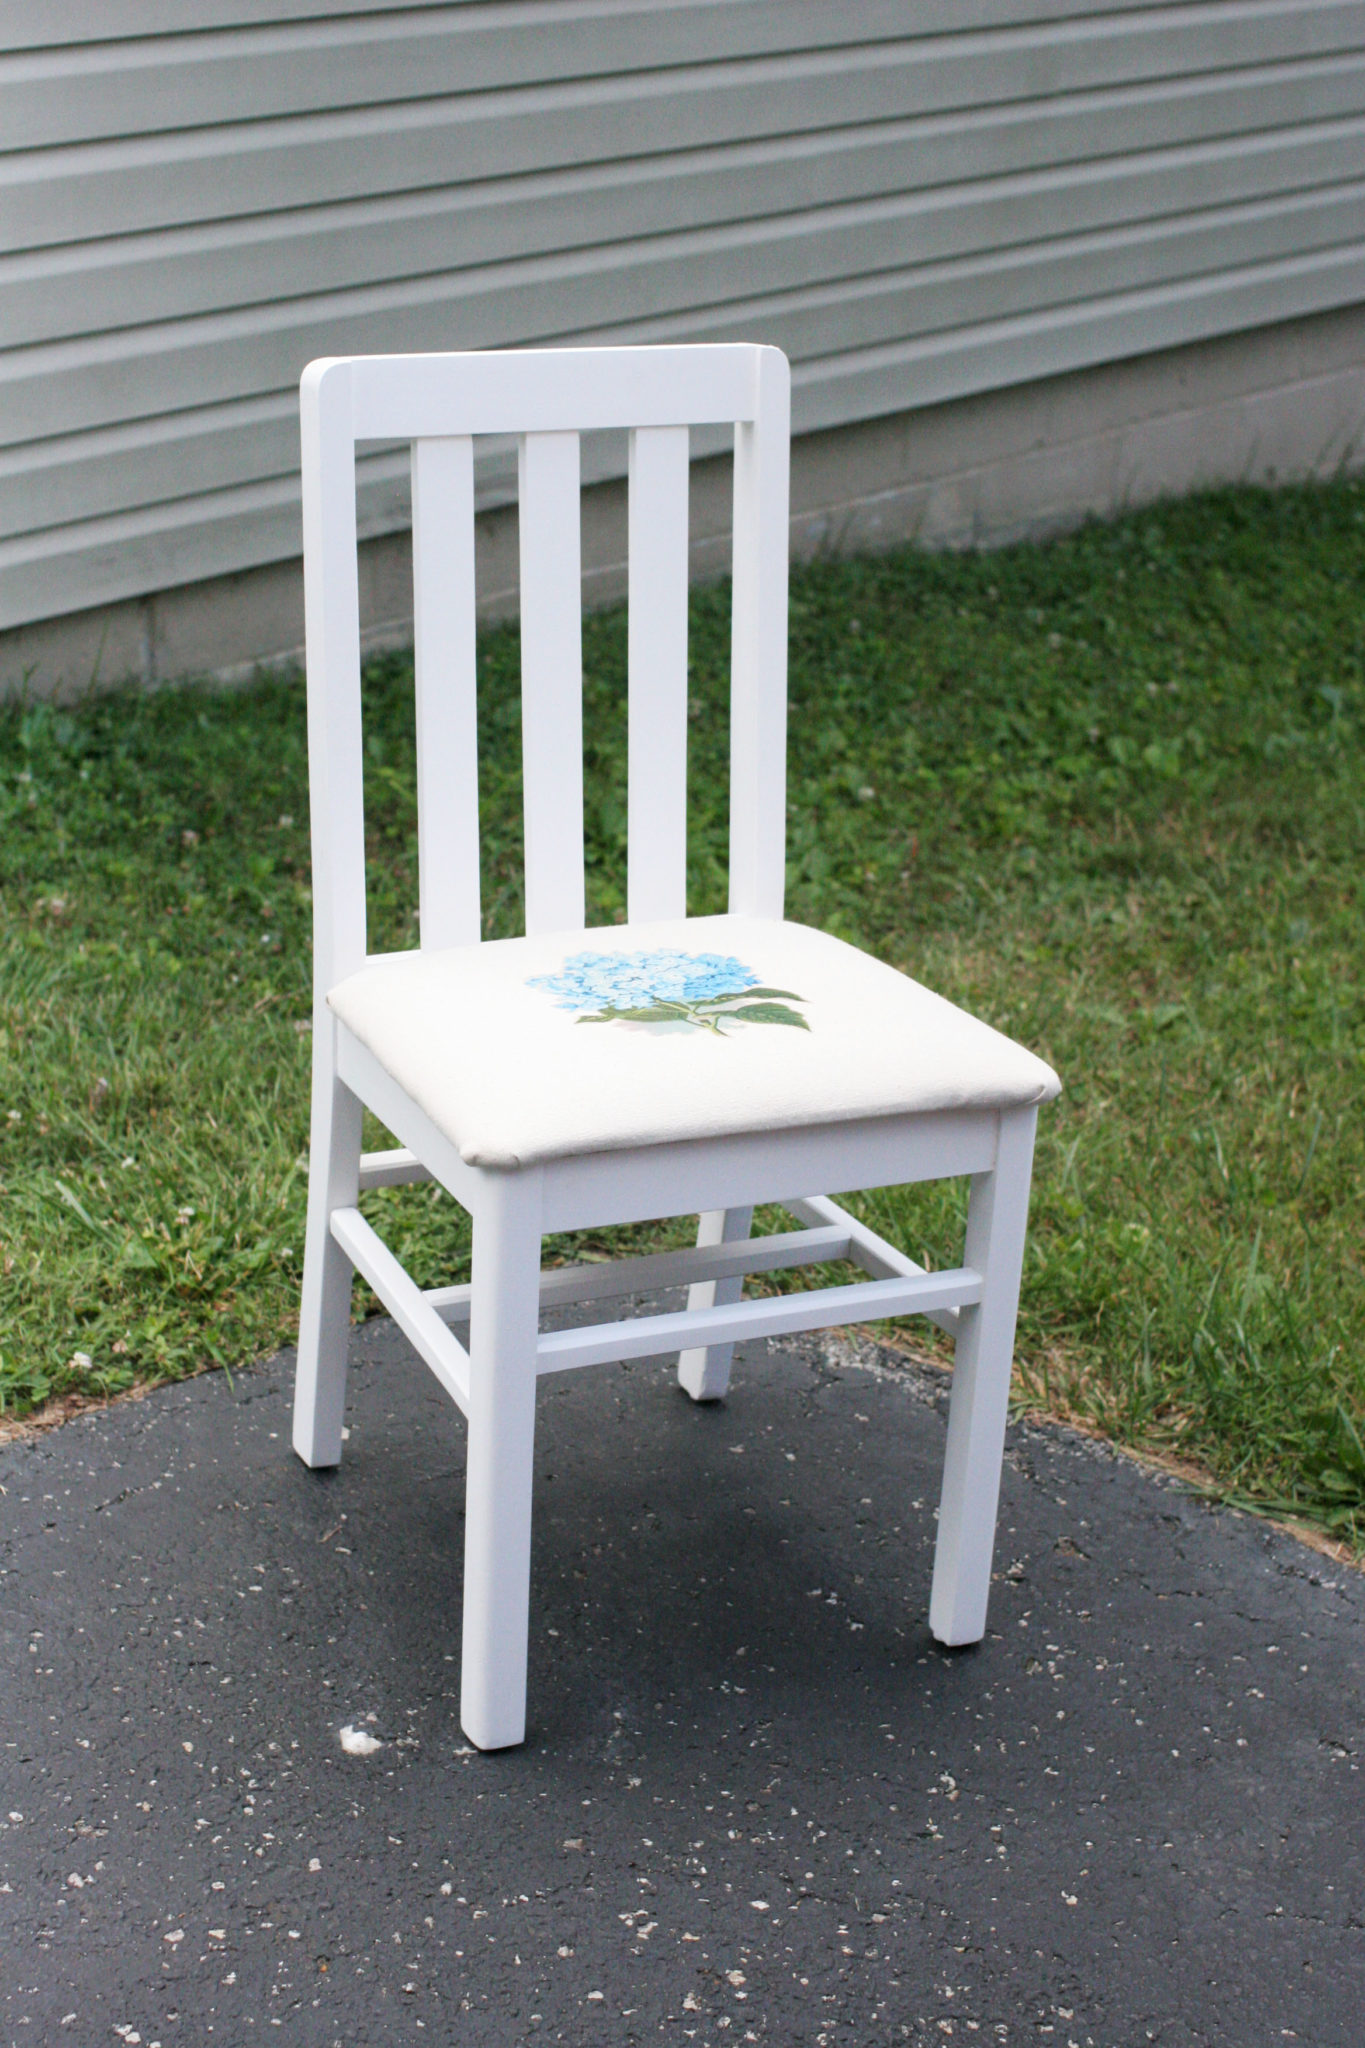
If the paint is dry, apply a finishing wax with a clean rag. This step is critical to any painted furniture makeover. Don’t let all your hard work go to waste — protect it with a sealer!
Now, you’re ready for the crowning jewel — reattaching the upholstered seat. Isn’t it a pretty Farmhouse Chair?
Want to make your own DIY Farmhouse Chair? Pin it!
And now… more thrifty goodness! Check out what my fellow upcyclers created below!
Maria
Monday 19th of February 2018
Such a pretty idea! Love the hydrangea which is my favorite flower. Maria
Lora Green
Tuesday 20th of February 2018
Thank you, Maria!
Molly Grubbs
Thursday 2nd of November 2017
Yes her Mom loves it and couldn't wait to show it off to some friends! (Said Lora's Mom!)
Lora Green
Monday 6th of November 2017
Woohoo!
Shirley
Sunday 29th of October 2017
LOVE the hydrangea! You Mom is probably very happy to have her new chair. Great makeover, so pretty.
Lora Green
Wednesday 1st of November 2017
Thanks, Shirley!
Debrashoppeno5
Friday 27th of October 2017
The chair looks so fresh and updated. I bet your mother is thrilled with it. I love the hydrangea on the seat, That is a nice touch.
Lora Green
Wednesday 1st of November 2017
Thanks! She loved it :)
Florence
Friday 27th of October 2017
Lora, if that's not the cutest chair! I'm sure your Mother will love it! I appreciate the step-by-step tutorial, which sounds clear. Gosh, I need one of those paint sprayers! Not to mention a tent. Thanks for the tip on the "flipapicture" web site. Didn't know about that one. I usually do it with paint. Looking forward to trying this one out. Great post & pinned. (Visiting from the Challenge)
Lora Green
Wednesday 1st of November 2017
Thanks, Florence! Yes, that flipapicture site is a quick trick :)