It’s more clay, ya’ll.
**Amazon Affiliate Links are included in this post.
I will say this project, a DIY Snowman Kit, is a bit different that the other Sculpey Clay projects.
Supplies : DIY Snowman Kit
Sculpey Clay
Popsicle Sticks
Strong Craft Glue like E-6000
Craft Paints in Blue, Orange & Black
Canvas Drawstring Bag
Instructions : DIY Snowman Kit
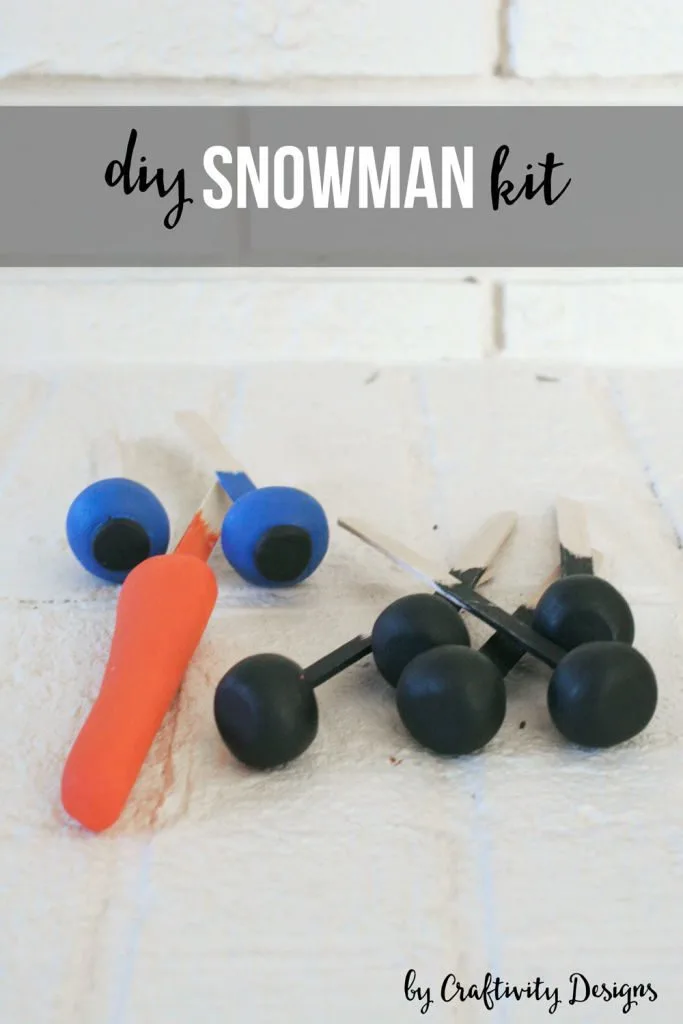
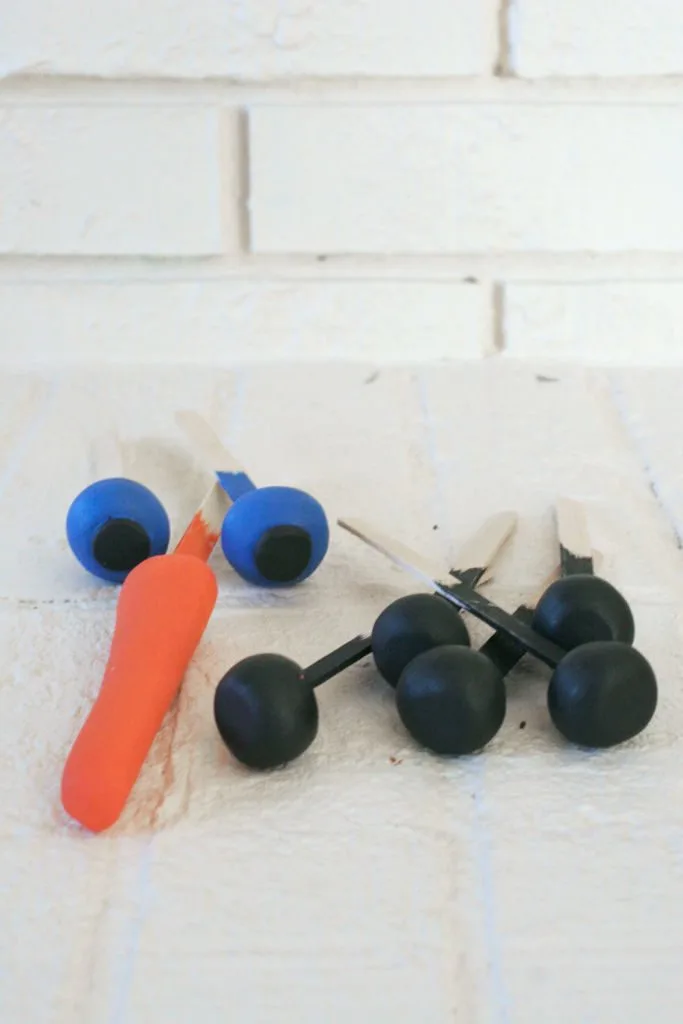
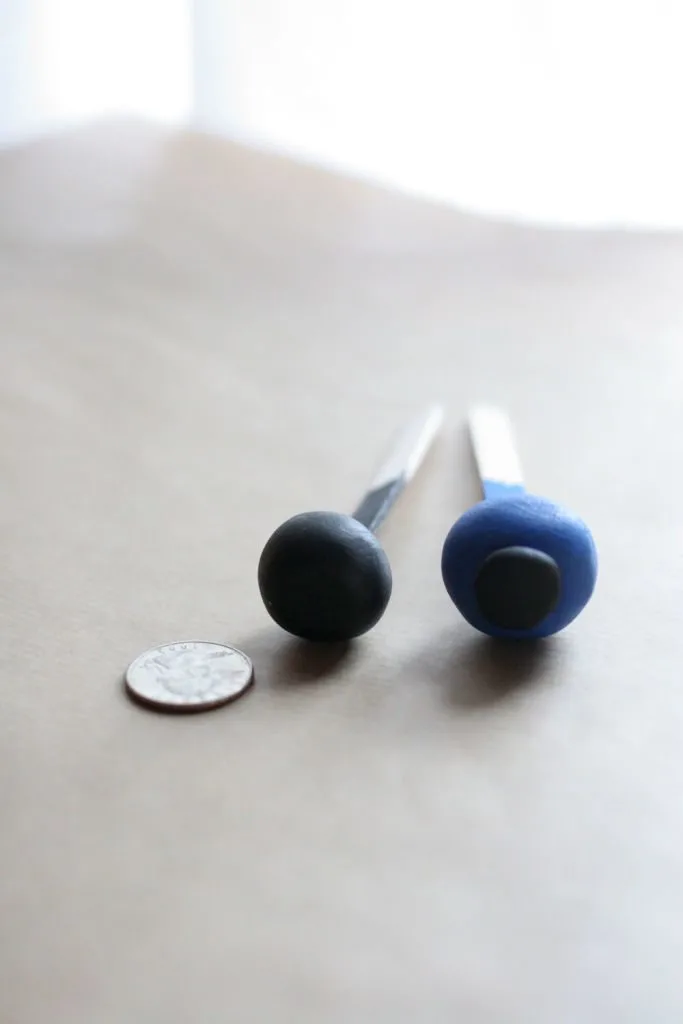
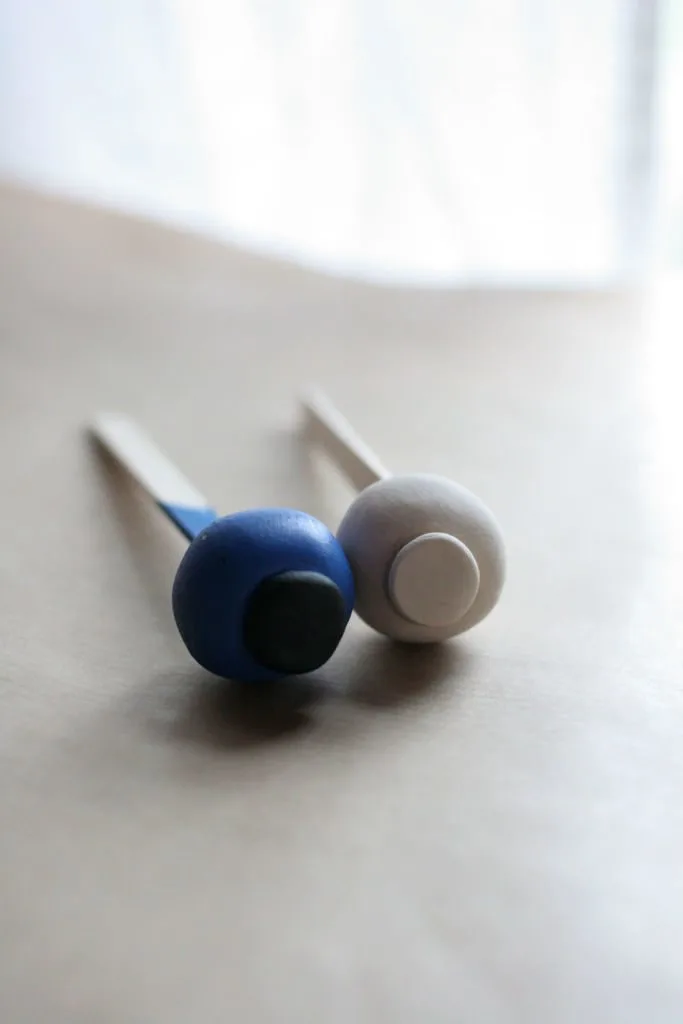
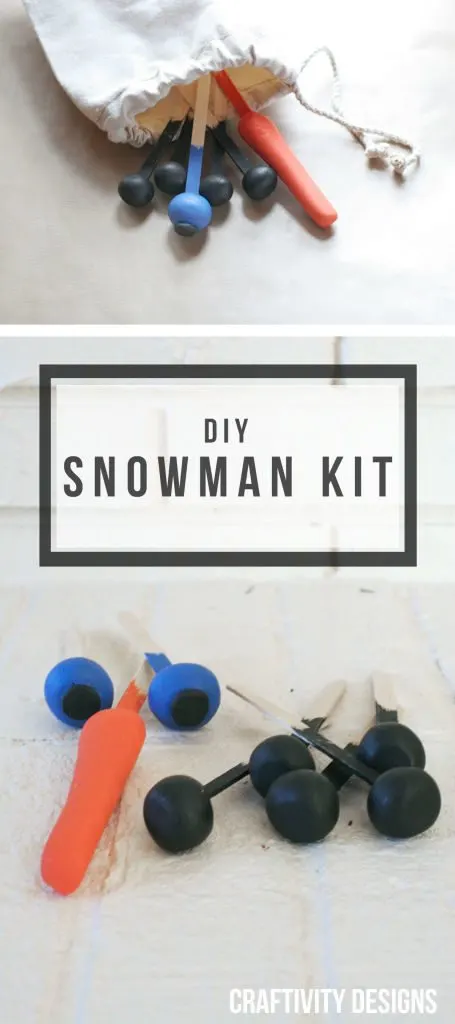
#1. Roll clay into 7 similar sized balls for eyes {shown in blue, below} and coal teeth {shown in black, below}.
#2. Roll clay into 2 small balls for pupils. Flatten these into small circles.
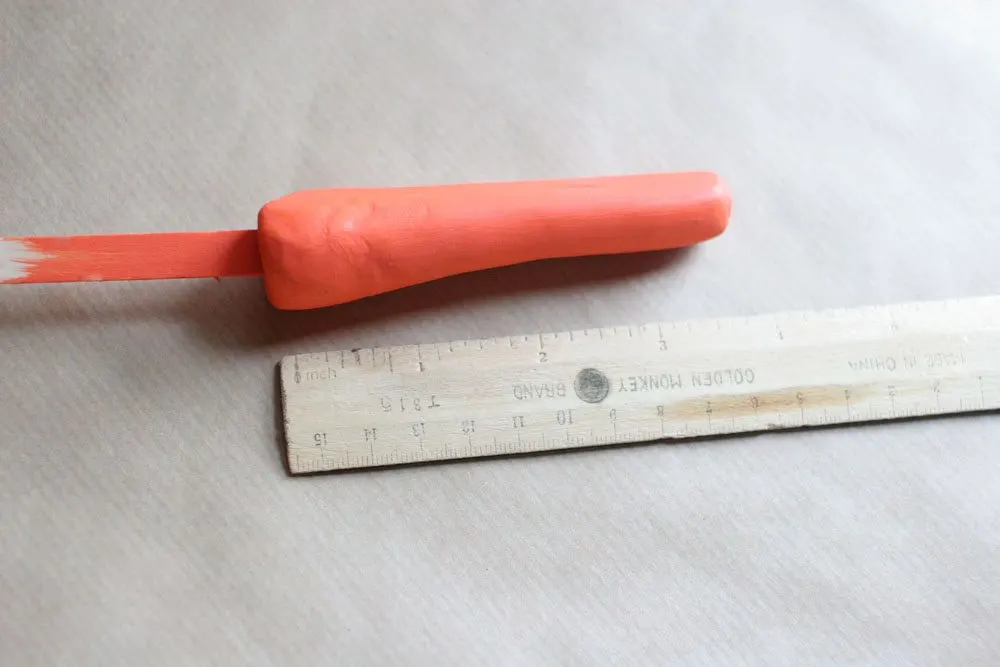
#3. Roll clay into one long roll for the carrot nose. Roll one end more than the other, to make it skinnier on that end.
#4. Press a popsicle stick into the backside of each {except the 2 small circles}, about a 1/4 to 1/2 inch. Important: Don’t leave the popsicle stick in the clay, just make the indent.
#5. Bake per instructions.
#6. Let cool.
#7. Use a strong glue, I like E-6000, to attach the popsicle sticks.
#8. Glue the flattened circles to two of the balls to make eyes.
#9. Paint each piece.
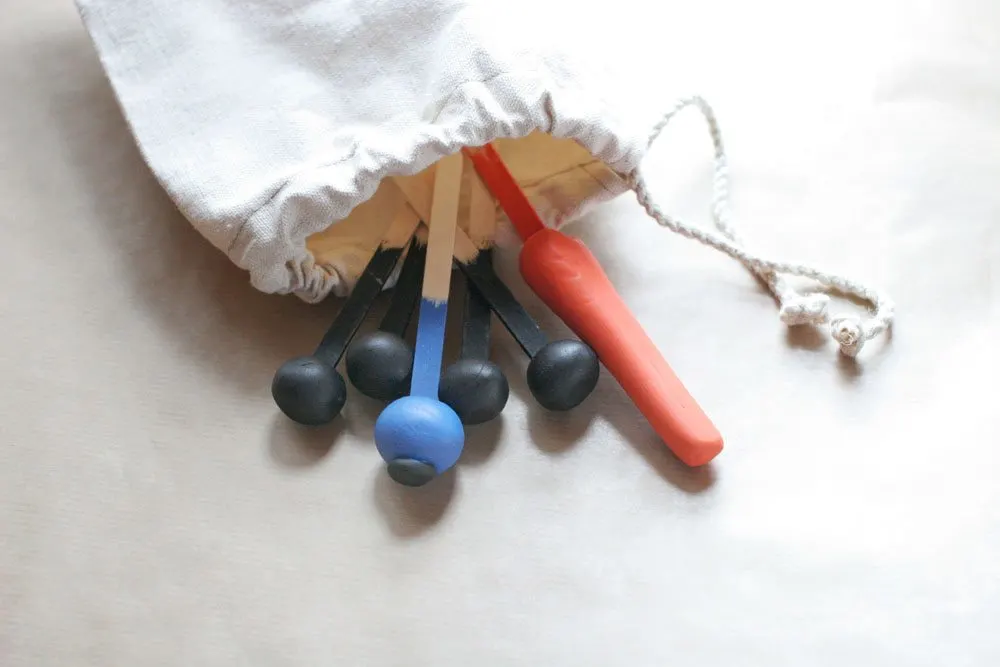
#10. Package in a canvas bag!
Now if I only I could pack the snow in there, too.
[Tweet “Get snowman ready with this DIY #kidsgift”]

2016 DIY Advent Calendar with Scripture – Craftivity Designs
Thursday 22nd of April 2021
[…] shared my love of Sculpey Clay before {for example: Snowman Kit, Baby’s 1st Christmas Ornament, and Mini-Chalkboard}, and this project is another great […]