Learn how to make a DIY Travel Map! A travel map is the perfect way to keep track of all the places you’ve been and all the places you want to go.
Do you have wanderlust? Are you always dreaming of traveling to new places? If so, you need a DIY Travel Map!
Making a DIY travel map is a great way to keep track of all the amazing places you’ve been and a way to plan for future trips. It’s also fun to share your travels when friends and family visit. Best of all, it’s easy to make a DIY travel map yourself.
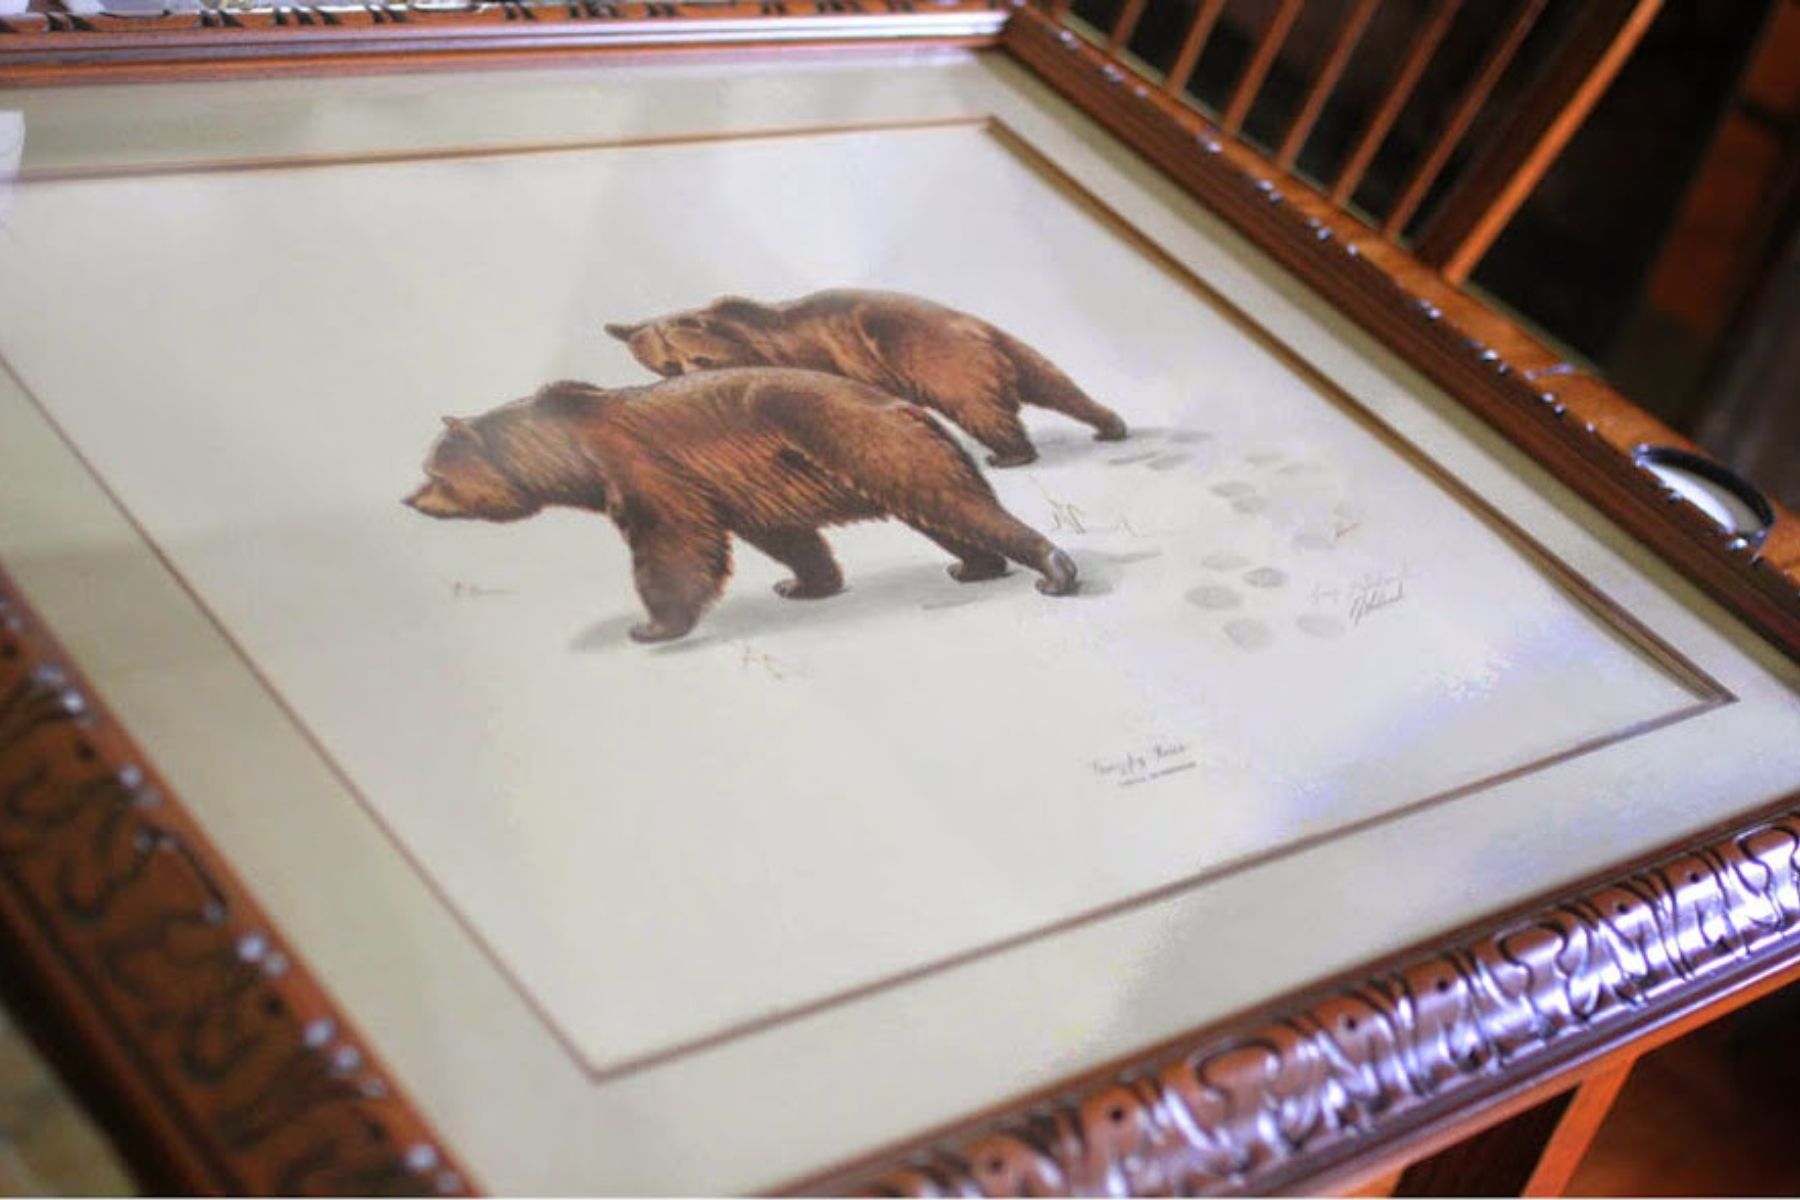
Over the years, my travel map has evolved. It started as a piece of art above my fireplace, then became a DIY chalkboard map. Today, I’m going to show you how to create your very own travel map to chart all your family’s travels.
Disclosure: This page includes affiliate links.
Travel Maps with Pins
The classic chart-your-travel map is made with cork board and push pins. While I love the traditional pushpin travel map, I didn’t love the prospect of tiny pins all over my kids’ play area (ouch!).
Plus, a paper map attached over cork may not hold up to long-term, especially if push pins are inserted and re-inserted over the years.

Inspired by this list of National Park Themed posters, I decided to think outside the box push pin. There are all kinds of travel maps nowadays: sticker, rub-off, checklists, and more.
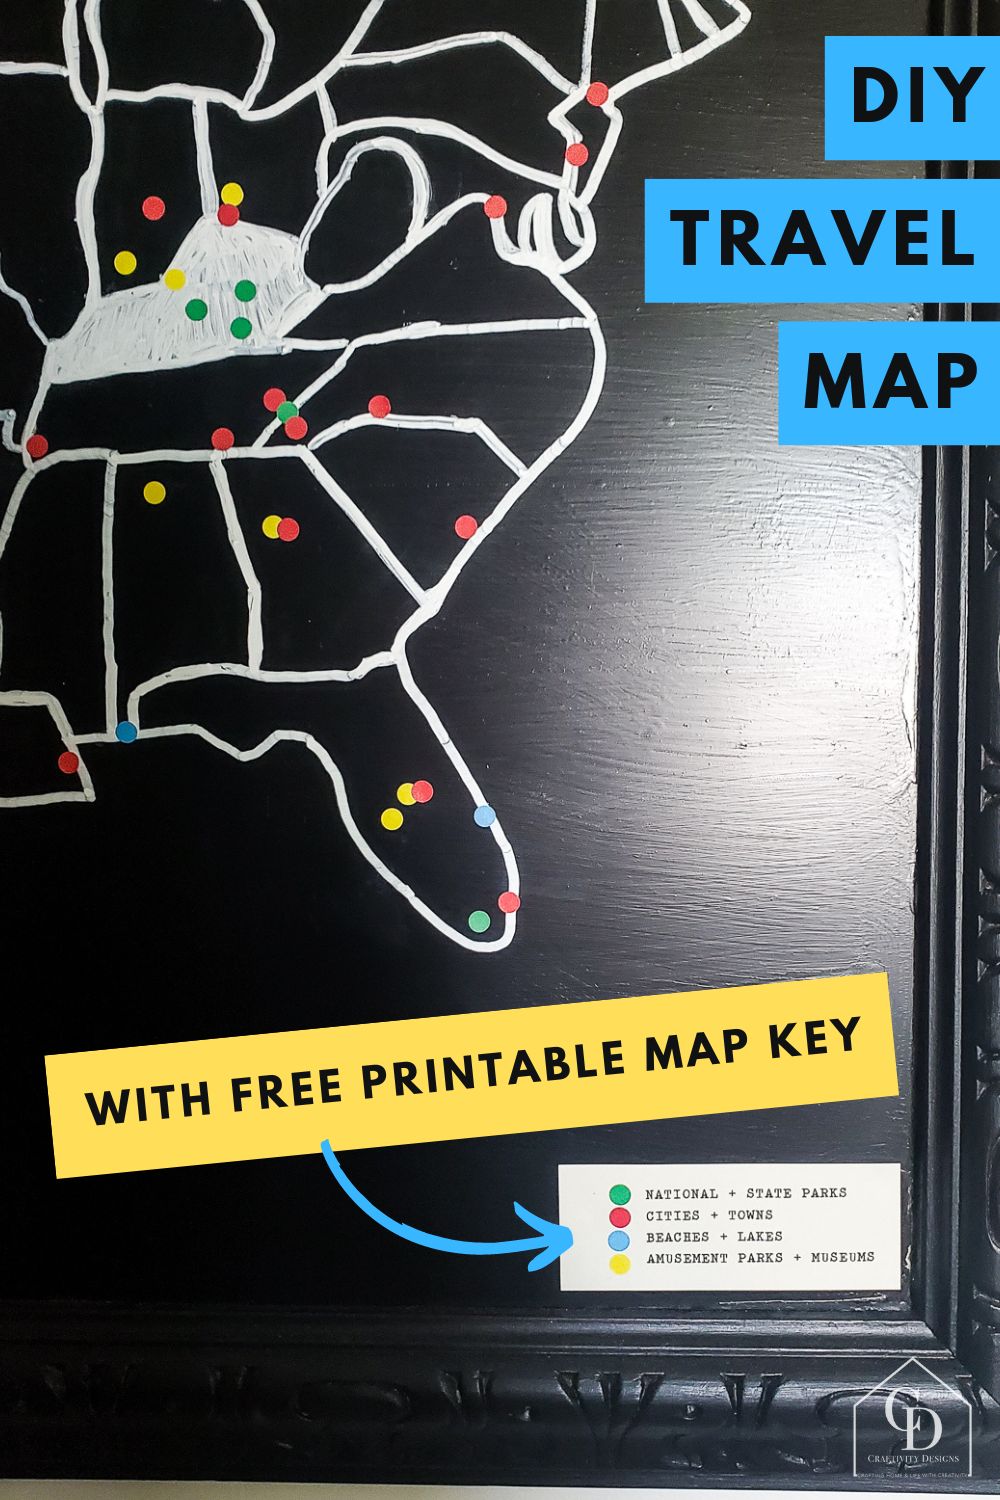
So, our travel map skips the pins and uses easy-to-adjust removable map dot stickers, instead.
How to Make a DIY Travel Map
A travel map is simple to make and can easily be added to as you travel across the United States. Before you begin making this travel map, you’ll want to determine a color-coding system for the places you visit. We used green for parks, blue for lakes/oceans, yellow for theme parks/museums, and red for cities.
Supplies
- Framed Art
- Map Dots / Map Markers
- Chalkboard Paint
- Free Map Template Printable (see instructions to download in step #4, below)
- Free Printable Map Key (see instructions to download in step #10, below)
- Cardstock
- Sticky Tack
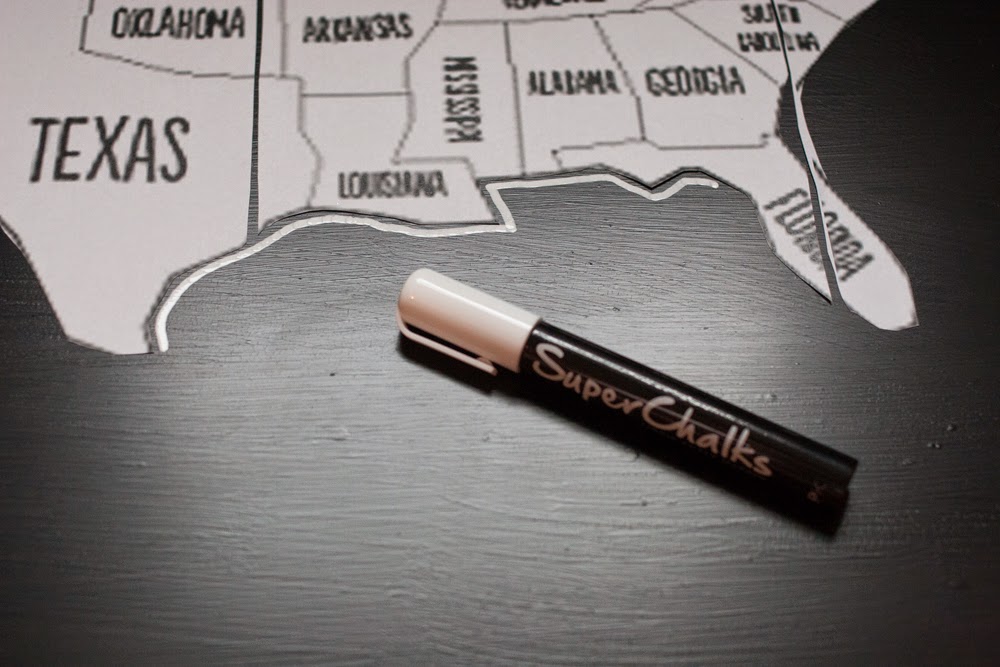
- Chalk marker
Tools
- Scissors
- Printer & Ink
Instructions
1. Get a Framed Art Piece
First, head out to a local thrift store and grab a large framed piece of art. It doesn’t have to be pretty! As long as you like the style of the frame, you’ll be set.
2. Tape the Glass & Paint
Next, tape off the edges of the glass in your frame. Then, apply 3 coats of chalkboard paint to the glass. Allow the paint to dry for several days.
3. Measure Your Chalkboard
Measure the dimensions of the glass chalkboard to determine what size map template you’ll need.
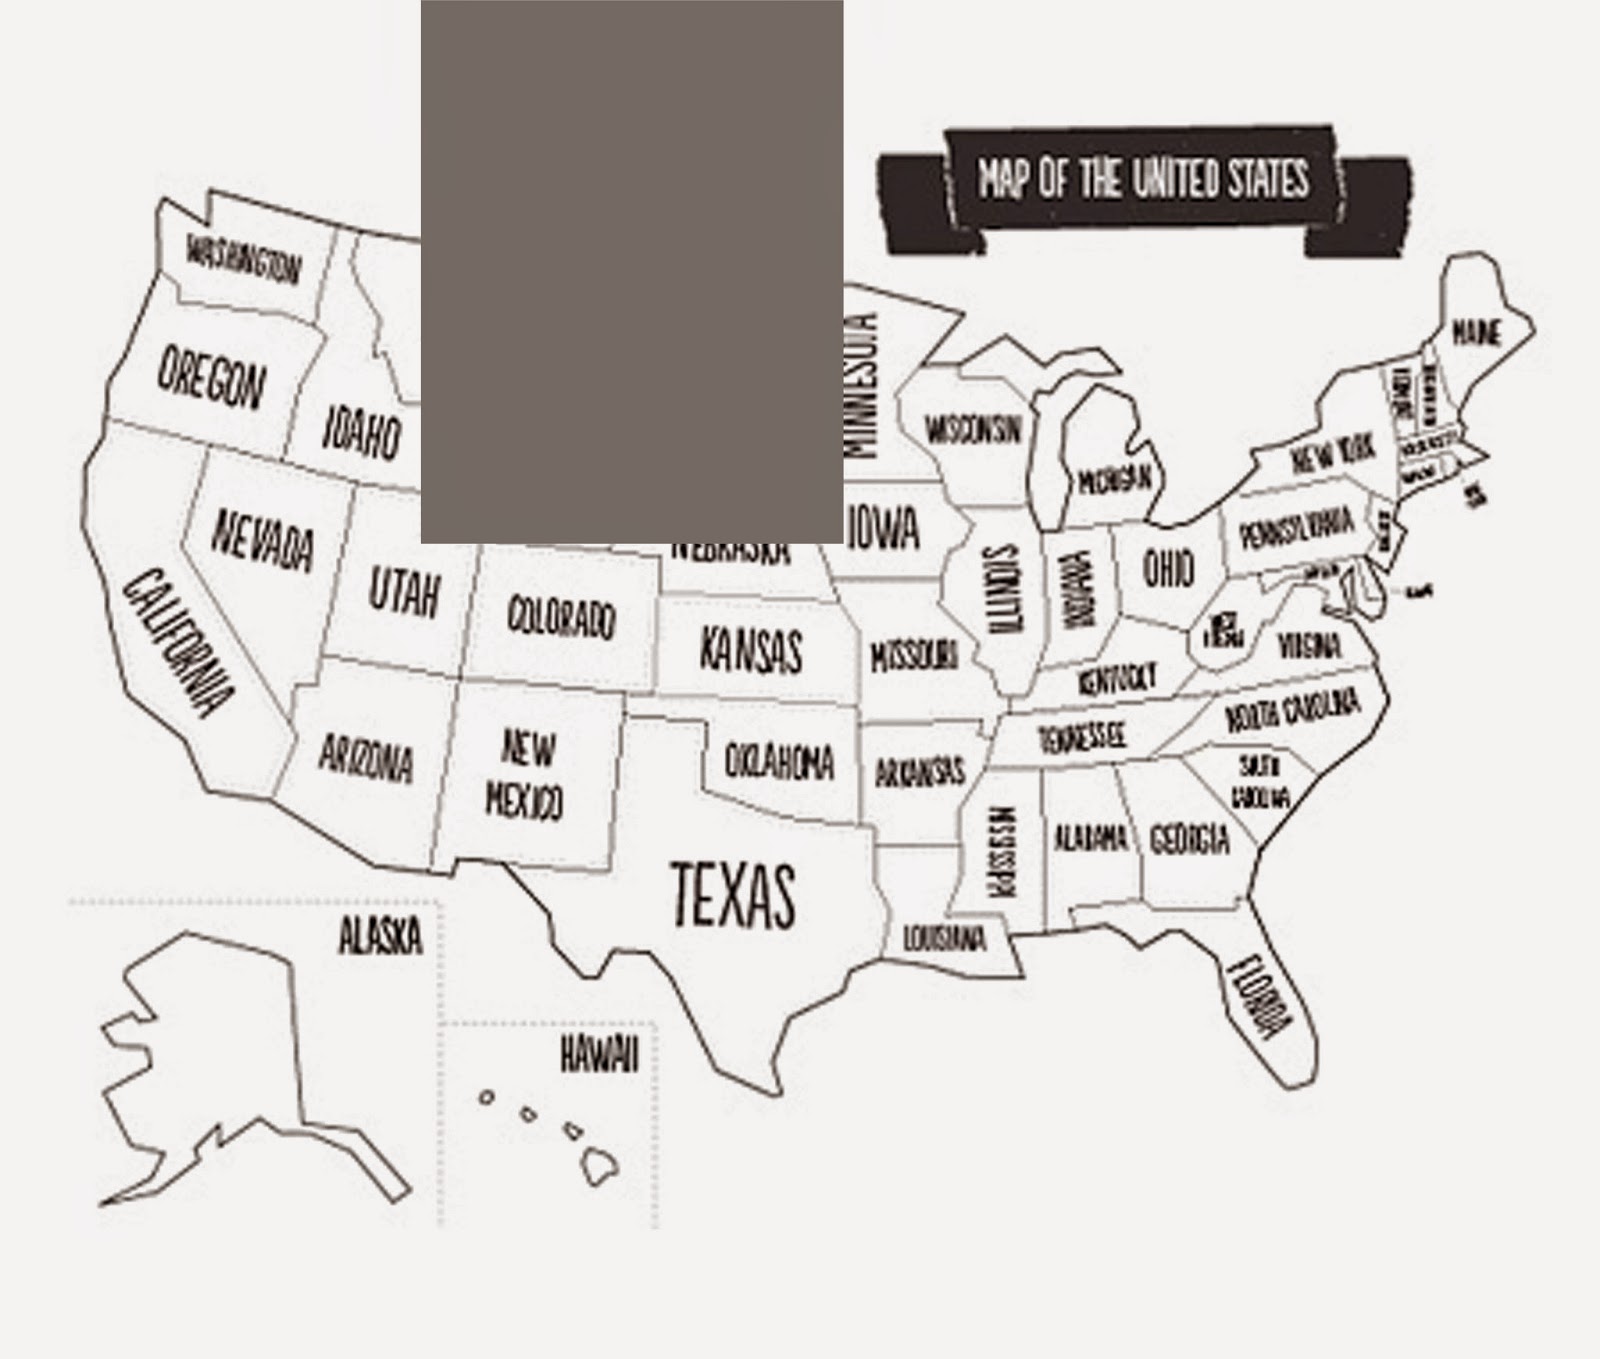
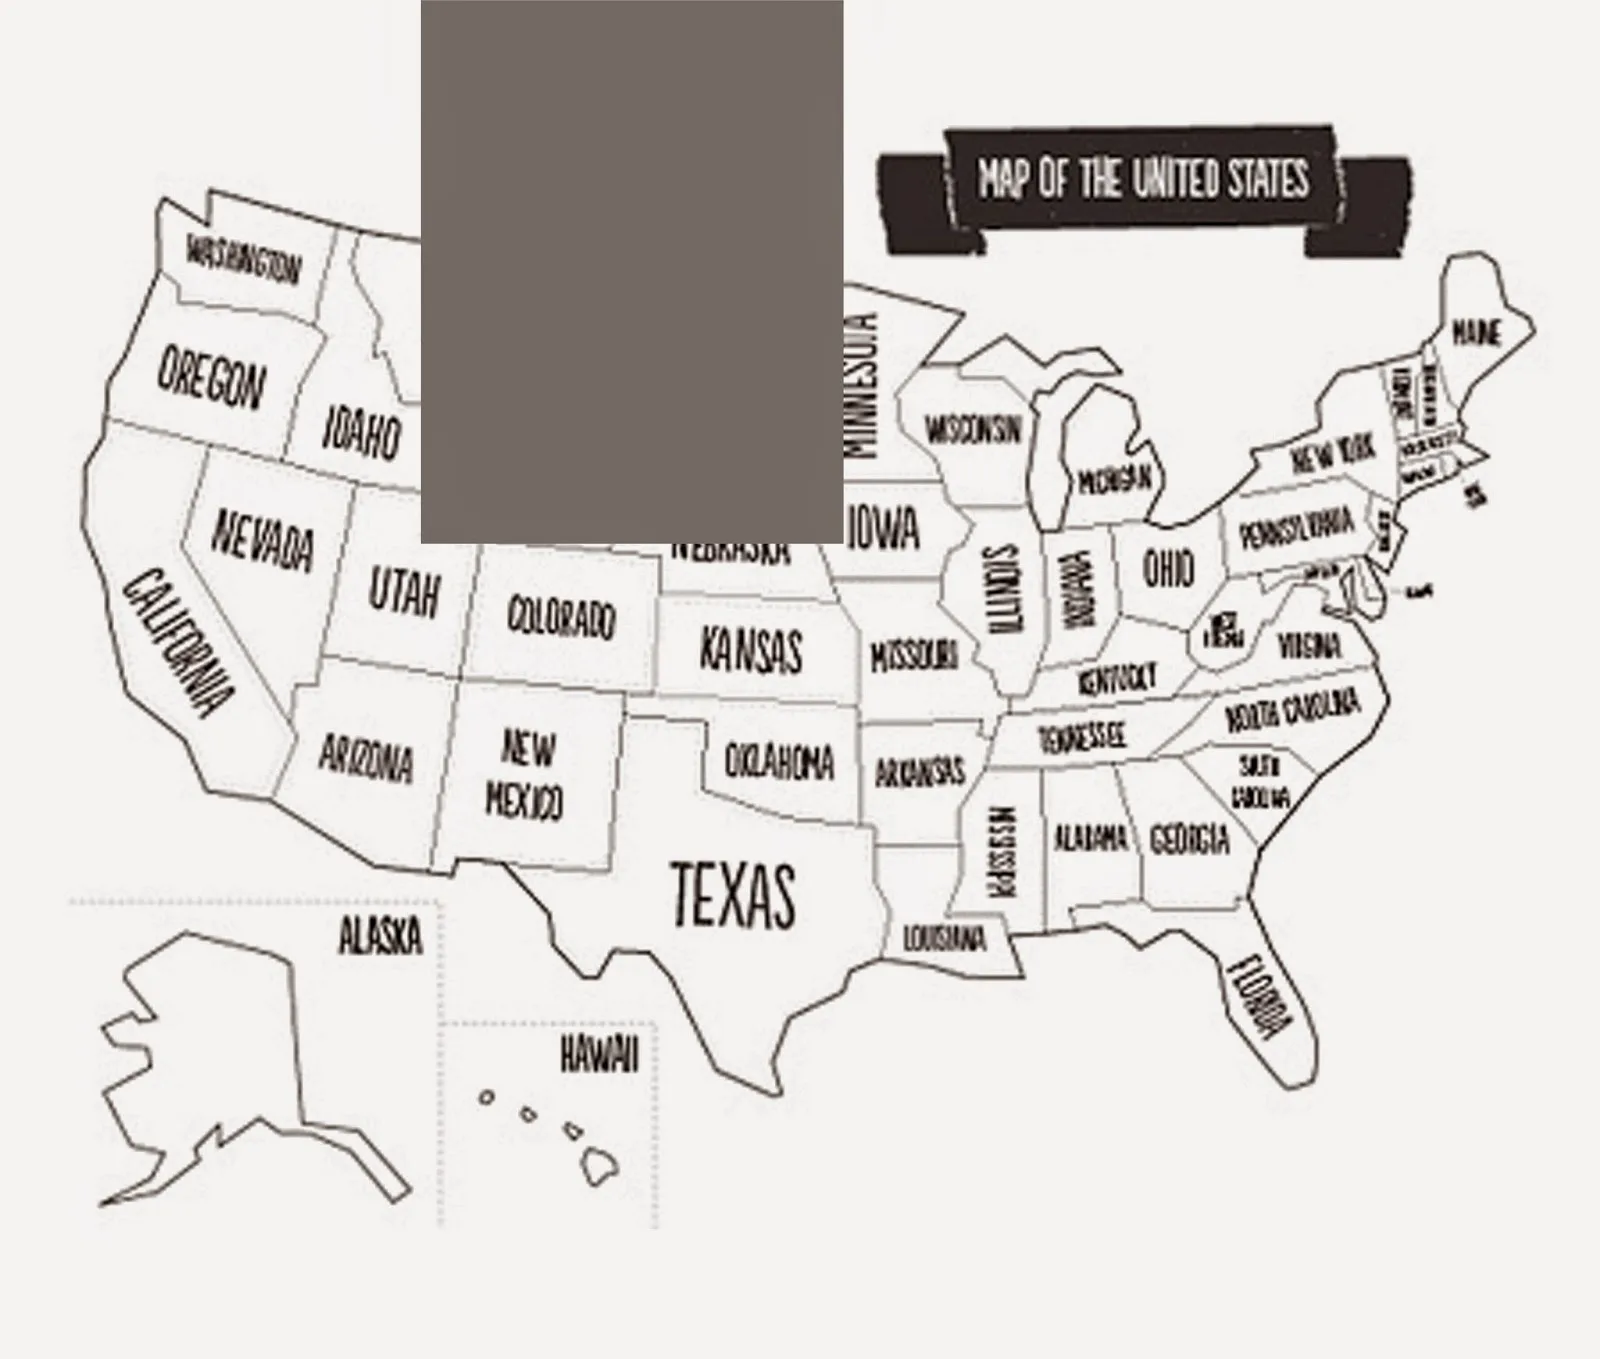
4. Download a Map Printable
Follow the instructions, below, to download a map printable that is sized for your artwork. There are 9 sizes to choose from, ranging from 11×14 to 30×40 inches.
You will use this printable as a stencil to draw on your new glass chalkboard.
Would you like to download the free printable? Click the button, below, to sign up for our newsletter and gain access to the freebie library. Once subscribed, you will receive an email with instructions to access the library.
If you have any problems signing up, please send an email to loragreen@craftivitydesigns.com, and I will sign you up manually.
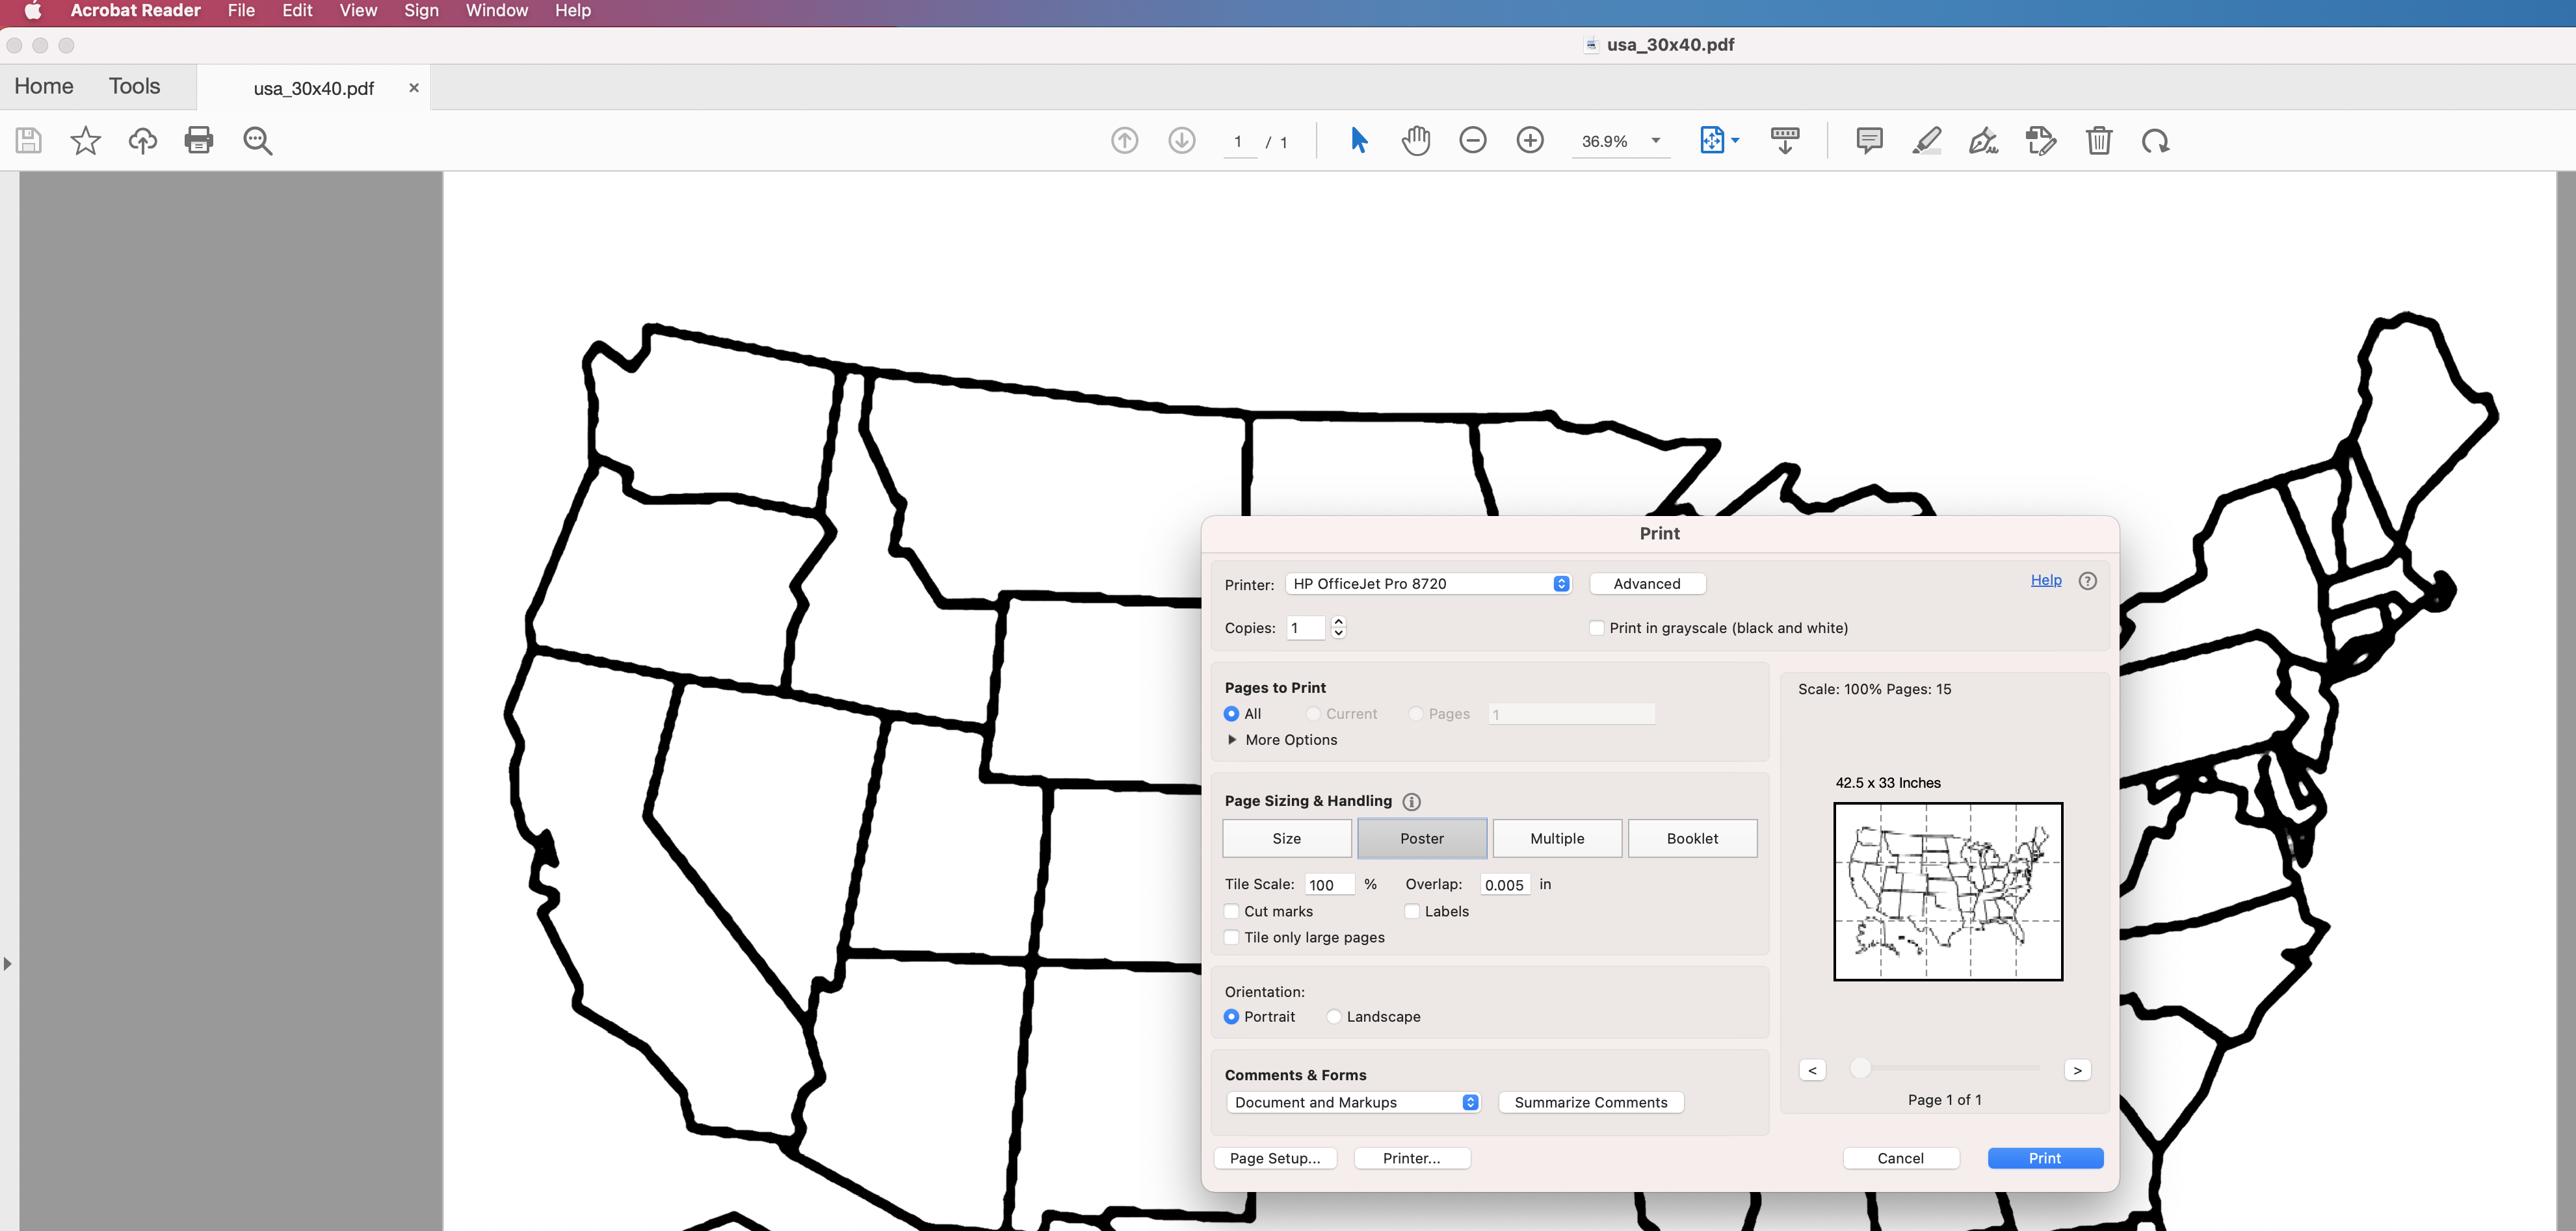
5. Print the Map
Print the map using Adobe Reader (free program) and select “Poster” paper size and handling (check out All Things Encaustic for more details on this print method).
Tip: Do you want to print the map template on one sheet? You can have the file printed at Staples, FedEx Kinkos, or a similar location.
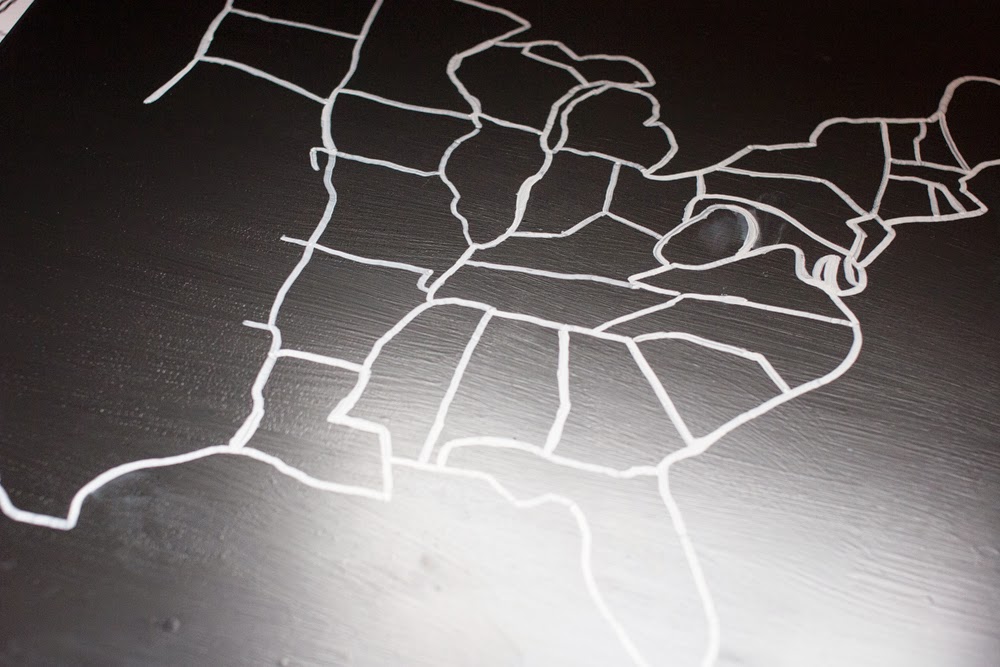
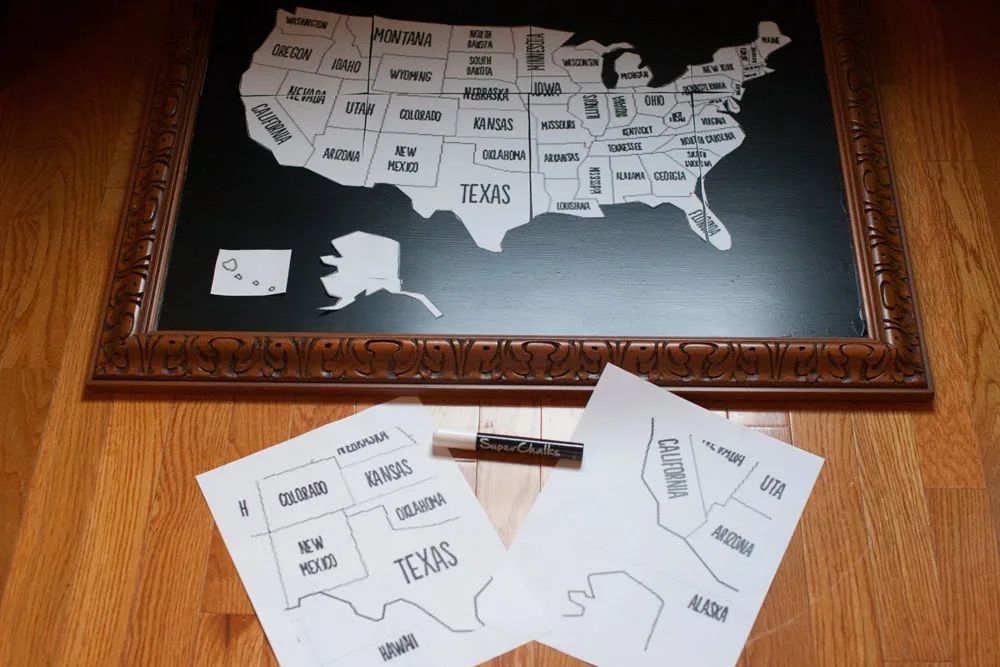
6. Outline the Map
Cut out the sections of the map and lay it on the chalkboard so that it looks like the map of the United States. Then, use a chalk marker to outline your map on the chalkboard.

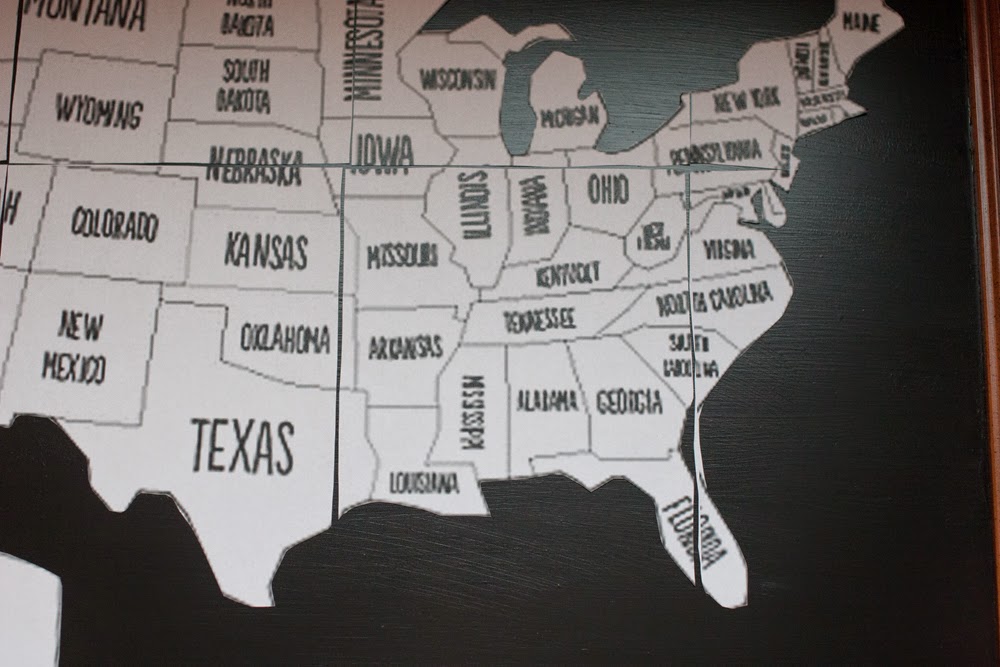
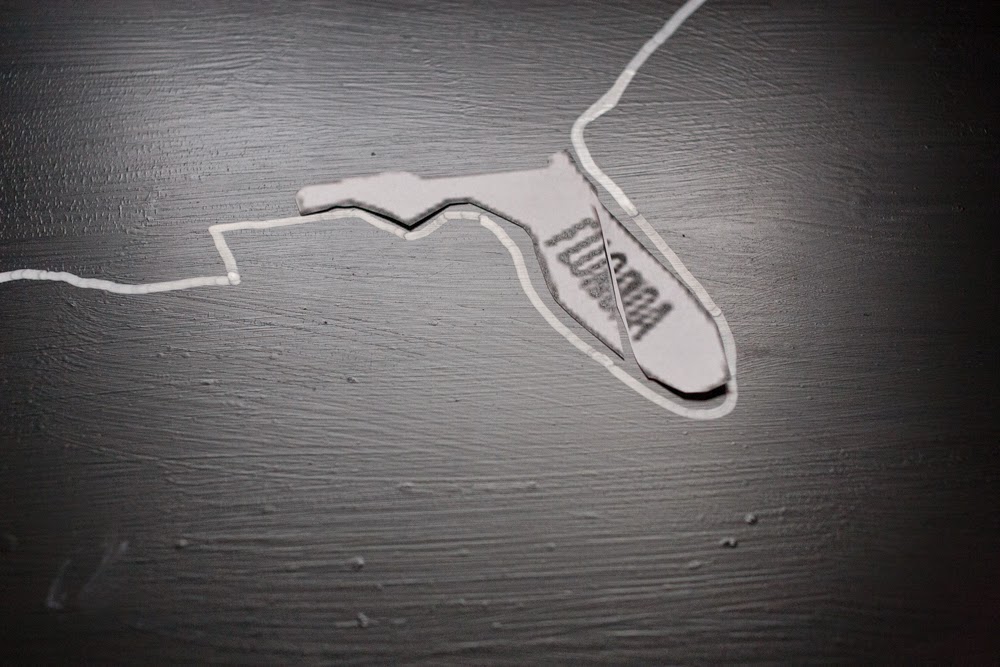
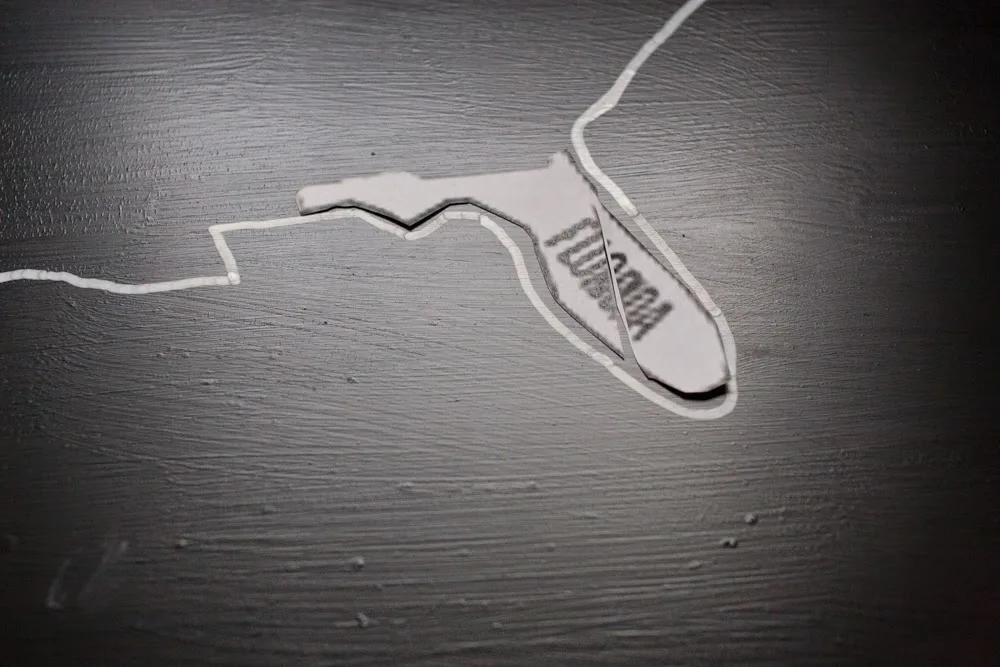
7. Cut Out Your States
After you have outlined the entire map, cut out each state and outline them individually. Slowly, but surely it will begin to look like a map.
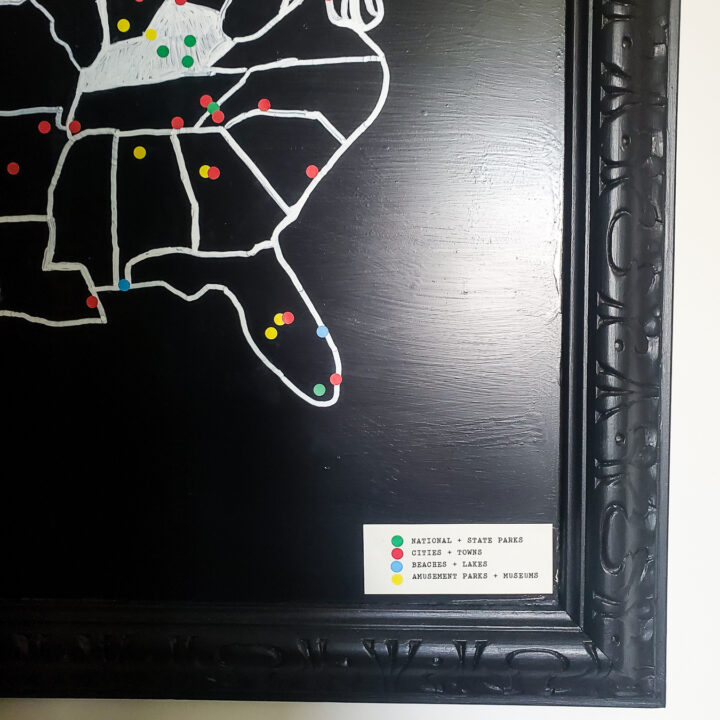
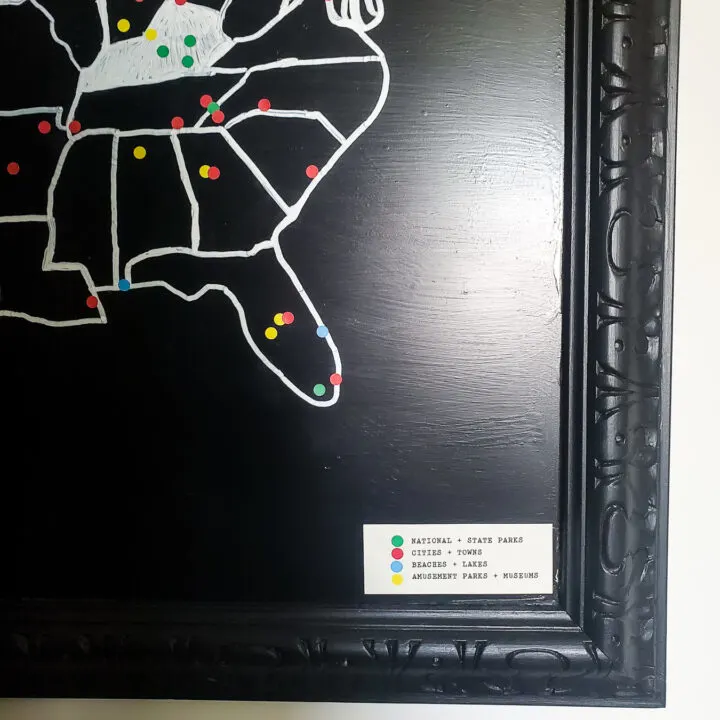
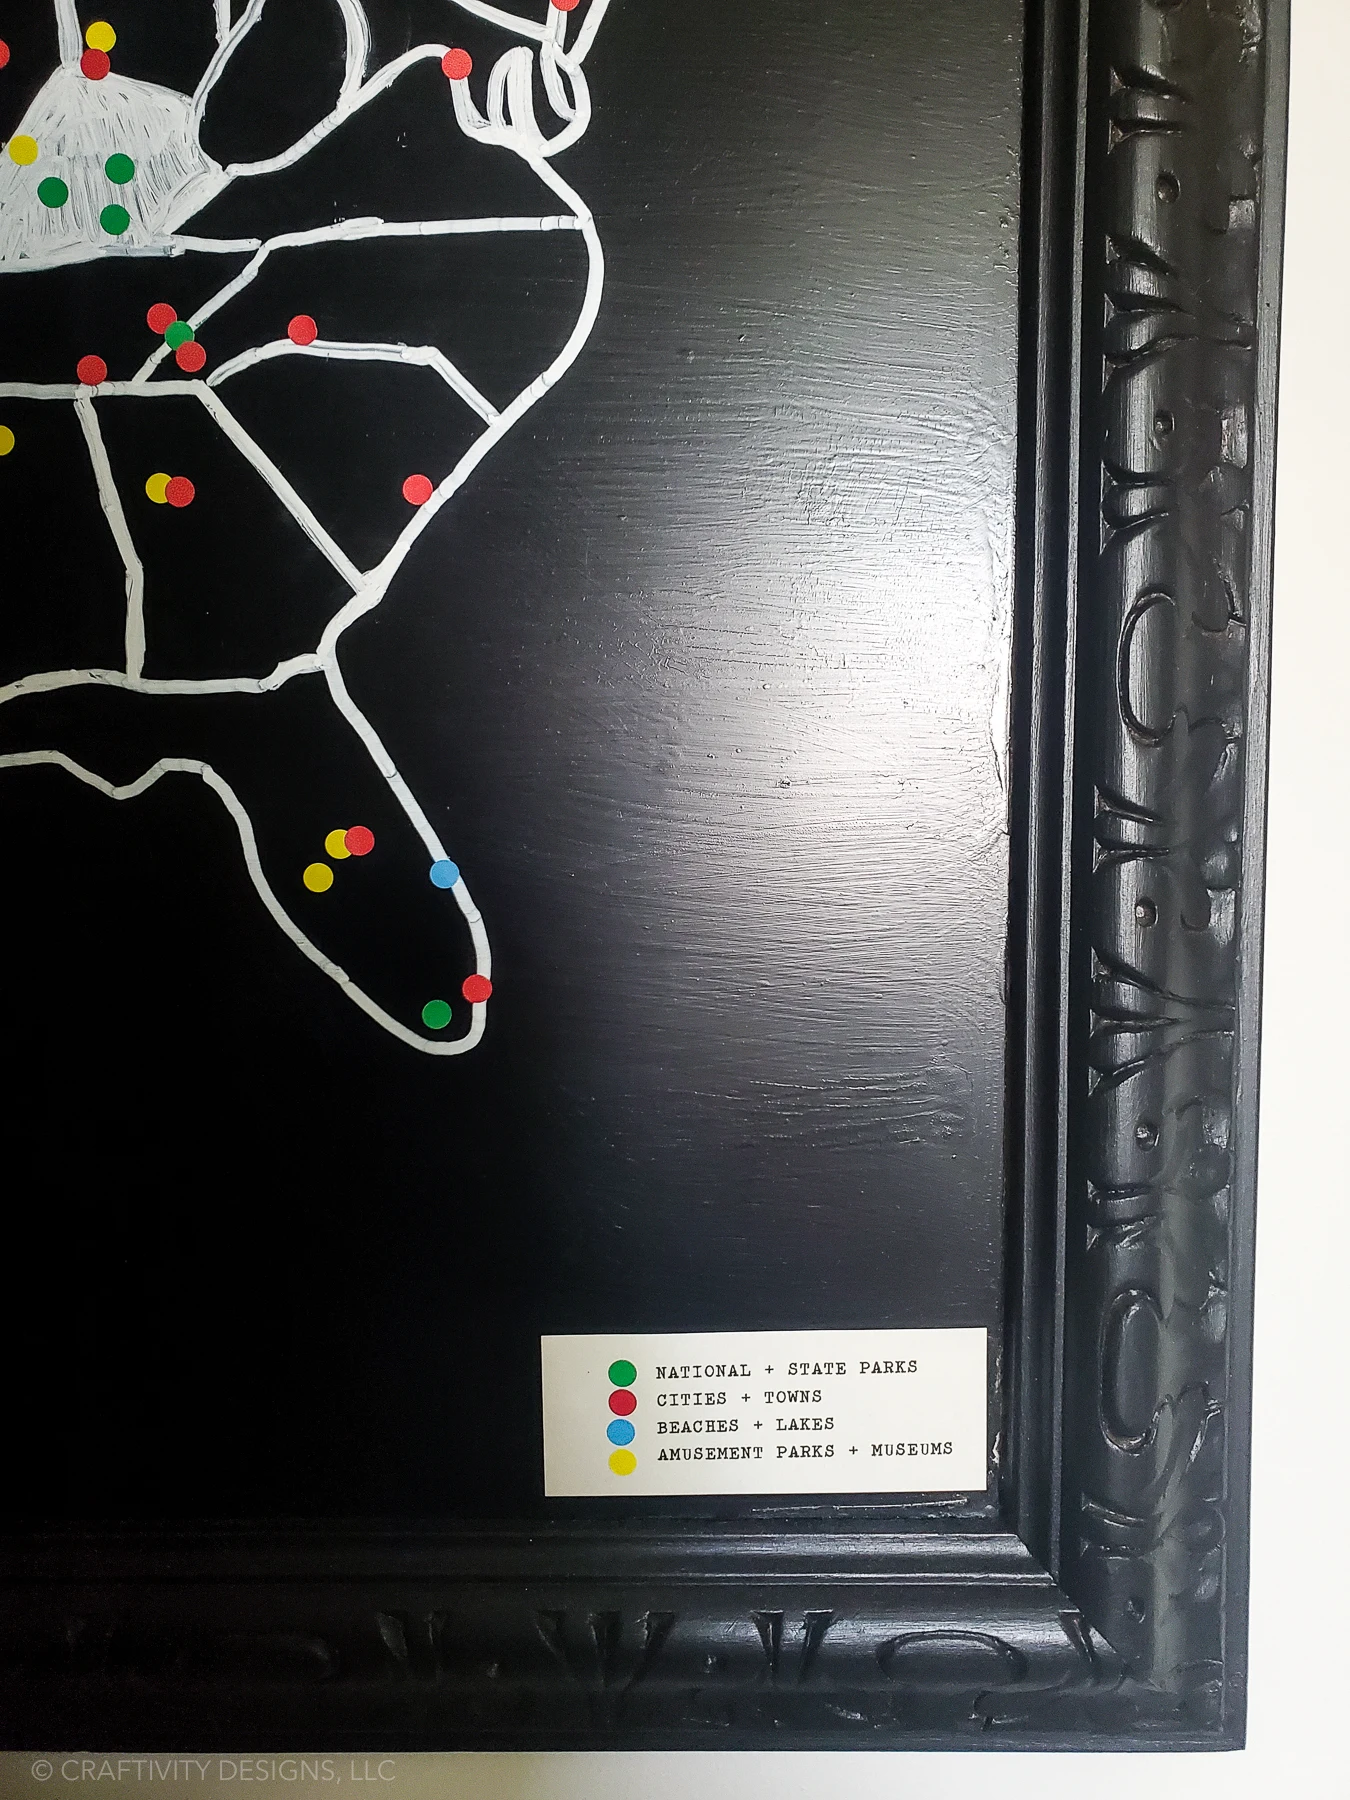
8. Determine a Color-Coding System
Next, determine a color-coding system for the places you visit. We used the following key:
- green for parks,
- blue for lakes/oceans,
- yellow for theme parks/museums,
- and red for cities.
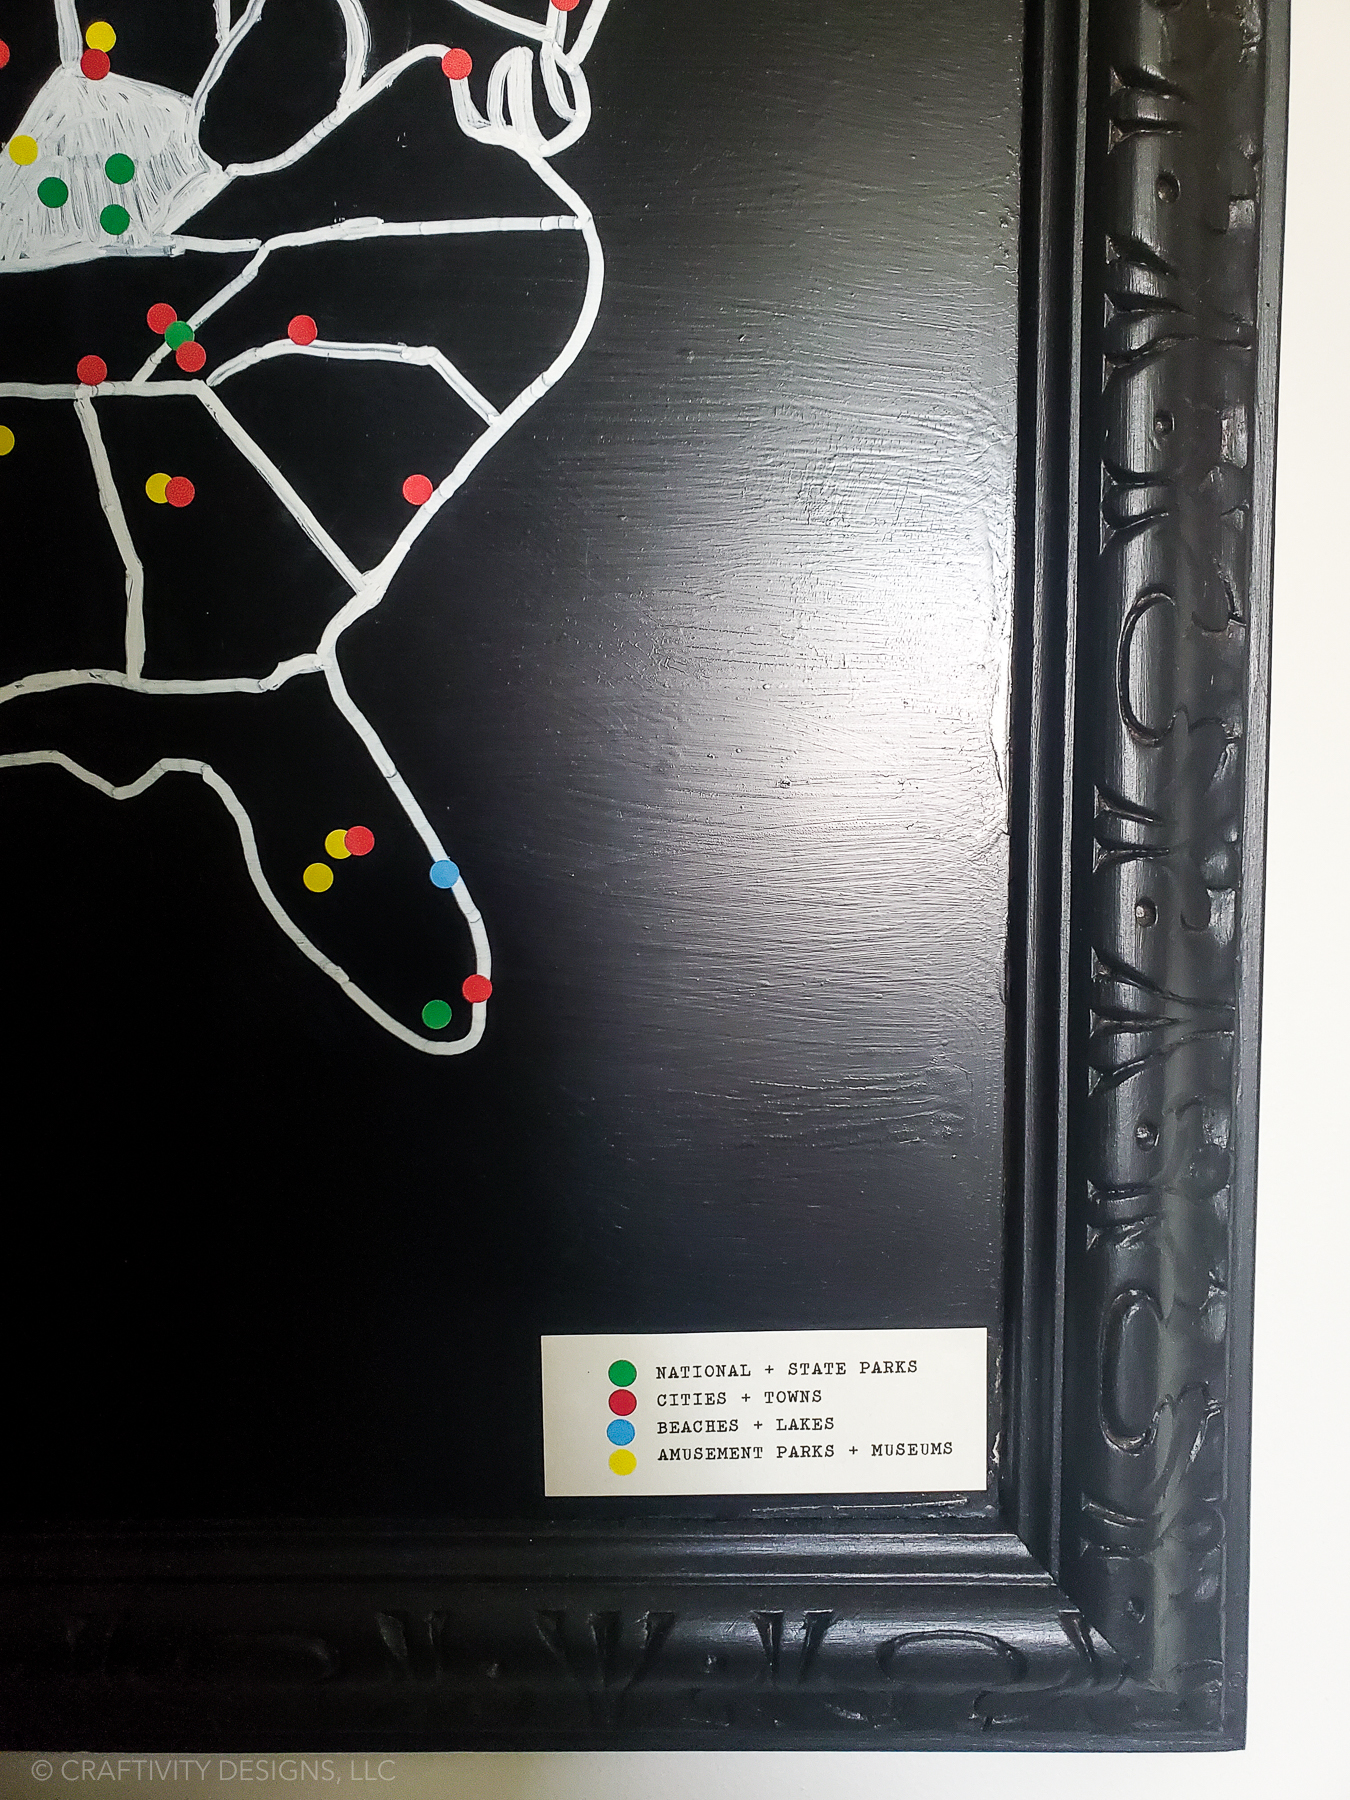
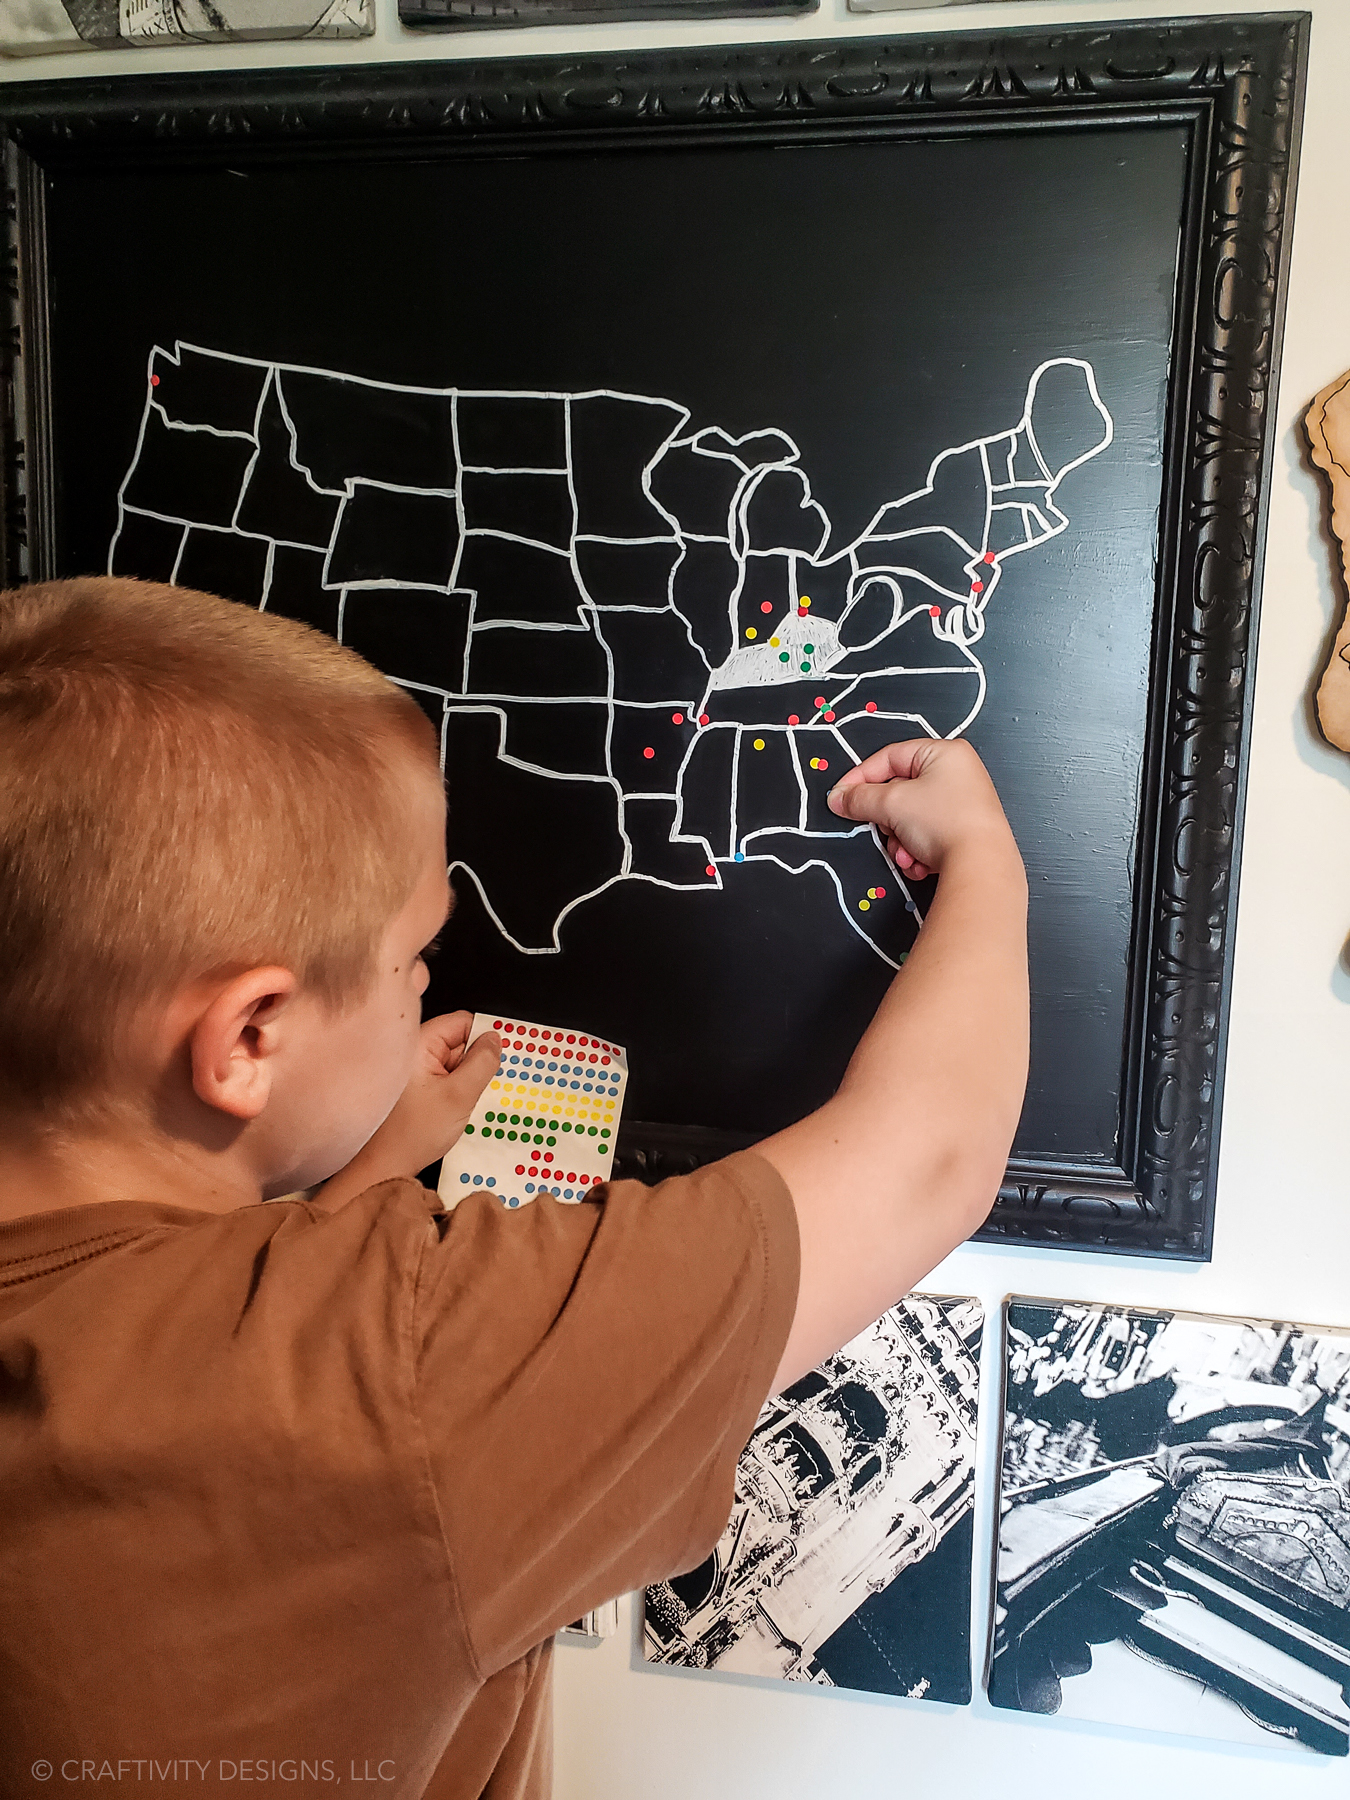
9. Place Dots on the Map
Use map dots / map markers to place color-coded dots on the map to represent the locations your family has visited.
10. Create the Map Key
If you’re using the same location types, print the free printable map key on cardstock and cut to size. Follow the instructions, below, to download the map key PDF.
Note: If you already completed the signup for the map printable in step #4, you can skip this sign up form. The map template and map key will both be available in the free printable library.
Would you like to download the free printable? Click the button, below, to sign up for our newsletter and gain access to the freebie library. Once subscribed, you will receive an email with instructions to access the library.
If you have any problems signing up, please send an email to loragreen@craftivitydesigns.com, and I will sign you up manually.
11. Attach the Map Key
To finish up your map, put sticky tack on the back of the map key and attach it to the map.
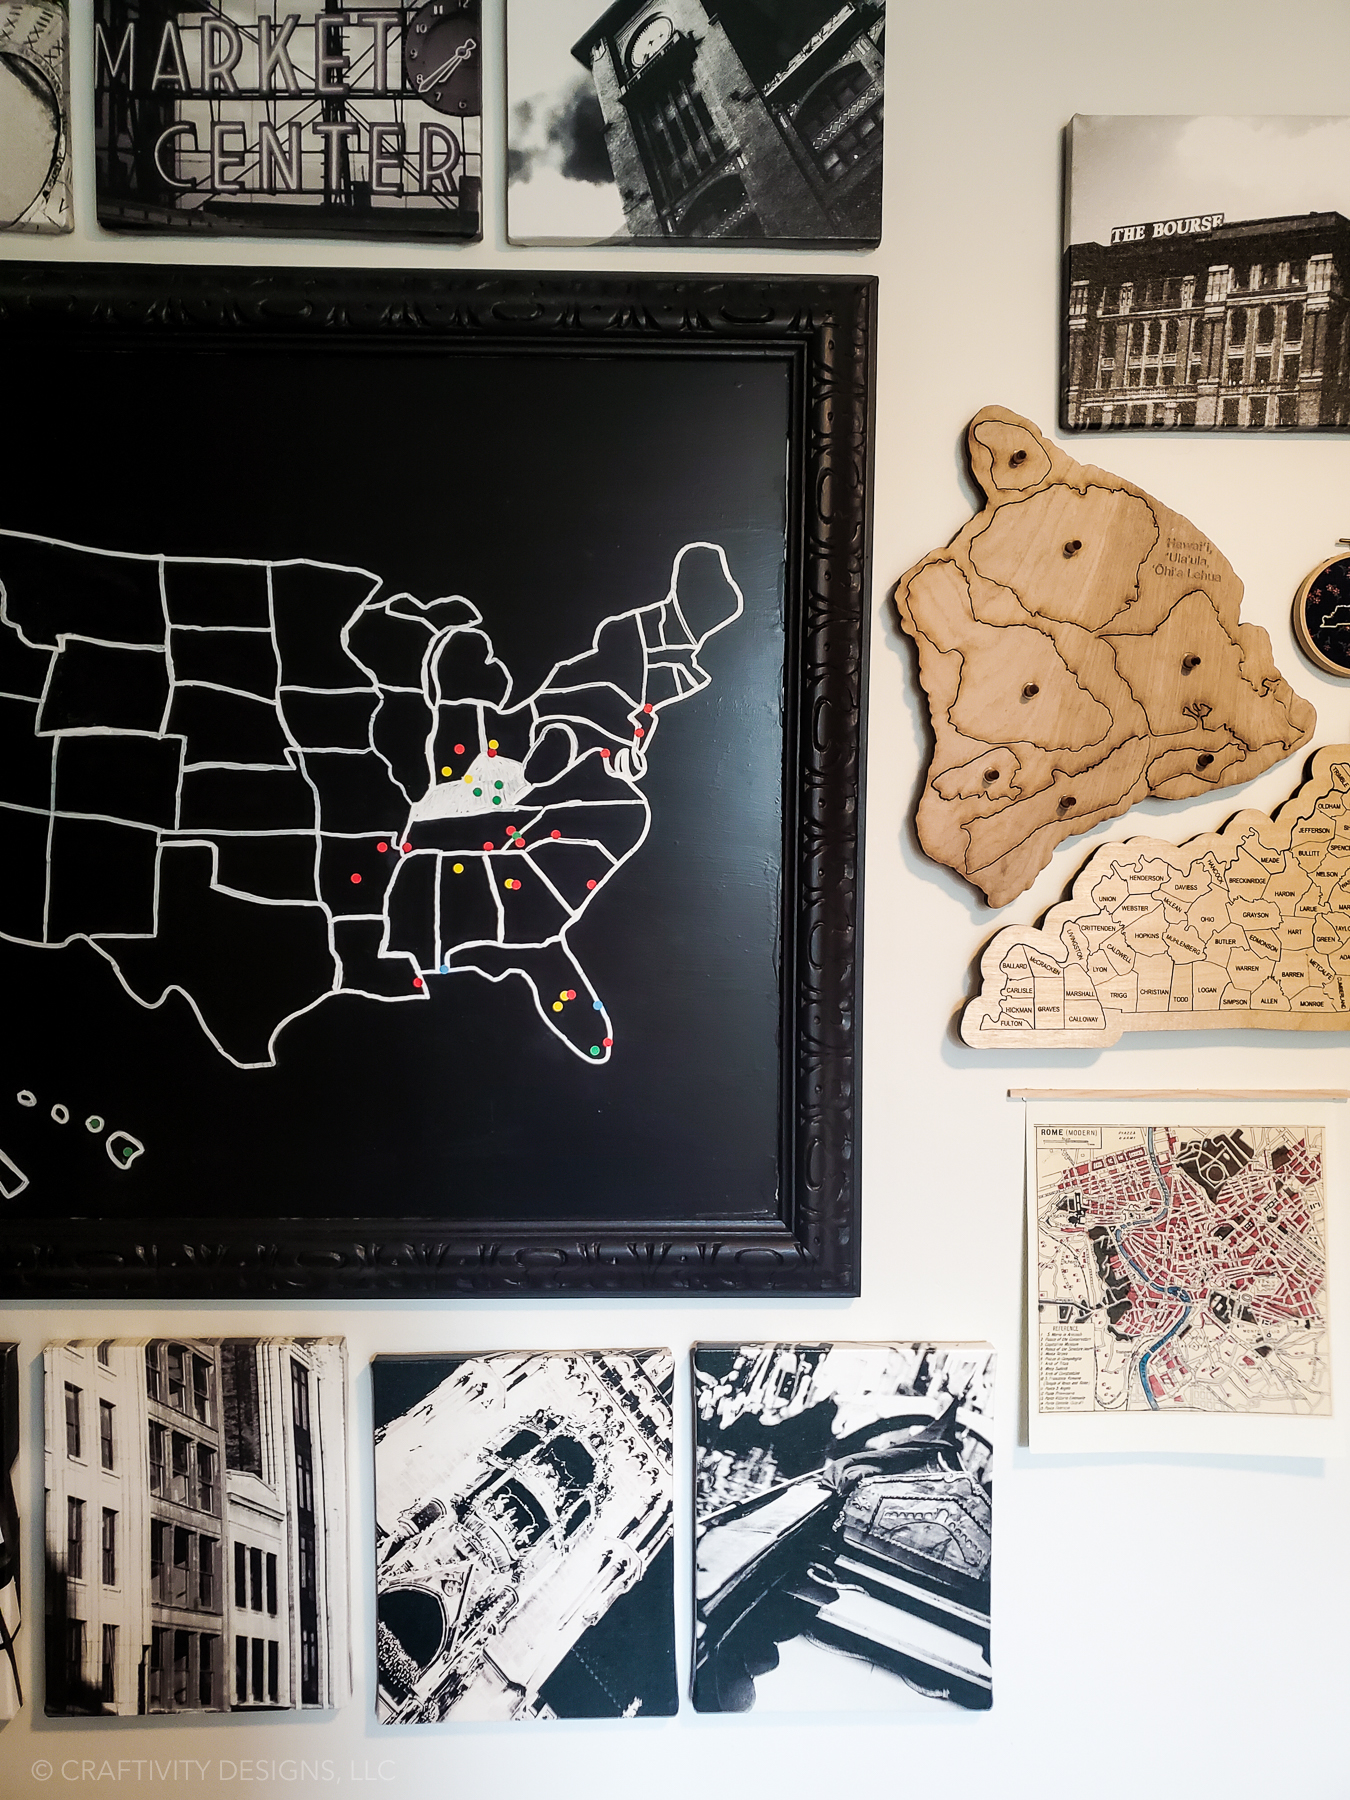
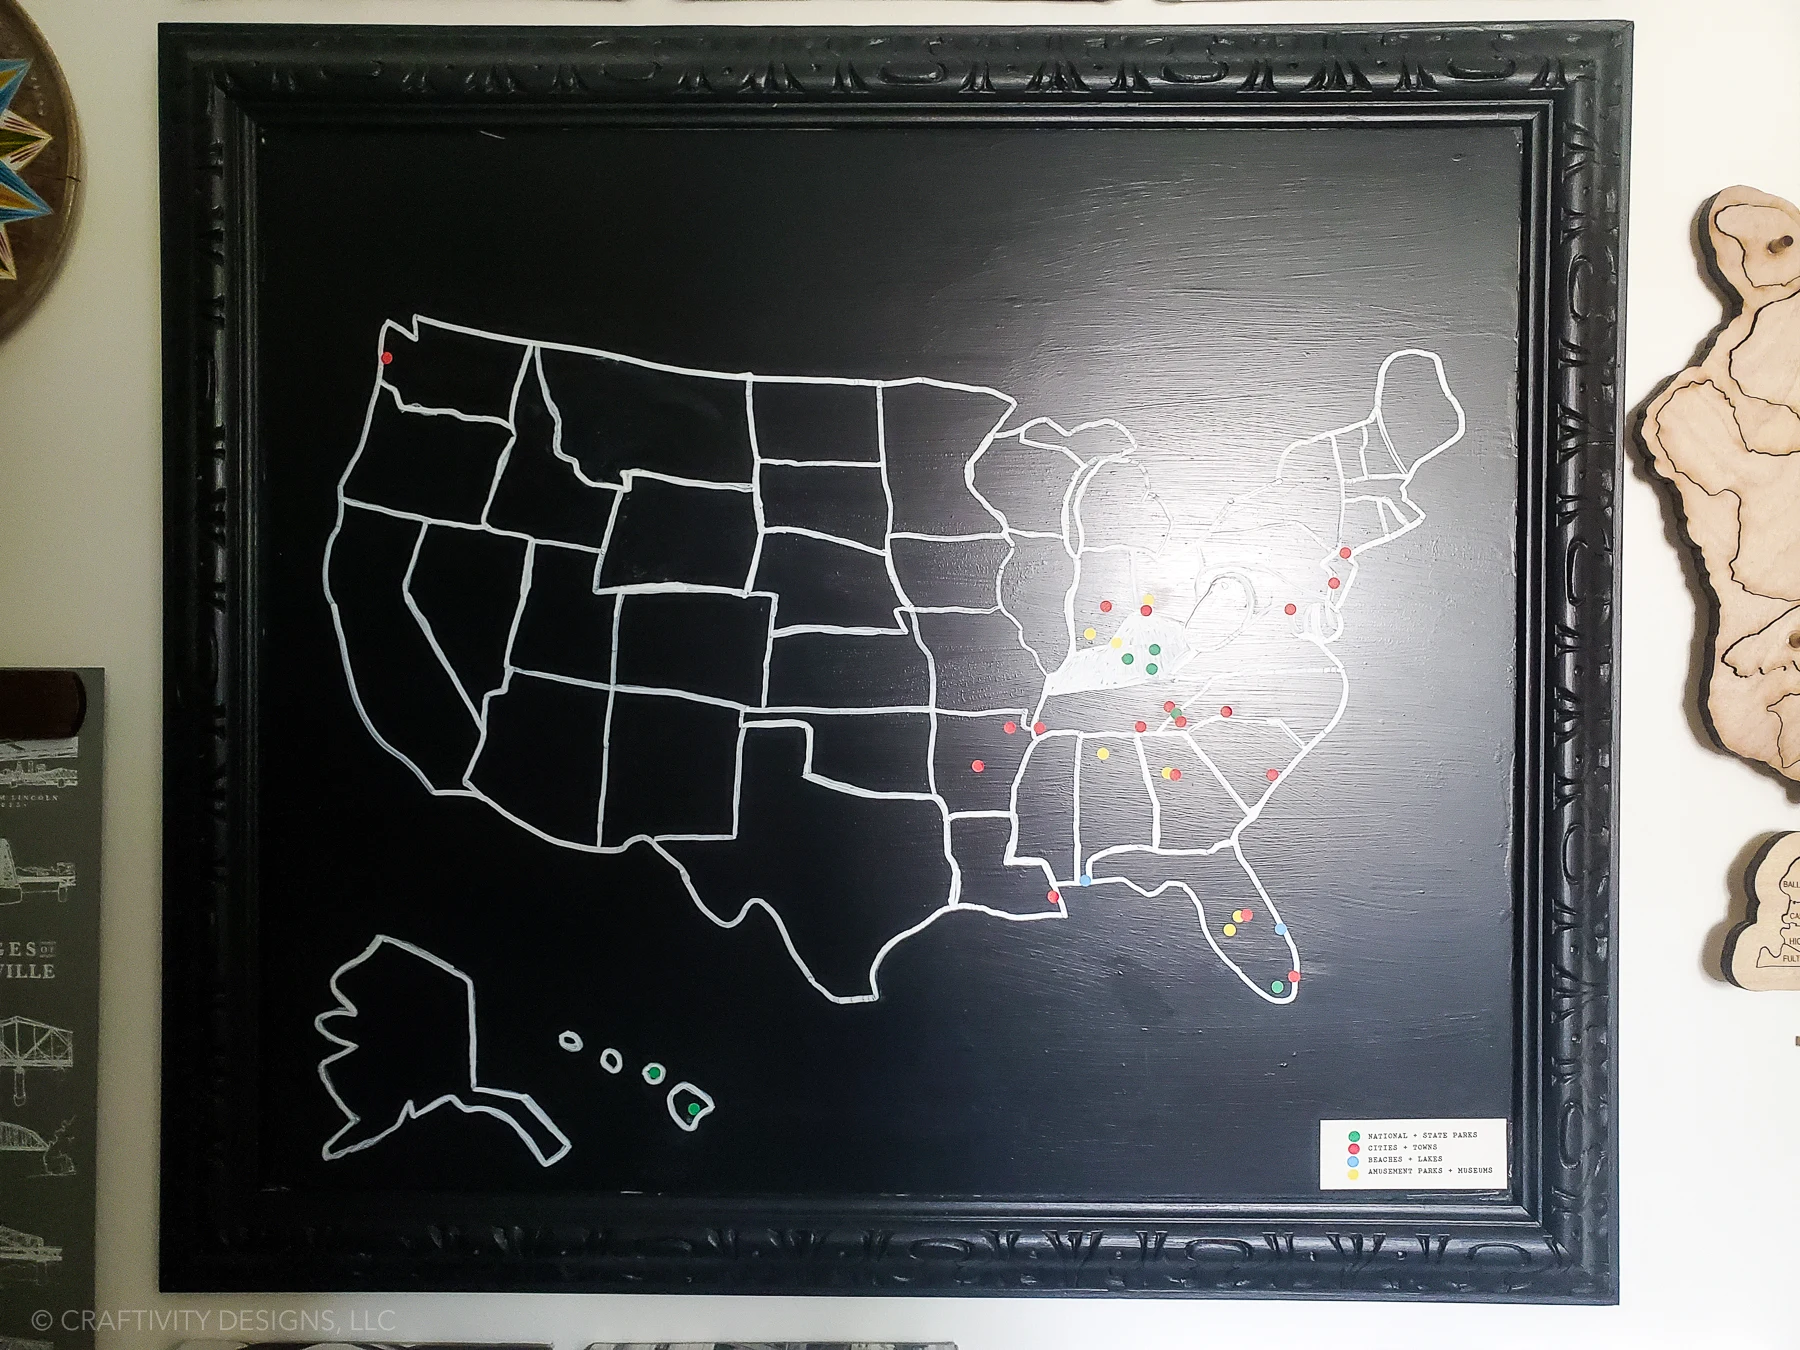
DIY Travel Map
Once you have finished your DIY travel map, it’s time to hang it up for everyone to enjoy. Place it above your fireplace, in your living room, dining room, or wherever you choose. In our home, the family travel map is in the loft between my kids’ rooms.

It’s the focal piece of a travel gallery wall which features souvenirs and art from places we’ve visited. I’ll be sharing more about this space, soon.
As you travel to new places, simply add the dot stickers to the map. It’s a fun family activity that we look forward to doing when we return home. We split up the destinations we visited, and let each child add a few markers.
Now, keep traveling until you’ve visited every place you dreamed of visiting!
How to Make a DIY Travel Map
Learn how to make a DIY Travel Map! A travel map is the perfect way to keep track of all the places you’ve been and all the places you want to go.
Materials
- Framed Art (thrifted or repurposed)
- Map Dots / Map Markers
- Chalkboard Paint
- Free Map Template Printable (download info, below)
- Free Printable Map Key (download info, below)
- Cardstock
- Sticky Tack
- Chalk Marker
Tools
- Scissors
- Printer & Ink
Instructions
- Tape off the edges of the glass in your frame and apply 3 coats of chalkboard paint to the glass.
- Allow the paint to fully cure (this may take several days, refer to the paint bottle for guidelines).
- Measure the dimensions of the glass chalkboard.
- Download a map printable that is sized for your artwork. Instructions for downloading the map are in the article after step #4.
- Open the map download with Adobe Reader. Print the map using the “Poster” option for paper size and handling.

- Cut out the sections of the map and lay it on the chalkboard. Then, use a chalk marker to outline your map on the chalkboard.
- Cut out each state and outline them individually.
- Determine a color-coding system for the places you visit.
- Use map dots / map markers to place color-coded dots on the map to represent the locations your family has visited.

- Create the map key. Instructions for downloading the key are in the article after step #10.
- To finish the map, put sticky tack on the back of the map key and attach it.
If you liked this creative travel idea, you may also enjoy:
- Map My Trip for Kids (charting travel with a free map template)
- 3 Fun + Free Travel Game Template and Road Trip Printables
- 12 Road Trip Scavenger Hunt Ideas
- How to Make a Disney Countdown Calendar
Want to save this DIY Travel Map idea? Pin it!
