Learn how to Easily Install a Granite Backsplash. In 7 simple steps, you can install a marble backsplash — even if you are a beginner (no power tools required!!).
We aren’t DIY experts — we just learn as we go. Installing a marble backsplash was a new project for us, but it went pretty smoothly. If you need to install a granite backsplash, let me walk you through this beginner-friendly DIY project.

Supplies Needed to install a Granite Backsplash
- Caulk Gun
- Construction Adhesive
- Waterproof Clear Silicone Caulk
- Caulk Tool (optional)
- Pre-Cut Backsplash and Sidesplash
How to Install a Granite Backsplash
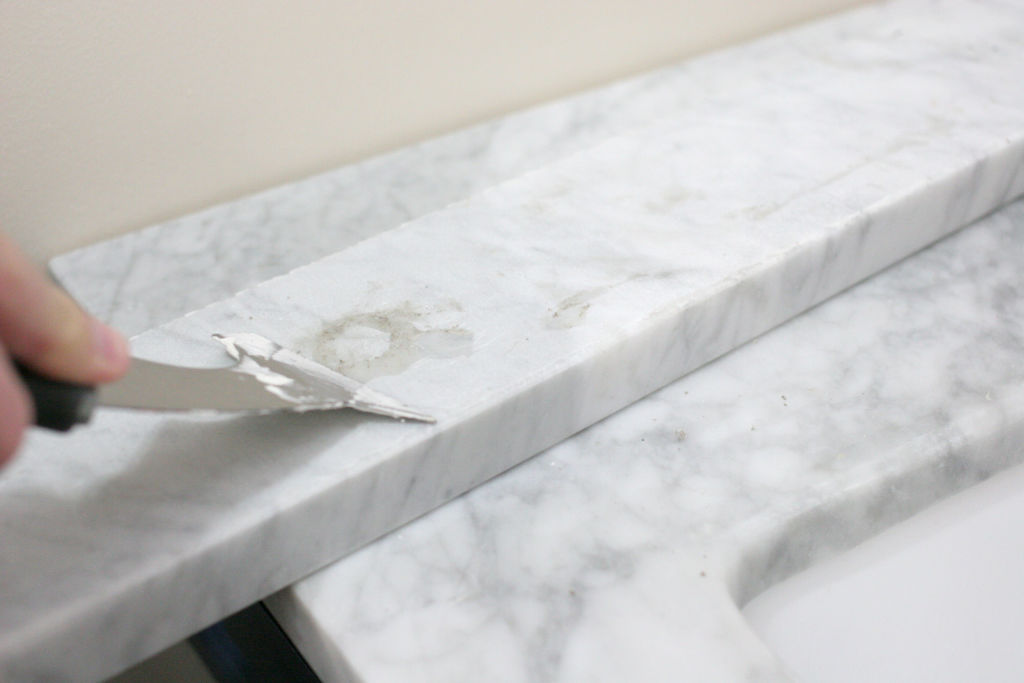
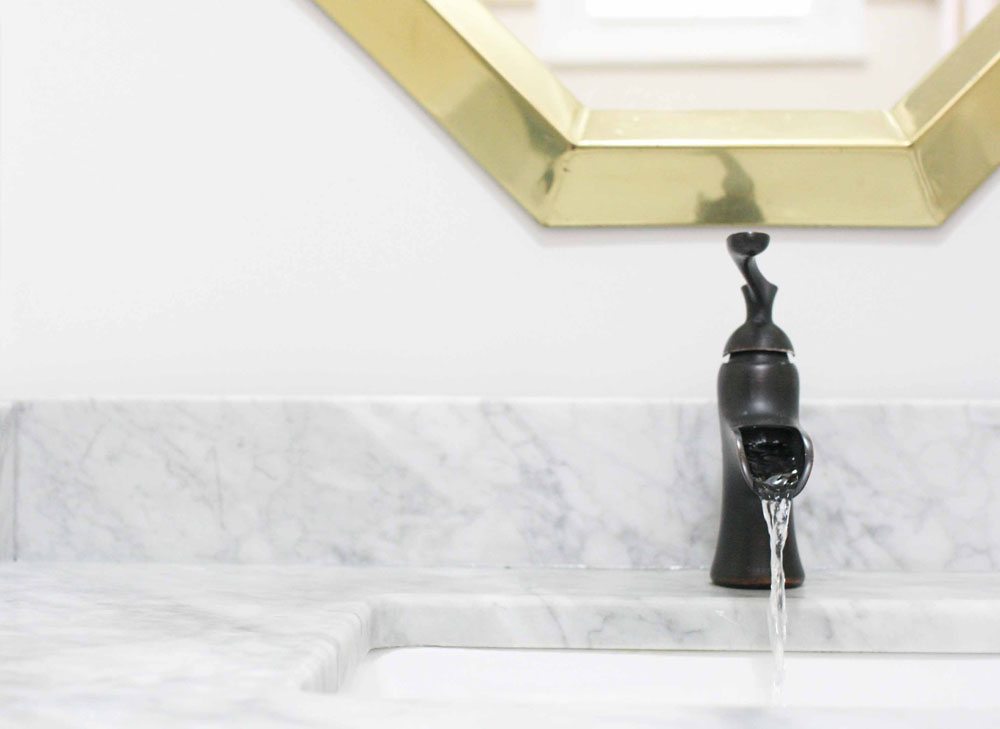
Before you begin, ensure that the back of the backsplash and the wall are both clean. The marble backsplash was previously installed in this room when it still had wallpaper. Therefore, when we completed the navy and white bathroom renovation, we had to remove the backsplash. It had adhesive residue on the back, which we removed with a 5-in-1 tool.
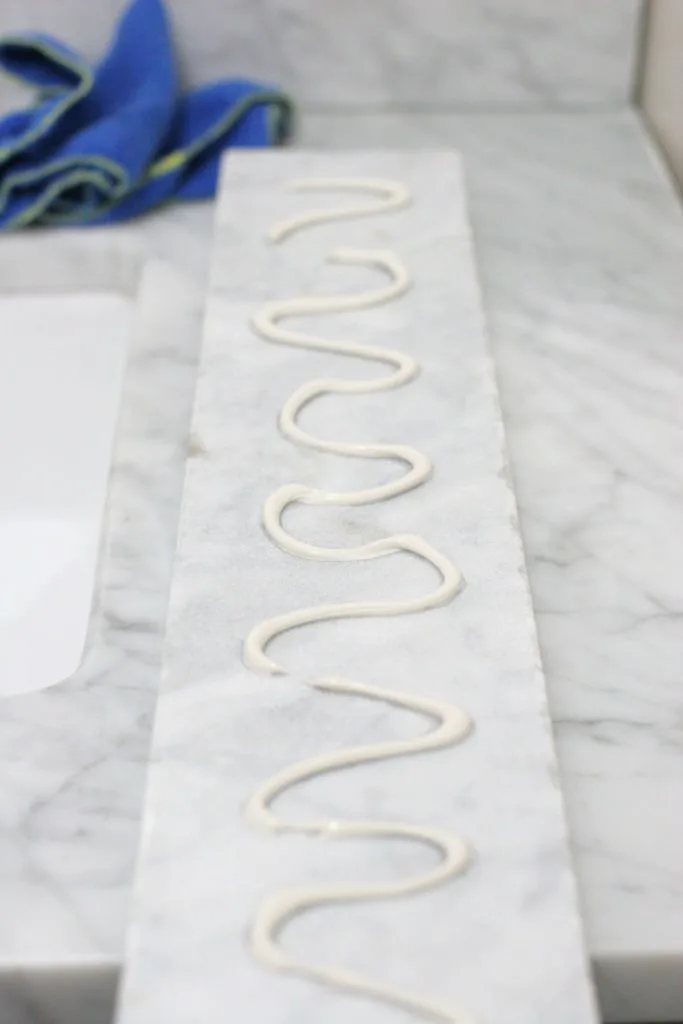
- First, apply construction adhesive with the caulk gun.

- Next, apply a thin line of silicone along the edge of the vanity top – where the backsplash and/or sidesplash will sit.
- Before placing the sidesplash, you should also apply a thin line of silicone to the end of the sidesplash which will touch the front of the backsplash.
- Now, set the marble/granite slabs in place. We chose to set the sidesplashes first, in order to ensure they were flush with the front edge of the vanity.
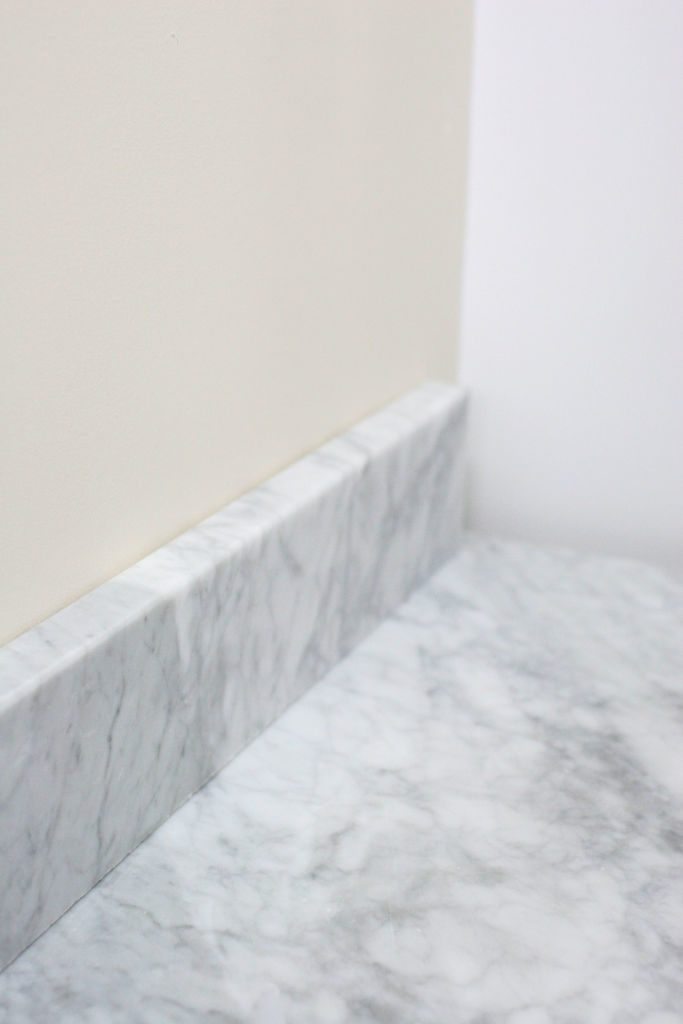
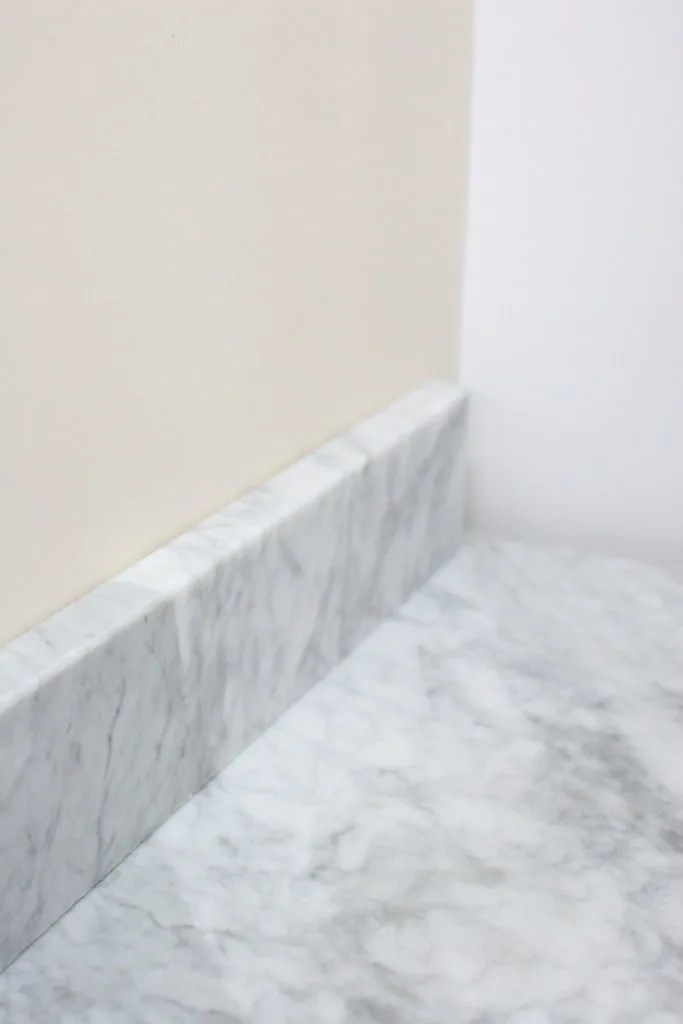
- Press each piece of marble/granite against the wall to ensure good adhesion.
- Once set, apply silicone where the backsplash (or sidesplash) and countertop meet. This will prevent water from seeping between the slabs.
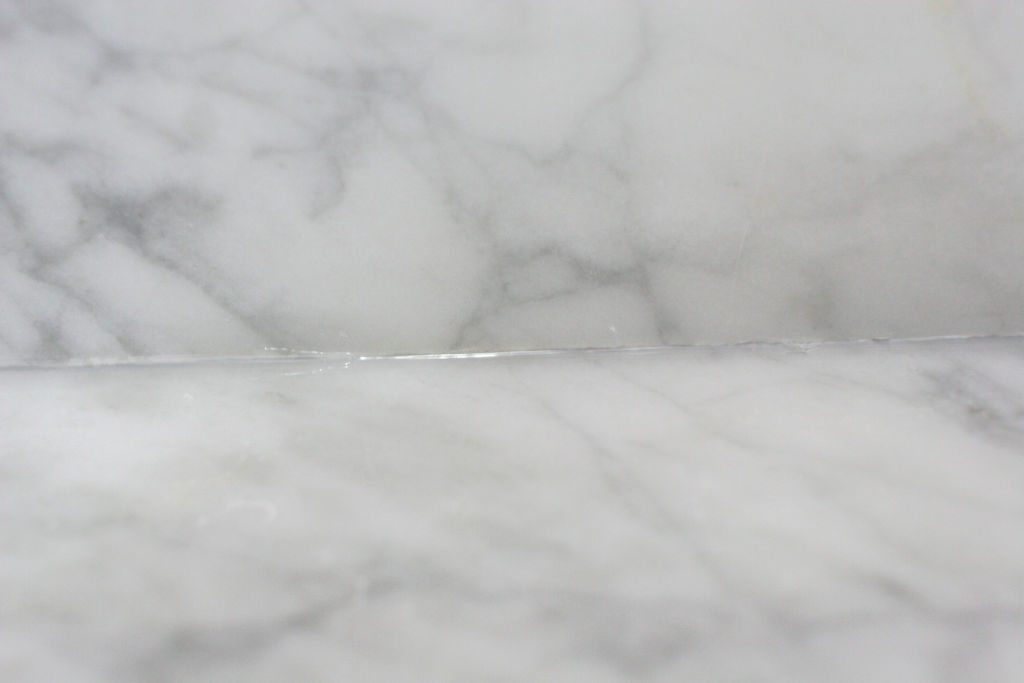
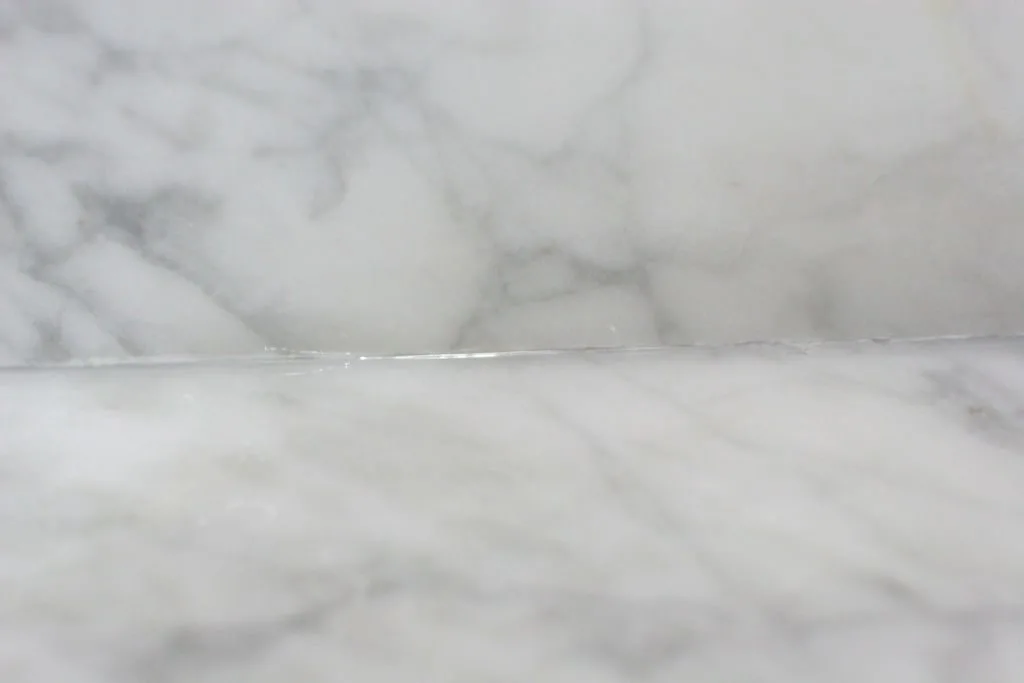
- Smooth the caulk line with your finger (or use a caulk tool, if you prefer).


How to Save Money on Marble or Granite Counters
Earlier I mentioned that we installed the granite backsplash after installing the vanity top (it was installed nearly 1.5 yrs prior… find out how we chose the vanity top). However, removing wallpaper isn’t the only reason we had to remove and re-install the backsplash. Or, said otherwise, we intentionally chose to install marble over wallpaper in order to save money on *two* renovations. How?
Buy More than one Countertop or Vanity at a Time
Have several bath or kitchen projects in the pipeline? Buy the counters all at once and save on installation. We had two bathroom renos on the to-do list. So, we chose to replace both counters at the same time even though only the main bath was receiving a full-blown makeover at that point.
Buy Used Marble/Granite Vanity Tops
Since vanity tops typically come in standard sizes, you might be able to score a used marble or granite counter (plus backsplash) to really save some money. Check places like ReStore to find used home products and building materials.
Budget Bathroom Renovation
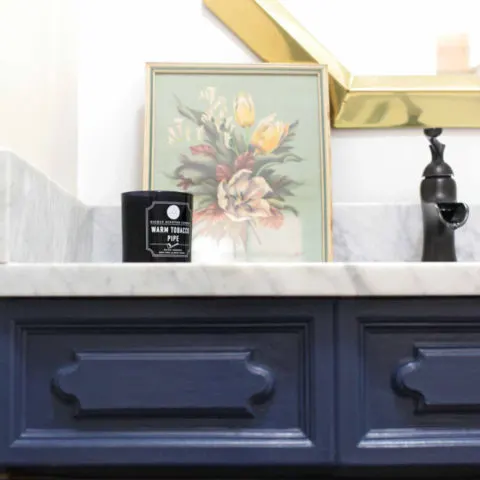
Now that we’ve learned to install a granite backsplash, we can focus on the rest of the navy and white bathroom renovation (such as board and batten, brass accents, and more!). If you are working on a budget-friendly bath makeover, you might like to see how to update a small vanity by making it taller and deeper. Like learning to install a marble backsplash, it’s fairly beginner friendly (though you will have to break out the power tools).
Speaking of marble, if you are wondering how the marble countertops held up, check out my 1-year review of our marble vanity tops.


How to Install a Granite Backsplash
Learn how to easily install a Granite Backsplash. In several simple steps, you can install a marble backsplash — even if you are a beginner (no power tools required).
Materials
- Construction Adhesive
- Waterproof Clear Silicone Caulk
- Pre-Cut Backsplash and/or Sidesplash
Tools
Instructions
- Make sure to clean the surface of the vanity, backsplash, and sidesplash.
- Apply construction adhesive to the backside of the backsplash with a caulk gun.
- Apply a thin line of silicone along the edge of the vanity top, where the backsplash will sit.
- Set the backsplash in place.
- Press the front and top to ensure good adhesion.
- If applicable, repeat steps 2-3 for each sidesplash.
- If applicable, apply a thine of silicone along the front edge of the backsplash, where the sidesplash will touch the front side of the backsplash.
- If applicable, set each sidesplash in place and press for good adhesion.
- Once set, apply silicone where the backsplash (or sidesplash) and countertop meet.
- Smooth the caulk line with your finger (or use a caulk tool, if you prefer)
Recommended Products
As an Amazon Associate and member of other affiliate programs, I earn from qualifying purchases.


If you liked this bathroom renovation post, you might also like:
- How to Install Board and Batten in Small Spaces
- How to Make a Vanity Taller and Deeper
- How to Work with Brass Hardware
- How to Choose a Vanity Top Material for a Remodel
- How to Update a Builder Grade Bathroom Mirror
Tile Setters Vancouver
Monday 16th of December 2024
Great blog! Installing a granite backsplash sounds easier than I thought. It’s such a durable and classy option—worth trying for a polished look!
Content Creators You Will LOVE, Blogs To Follow | The Aspiring Home
Wednesday 28th of July 2021
[…] Modern Cottage Home Tour // Little Girl Bedroom Ideas // Vintage Laundry Room // German Schmear Brick // Install Granite Backsplash […]
Jacek
Wednesday 10th of August 2016
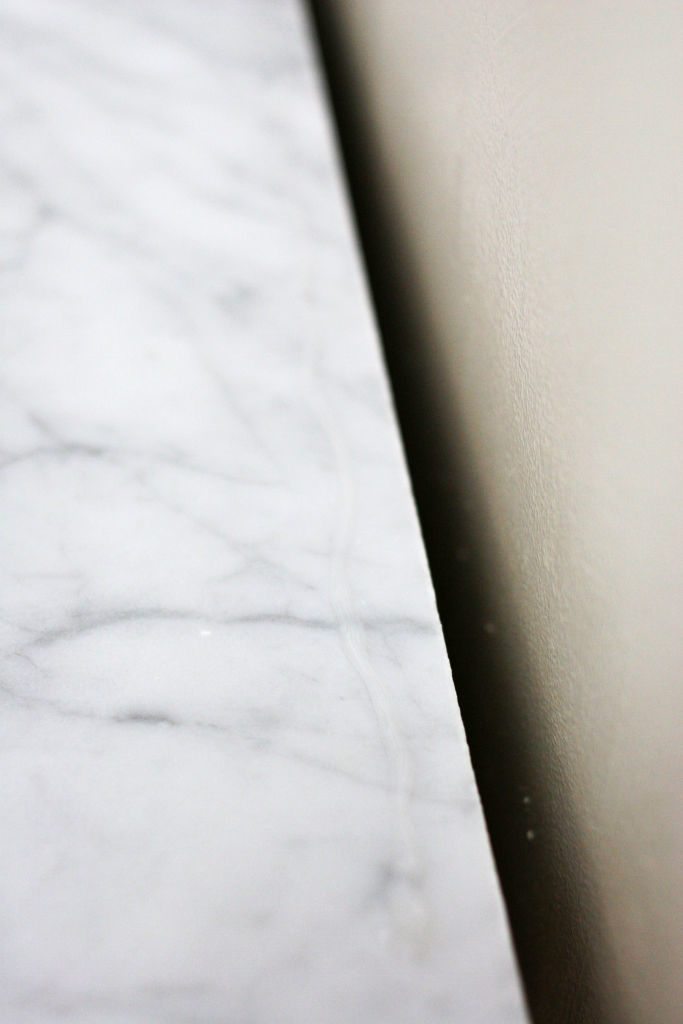
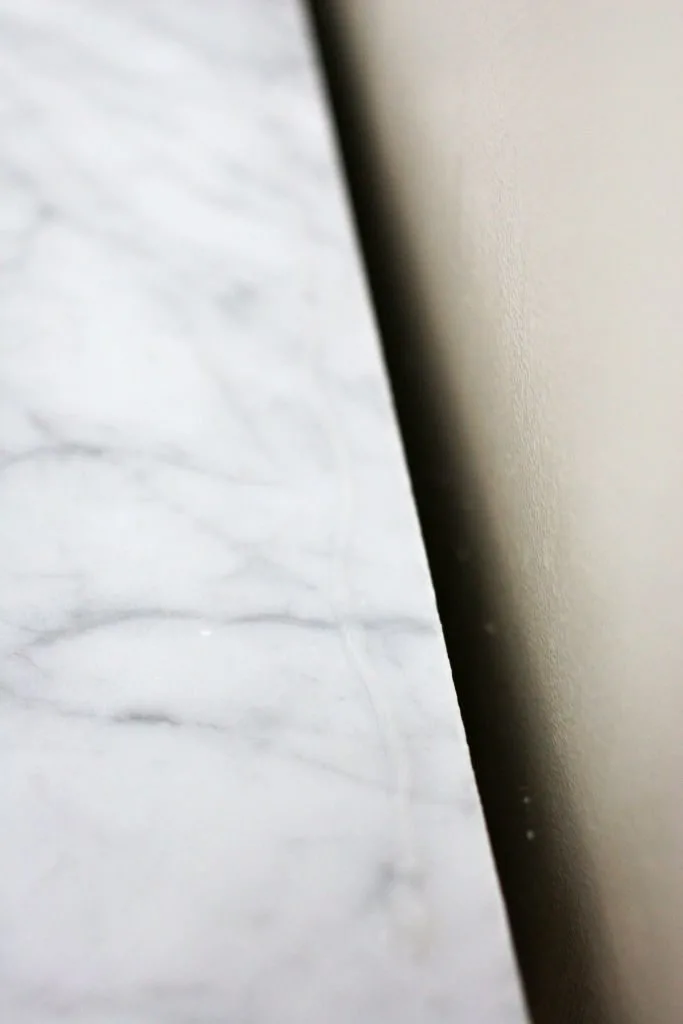
The vanity looks so elegant and more remarkable with the granite backsplash. I’ll try the way you did. Thanks for your sharing. But the line between the wall and the backsplash shall be an ideal place to dust to stuck in, I think we should do something with it.
craftivitydesigns@gmail.com
Friday 12th of August 2016
Yes, definitely! I've found using a marble cleaner to be very valuable for cleaning off this area with a rag.