Today, I’m going to share with you a great kids nativity set to make during the Christmas season. I will be doing this activity this upcoming Sunday with my second grade Sunday School kiddos. I didn’t create this idea but found it on Pinterest and decided to check it out and share it with all of you!
Step 1:
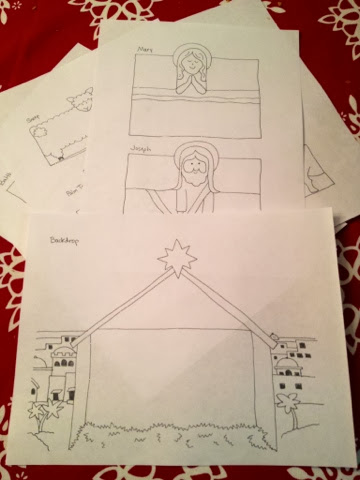
Go here to visit Catholic Icing’s to print the PDF file with the printable characters for the nativity. For my nativity set, I chose to include Mary, Joseph, the Angel, a Donkey, Baby Jesus, and the stable. However, the PDF file also includes other animals and the wise men.
Step 2:
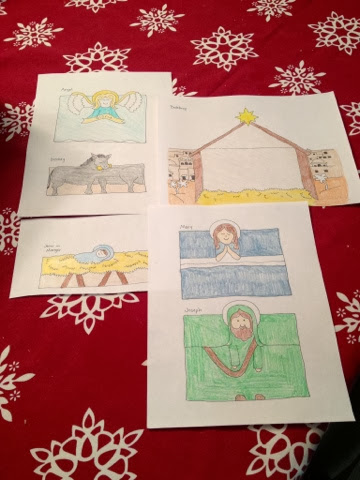
Color all of the characters that you want to use in your nativity scene. Be sure to also color the background page which has the stable on it.
Step 3:
Cut out all of the characters and the stable. Be sure to cut around the angel wings so they can look like they are flying.
Step 4:
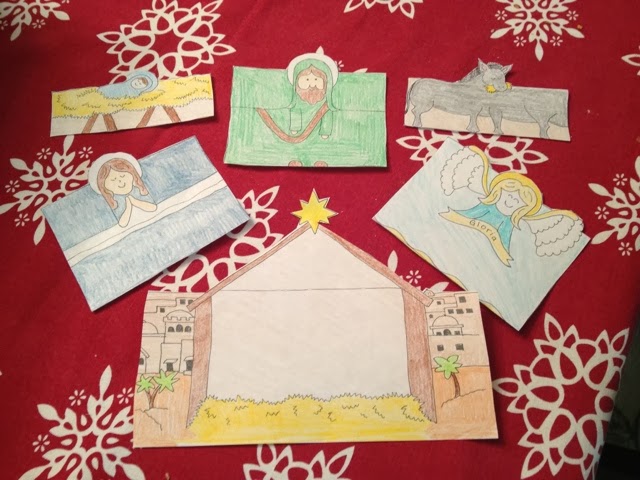
Using empty toilet paper rolls (or paper towel rolls cut down), wrap the character pieces around the roll and attach using a stapler. The stable will use two rolls, one on each end. For the smaller characters like baby Jesus and the donkey, you will need to cut a roll in half.

Step 5:
Display your nativity scene where kids can play with it and tell the story of the birth of Jesus to their family and friends.

I really enjoyed this activity and can’t wait to share it with the kids on Sunday! I’ll be back tomorrow on Kick-Off Friday to share more great holiday ideas.