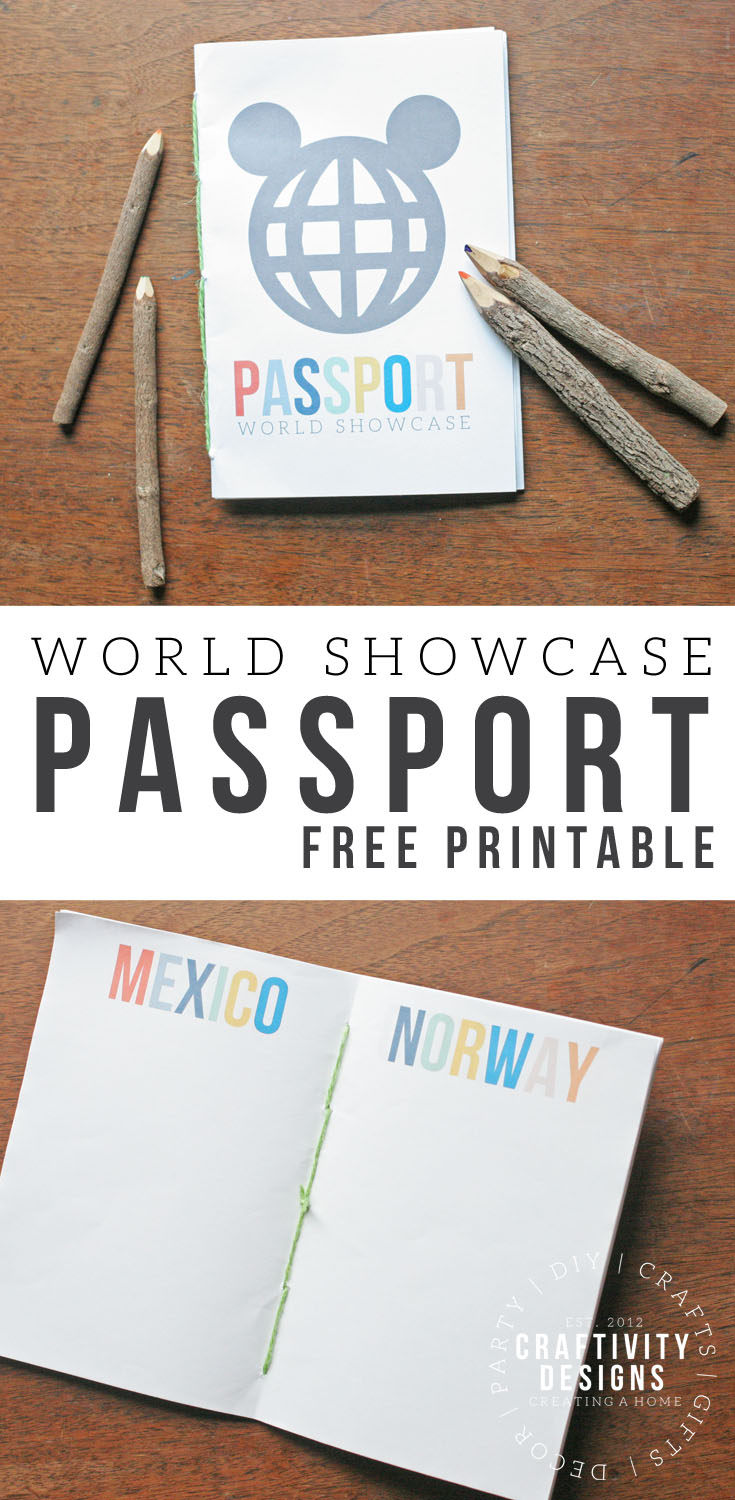
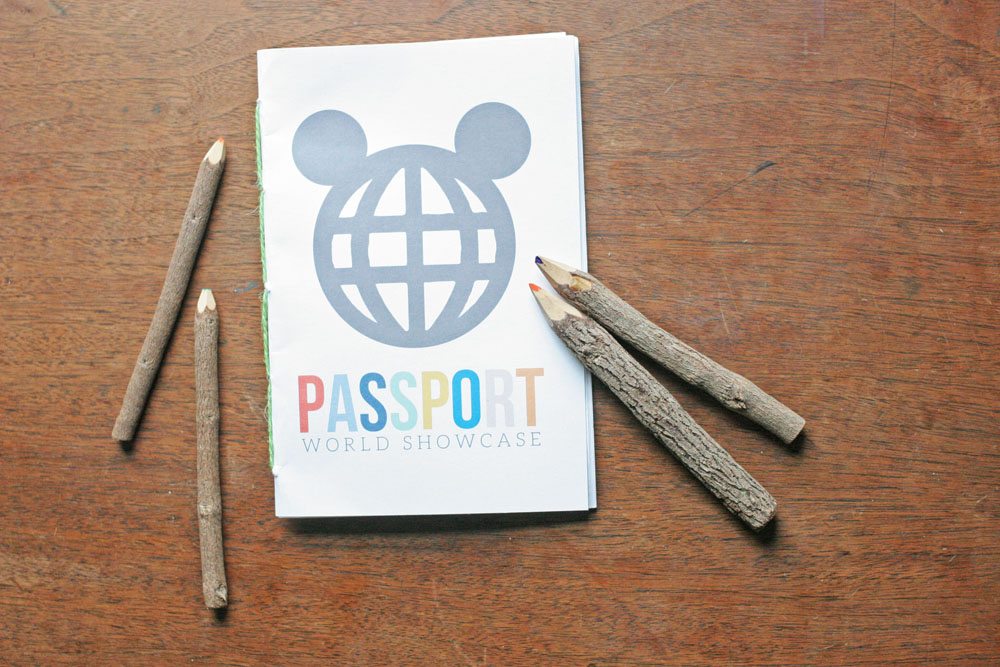
Are you going to Disney World? Learn how to make a DIY World Showcase Passport for your trip to use at each country’s pavilion in Epcot.
Who is more excited about going to Disney World? Myself or the kids? It’s a close call {wink}. But seriously, I love it! One of my favorite activities at Disney World is strolling through the World Showcase, tasting the food, and admiring the decor at each country’s pavilion.
To be fair, World Showcase isn’t always a favorite for young kids. So, in order to keep the kids engaged in the World Showcase, they are each getting their own Passport.
**Affiliate links are included in this post.
I haven’t been quiet about my excitement for our trip to Disney World this fall {eek! it’s getting so close}. We’ve been tracking the days with a DIY Countdown Calendar, planning for travel with car games, and prepping a map so that the kids can chart our trip. Now we are getting to the really exciting stuff — when we are actually at Disney.
DIY World Showcase Passport: Supplies
World Showcase Passport Template {available to download at the end of this tutorial}
Printer + Ink
Printer Paper
Cardstock
Paper Trimmer
Paper Clip
Paper Piercer/Needle Tool
Sewing Needle
Twine
DIY World Showcase Passport: Instructions
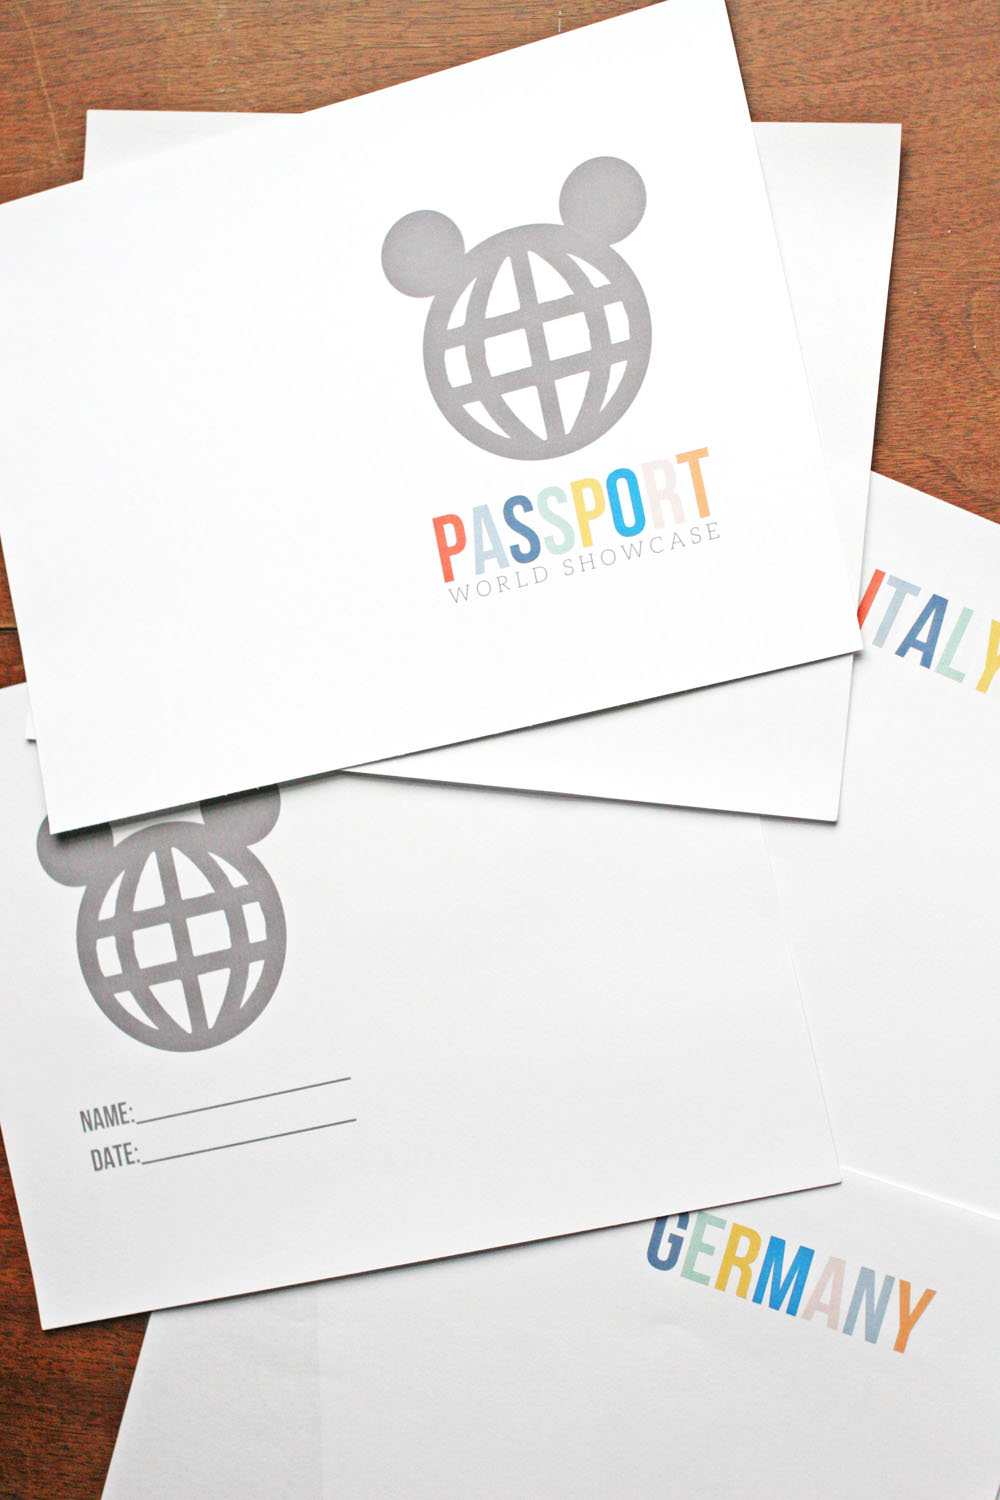
First, download and print the World Showcase Passport Template {available to download at the end of this tutorial}. The files include:
- a passport cover to print on cardstock and
- passport pages to print on regular printer paper.
The passport pages will have both a front and back. So, print the “front pages” file first. Then, place the printed pages back into the printer in order to print the “back pages” file. Make sure the paper is in the same order that the “front page” file was printed. Also, make sure that the paper is facing the correct direction {so you don’t print twice on the same side of the paper}. This can be a little tricky.
Here’s a tip: Print a couple pages of each file in black and white and using low quality. Use these copies as test pages to determine the correct paper orientation.
Next, trim the paper to 9.5″x7″ sheets. In order to do this, use a paper trimmer to trim .75″ from both the top and bottom and .75″ from both the left and right sides.
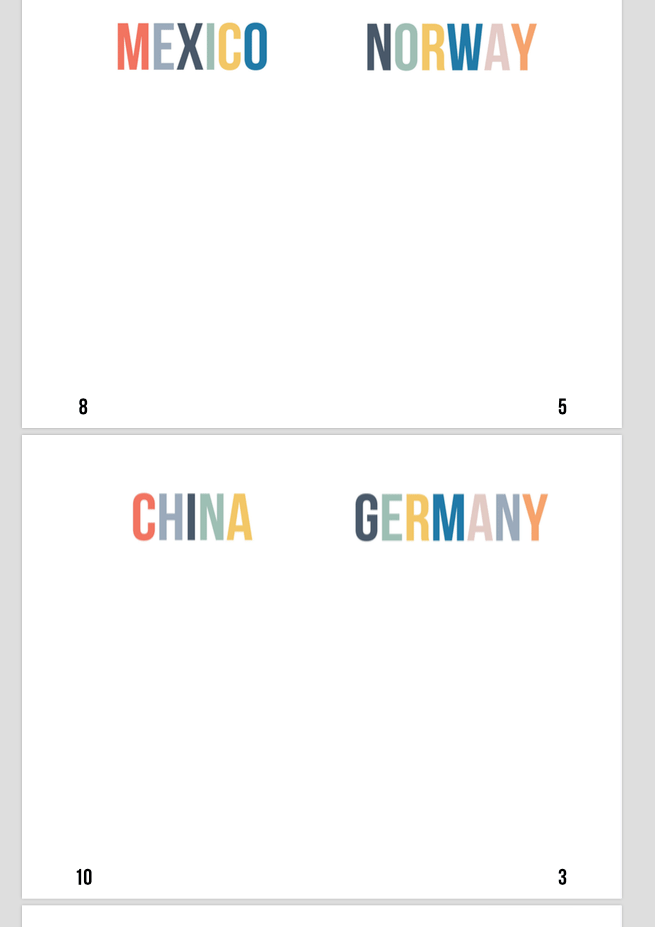
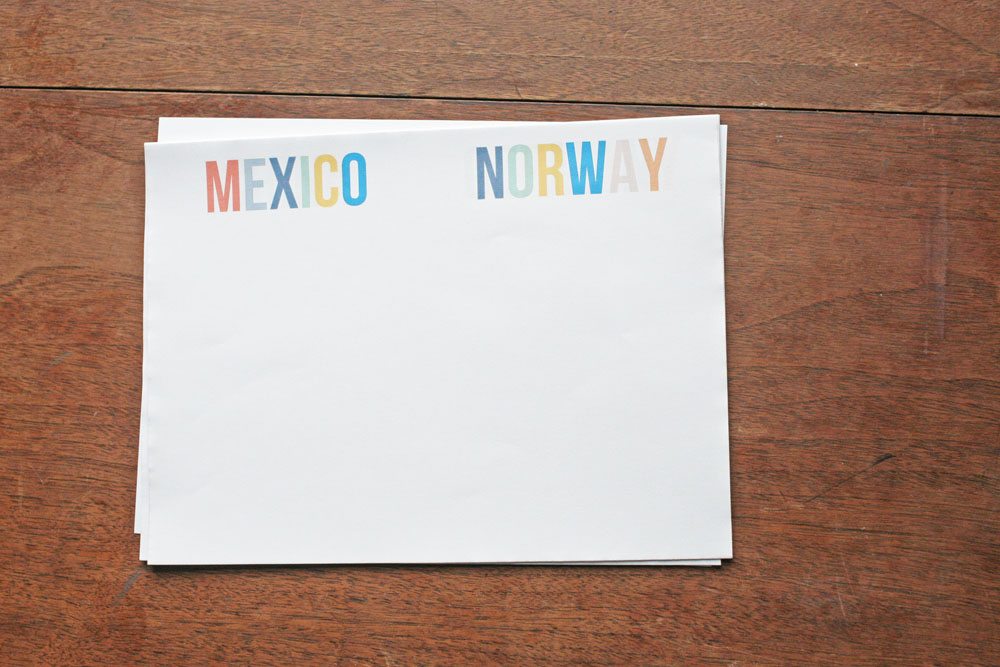
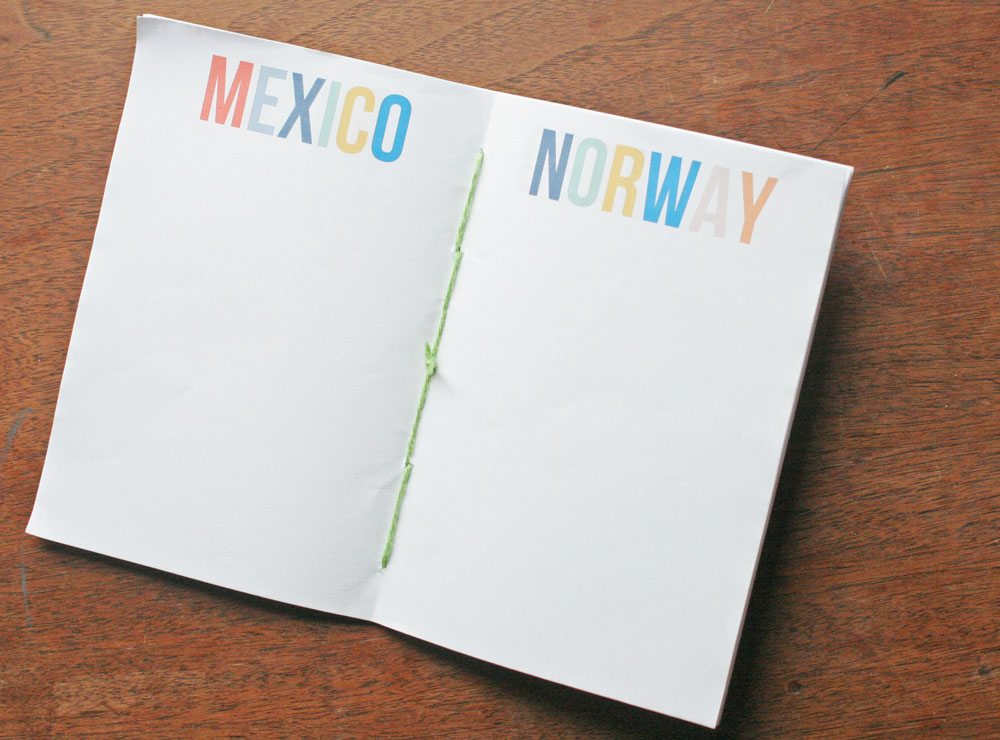
Once trimmed, stack the passport pages in the correct order. To do that, open the “front pages” file and the “back pages” file on your computer. Use the numbers in each corner to determine the page order.
For example, in the image below, China and Germany would sit atop Mexico and Norway. Then, once the book is folded into the middle:
- Germany would be page 3,
- Norway would be page 5,
- Mexico would be page 8,
- China would be page 9
- of course, the other pages will be in the stack which means pages 1,2,4,6,7,10,11 would be in the correct place, too.
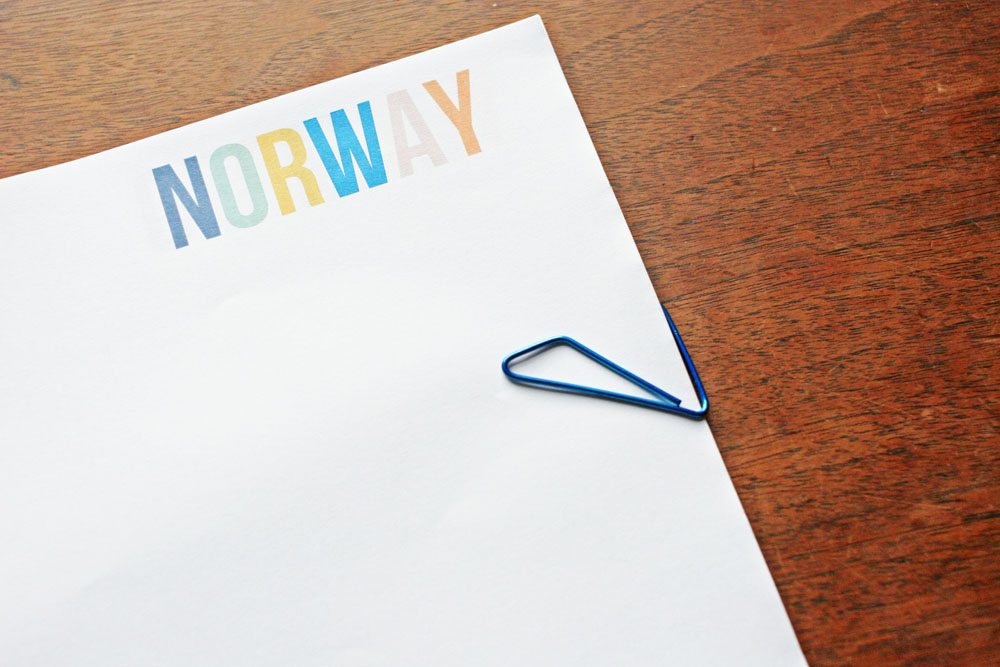
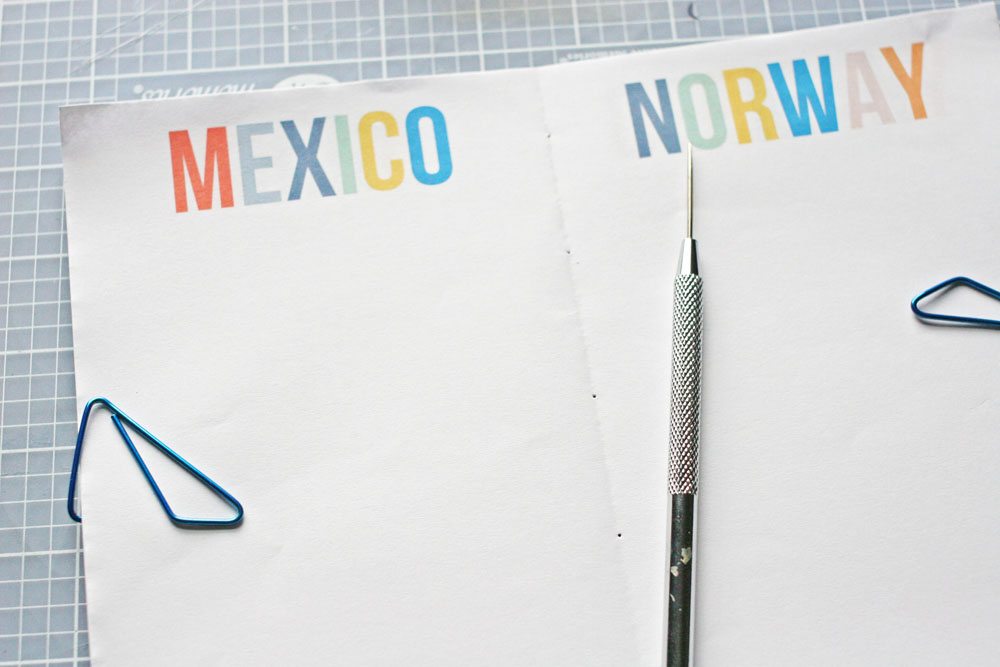
Once the stack is in order — including the Passport Cover — use paper clips on each side to keep the stack of paper straight.
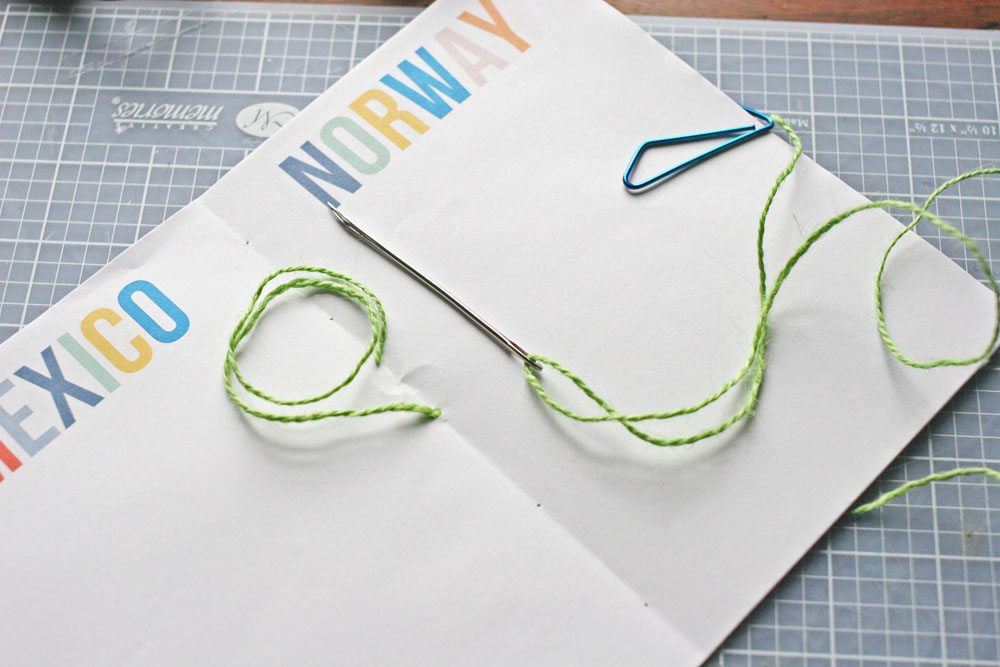
Then, fold the stack in half. Use a paper piercer or needle tool to poke holes along the fold.
Finally, use a sewing needle to poke twine through each hole and sew the binding. I used this video tutorial as a guide.
If possible, make the World Showcase Passports in advance, so that the booklets can be pressed. To press our passports, I placed paper clips around all 4 sides of the booklet. Then, I stored the passports under a couple heavy books for several weeks.
Using a World Showcase Passport
How do you use a World Showcase Passport? Make sure to find the Kidcot Fun Stops inside each country’s pavilion. At each Kidcot Fun Stop, your kids will get to complete a craft or activity and get the passport stamped.
It’s an activity and souvenir, all in one. When we get home, I may add some photos from the trip to the pages of the passport. This way, it’s a mini-scrapbook for the kids, too.
Would you like to download the free printable? Click the button, below, to sign up for our newsletter and gain access to the freebie library. Once subscribed, you will receive an email with instructions to access the library.
If you have any problems signing up, please send an email to loragreen@craftivitydesigns.com, and I will sign you up manually.
Kristin Cook
Wednesday 16th of August 2017
I LOVE this idea. As someone who hasn't had much opportunity to travel, it would make me feel so good as I was able to add places I had been to the list! Glad to have you as part of my giveaway!
Lora Green
Friday 18th of August 2017
Happy to participate :)