Have you ever shopped second-hand for a vintage dresser? Learn how to refinish a vintage dresser. A dresser makeover is an affordable storage solution.
Disclosure: Supplies for this project were provided by DecoArt. All opinions are mine alone.
It’s the third edition of the Thrift Store Decor Upcycle Challenge for 2017. As a quick reminder, we each take a second-hand item, and upcycle it into something new and fresh for the home. This month, I’m showing you how to update a second-hand classic — the dresser. There are over 30 bloggers participating, so you will have plenty of inspiration for your next visit to a thrift store.

The Rules:
- Upcycle an item(s) from a thrift store, resale store, or garage sale into a new piece of decor.
- There’s no monthly theme.
- There’s no budget to stick to.
Meet the Hosts
Amanda | The Kolb Corner Erlene | My Pinterventures Kim | Made in a Day
Dru | Polka Dot Poplars Maureen | Red Cottage Chronicles Pili | Sweet Things
Shirley | Intelligent Domestications Debra | Shoppe No. 5 Marie | DIY Adulation
Chelsea | The Johnsons Plus Dog Jes | My DIY Envy Ann | Duct Tape and Denim
Molly | Just a Little Creativity Ashley | 3 Little Greenwoods Kimm | Reinvented
Kim | Farmhouse Made Victoria | Dazzle While Frazzled Sara | Twelve on Main
Chelc | Inside the Fox Den Sue | A Purdy Little House Michelle | Our Crafty Mom
Sherry | Savvy Apron Jennifer and Vicki | 2 Bees in a Pod Lora | Craftivity Designs
Ali | Home Crafts By Ali Denise | My Thrifty House Colleen | Life on Kaydeross Creek
Toni | Small Home Soul Michelle | Michelle James Designs
Medina | Grillo Designs Karen | Dragonfly & Lily Pads
Make sure you follow our board on Pinterest for more upcycled decor inspiration!
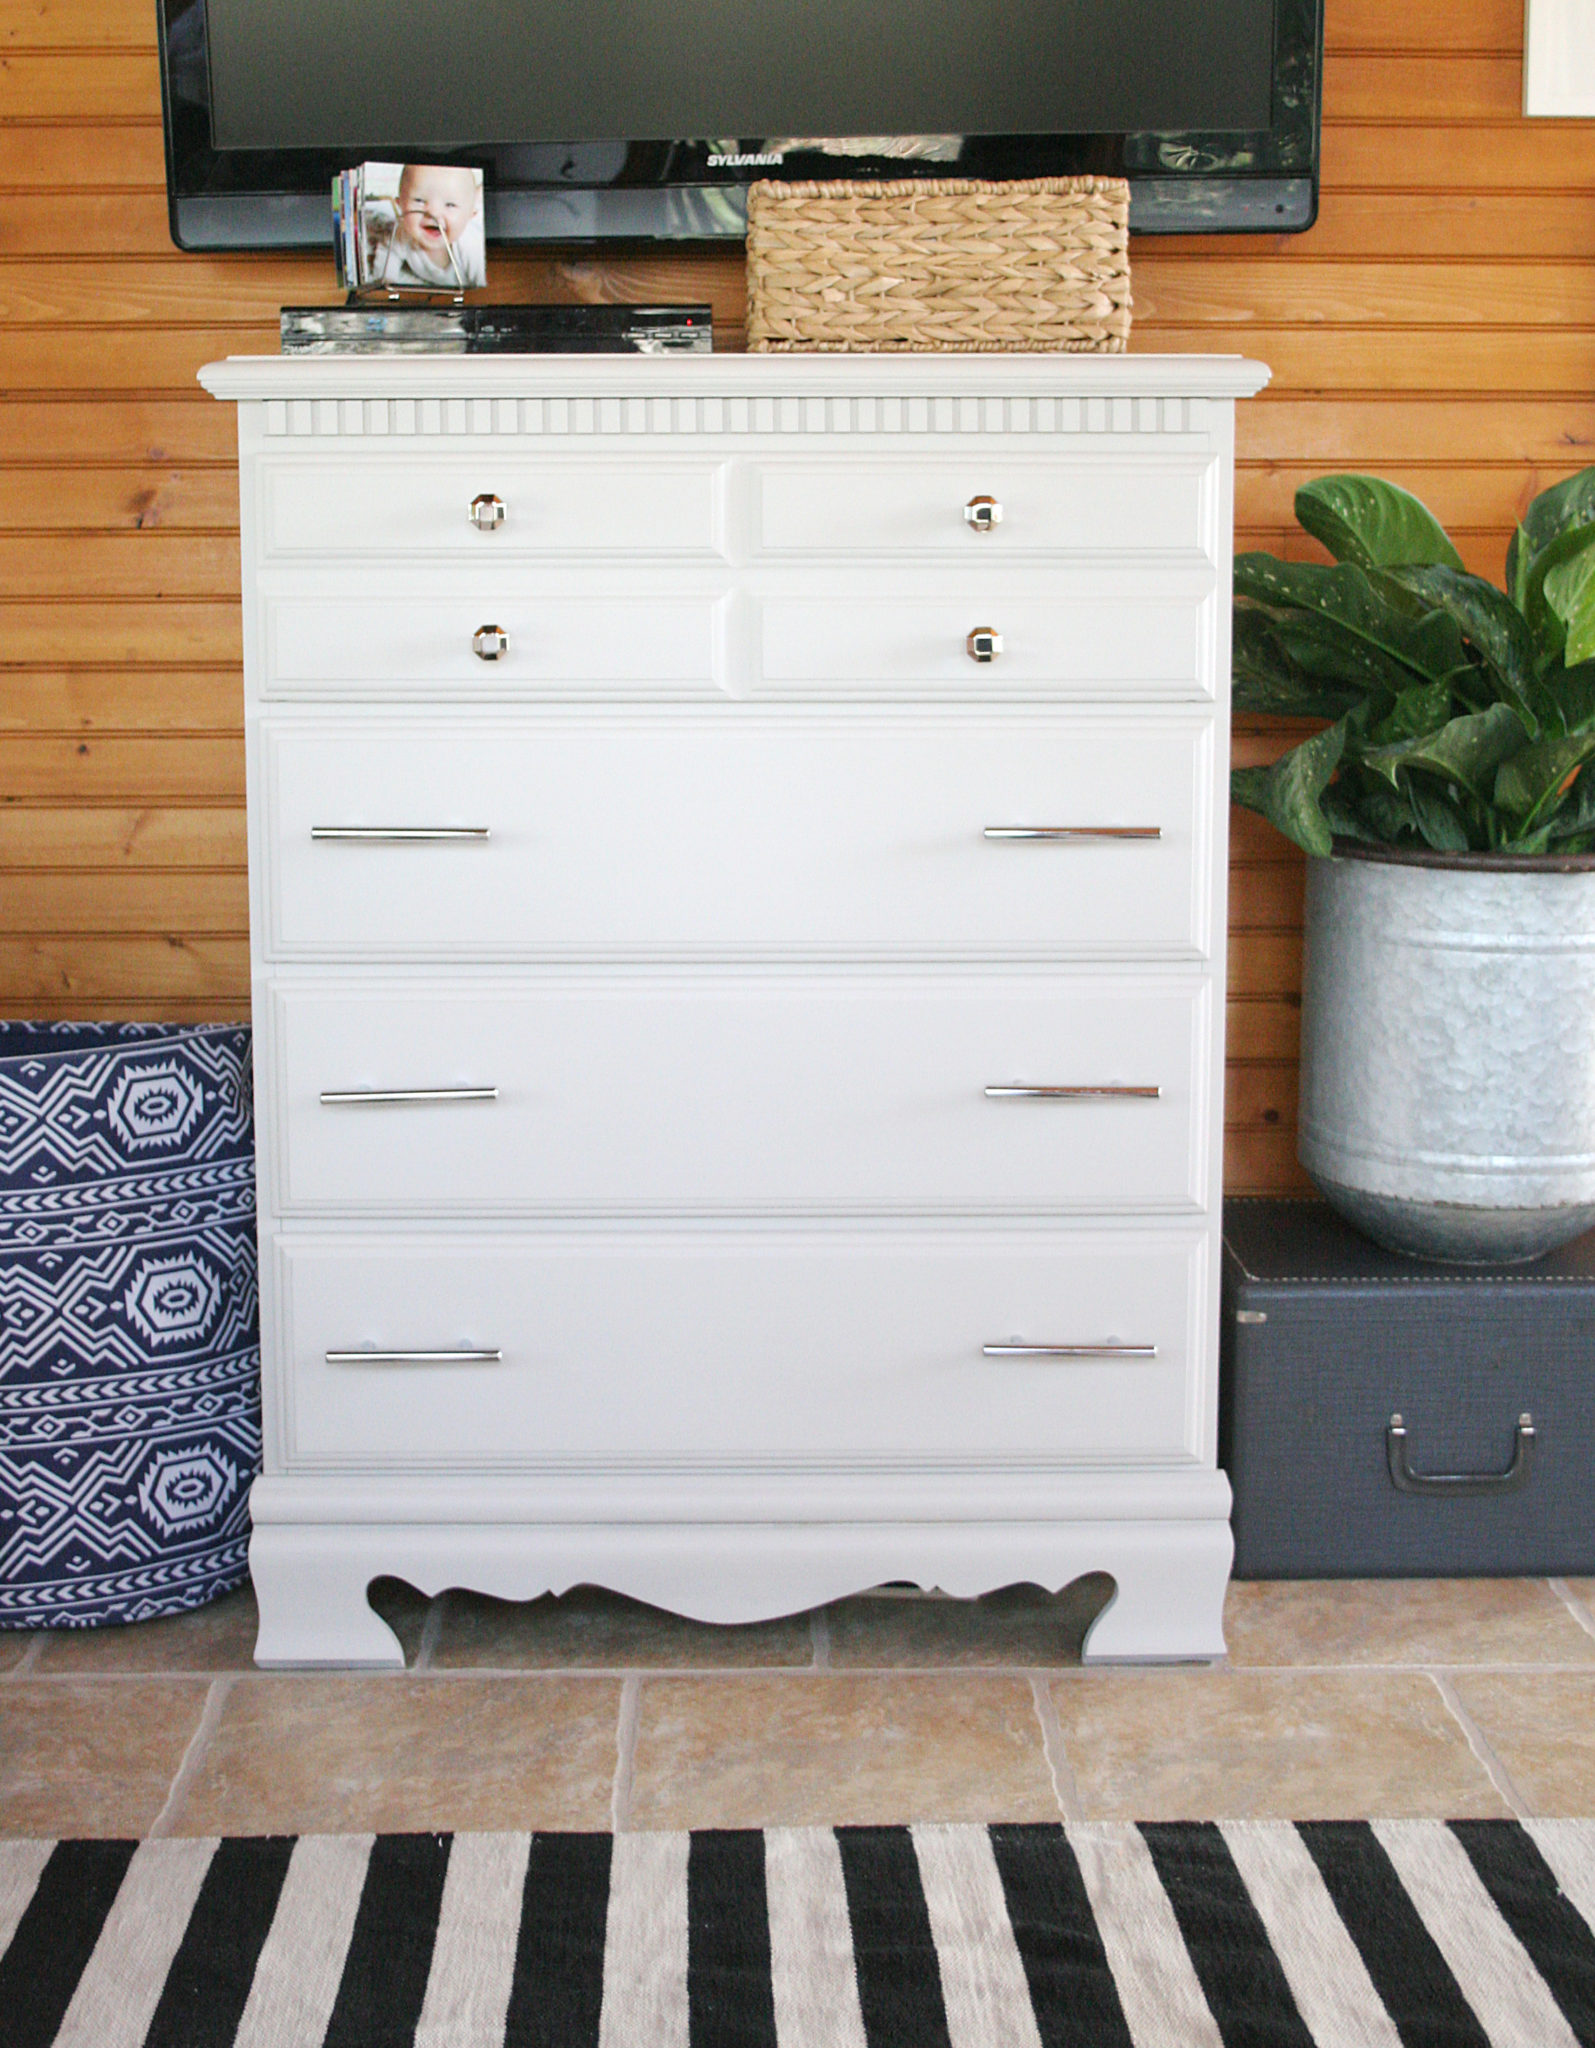
Vintage Dresser Makeover in Primitive
I love the character found in vintage dressers. Solid wood. Interesting details. Well-made. Antique hardware. That’s just a start…

Plus, you can find vintage dressers at a reasonable price second-hand. I don’t think I’ve ever paid more than $200 {and it was a true antique}; and I’ve paid as little as $50. To get a steal, you have to be willing to look at the piece with fresh eyes.

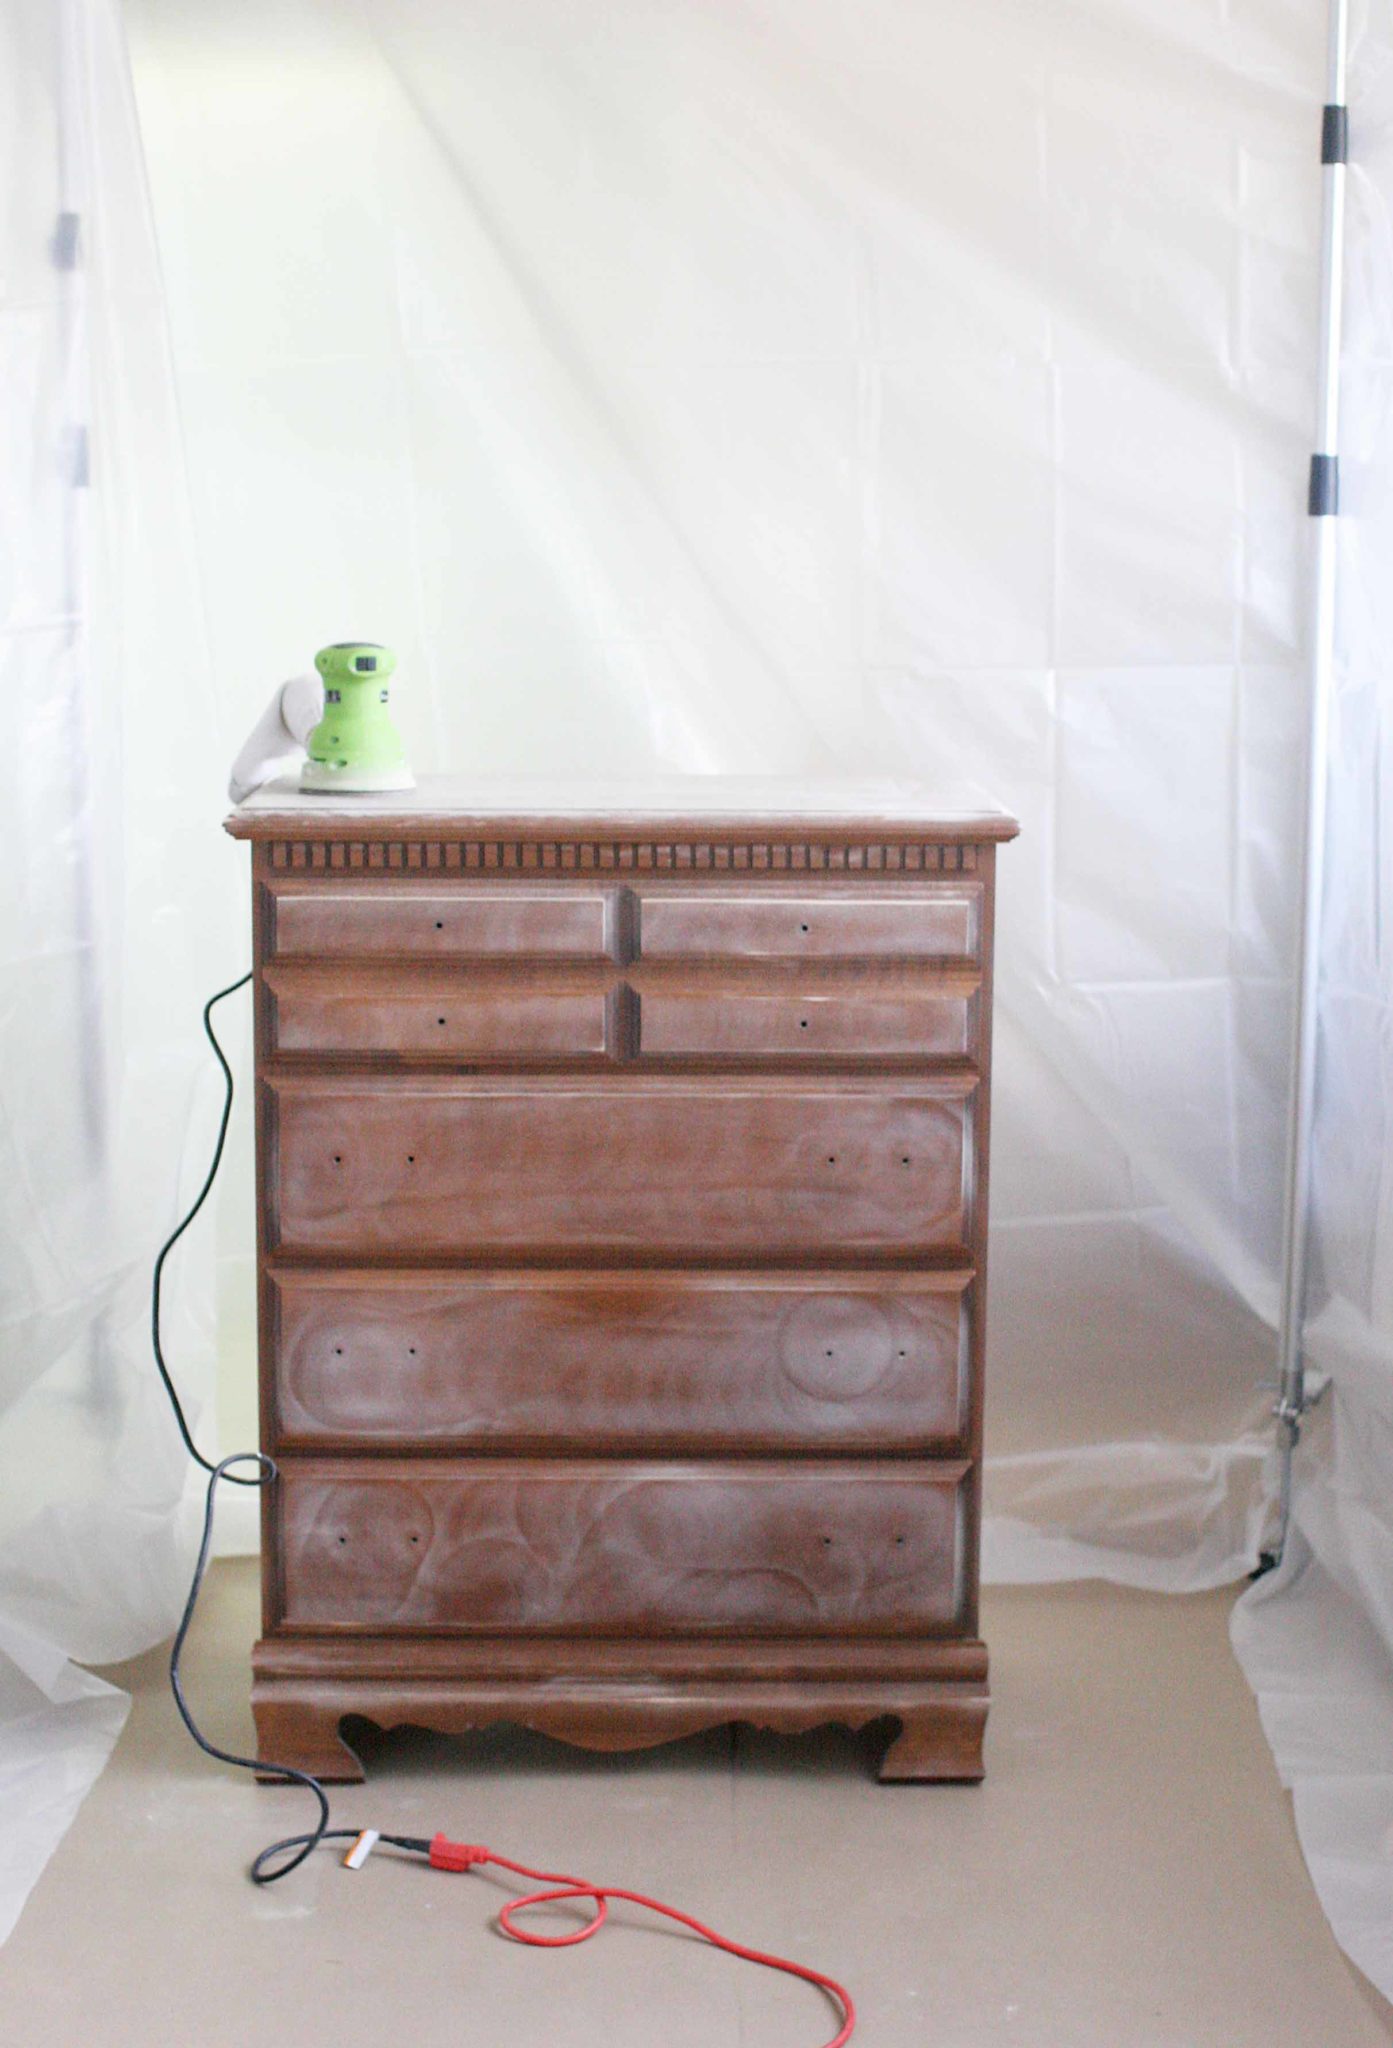
For example, this dresser is made of solid wood. It has a curvy trim piece at its base and dentil molding across the top. Yet, the dark stain and shiny coat of sealant made the entire piece feel dated. The finish is what would cause most of us to walk right buy it. But don’t.
How to Refinish a Vintage Dresser
Step 1: Choose the Right Vintage Dresser
When choosing a second-hand vintage dresser, don’t look at the finish. DO look at qualities like the shape, size, craftsmanship, and decorative details. Consider some of the following questions…
- Do you need shallow or deep drawers?
- Approximately how tall, wide, and deep is the space you have available for the dresser?
- Is the dresser solid wood?
- Pull drawers in and out, do they slide easily?
- Pull/Push the frame of the dresser, is it sturdy or does it shift and wobble?
- What are the lines of the dresser — clean and simple, or feminine and ornate?
- Does it have any major damage {such as a broken off corner}?
You may also want to consider whether you like the hardware. Hardware is simple to change, but it is typically the priciest part of a dresser makeover. So, for example, if the dresser is on the high end of your price range and you are going to have to update hardware, that should be factored into the total cost.
[Tweet “How do you know if a secondhand dresser is a deal? Use this simple formula…”]
An easy estimate to consider for the total price of a furniture makeover is:
COST OF DRESSER + QUART OF PAINT $25 + HARDWARE at $5 per PULL/KNOB
Of course, this isn’t an exact formula. You may choose a paint that costs slightly less, or slightly more — and the same with hardware. However, I’ve found this formula to be a good rough estimate when standing in a thrift store, trying to decide whether a vintage dresser is a good deal or not.
Step 2: Prep the Surface
For this project, I used Chalky Finish paint from DecoArt in Primitive {a creamy taupe-like color}. Chalky Finish paint doesn’t require prep, but I’ll typically lightly sand anyway. An orbital sander makes sanding furniture a quick and easy task.
We have a DIY Spray Paint Booth in our garage that can be setup in less than 15 minutes. If you refinish furniture often, or have plans to start refinishing furniture, check out my post on how to spray paint indoors and get all my tips on how to set up your own booth.
I sanded in the spray paint booth, which meant no mess to clean up afterward. Our garage is full of items for a yard sale… so it would not be fun if there was a coat of dust on everything.


Step 3: Paint
If you aren’t sure what color paint to choose, check out your Pinterest boards. This image from Vintage Whites was the inspiration for my color choice. I’ve long-loved this creamy greige and Primitive seemed to be a similar color.
In actuality, Primitive is probably a bit lighter than the color in my inspiration photo. In many of the photos in the post, it reads white; but the image below is the best representation of the true shade.
Note: I used one 16oz jar of paint, but it looks like only the 8oz jars are available on Amazon. So, buy two, for a similar sized dresser.

[Tweet “My first stab at using a paint sprayer, check out the finish…”]
The finish is impeccable. Ya’ll, this was my first-ever stab at using a paint sprayer. I am so pleased with the smooth finish, and how easy it was to apply the paint with my HomeRight Sprayer.
I’ll be writing more about my “beginner” experience with the HomeRight Sprayer in the coming weeks. I was just.so.scared. to give it a try {I’ve owned it for two years!}; but it was very user – and beginner – friendly.
Step 4: Protect
Once you’ve invested money and time into a vintage dresser, don’t let your hard work go to waste. Take the time to protect it, and let the sealant cure. I’ve used both waxes and polyurethanes to protect painted furniture. For this project, I used DecoArt Creme Wax and applied it with an old {but clean!} white t-shirt. I’m still mastering the art of waxing furniture, though I do prefer it over polyurethane.
If you’re nervous, apply the wax in a less visible spot, first. This will give you an idea of how much wax to apply, and how much to rub. I watched this video tutorial before applying wax to my dresser.
We were heading out of town for several days, which made it easy to let the dresser sit and cure in the garage for 5 days before we brought it inside. Even if you don’t wait that long, make sure to check the sealant for curing time. The DecoArt Creme Wax recommends a 24-hour minimum.
Step 5: Install the Hardware
Finally, give the vintage dresser some jewelry. Hardware is the finishing touch to a refurbished vintage dresser. I wanted this dresser to feel more modern, so I chose geometric knobs and bar pulls in a polished nickel. It’s a good contrast to the traditional lines and details of the dresser.
[Tweet “Hardware is the finishing touch to a refurbished vintage dresser. #creatingahome #repurposeit”]
An important note, if you are going to replace the hardware, make sure to check the spacing of the holes before painting. In this case, the holes were 3″ apart, center to center. That is a standard hardware size, so I was confident that I’d be able to find replacement pulls. If it’s a non-standard size, fill the holes with wood filler before sanding and painting. Then, drill new holes for the hardware that you choose.
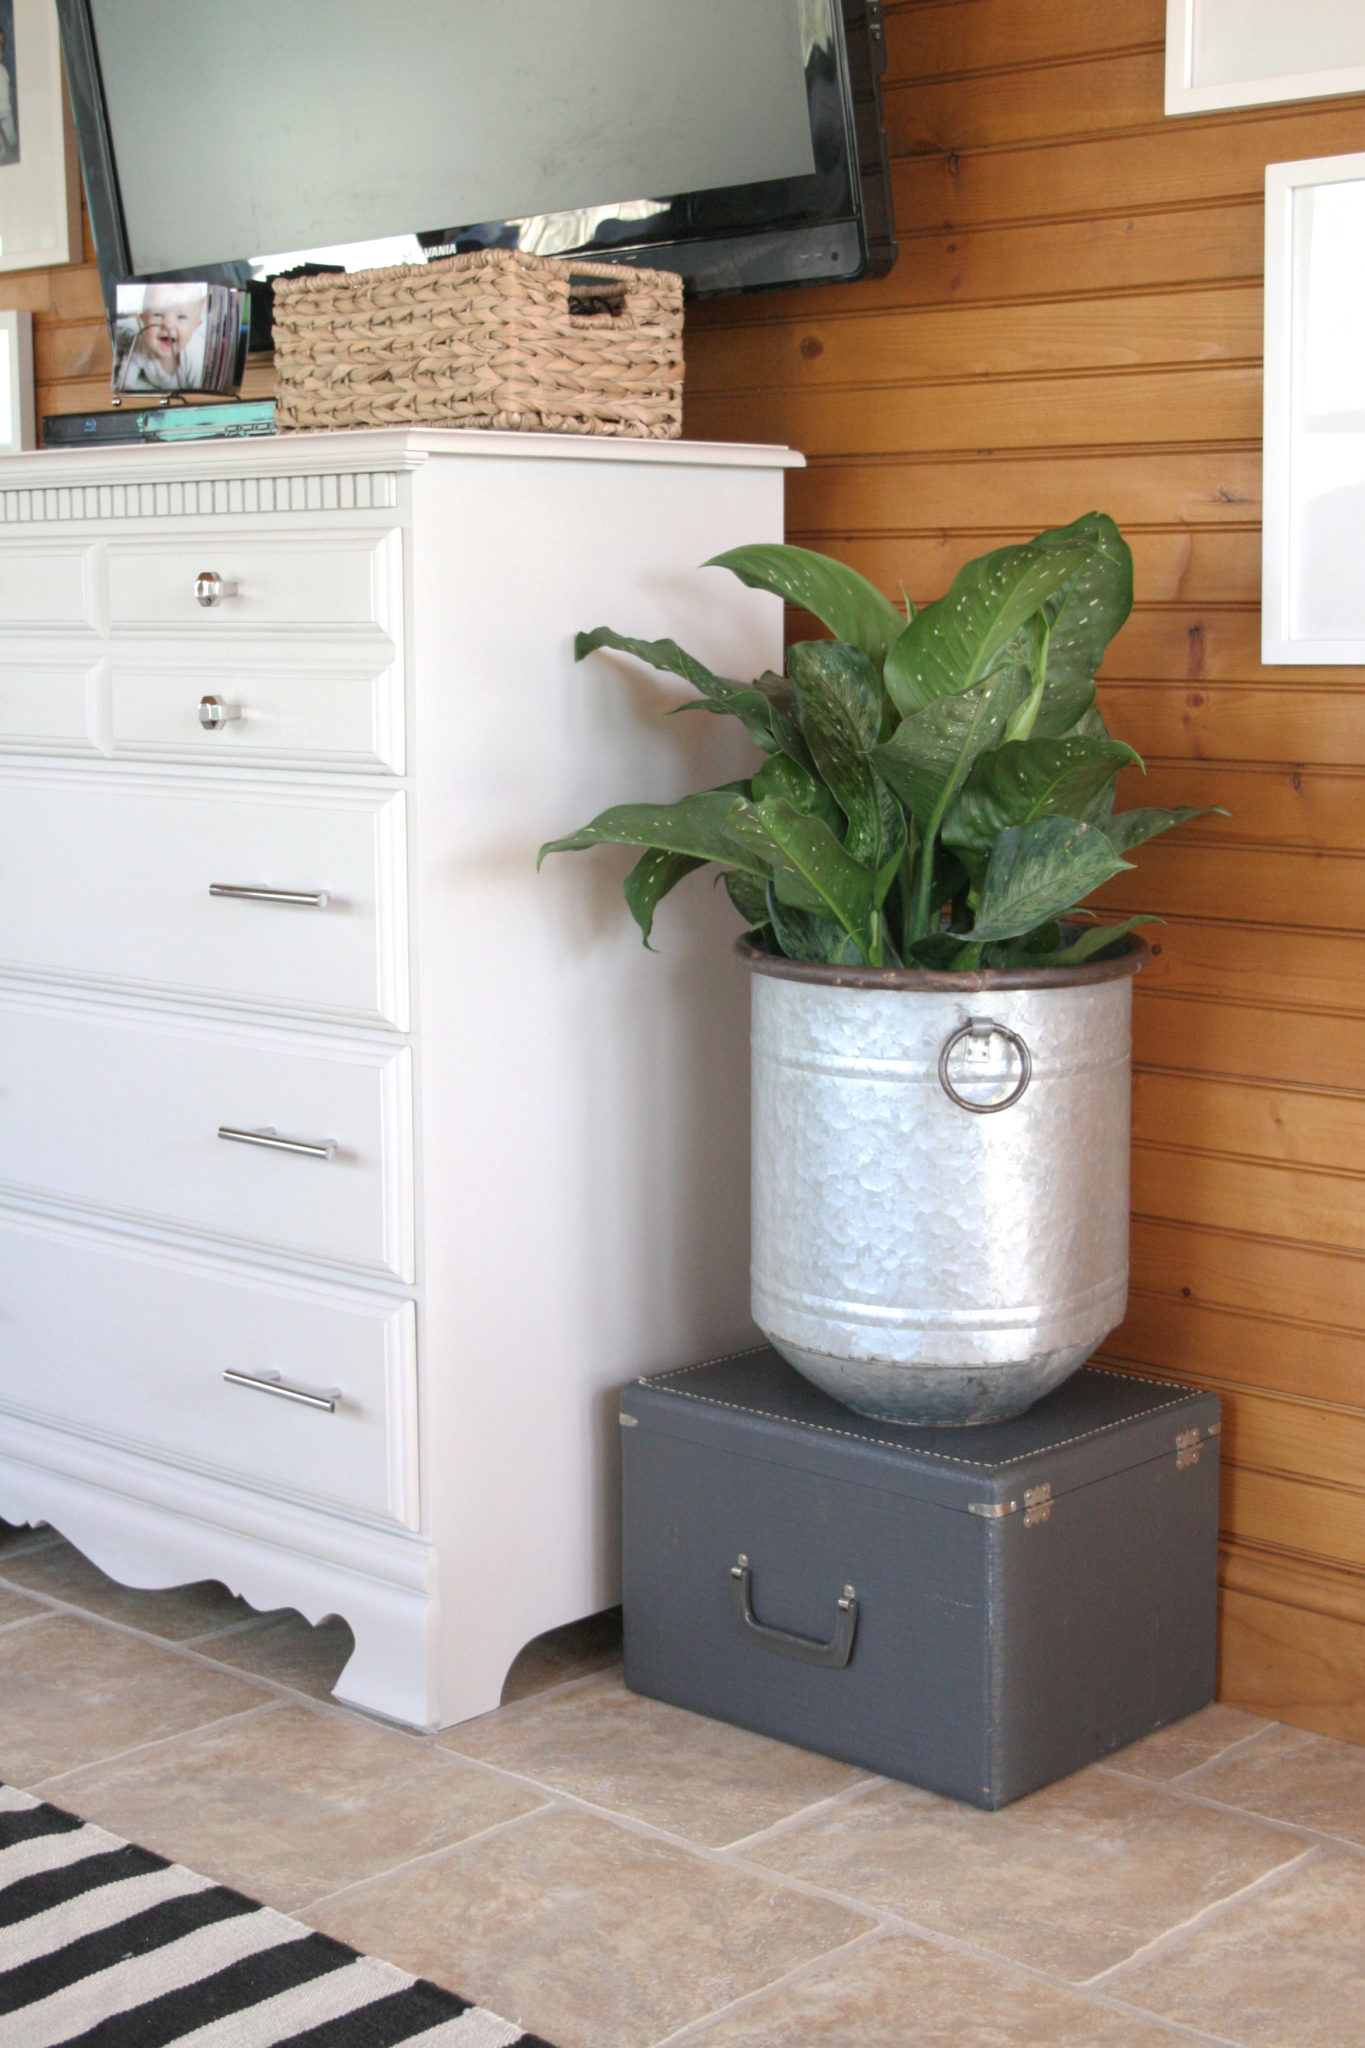
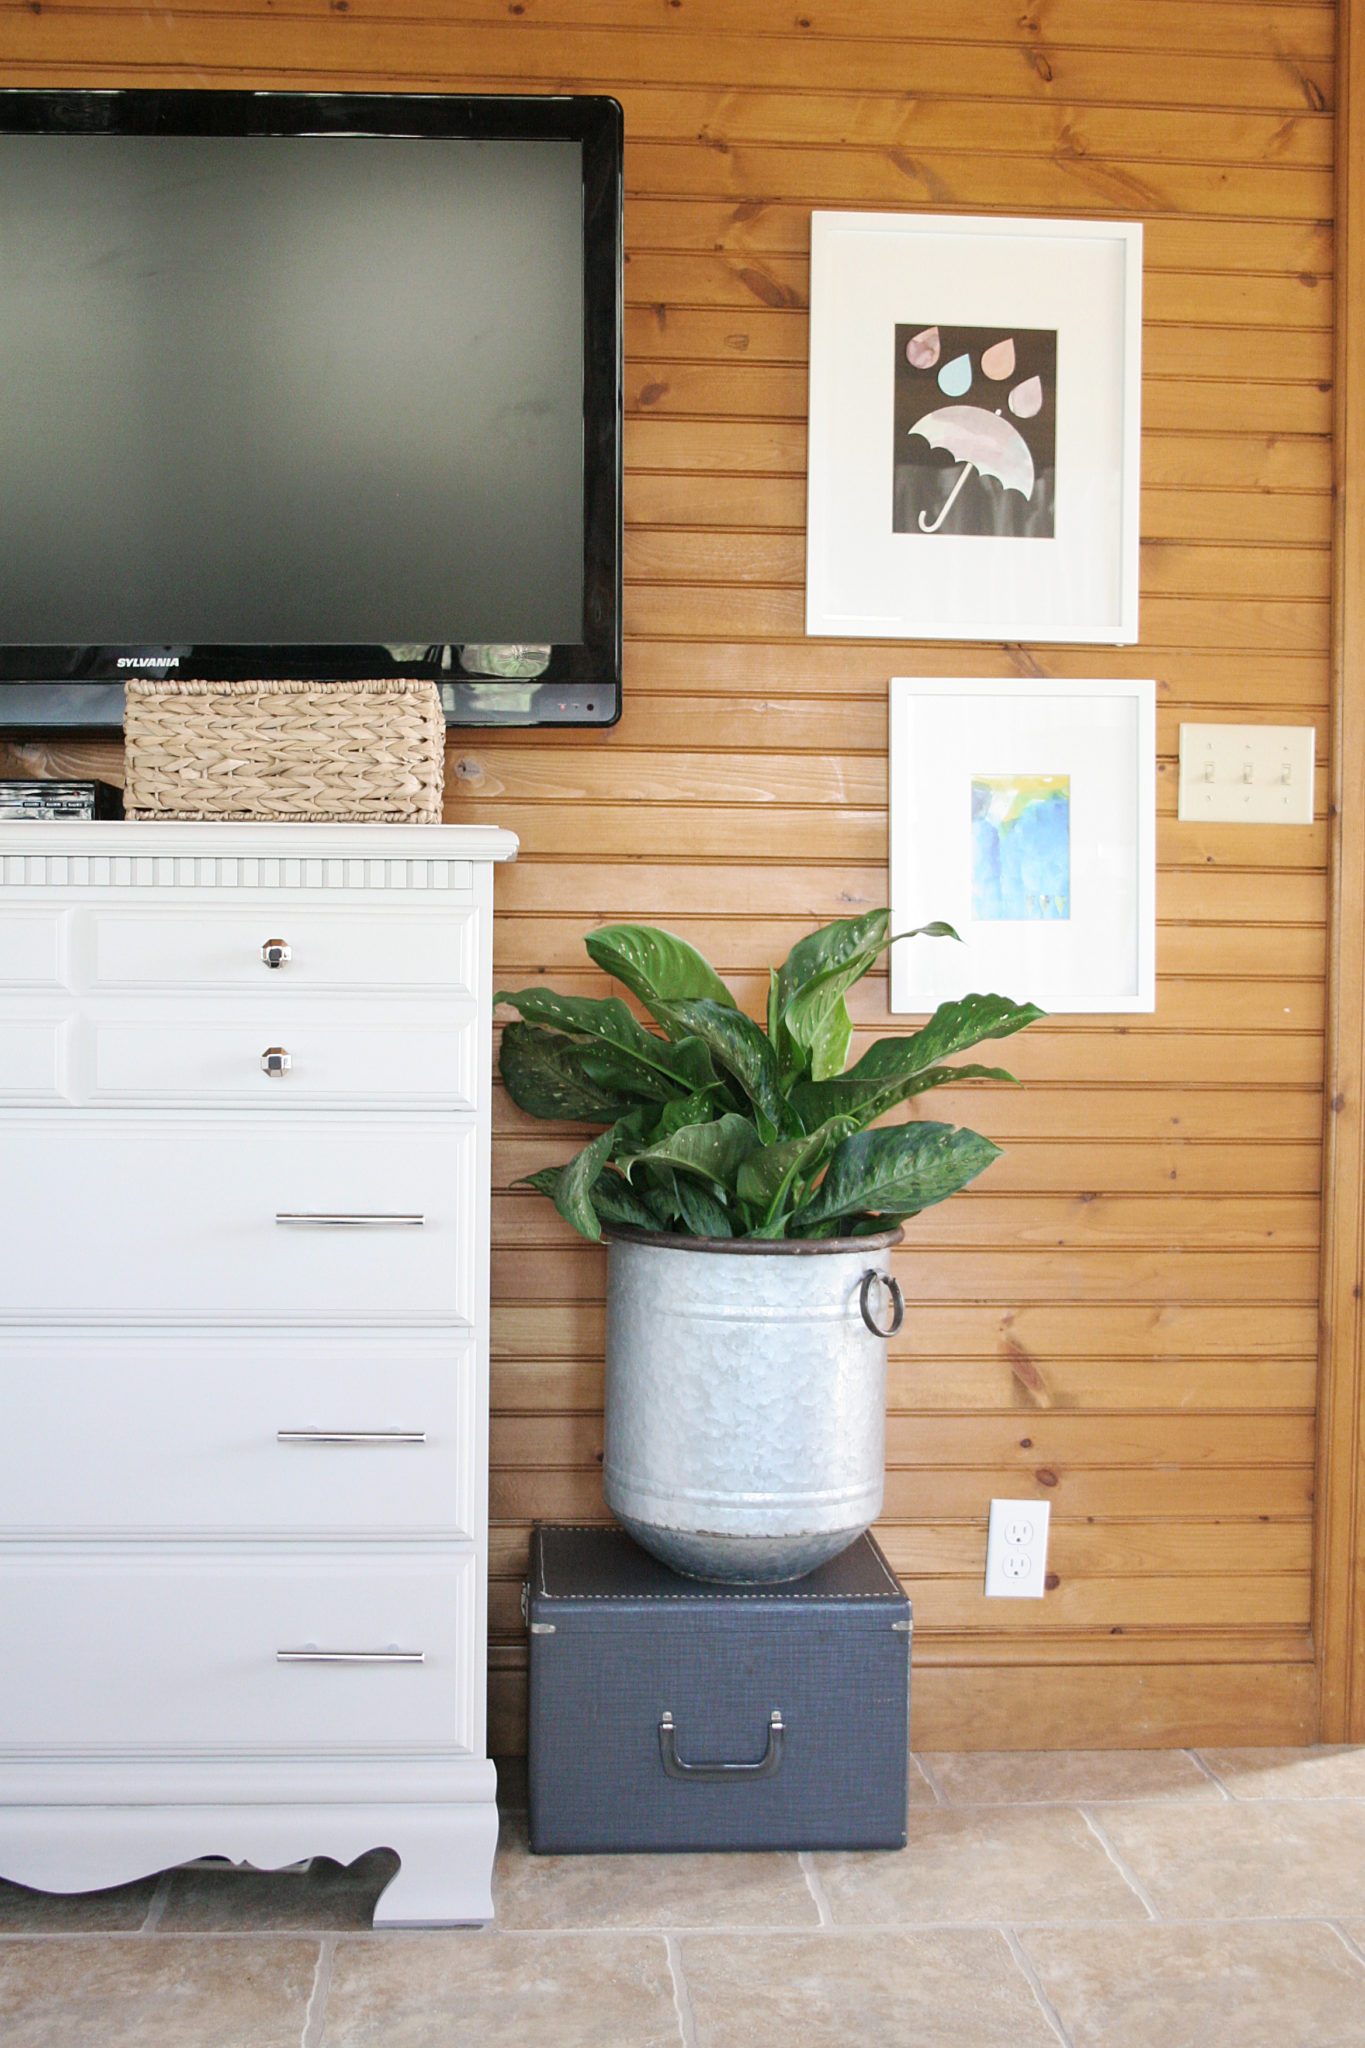
Do you need affordable storage? If so, hidden gems like this vintage dresser are a perfect solution. We have packed this dresser full with toys and DVDs. It acts as our TV Stand, holding the DVD Player and hiding cords. And on top of all that? It’s pretty!
And now for more thrifty goodness!
Check out what my fellow upcyclers created below!
Vanessa @ {nifty thrifty things}
Wednesday 29th of March 2017
What a great makeover!! I love the way this turned out. What a fun challenge too! XO! Vanessa
craftivitydesigns@gmail.com
Wednesday 5th of April 2017
I really like this monthly challenge -- especially since vintage shopping is MY FAVE ACTIVITY EVER... and now I have an excuse to go shop, lol!
Sarah
Wednesday 29th of March 2017
what a beautiful transformation! I loooove old dressers and all their small details. The paint really brings it back to life.
craftivitydesigns@gmail.com
Wednesday 5th of April 2017
It's like magic, right? Old quirks become beautiful details with paint!
Kelly @ North Country Nest
Tuesday 28th of March 2017
This turned out fantastic! I love the new pulls - they look so great with the white dresser :) Best, Kelly
Amanda @ The Kolb Corner
Tuesday 28th of March 2017
Beautiful transformation and thank you for such informative tips! I will definitely use your formula when I am thinking about thriftedfurniture now.
craftivitydesigns@gmail.com
Wednesday 5th of April 2017
Thanks, Amanda -- and thanks for hosting this fun challenge!
Lauren
Monday 27th of March 2017
Great transformation Lora! Looks great :) I love chalk paint myself.
Lauren xx