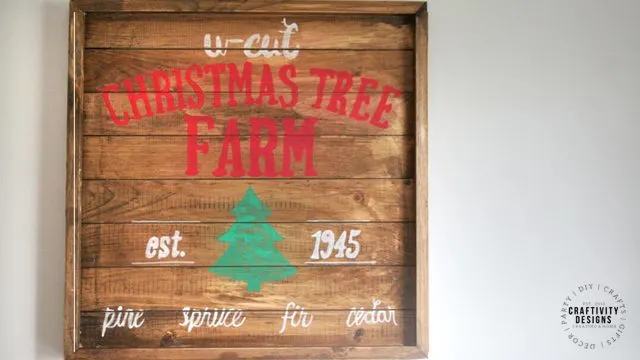
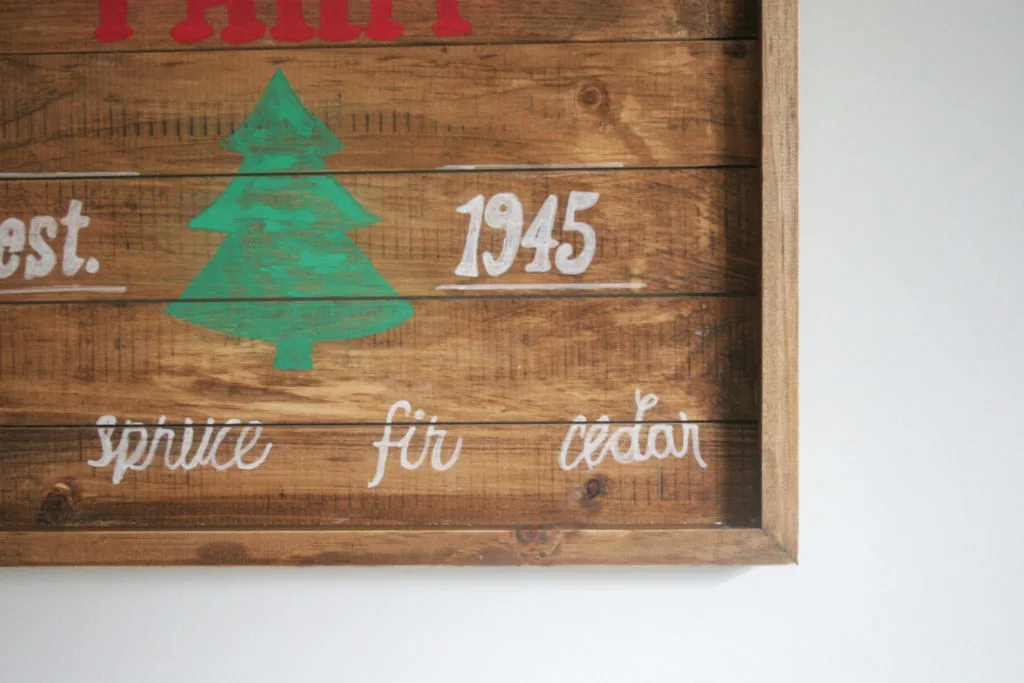
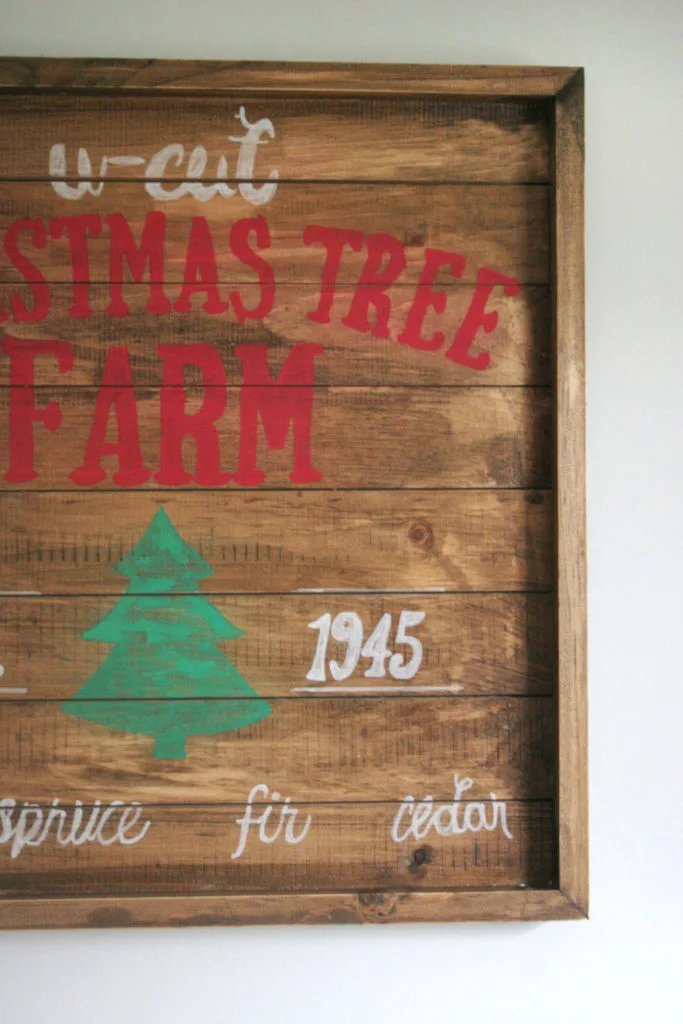
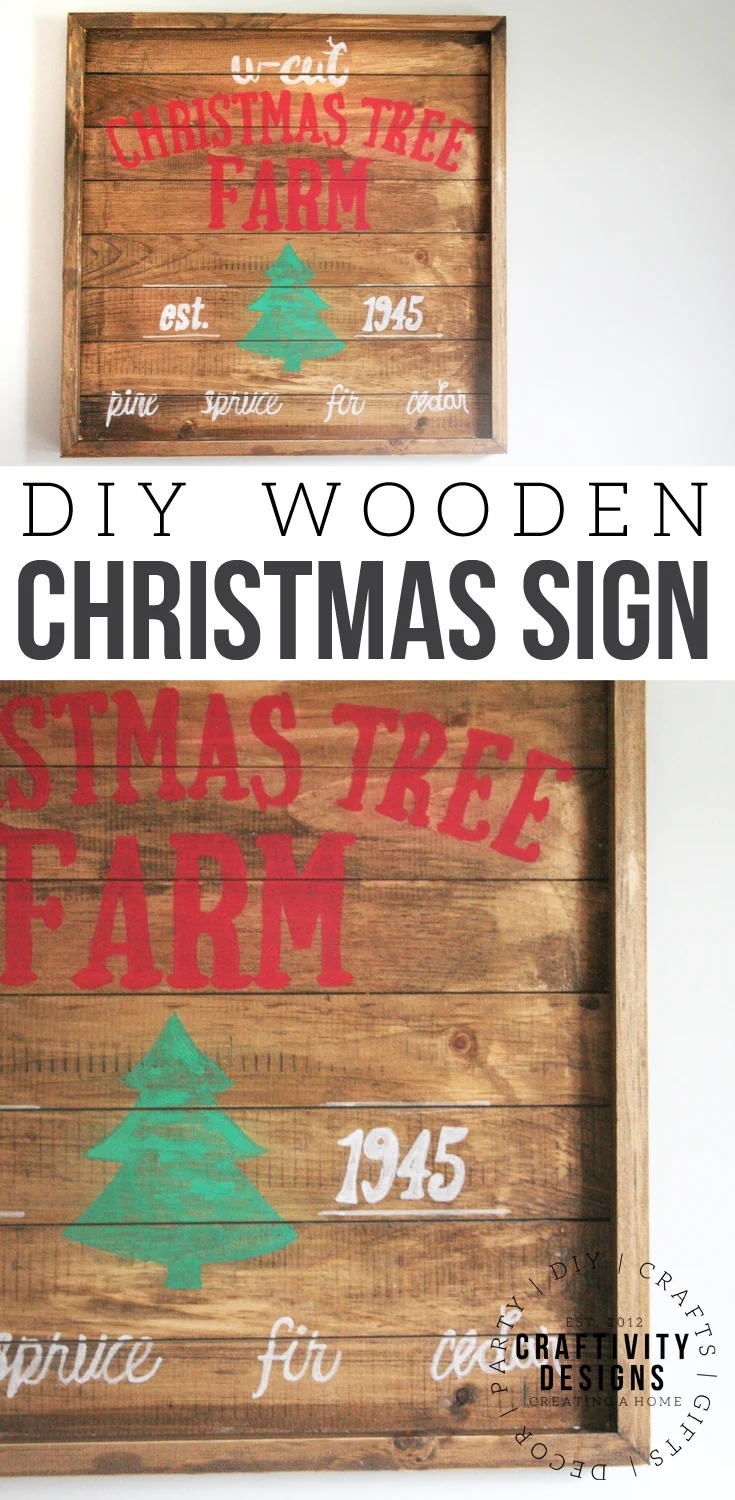
Learn how to make a wooden Christmas Sign to hang in your home. Use the free U-CUT Tree Farm printable as a template for the wood farmhouse sign.
Do you cut your own Christmas Tree? If so, that U-Cut Christmas Tree Farm may hold a special place in your heart. For our family, the memories at the Tree Farm are a highlight of the Christmas season.
Disclosure: Products for this post were provided by Walnut Hollow. All opinions are mine alone.
This year, we’ll have a special farmhouse sign to commemorate our favorite holiday tradition.
Today is my second post as part of the 2017 Edition of Handmade Holidays {you might remember my modern advent wreath or personalized recipe box from 2016’s edition}. At the end of this post, you’ll find 40+ more Holiday Decor Ideas.
Wooden Christmas Sign
Supplies
- Walnut Hollow 21″ x 21″ Framed Rustic Pallet
- Wood Stain
- Foam Brush + Rags
- Free U-CUT Tree Farm Printable
- Printer, Paper + Ink
- 12″ Paper Cutter
- Tape
- Chalk + Pencil
- Multicolor Paint Markers
- Green Paint Marker
- Sandpaper
Instructions
Watch the full video tutorial, then get the step-by-step instructions, below.
Step 1: Stain the Walnut Hollow 21″ x 21″ Framed Rustic Pallet. If that product isn’t available (or have spare wood lying around) build a framed wood sign, instead.
Step 2: While the stain is drying, print the Free U-CUT Tree Farm Printable. The design should print on multiple pages (instructions for Mac and Windows).
Would you like to download the free printable? Click the button, below, to sign up for our newsletter and gain access to the freebie library. Once subscribed, you will receive an email with instructions to access the library.
If you have any problems signing up, please send an email to loragreen@craftivitydesigns.com, and I will sign you up manually.
Step 3: Once the image is printed, trim each page and align it with the other pages. This will create an 18″x18″ image. Tape along the seams.
Step 4: Flip over the large image, and rub chalk all over the back side of the paper.
Step 5: Flip it back to the front side and place it onto the framed rustic pallet. Tape in place, if needed.
Step 6: Use a pencil to trace the outlines of the text and the tree. Once everything has been traced, remove the paper.
Step 7: Go over the chalk outlines with paint markers. Once the outlines are drawn, fill in everything with paint markers.
Step 8: Once the paint is dry, give the finished product a light sanding.


Jenn
Thursday 9th of November 2017
This is so cute!
Lora Green
Wednesday 15th of November 2017
Thanks, Jenn!