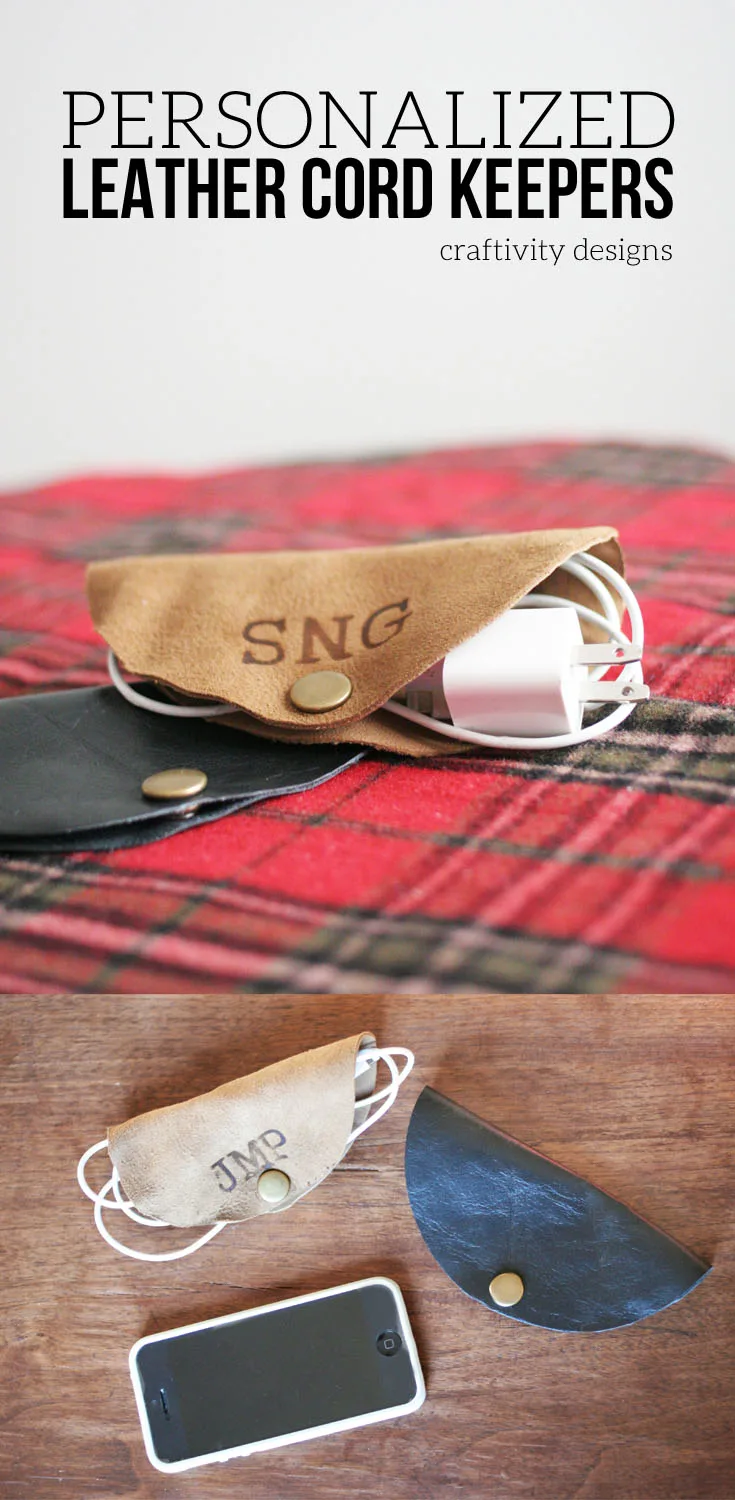
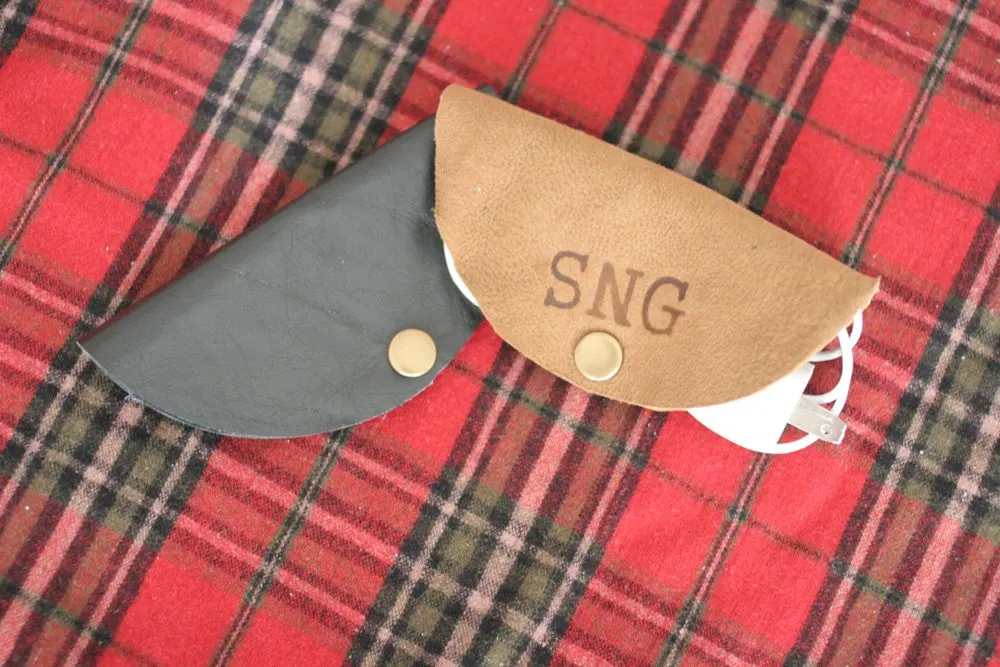
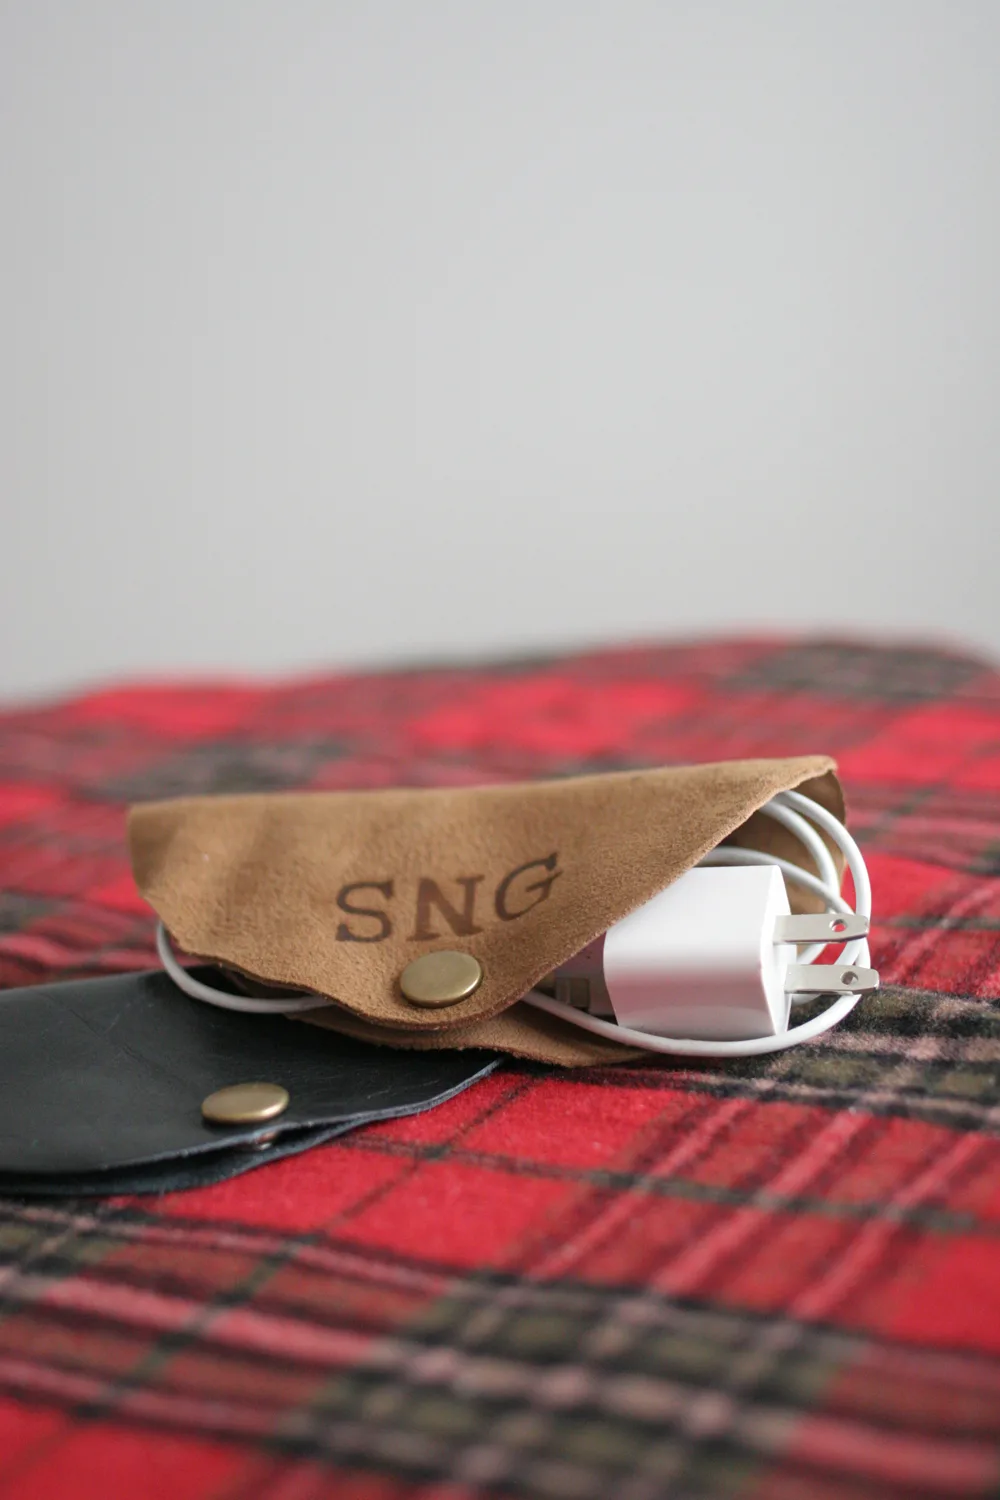
Learn how to make a DIY leather cord keeper to hold earbuds, charging cords, USB cords, and more. This cord holder – or “cord taco” – can be personalized, making it a great gift for him!
Who doesn’t have phone or tablet cords laying around? Today, I’m showing you how to make a leather cord keeper with personalization. We use these cord keepers — or “cord tacos” — around the house and in the car to keep wires tidy. They are simple to make, as long as you have the right tools.
Disclosure: This page includes affiliate links.
Christmas Gift Ideas
On the 9th day of Craftmas, my true love gave to me… a personalized cord holder.
What is Craftmas? It is 12 days of Handmade Christmas Gifts, brought to you by Making Joy and Pretty Things, Meet Our Life, North Country Nest, and myself. I’m so excited to bring you this series, as it fits perfectly with my focus this year, to Give Creatively. We hope to inspire you, over the next 12 days, to get your hands dirty, to create and to make… in order to give handmade.

How to Make a DIY Leather Cord Keeper
Supplies
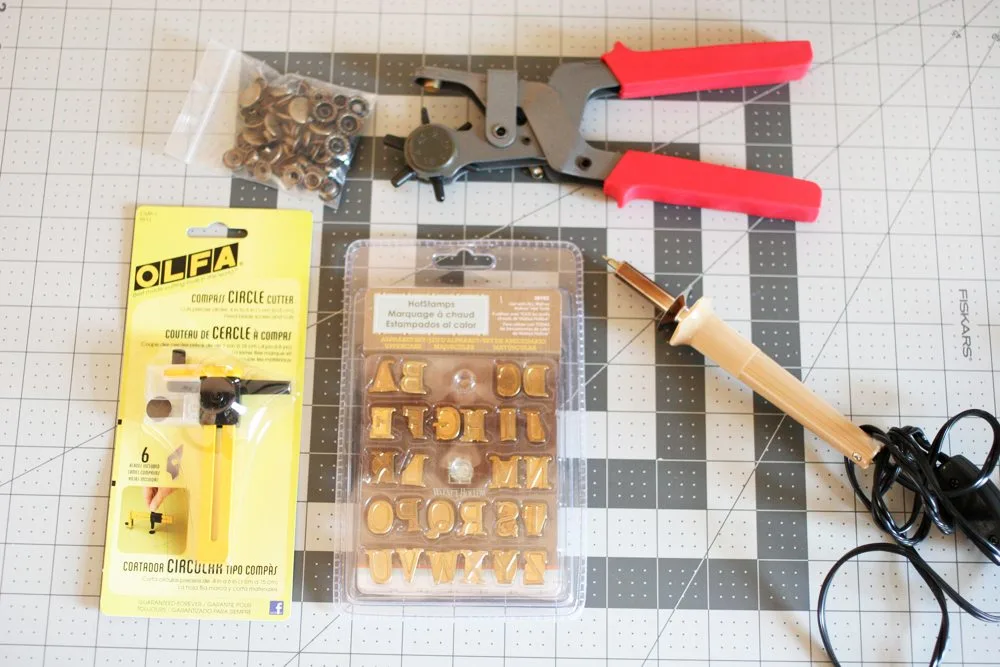
- Olfa Circle Cutter
- Fiskars Self-Healing Mat
- Walnut Hollow Wood Burning Tool
- Walnut Hollow Hot Stamps
- Leather Hole Punch
- Snap Kit with Fasteners
- Leather Scraps
Instructions
1. Gather the leather for cutting.
You can actually purchase leather scraps online. However, I was concerned that the scraps might be too small. Instead, I went shopping at Goodwill for leather items and purchased a pair of black leather pants and a brown leather jacket. If you do this, make sure that there is enough fabric in between the seams to cut out circles that are 6 inches in diameter.
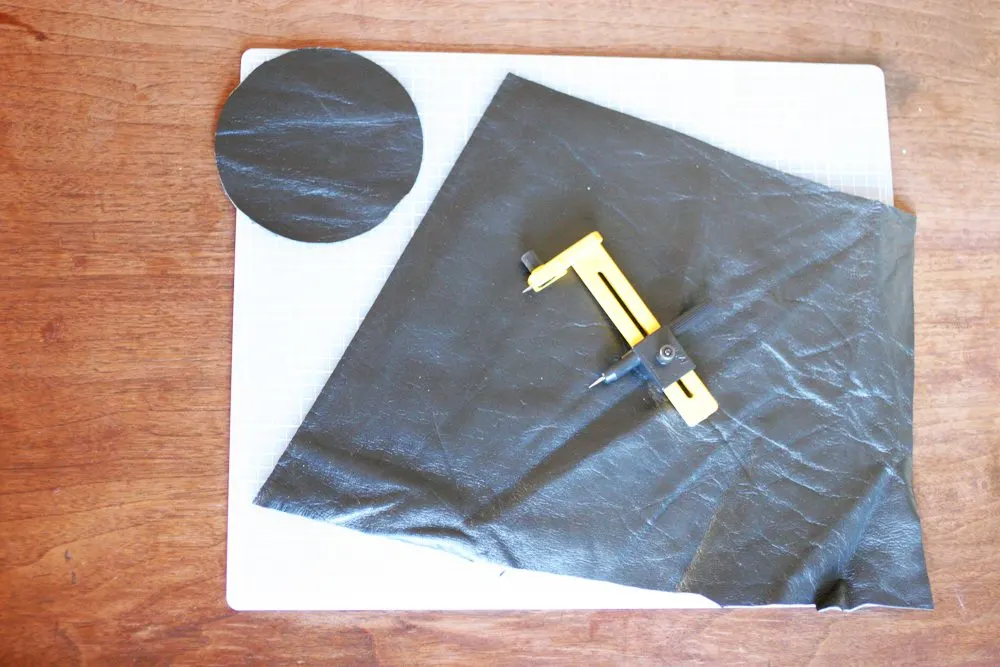
In order to “deconstruct” a leather jacket or pants, cut along the seams with scissors or a rotary cutter. If there is a layer of lining, it will separate from the leather after the seams are removed. You will finish with scraps similar to what is shown in the photo below.
2. Cut 6 inch circles from the leather scraps.
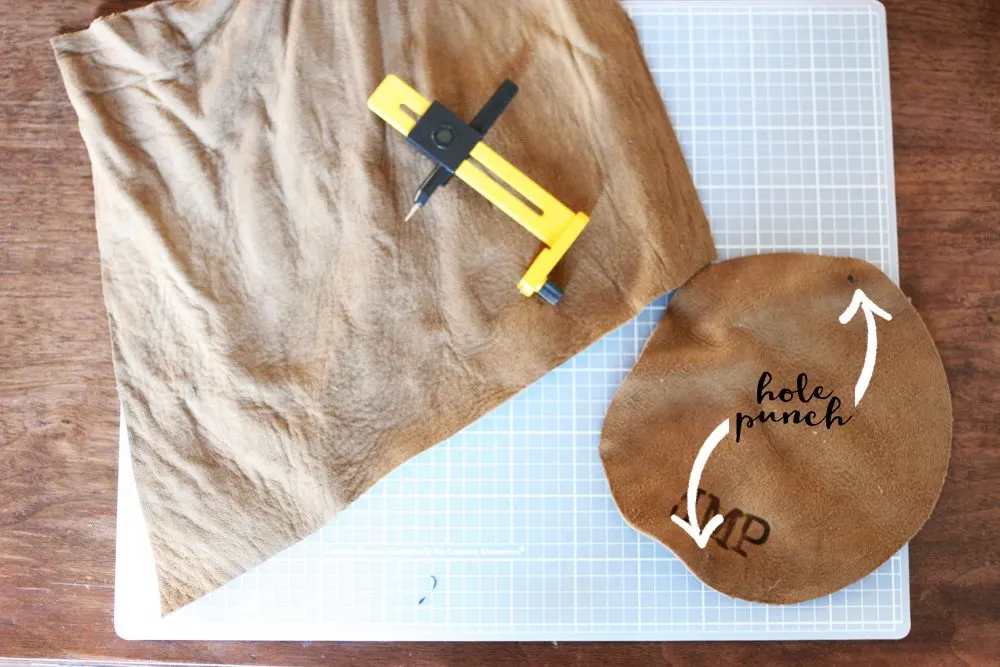
Using the circle cutter on a self-healing mat to cut 6-inch circles. Check the directions on the tool to set the measurement correctly. For example, to cut 6-inch circle, the tool is set to 3 inches. Hold the leather taut with one hand, while using the other hand to rotate the tool.
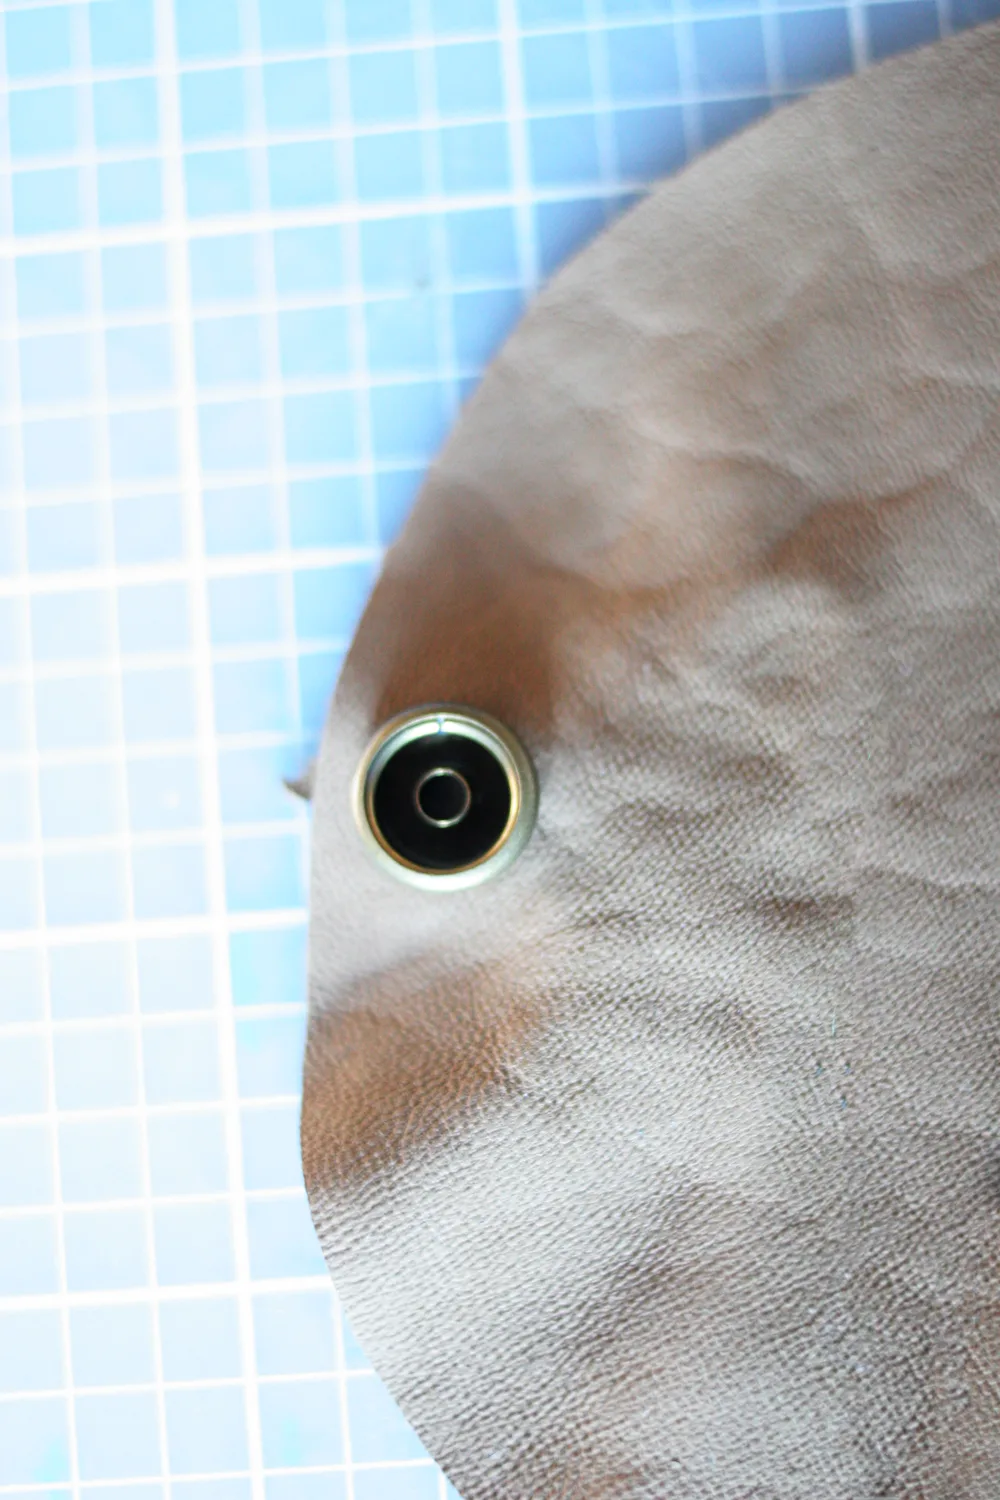
3. Put 2 holes in the leather.
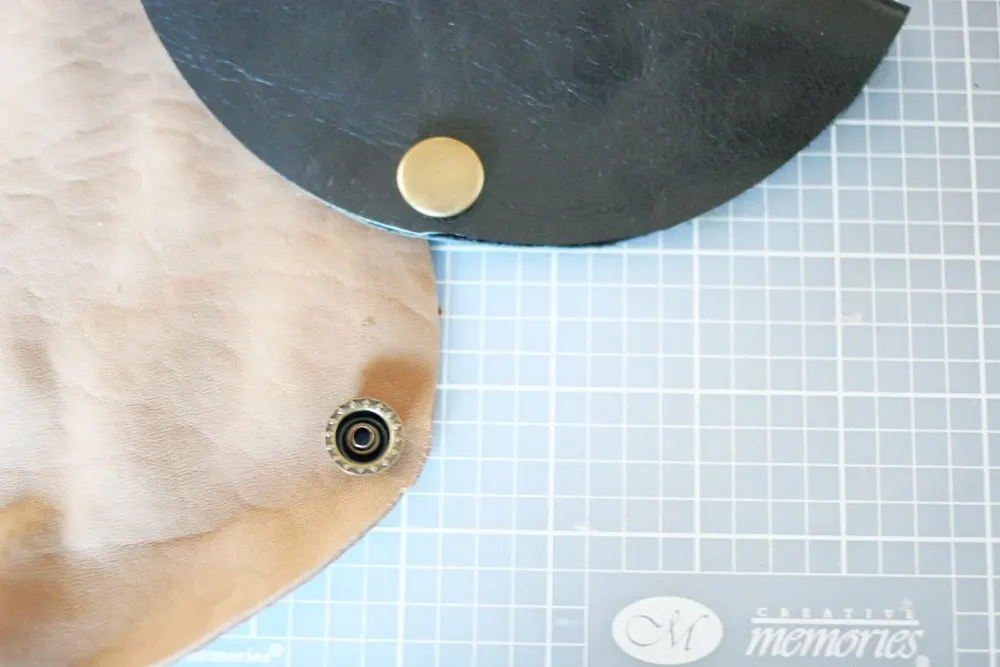
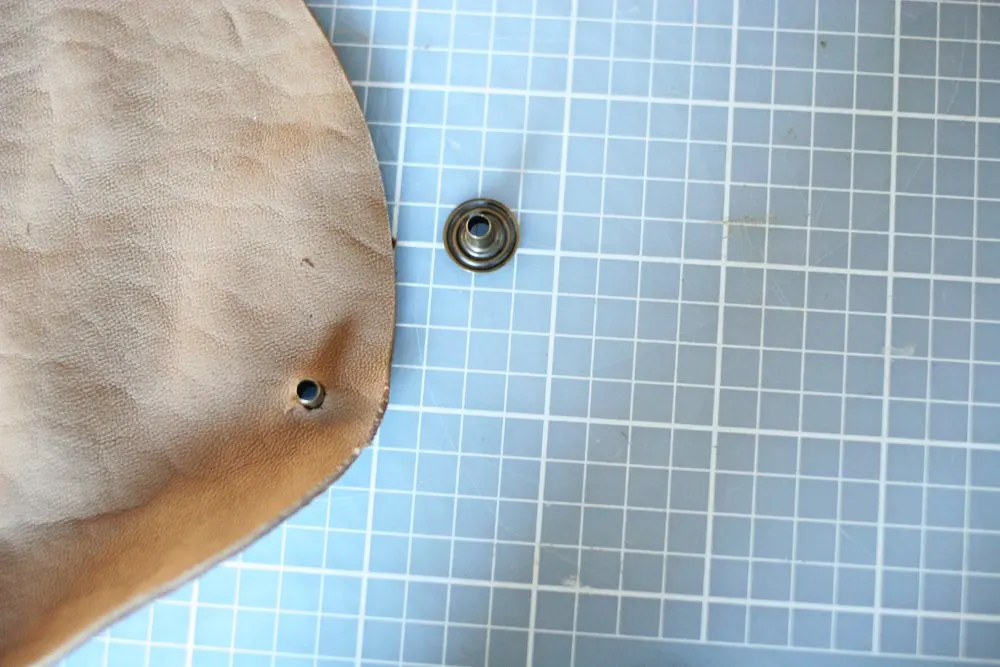
Use the leather hole punch to put two holes on opposite sides of the circle (see above photo). The punch should be set to make a hole similar to that of the fasteners’ posts.
4. Burn letters into the leather.
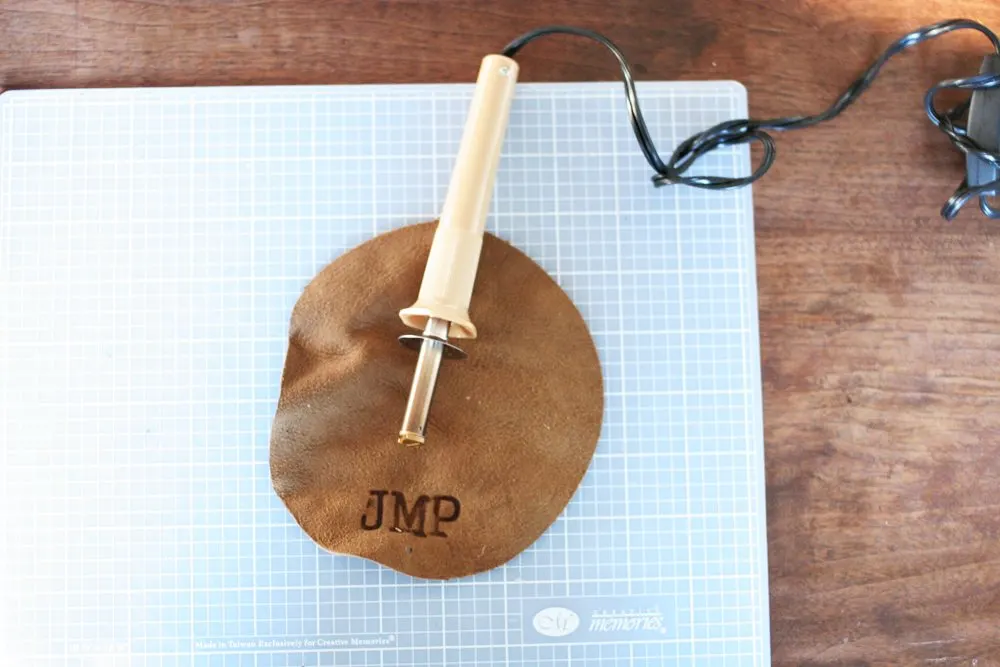
Once the circles and holes are cut out, prep the wood burning tool. Attach the first hot stamp letter, and turn it on to warm up.
When heated (about 5 minutes according to directions on the package), press the first letter into the leather. You won’t need to press very long, because it will burn quickly in the leather. Test this on a few scrap pieces of leather in order to get a feel for how long and how hard to press.
After the first letter is burned into the leather, turn off the wood burning tool. Let it cool for approximately 5 minutes.
Once cool, attach the next letter and repeat the process.
5. Attach leather snaps.
In the fastener set, there will be 4 pieces for the leather snaps. While I could try to explain the process to you via images and text, you’ll be better off just watching this video about setting leather snaps. He makes it simple to understand with a good video and narrative.
Cord Keepers for Stocking Stuffers
Cord Keepers are a great stocking stuffer or small gift idea. Choose to personalize the cord wrap, or leave it plain. I used black leather to make some without monograms.
It’s a gift that nearly anyone can use because we’ve all got pesky cords for electronic devices. You could make a smaller cord keeper (approximately 3 inches in diameter) for earbuds, too!
DIY Leather Cord Keeper
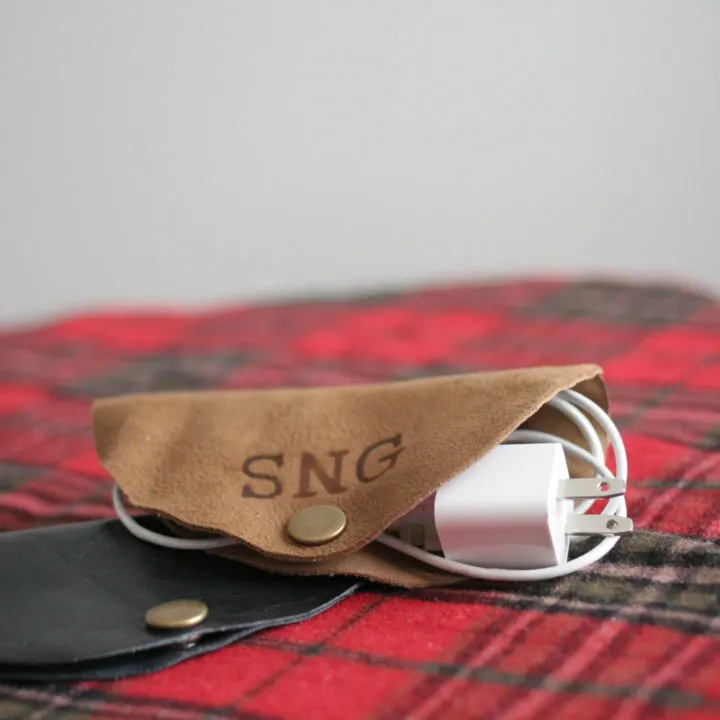
Learn how to make a DIY leather cord keeper with personalization. Cord Keepers are a great stocking stuffer or small gift idea.
Materials
- Snap Kit with Fasteners
- Leather Scraps
Tools
- Olfa Circle Cutter
- Fiskars Self-Healing Mat
- Walnut Hollow Wood Burning Tool
- Walnut Hollow Hot Stamps
- Leather Hole Punch
Instructions
- Cut 6 inch circles from the leather scraps using the circle cutter on a self-healing mat.
- Use the leather hole punch to put two holes on opposite sides of the circle.
- Attach the first letter to the wood burning tool. Turn on the wood burner and let it warm until fully heated (see package instructions). Test it on scrap leather before using it on the leather circles.
- Burn the first letter into the leather. Turn off the wood burning tool and wait five minutes.
- Attach the next letter and repeat step 5 until all of the letters are complete.
- Attach the leather snaps (this video is a good demo of how the snaps work).
