Learn how to make a simple DIY flower press. This easy, inexpensive nature craft can be completed in minutes. Plus it’s kid-friendly, too! So, if you are looking for nature crafts for kids, this is a must-do.
My little girl loves to pluck flowers from the garden. Though I sometimes have to quell her desire to behead my dianthus blooms (ha!) — overall, I love her inquisitive nature toward the outdoors. She loves to look at the colors, feel the texture, and give her favorites to Mommy (and who can really say no to that sweet gesture?!).

Disclosure: This page includes affiliate links.
Now, when she totes in her favorite botanicals from the garden, we don’t have to throw them in the trash. Instead, I can engage that inquisitive mind and teach her about pressing and preserving flowers — which can later be used in other nature crafts. Plus, this DIY Flower Press is such a simple activity that kids can make it themselves.
DIY Flower Press
Supplies Needed
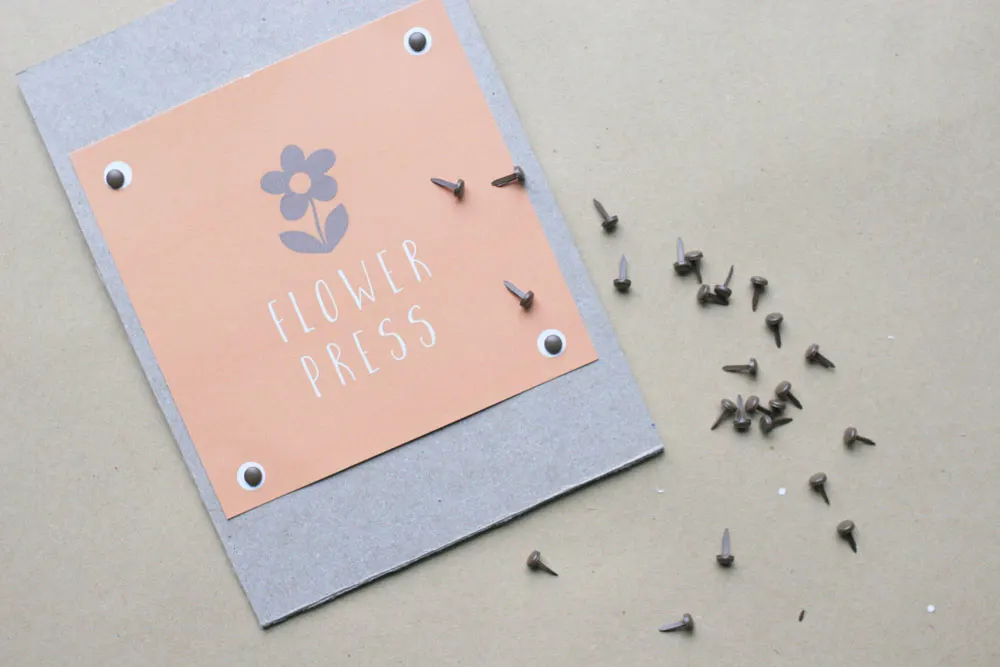
- Chipboard (or scrap cardboard)
- 12″ Paper Trimmer (or scissors)
- Hole Punch Set
- Brad Paper Fasteners
- Pen/Pencil
- Printer and Ink
- White Cardstock
- Free Flower Press PDF File (download at the end of this post)

How to Make a DIY Flower Press
- First, download and print the free Flower Press PDF file, which is available at the end of this post.


- Next, use a paper trimmer to cut out the Flower Press label. I love to have a 12″ Paper Trimmer on hand because I’m particular about cutting straight lines. However, if you don’t have a paper trimmer, just grab a pair of scissors.
- Once the label is cut, determine how large you’d like the Flower Press to be in comparison to the label. Use the paper trimmer (or scissors) to cut the chipboard to size. Repeat for the second piece of chipboard.
- Punch a hole through each corner of the label.
note: Choose the correct size hole punch from the hole punch set based on the size of the brad paper fasteners.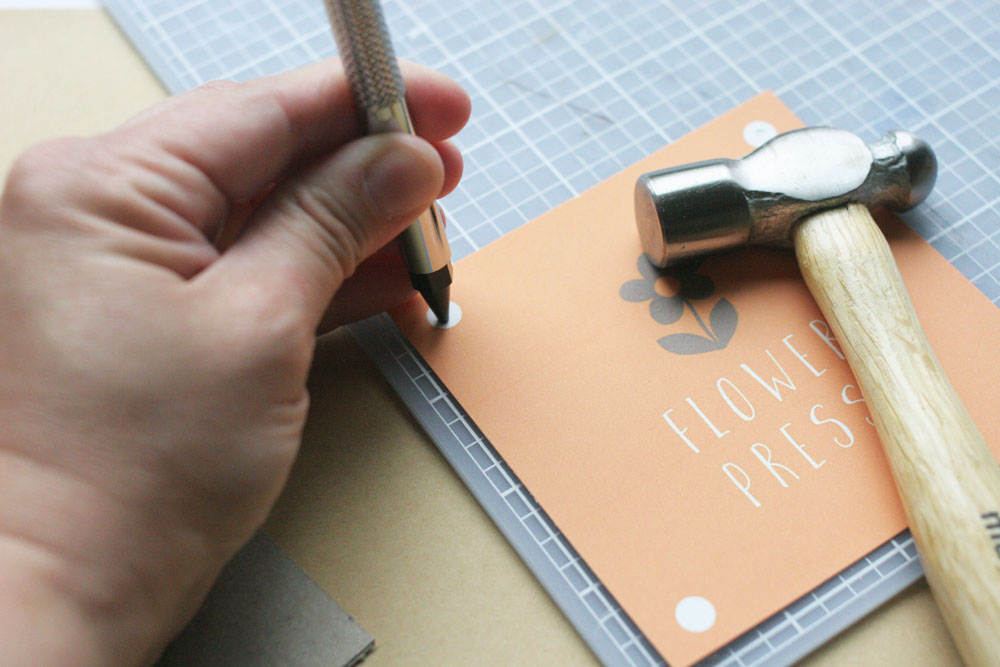
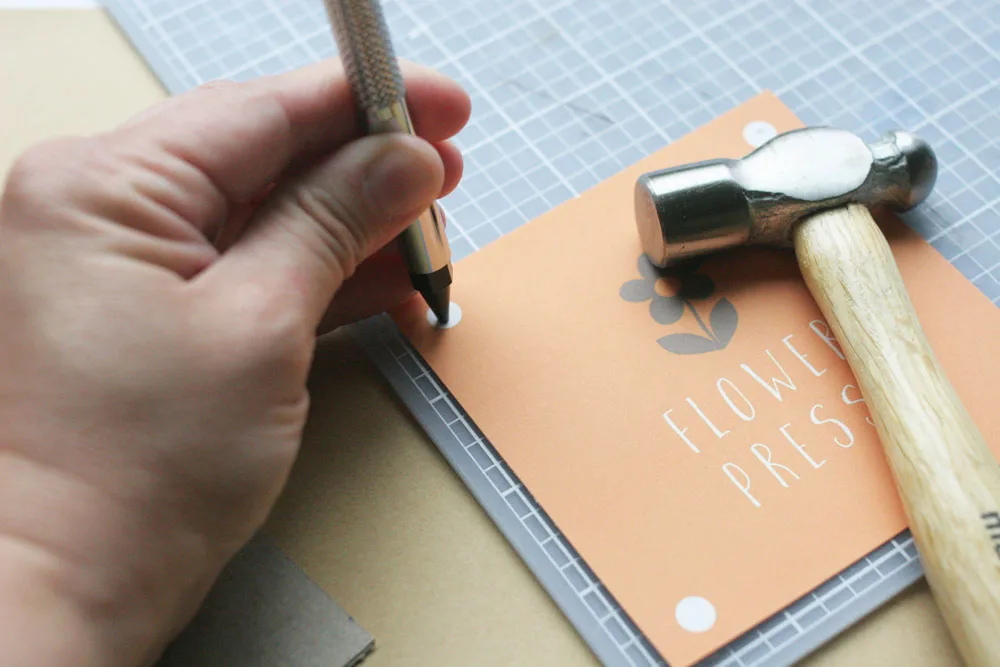
- Place the Flower Label onto the first piece of chipboard and center it.
- Once centered, mark the hole locations on the chipboard.
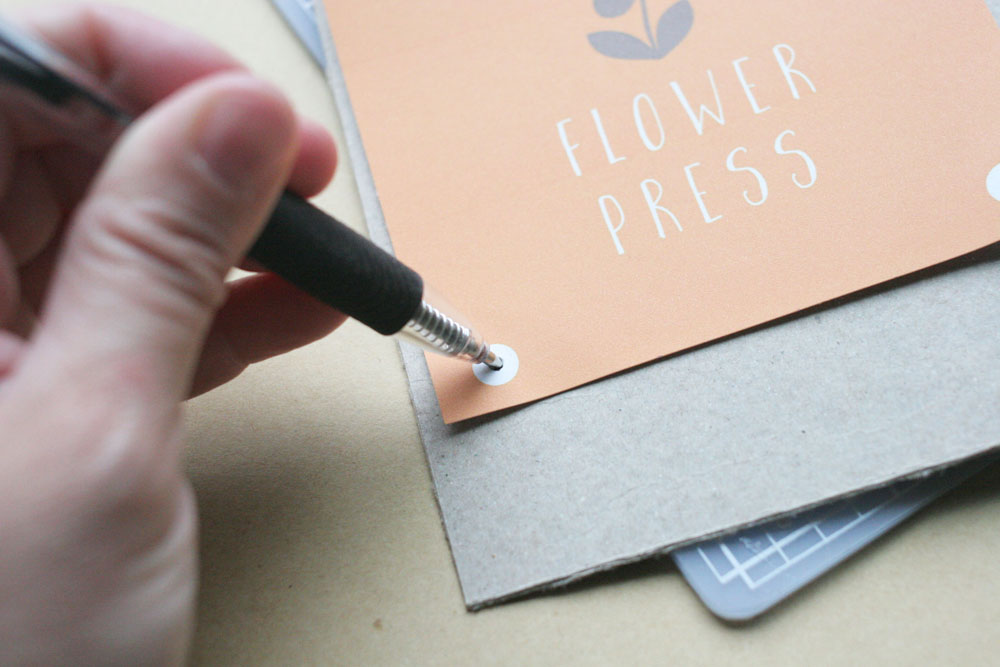
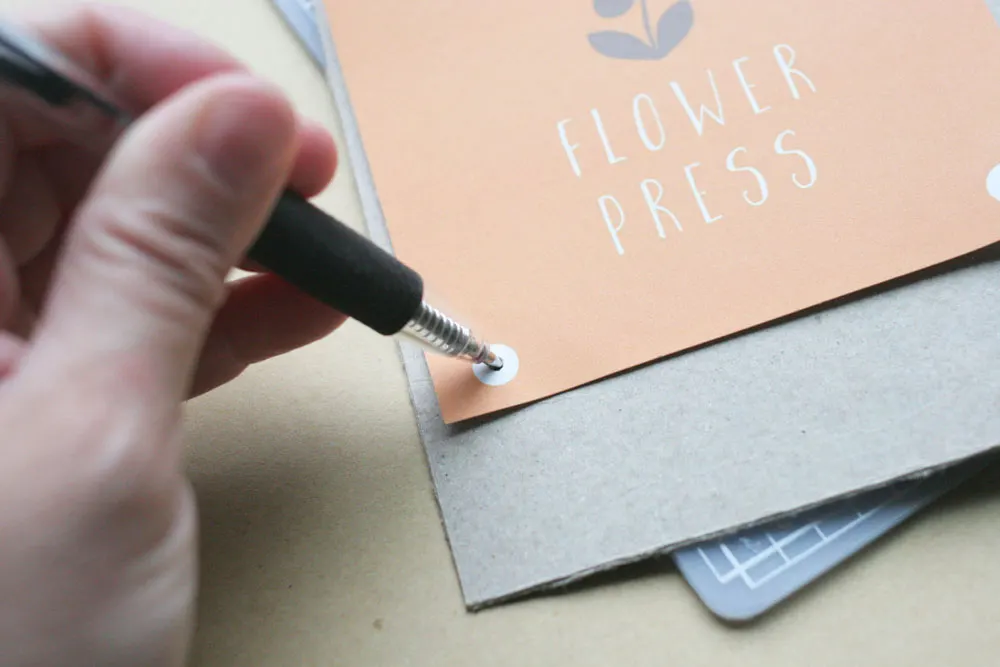
- Next, use the hole punch set to punch 4 holes in the chipboard.
- Repeat steps 6-7 for the second piece of chipboard (use the first piece of chipboard as the guide to mark the hole locations).
- Finally, attach the label and chipboard together with brad fasteners.


How to Use a DIY Flower Press
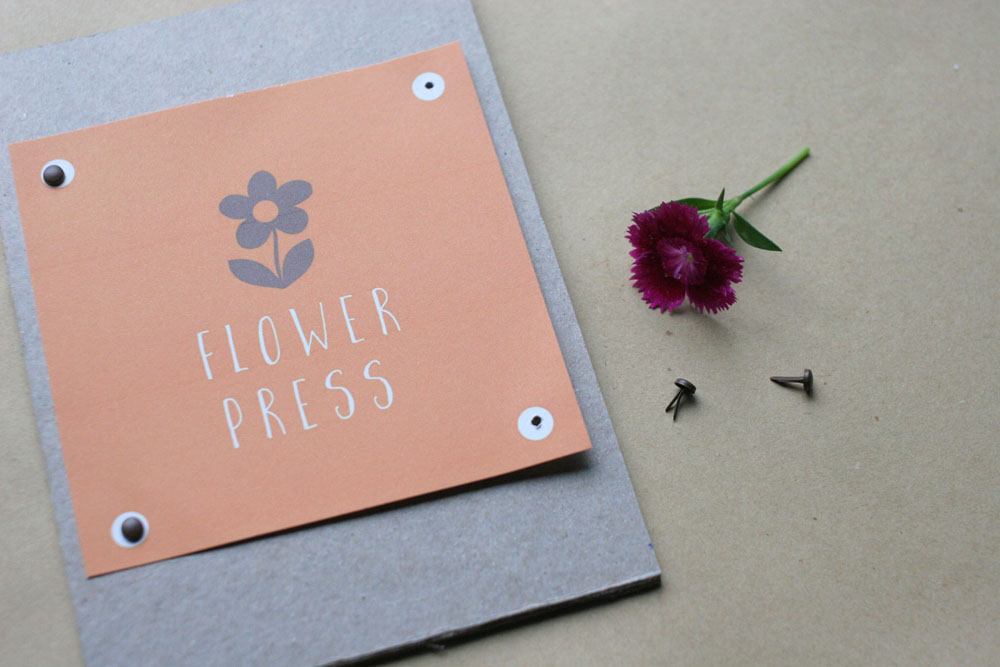
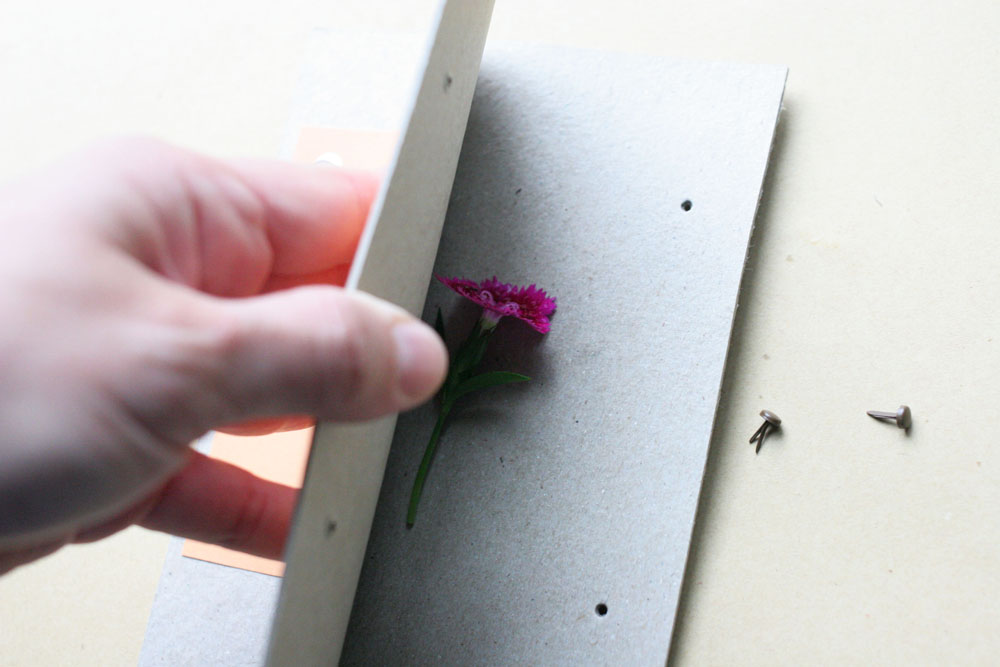
Now that you’ve completed a simple, DIY flower press — let’s put it to good use. The next time your child brings in a botanical treasure, teach them how to press and preserve it!
Simply detach two brads on either the right or left side of the flower press. Tuck the bloom in between the pieces of chipboard and reattach the brads. If it is a larger flower or leaf, remove all 4 brads and place the botanical between the pieces of chipboard.
Would you like to download the free printable? Click the button, below, to sign up for our newsletter and gain access to the freebie library. Once subscribed, you will receive an email with instructions to access the library.
If you have any problems signing up, please send an email to loragreen@craftivitydesigns.com, and I will sign you up manually.
Did you love this nature craft for kids? You might also like:
How to Plan a Nature Adventure


How to go on a Nature Scavenger Hunt with Kids
Printable Nature Exploration Kit