Did you know you can make cheap fabric pumpkins from old cloth napkins? With beginner sewing skills and a few tools, you can make a collection of pumpkins in no time!
It’s September 1st. It might be 90+ degrees outside and we are planning to spend the long weekend at a water park, but my mind is focused on fall. I love it. The crisp, cool air. The taste of pumpkin and apple in drinks and treats. The layering of cozy sweaters. I look forward to summer fading and I’m anxious to dress up our home in warmth and fall decor.
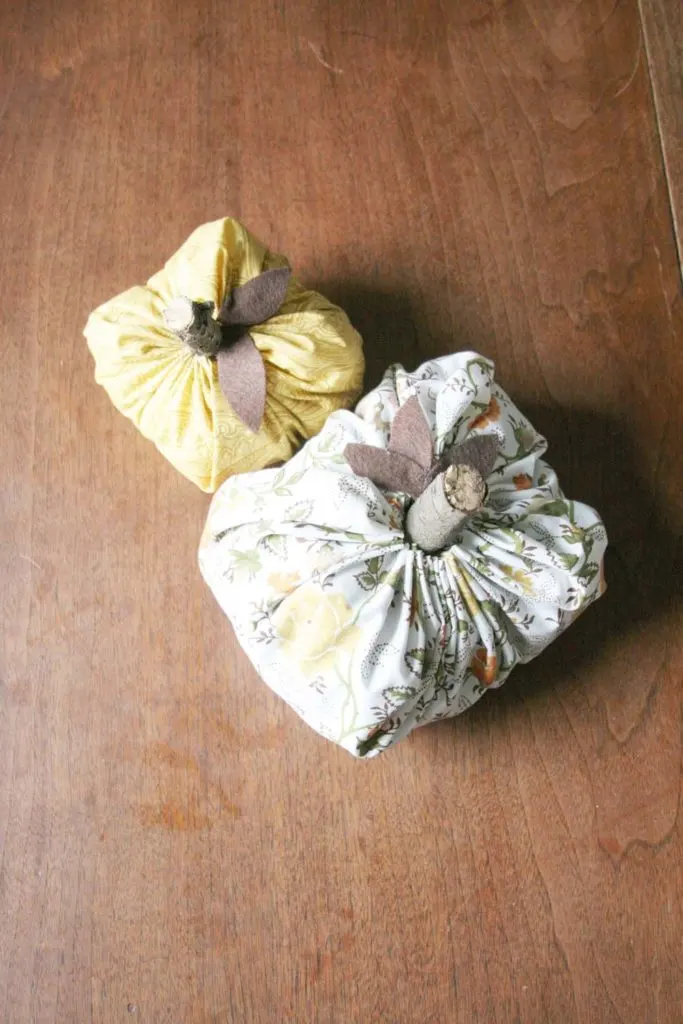
Over the weekend, my mom and I made fabric pumpkins together. I’m already filling our dining room with them, but for today I’ll be sharing how to make the fabric pumpkins. The fall tour will come in several weeks {Update: Take the fall tour, here}. See? Not too much fall here on the first day of September.
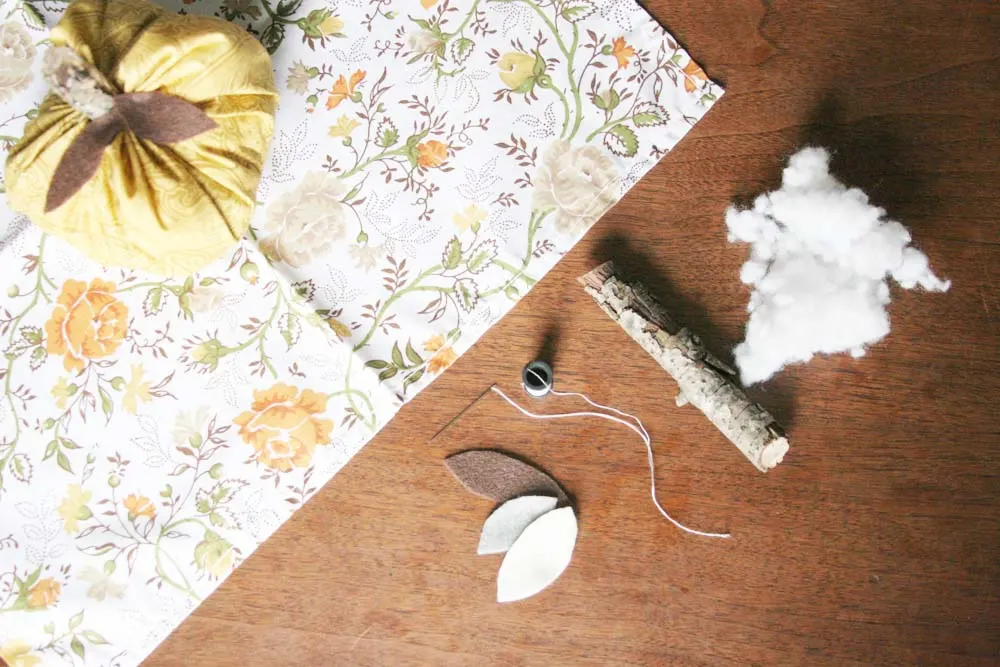
Fabric Pumpkin: Supplies
- Cloth Napkin (try a buffalo check, ticking stripe, or traditional print)
- Plate
- Pen
- Fabric Scissors
- Needles and Thread
- Plastic Snack Bags
- Beans
- Filler (such as polyfill or grocery bags)
- Branch (cut into pieces)
- Felt
- Leaf Template (download a free template in step #8)
- Hot Glue Gun and Glue
Fabric Pumpkin: Instructions
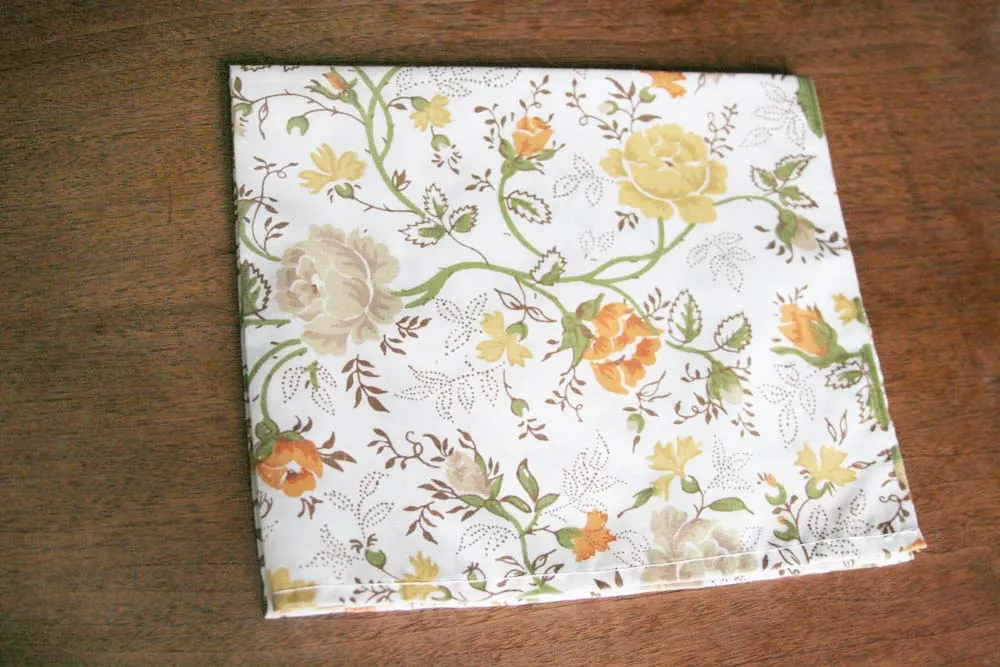
#1: Fold the cloth napkin into fourths. To note, any fabric can be used, of course — simply cut it into a square. I’ve had these floral cloth napkins for years, originally found at a thrift store. They had a nice fall color palette and were the perfect choice for a fabric pumpkin.
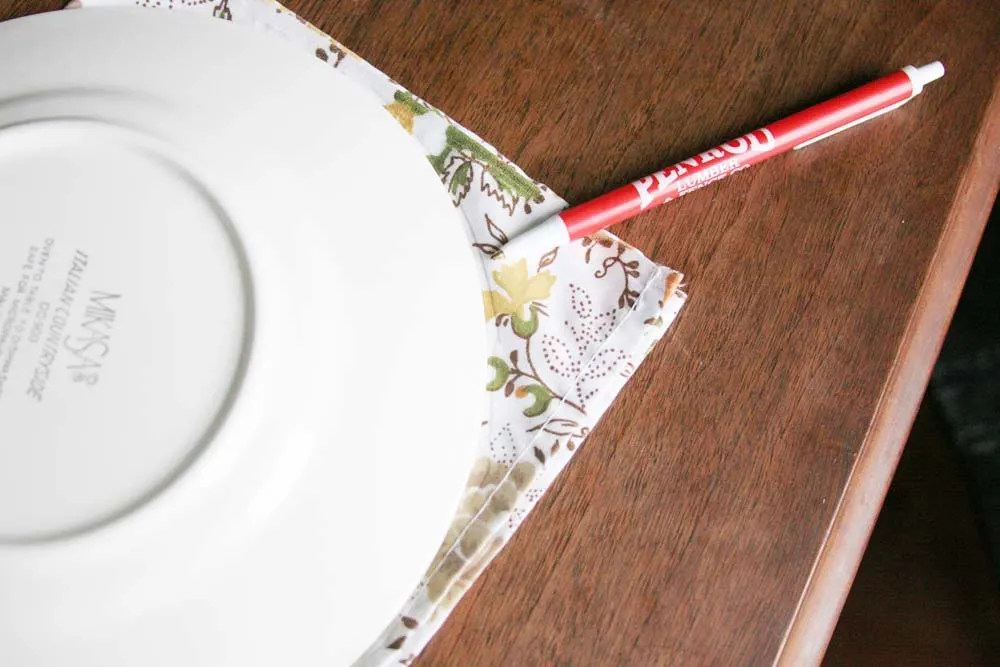
#2: When you fold the napkin, one corner won’t have any folded edges. Place a plate over that corner and draw a line to mark the curve of the plate.
#3: Cut along the line with fabric scissors or pinking shears to create curved edges. You’ll now have a more circular shape, even if it isn’t an exact circle.
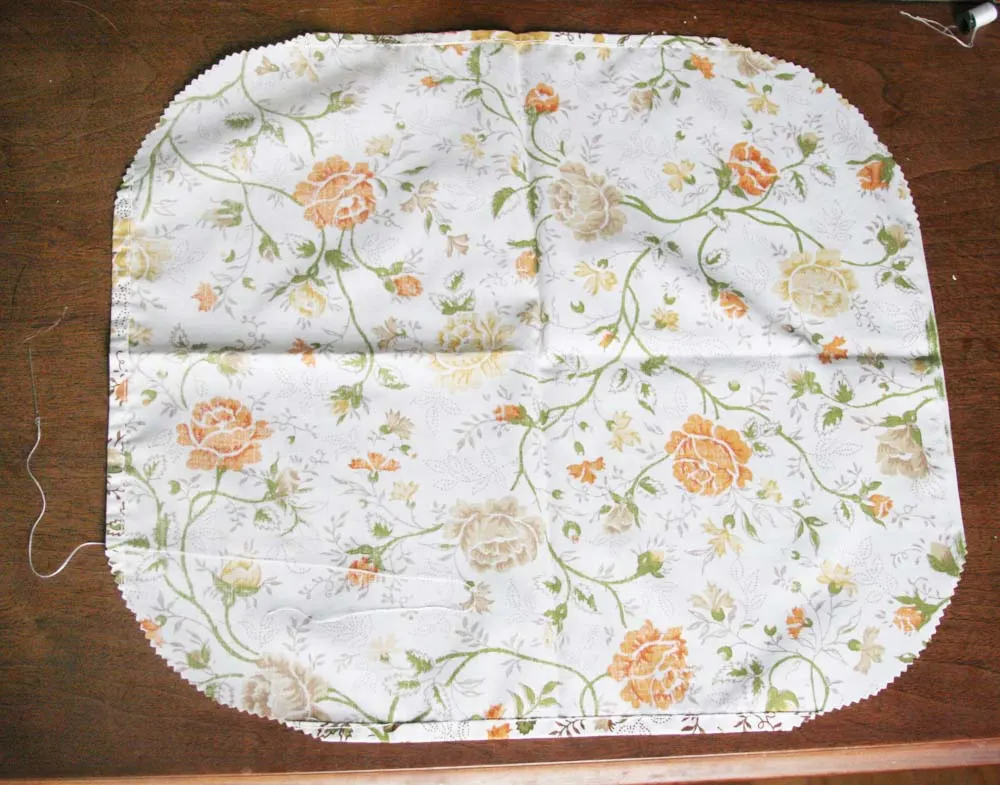
#4: Begin anywhere along the edge and sew a loose stitch {approximately every 1/2″}. Gather the fabric as you go, every 5-10 stitches.
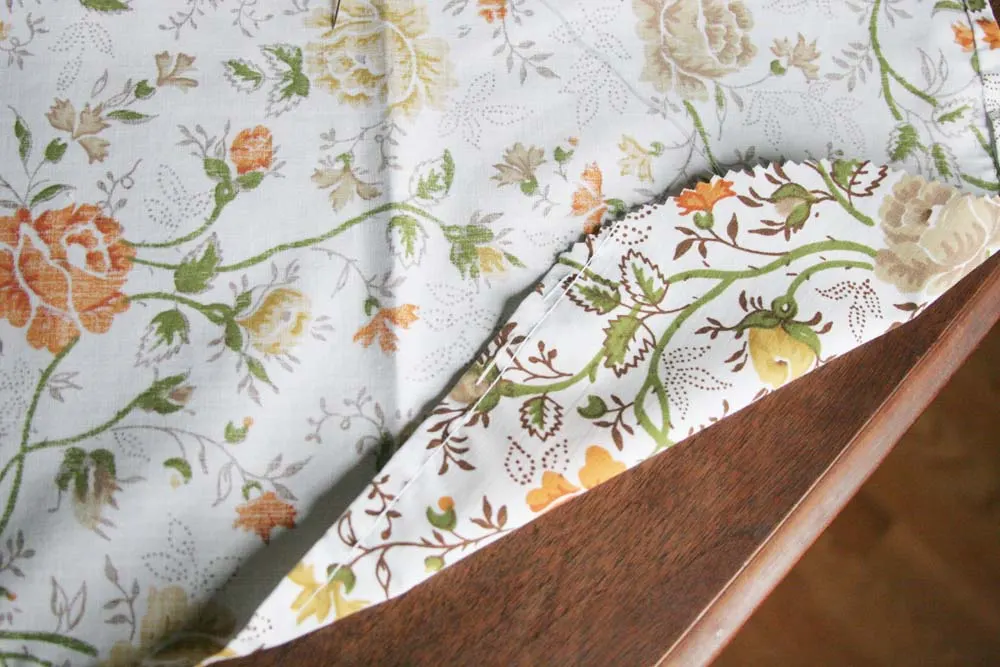
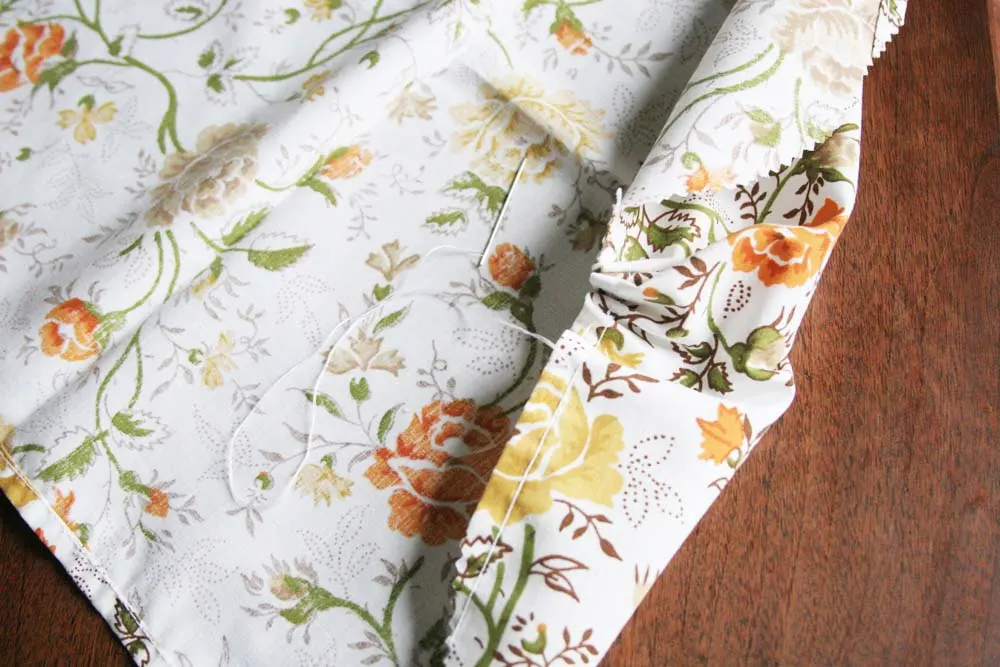
#4: Once you are back to where you began stitching, gather the fabric tight and tie off the thread. You’ll want to have a hole in the top of the pumpkin that is large enough to hold the branch and to stuff the pumpkin.
#5: Fill a plastic snack bag with dry beans and stuff it inside the pumpkin. This will give the finished pumpkin weight and help it sit well.
#6: Stuff any type of filler {such as polyfill} into the pumpkin. I used two types. First, there was an old lumpy pillow that was destined for the trash. I cut it open and use that filler for pumpkins. Second, many of the pumpkins were just filled with plastic grocery store bags, which was a great way to recycle and get them out of our pantry.
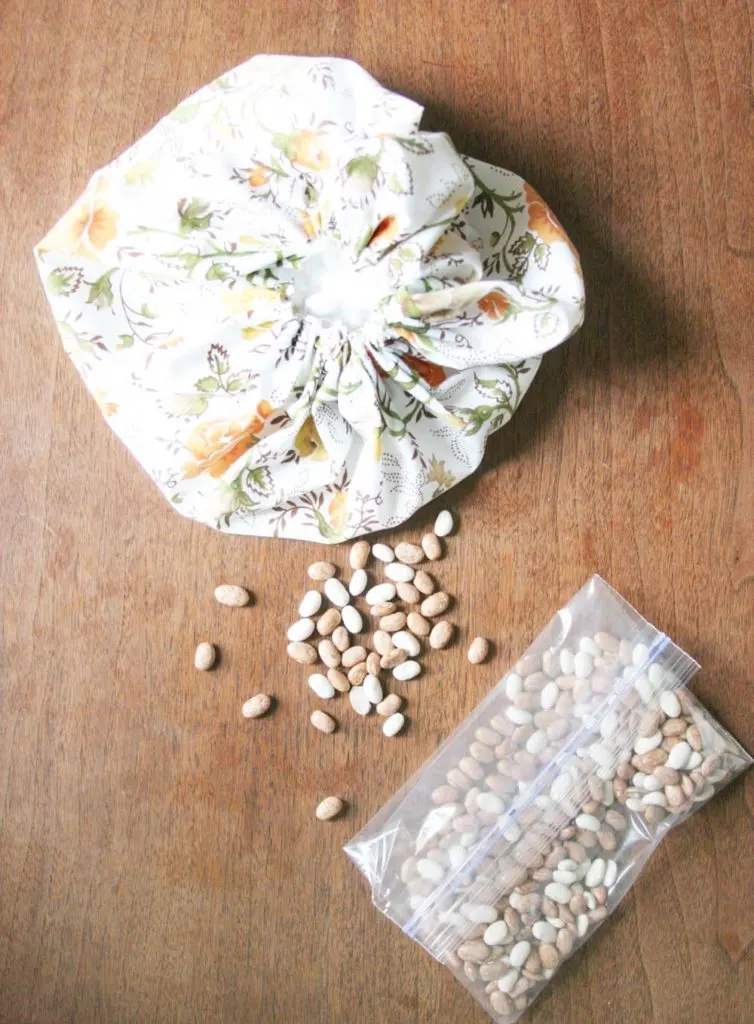
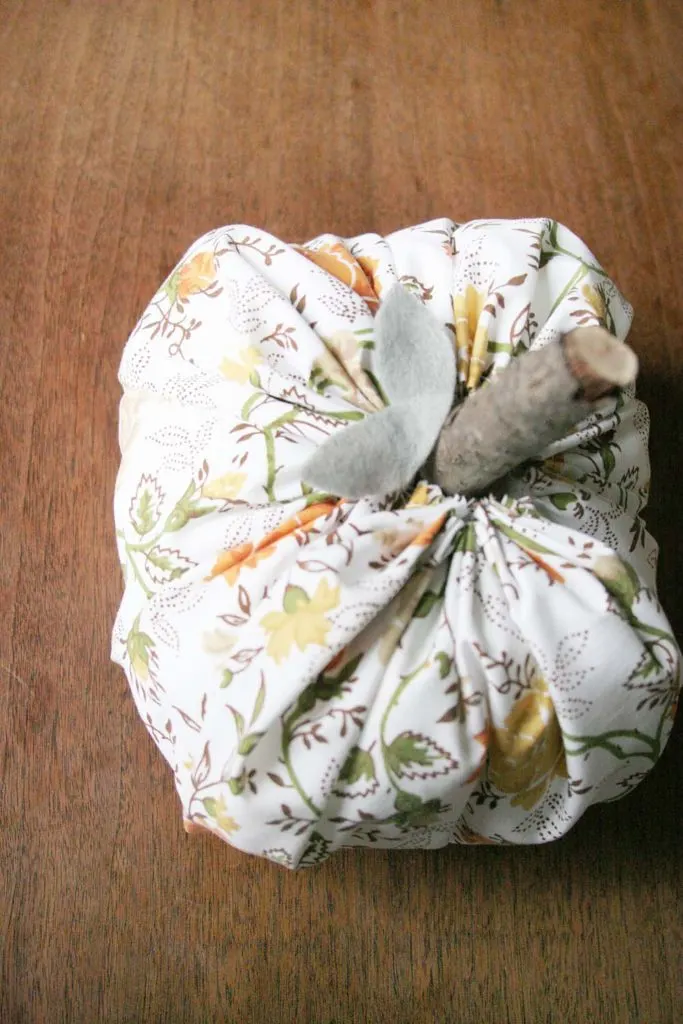
#7: Snap a dead branch into pieces for pumpkin stems, depending on how many pumpkins you are making. Each of the stems was about 5-6″ in length. Slide it through the hole at the top of the pumpkin and tuck in place, surrounded by the filler.
#8: Cut felt leaves and hot glue them to the fabric around the edges of the branch.
Would you like to download a template to use while cutting the fall leaves? Enter your email below to subscribe to the newsletter. Once subscribed, you will be able to download a free template which features 4 leaves ranging from 2.5″ in length to 4.5″ in length. {note: If you are already subscribed, you may still need to enter your email; but you will not be subscribed twice.}
[optinlocker]DOWNLAOD NOW: Leaf Template[/optinlocker]
Fabric Pumpkin Patterns and Colors
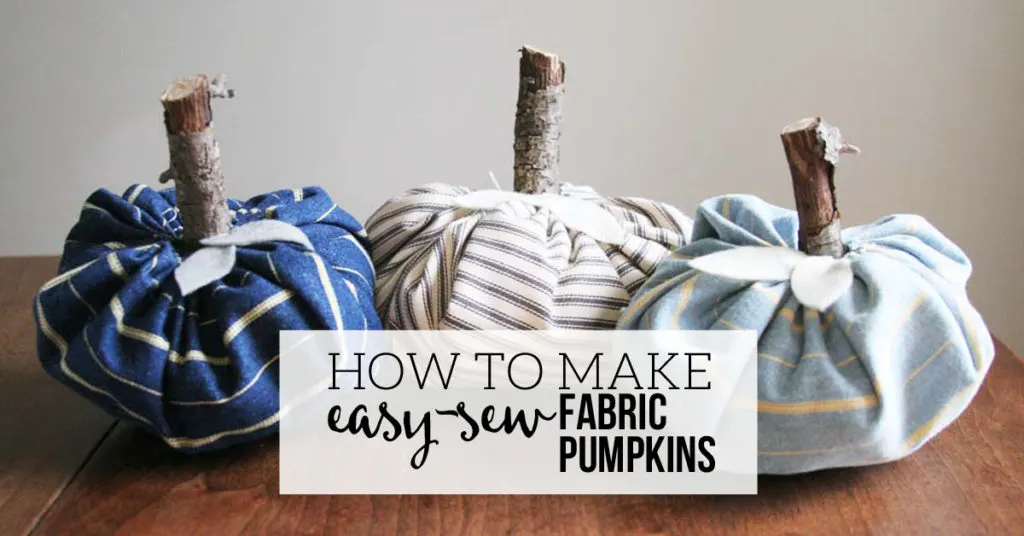
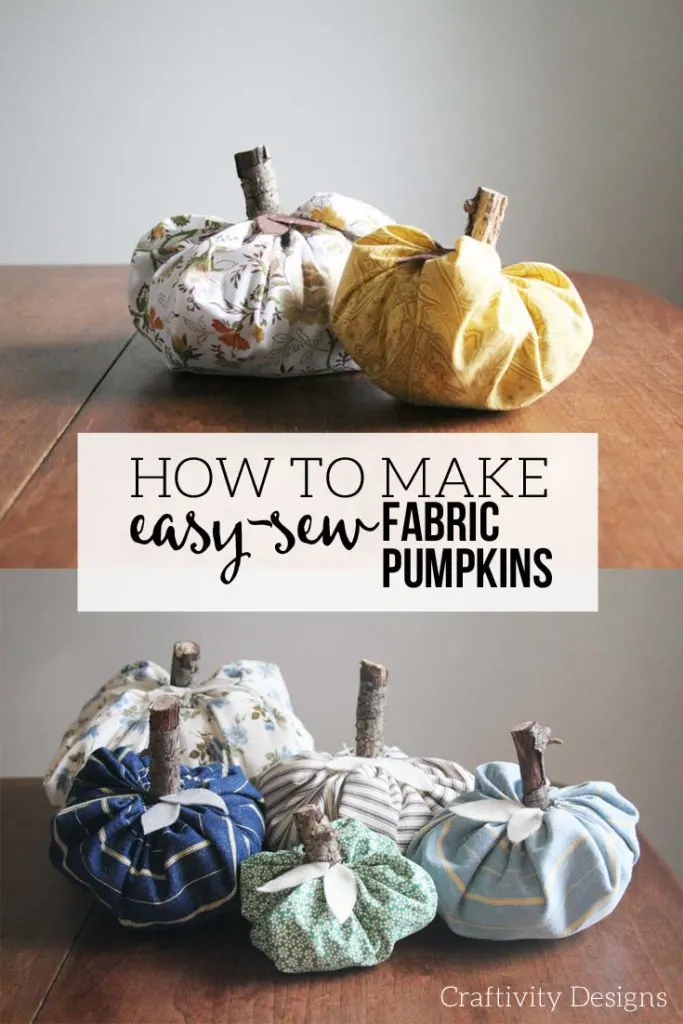
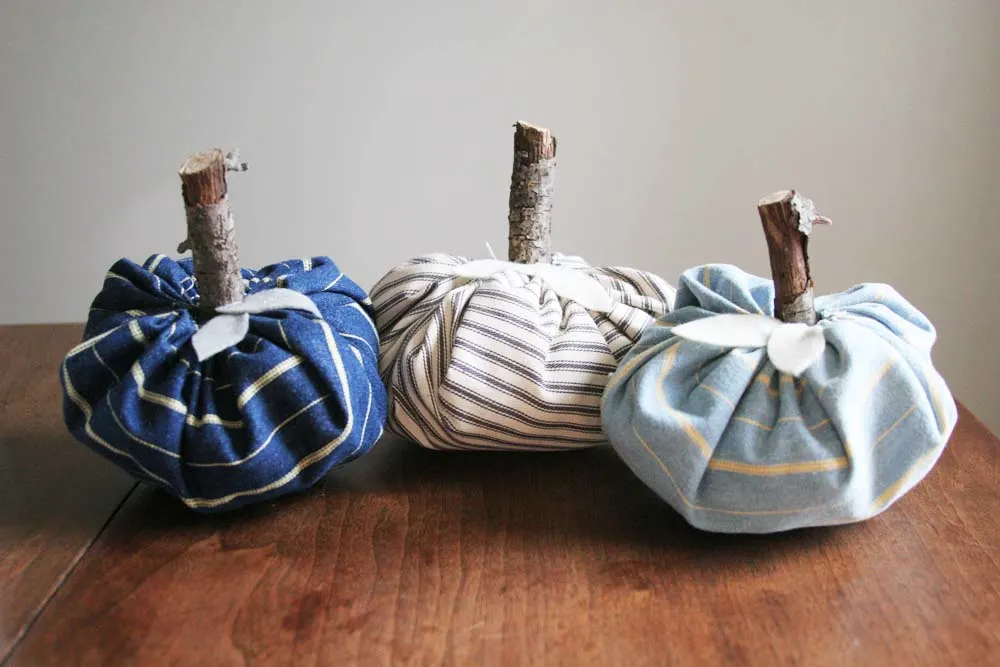
You’ll notice that I didn’t choose traditional fall fabrics or even many fall colors, for that matter. It was my intent to choose unexpected patterns that would blend well with the current decor in our home. When it comes to seasonal decorating, I don’t want it to be a huge task of switching out everything in a room to make seasonal colors “fit” in the space.
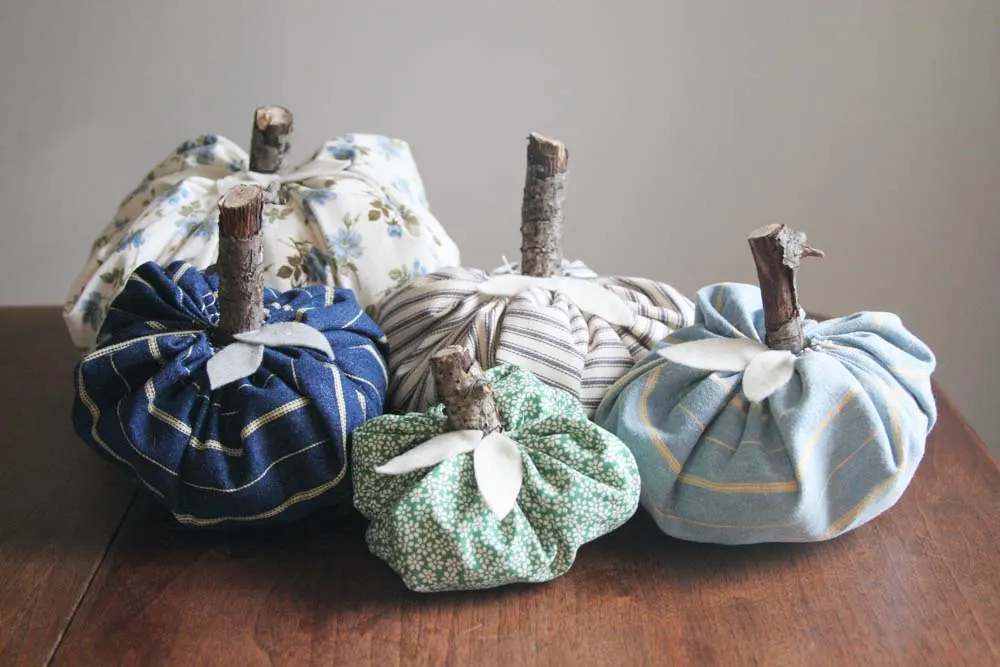
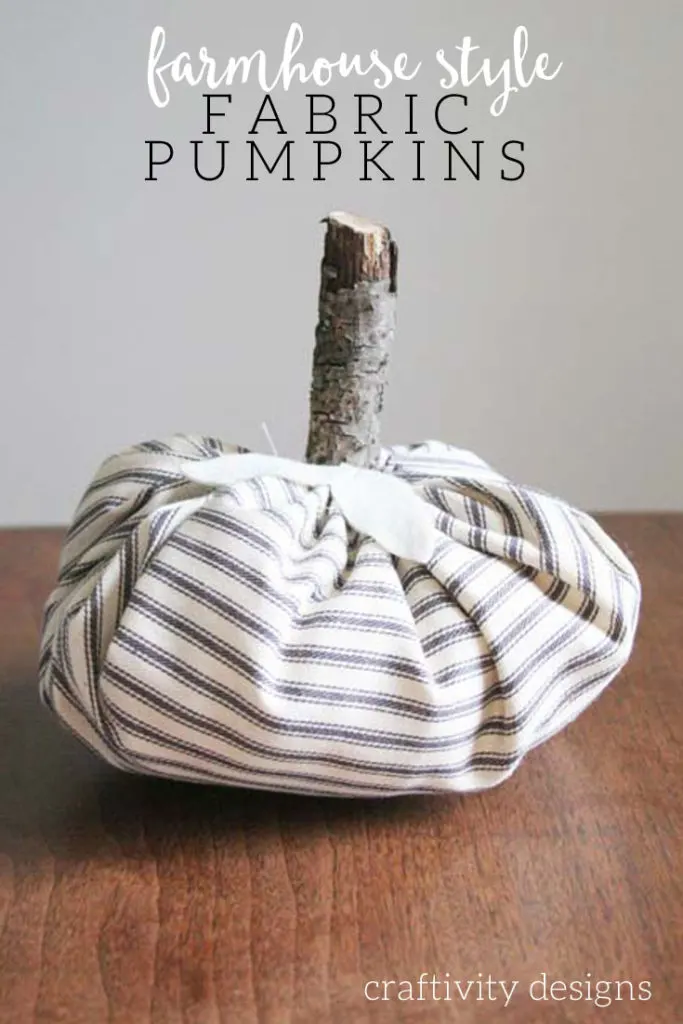
The ticking pumpkin, shown above, was my original vision. I saved scraps from the ticking cushion on our deck swing because I love the simplicity of the fabric. It made for a cute pumpkin and I had to create more. Little, easy-sew pumpkins were perfect for a fun afternoon of relaxed crafting. Plus, now my dining room is making a slow transition from bright summer colors to warm fall tones.
Are you anxious for fall — or do you like to hold onto summer?

Sarah @ Making Joy and Pretty Things
Saturday 10th of September 2016
SO CUTE, Lora!! I love the idea of using thrift store napkins to make pumpkins. A pretty and unique spin on the traditional pumpkin look!
craftivitydesigns@gmail.com
Monday 12th of September 2016
Yep! Inexpensive and something different :)
Shani | Sunshine & Munchkins
Friday 9th of September 2016
What a fun and simple craft! I love that you chose colors that match your current decor to make the transition easier. I am always sad to see the warm days of summer go away but I also love the cool, crisp days of fall!
craftivitydesigns@gmail.com
Friday 9th of September 2016
It is a simple project :)
Esther | The Cuteness
Tuesday 6th of September 2016
I love these! What a fun DIY, thanks for sharing!!
craftivitydesigns@gmail.com
Tuesday 6th of September 2016
Thanks, Esther :)
zan
Tuesday 6th of September 2016
They are so easy to make. I love the different colors. I have painted pumpkins but never made them with fabric myself!
craftivitydesigns@gmail.com
Tuesday 6th of September 2016
You should give it a try! A fun craft :)
Colette @ restyle it wright
Friday 2nd of September 2016
So cute Lora! I love the non traditional fabric choice! Who says fall decor can only be orange/yellow/red/brown! Looks great! :)
craftivitydesigns@gmail.com
Friday 2nd of September 2016
Thanks, Colette!