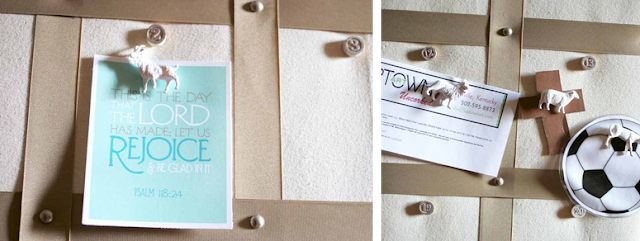
I hope you had a great weekend! We took a little mini-getaway to Gatlinburg over the weekend and had such a good time hiking in the mountains, shopping and eating all kinds of yummy food.
Speaking of Gatlinburg, it’s right here on our Family Wall Calendar.

Disclosure: This page includes affiliate links.
I shared some glimpses of our Family Wall Calendar last week in the entryway reveal; but today I’m excited to share all the details behind how we made it and how we use it!
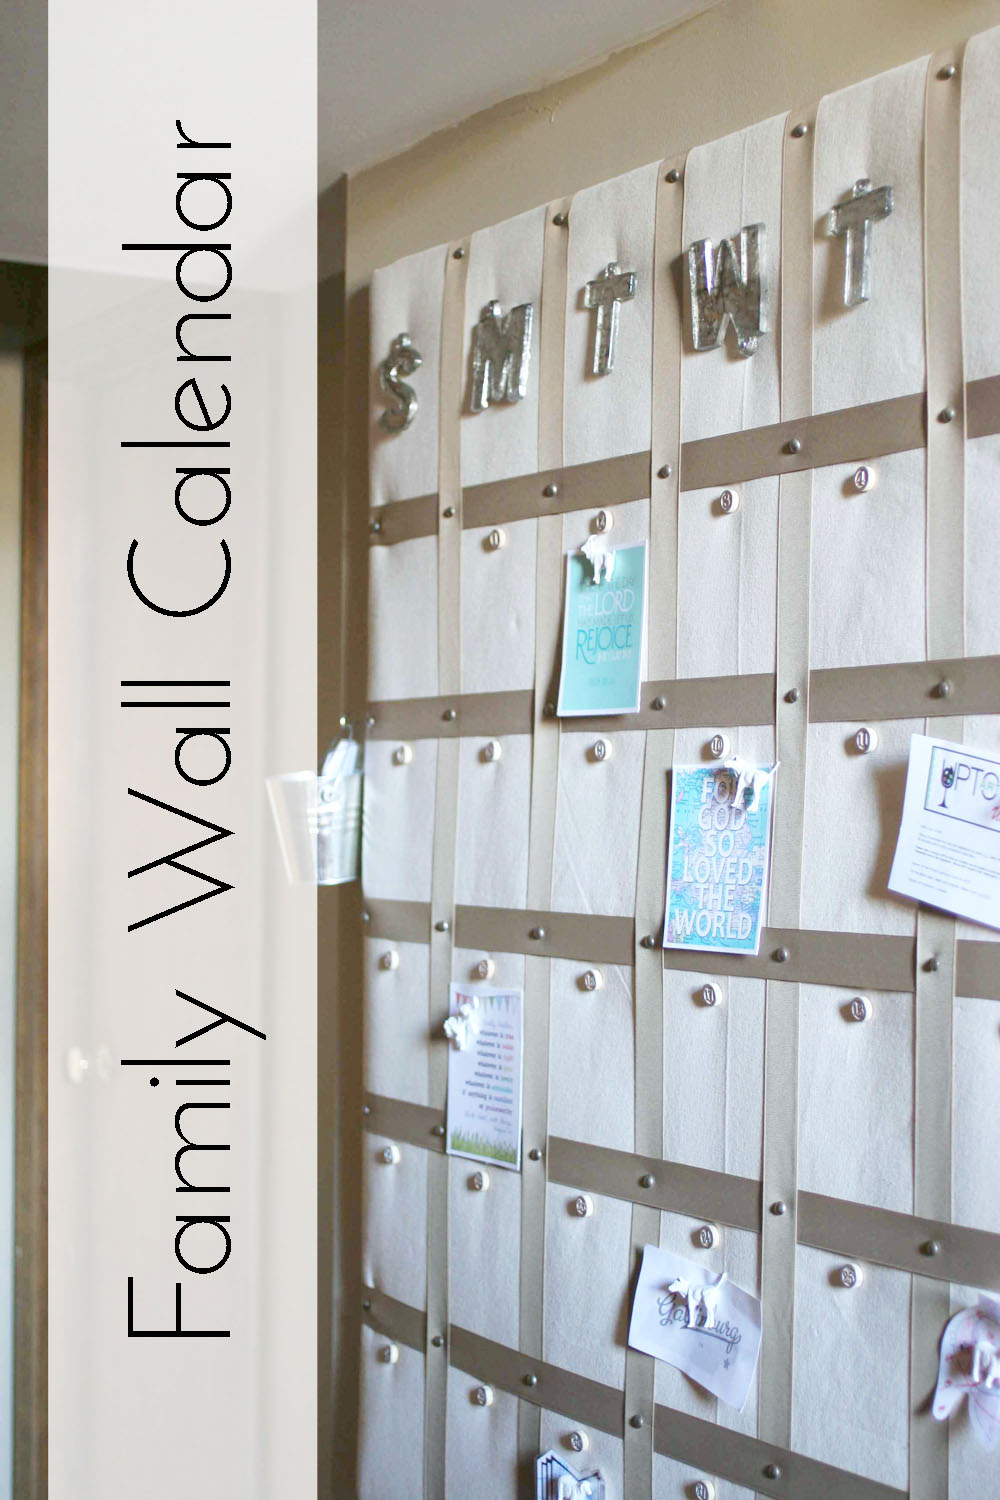
The calendar stretches 4ft x 4ft! I guess I like big calendars and I cannot lie.

Seriously though, we wanted it to be large enough to hold invitations, event fliers, photos, etc. — but it still needed to fit in the small space that is our entryway. So after doing a bit of measuring, we settled on 4ft x 4ft and drew a little diagram to make sure it would work.
The calendar is made up of 4 layers:

The foam board layer is 6 Sheets of foam board held together with packing tape. I attached these rolls of cork board with spray adhesive.
The corkboard layer is technically two layers of cork thick. However, the cork was the most expensive part of this project. If I were to do this again, I would only have one layer of cork — or just skip the cork altogether and use a second layer of Foam Board.
(UPDATE: Recently, I found this post by A Casarella where she completes a pinboard using foam insulation from the hardware store. This would be a great, inexpensive alternative to the foam board and cork board combo.)
My foam board layer was larger than the cork board layer, so I used a utility knife to trim off the excess.
The quilt batting is crib size because the dimensions were pretty much perfect for this project. I chose duck cloth to cover the batting because it is a heavyweight material that should remain durable over time. It also has a nice texture to it, but the light color keeps it clean and simple.

Once the duck cloth was stapled into place I stretched the ribbon across the canvas {basket-weave style} and attached them with upholstery tacks.

The calendar is screwed directly into the wall studs and the screws are hidden behind the ribbon.

Once all that was complete, it was time to do some accessorizing with pretty letters and fun numbers.

The letters are actually Christmas tree ornaments. Crazy, huh? Kohls had these gorgeous antiqued glass letters in their Holiday collection, and they were marked down 75% after Christmas.
Here is what they looked like before:

TIP: Always shop after-holiday cearance for items you can use everyday!
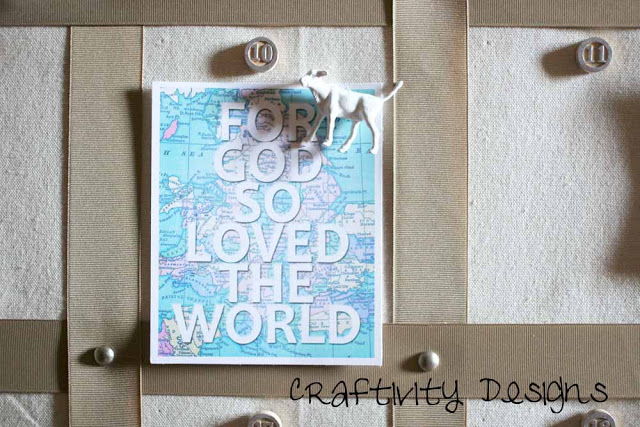
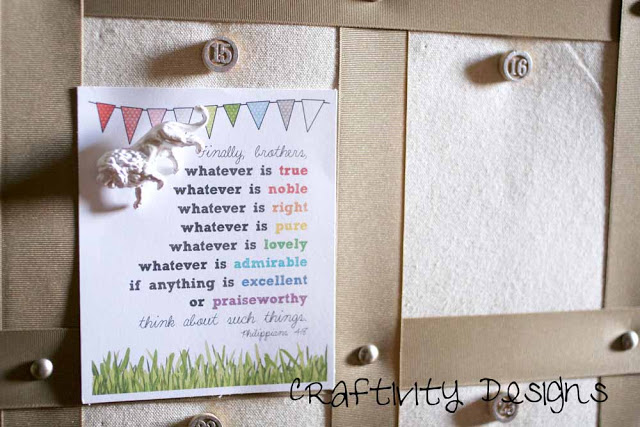
The days of the month are made from faux game pieces that I picked up at the Lasting Legacy semi-annual consignment sale (which is where I got these letters too). I applied a little Rub n’ Buff and attached a thumbtack with E-6000 glue to turn each one into a push pin (just like the animal push pins!).

This project cost us right around $90. I’m sure it could be done for less (after all the cork board that I could have skipped was over 1/3 of the total), but I’m still sooo pleased with this large custom piece.

I’ve been teaching my little guy about our plans for the week, which include reading a book at the library on Tuesday, learning about Jesus at church on Sunday and then watching Mommy play soccer.

It’s also a spot for us to display meaningful, pretty things…
… and one can’t have enough of those, true?
Do you have a spot in your home for a Family Wall Calendar?
If so, I don’t want to leave you without a Supply List, so you have all the details to create your own — have a lovely week!
General Supplies
Clear Packing Tape
Spray Adhesive
Utility Knife
Staple Gun
Rub n’ Buff
E-6000
Specific Supplies
20″x30″ Foam Board (Walmart) – 6 Sheets @ $2 ea
2’x4′ Cork Board
Crib Size Quilt Batting
1.5″x20yds Khaki Grosgrain Ribbon
Upholstery Tack Nails (Hancock Fabrics) – 3 Packs @ $1.50 ea
60″x1.5yds Canvas Fabric (Hancock Fabrics) – $12
Game Pieces (Thrifted) – $2
Thumbtacks (Walmart) -$2
Ornament Letters (Kohls) – 7 @ $2 ea
Craftivity Designs
Friday 3rd of May 2013
Thanks for the invite, Alice! I linked up!
Craftivity Designs
Friday 3rd of May 2013
Thanks, Danielle! I always like organized & pretty -- woohoo!
Craftivity Designs
Friday 3rd of May 2013
Thanks, Genie! It is working great as a little teaching tool! We love it :)
Craftivity Designs
Friday 3rd of May 2013
Thanks, Amber!
Danielle
Wednesday 1st of May 2013
Very cool! What a great way to organize and see your families commitments. Thanks for sharing at Silver Pennies Sundays.