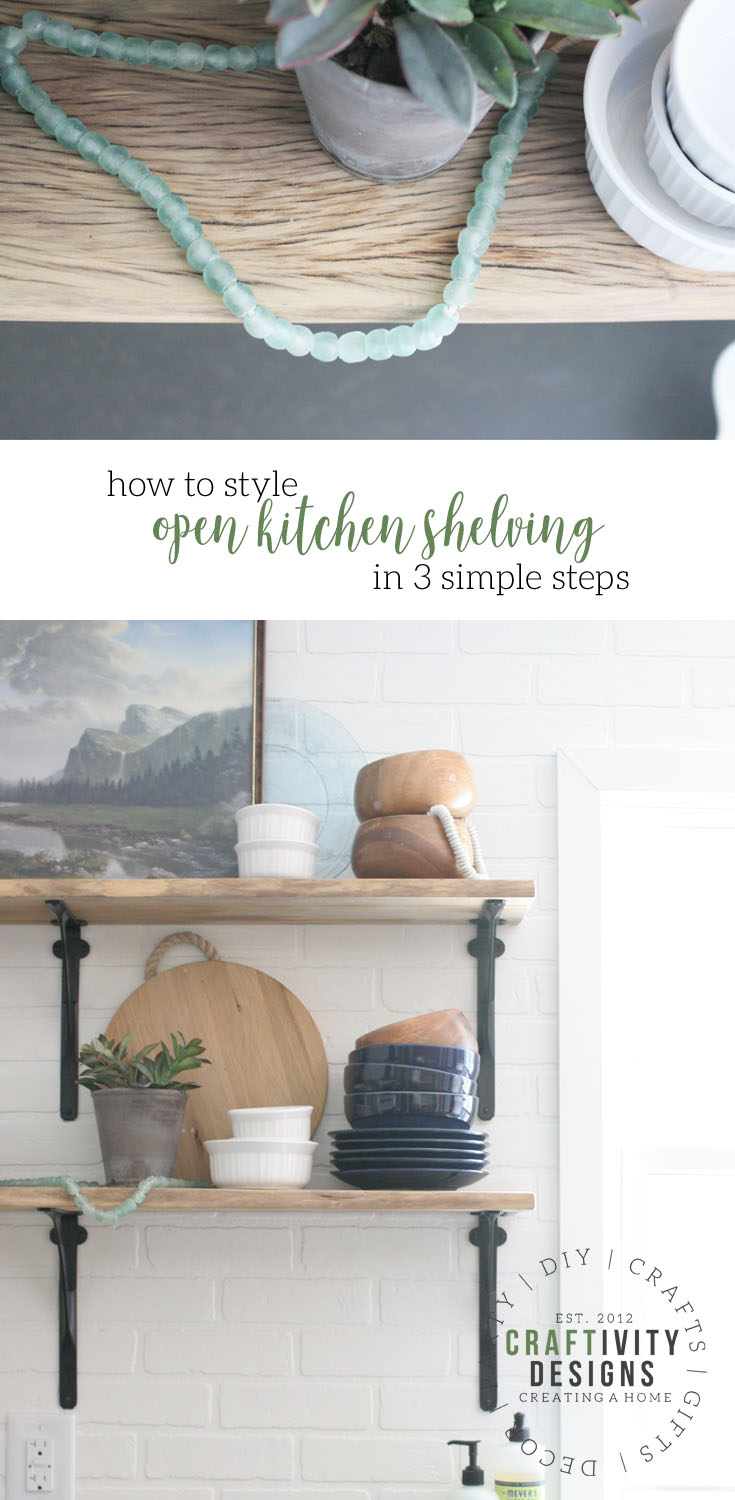
How do you style open kitchen shelves? Can open shelves be organized and practical? Yes! Learn how to style open shelving in a kitchen in 3 easy steps.
Do you love the idea of open shelving in a kitchen, yet feel intimidated by the execution? It’s understandable. After all, we often have a less-than-attractive hoard of dishes hiding behind our cabinet doors. Why bring all that mess out in the open?
Though open shelving has been on-trend for years, I’ve still felt a bit apprehensive about the idea. In our new cottage-style home, we finally decided to grab the sledgehammer and give this kitchen design trend a try. When we moved in, the kitchen had upper and lower and cabinets on both sides of the room.
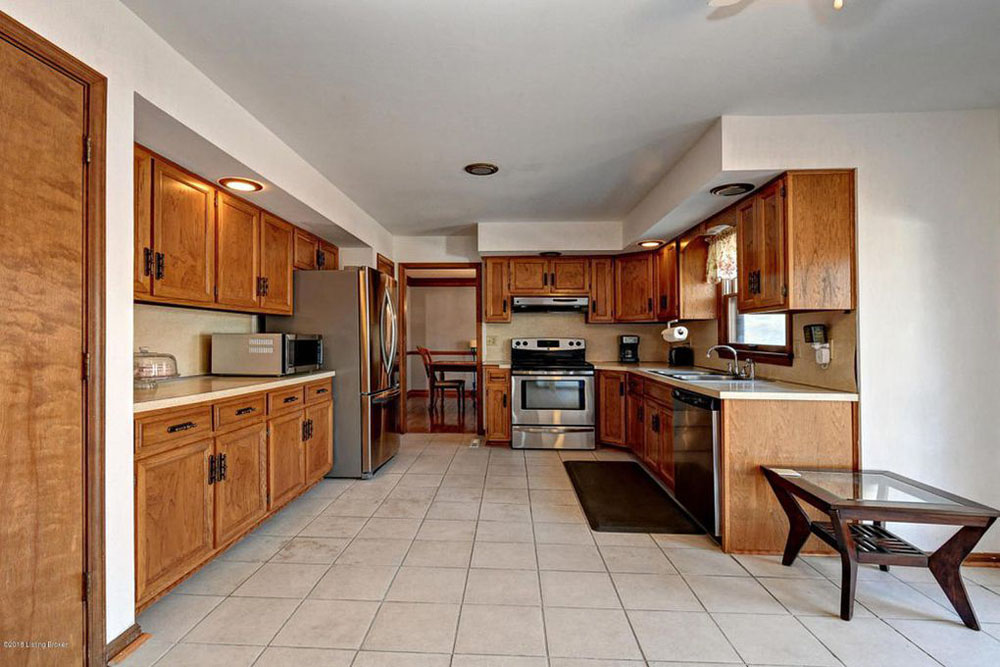
Installing open shelves in this kitchen was a great choice. Why? It’s roomy. Even after removing the upper cabinetry on the right side of the room, there are still 9 cabinets in the kitchen — plus a pantry. We weren’t losing much by removing cabinets, and it totally changed the feel of the space.
But, there are design dilemmas that come along with open kitchen shelving.
- What should be stored on open kitchen shelves?
- How do I organize open shelving in a kitchen?
- Can open shelves be both practical and stylish?
Let’s take a look at each of these questions and learn how to style open shelving in a kitchen in 3 easy steps.
How to Style Open Shelving in a Kitchen in 3 Easy Steps
1. Gather: What should be stored on open kitchen shelves?
The first, and foremost, factor in determining what should be stored on open kitchen shelves is functionality.
Always. Do not make design choices which hinder the functionality of the home. I live by this rule: Make interior design decisions which are both functional and beautiful.
Ask yourself: Which kitchen items are used most frequently?
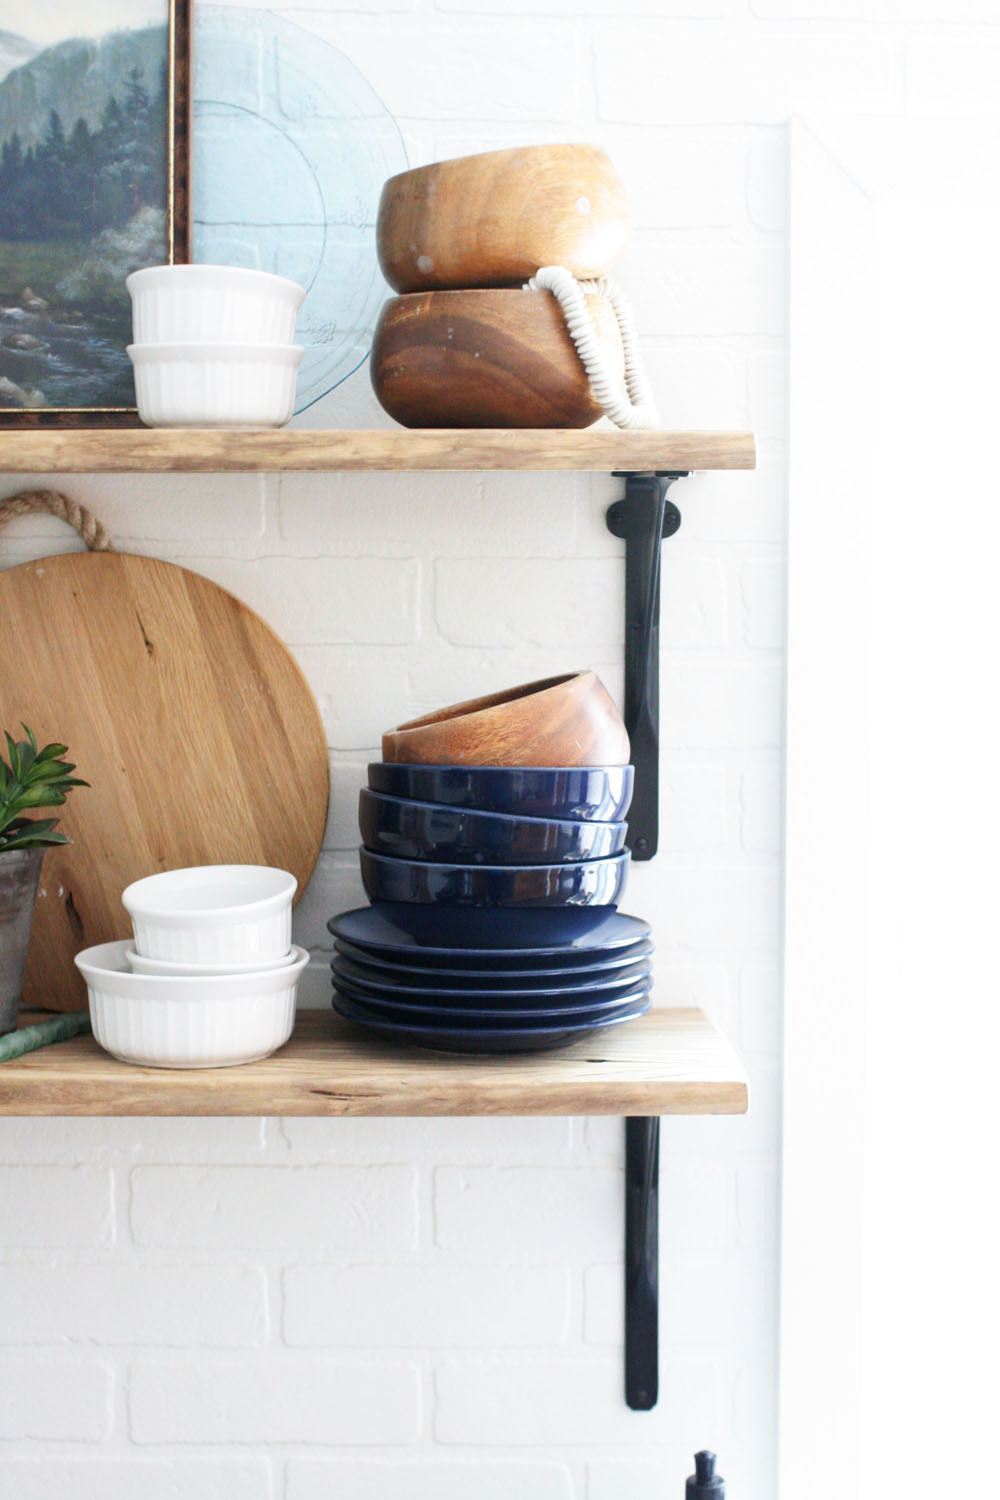
In our case, we need easy access to frequently used items such as cereal bowls, salad plates, glasses, mugs, and ramekins.
Ask yourself: Which kitchen items are not frequently used, but don’t have a home?
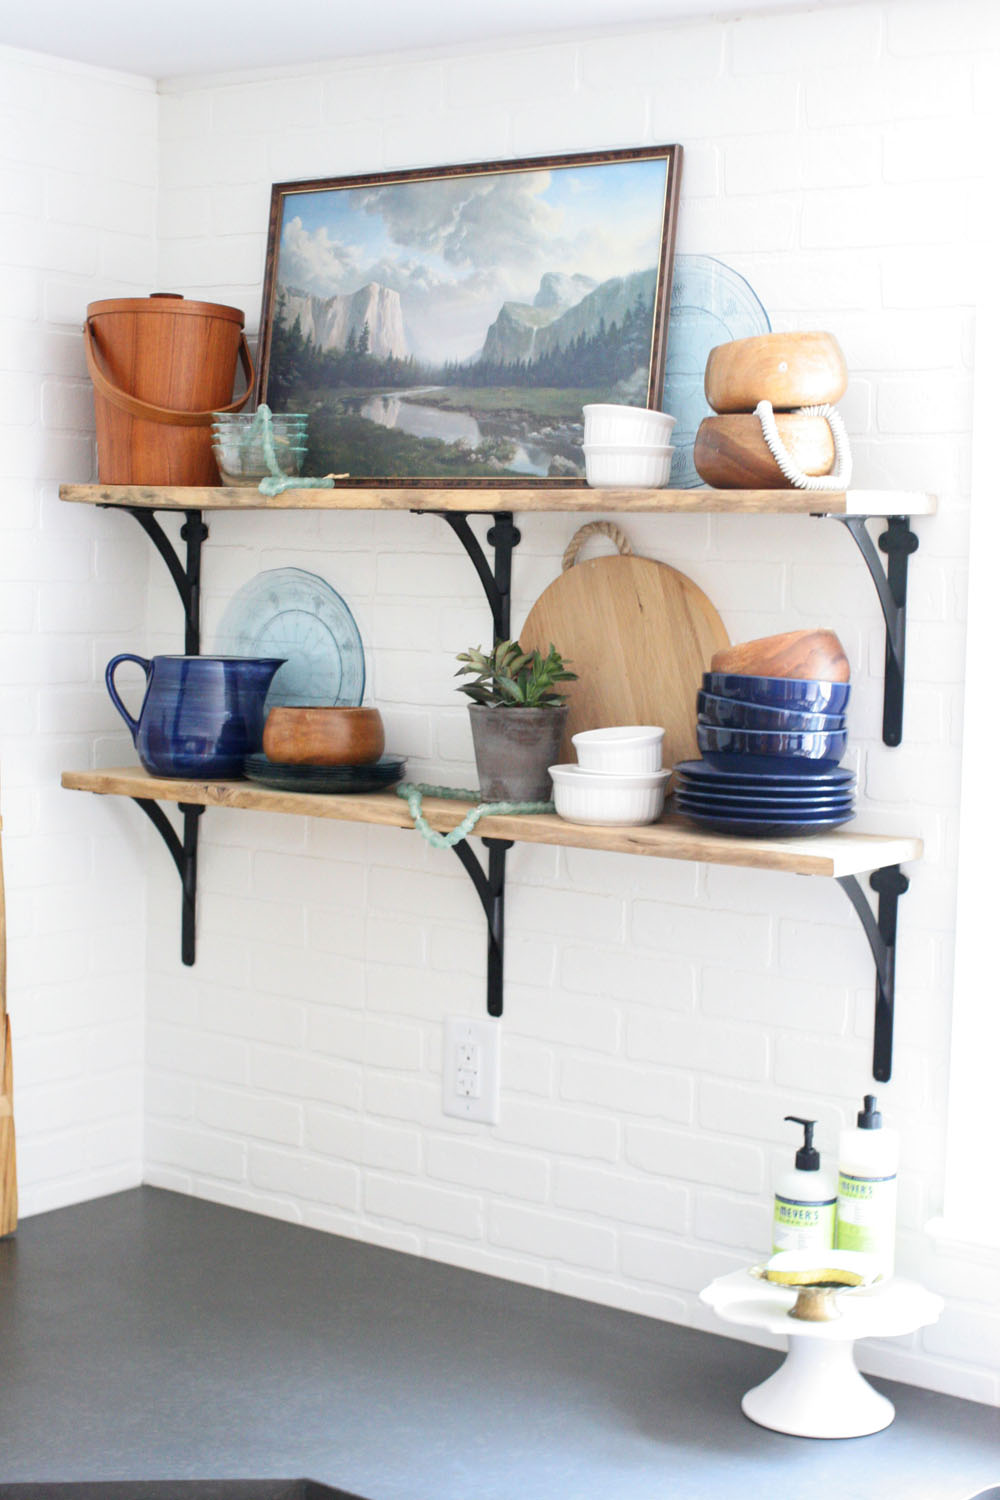
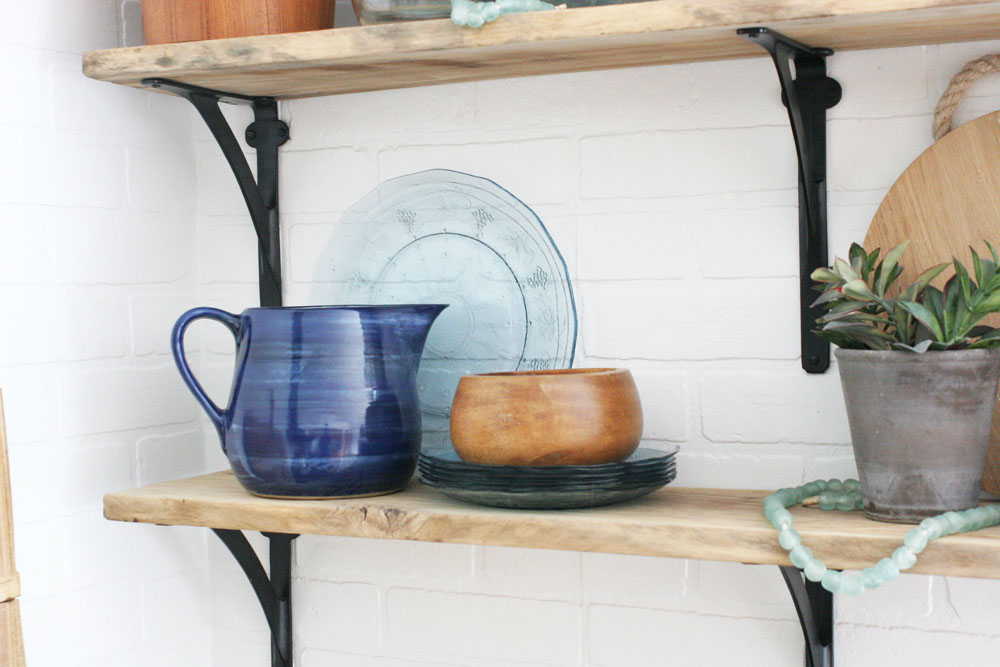
We also needed to find a home for a few less-used items, such as a ceramic pitcher and an ice bucket. I tucked those pieces into the back corner since easy reach was not imperative.

Ask yourself: What kitchen duties occur near the open shelving?
I store drink glasses on shelving above the dishwasher, for easy unloading and loading. Similarly, the ramekins, bowls, and plates are on shelving which is closer to the pantry and the countertop food prep area.
Ask yourself: Is there a color palette which works with the design scheme of the kitchen?
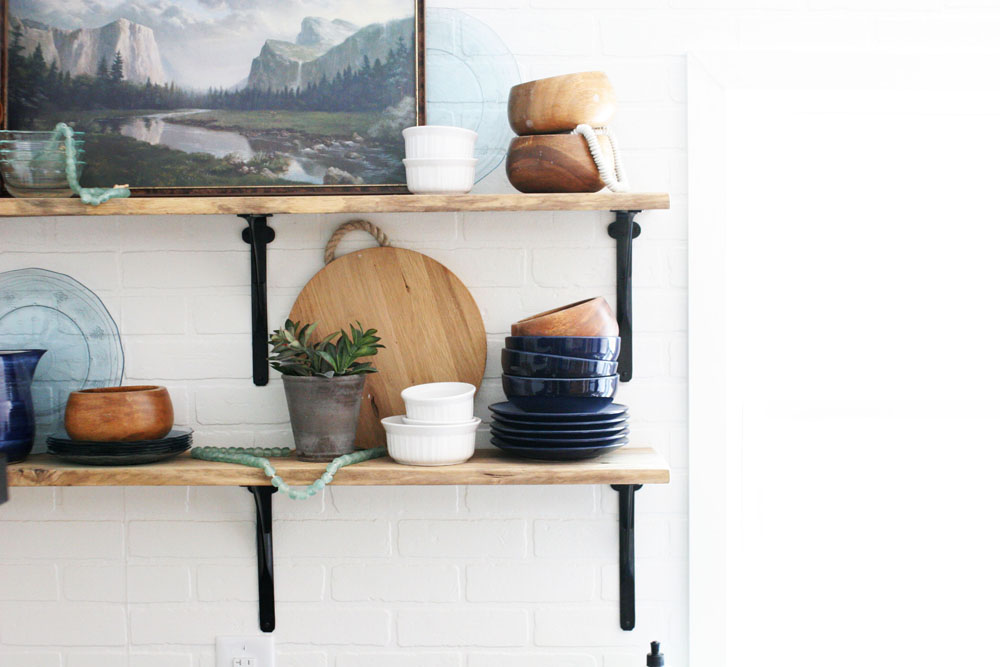
I’m working toward a color palette of greens, blues, white, black, brass finishes, and wood tones throughout the kitchen. The products on the shelving should echo the kitchen’s color palette for a cohesive design.
Ask yourself: Which kitchen items should be on display?
Finally, the “beautiful” part of that rule: Make interior design decisions which are both functional and beautiful.
I don’t want to mislead you.
- all of our frequently used items aren’t on open shelving
- all of our less-used items aren’t on open shelving
- everything in our kitchen isn’t perfectly located and
- everything in our kitchen doesn’t match.
Of course, not! Our kitchen isn’t out of a magazine. A real family lives here. Which is why a mix of upper cabinetry and open shelving is a great solution: it provides flexibility. There are beautiful items on display (such as wood bowls, simple white ramekins, and a blue ceramic pitcher) which are also functional solutions for the home.
2. Sort: How do I organize open shelving in a kitchen?
Once you know which items will be stored on open shelving, how should they be organized?
First, collect the kitchen items which you chose in Step 1, and spread them out on your counters (yes it gets messier before it gets better… like all good organizational projects **wink**).
Ask yourself: What kitchen duties occur near the open shelving?
Yes, we already talked about this in Step 1. But, let’s revisit the question.
In our case, the bowls should be near the silverware (because, spoons!), as well as near food prep. Therefore, the bowls are on shelving nearest the food prep counter space and directly above the silverware drawer.

Organize kitchen items by where it will go on the open shelving. Essentially, this is the “sort” step in a typical organizational project. The products don’t need to go on the shelving yet, just organize them in groups on the counter, such as:
- items which must be easy to reach
- items which can be hard to reach
- products which should be near the sink/dishwasher/stove/silverware drawer/etc.
Ask yourself: How should kitchen items be stacked?
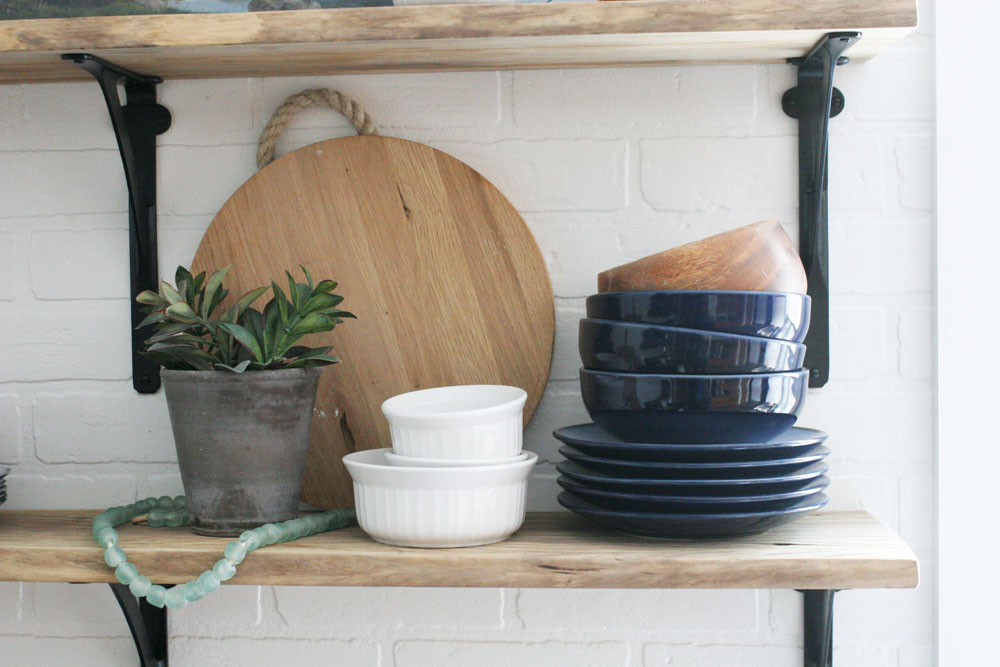
Once everything is sorted, stack the kitchen products in a practical way. For example, a stack of bowls and salad plates, or a stack of ramekins in several sizes. Stacks will add height and interest, but the stack should also be functional and practical for use.
#3: Style – Can open shelves be both practical and stylish?
Yes, of course! (I know you couldn’t have guessed my answer… ha!)
Now that the kitchen items are sorted and stacked, it’s time to fill the open kitchen shelving and make it pretty.
Ask yourself: What will be the anchor items?
Choose one anchor item per shelf (unless you have long shelves – greater than 4 to 5 ft in length – then you may need two per shelf). Anchor items are tall and, ideally, relatively shallow in depth. They act as a backdrop, while also adding height.
I choose a landscape painting and round wood cheese board.

Ask yourself: What are the tallest kitchen products (or tallest stacks)?
Next, place taller kitchen products, and taller stacks of items, onto the open shelving.
Ask yourself: How much more can I fit?
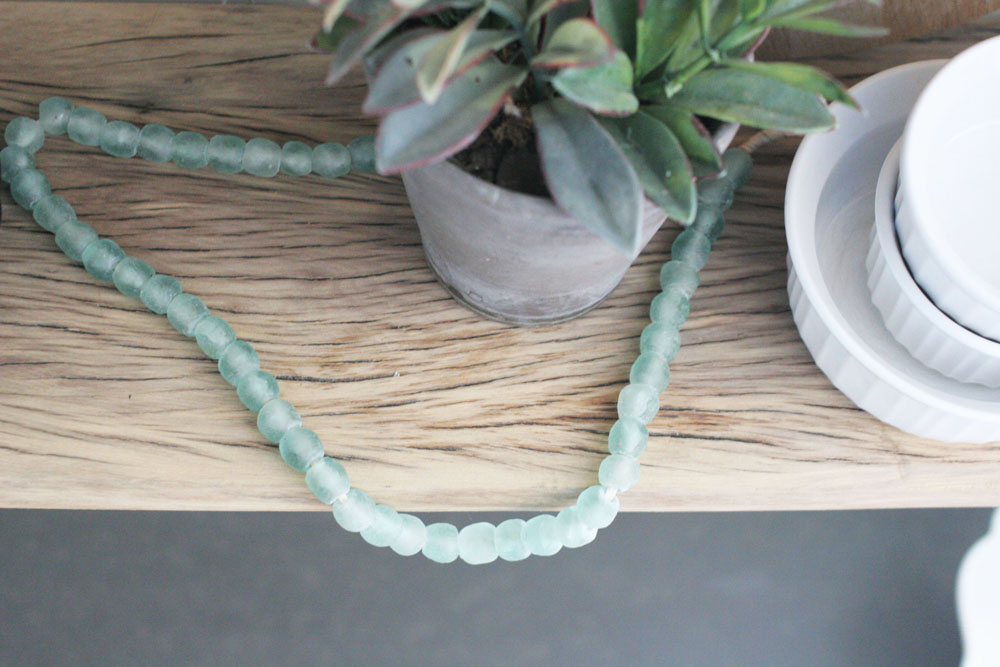
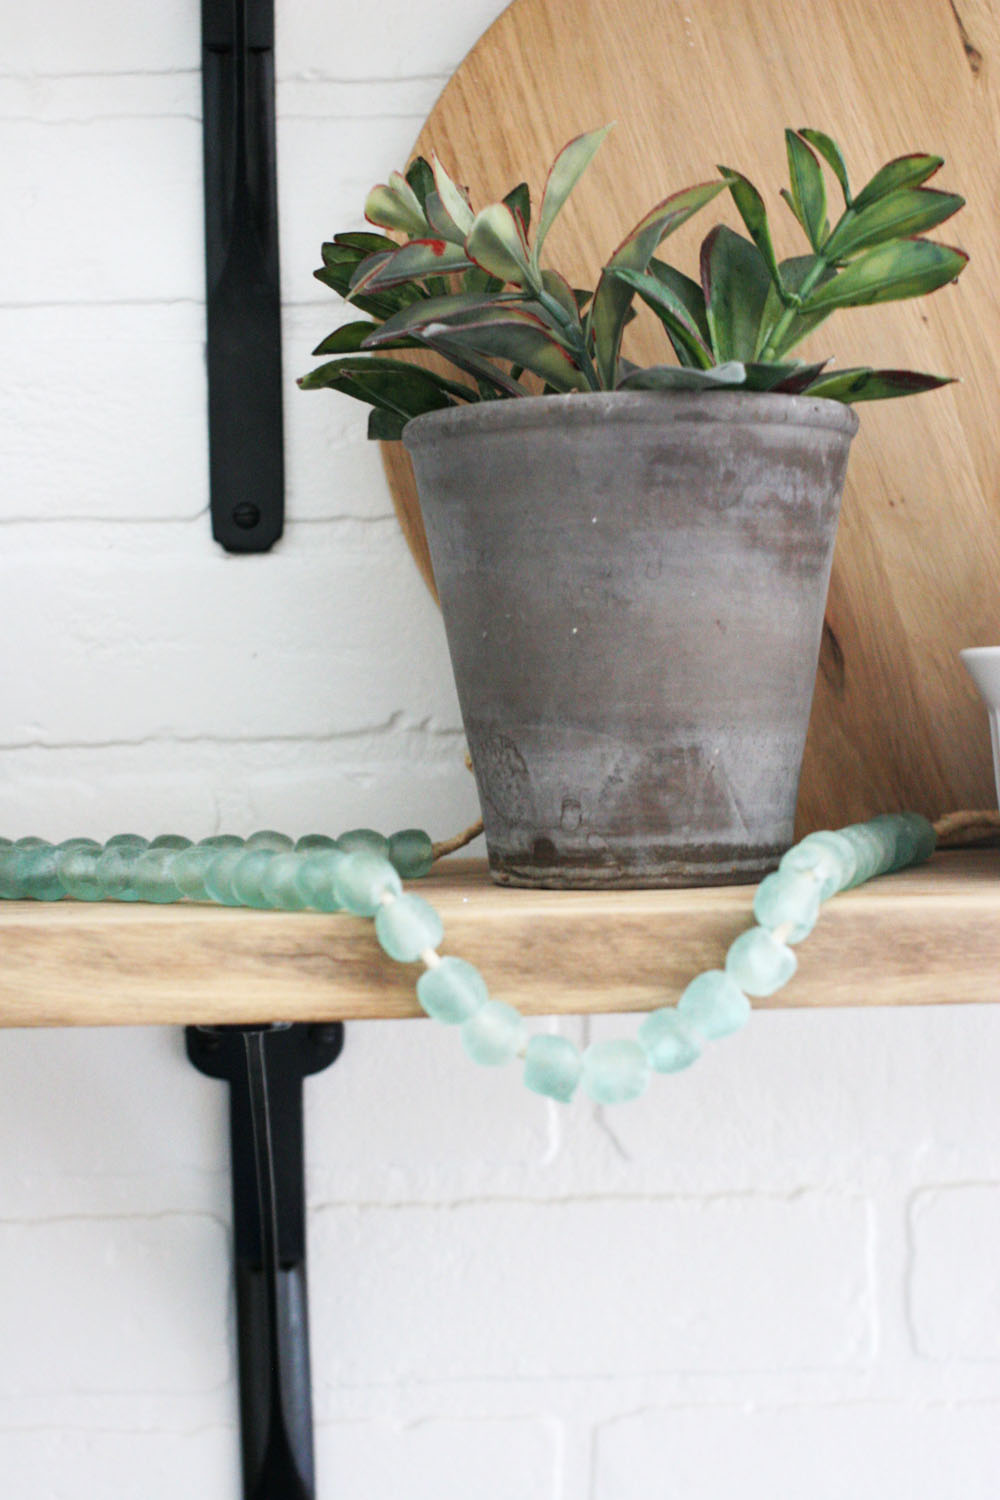
Ha! But, yes, maximize that open shelving. Start by filling in with midsized items/stacks and finish out with smaller pieces. Feel free to throw in a few decorative details such as glass beads or a small plant.
If you are concerned about weight, make sure to read about how to install heavy duty kitchen shelves to learn how much weight a kitchen shelf can hold.
In summary, here are the 3 easy steps to styling open shelving in a kitchen:
- Gather
- frequently used kitchen items
- lesser used kitchen products which need a home
- kitchen items that coordinate with the room’s color palette
- Sort
- by ease of reach
- kitchen zones
- Style
- include anchor items
- mix in kitchen products of various heights
- add pretty details
Have you styled the open shelves in your kitchen? If so, I’d love to see! Tag me on IG @lorabgreen or on FB @Craftivity Designs.
P.S. Did you notice our brick backsplash? It’s faux! Plus, it’s a great DIY that will save money in a kitchen reno, find out how we installed a faux brick backsplash in this post.