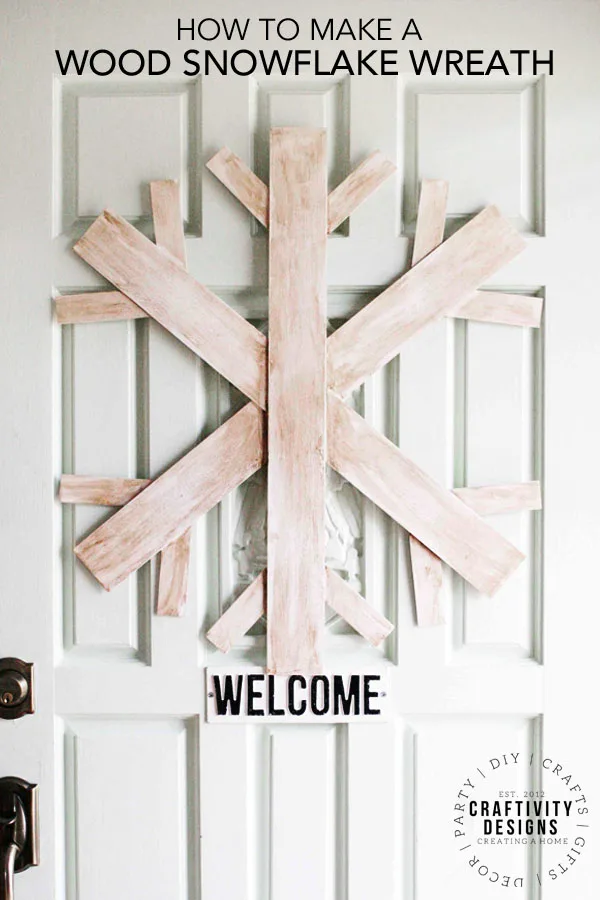
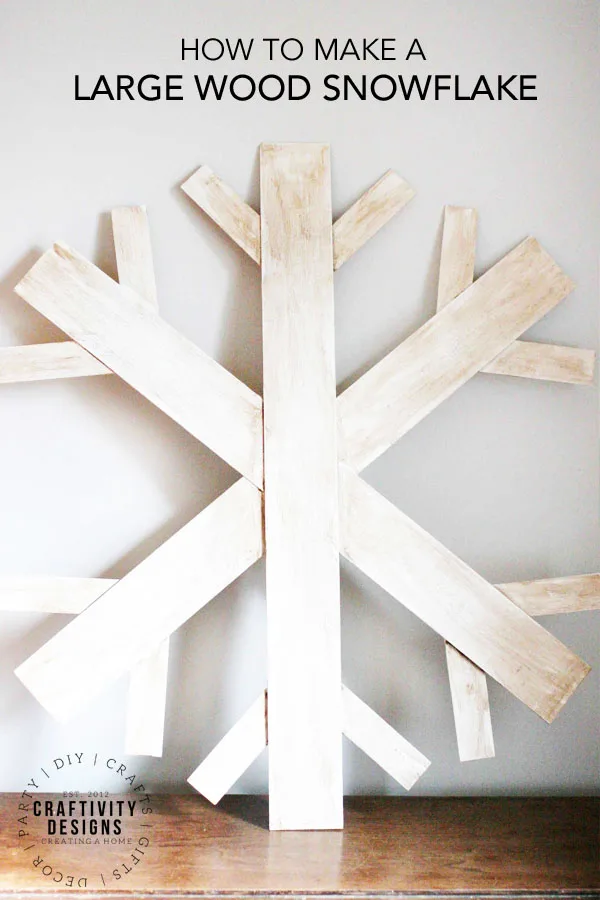
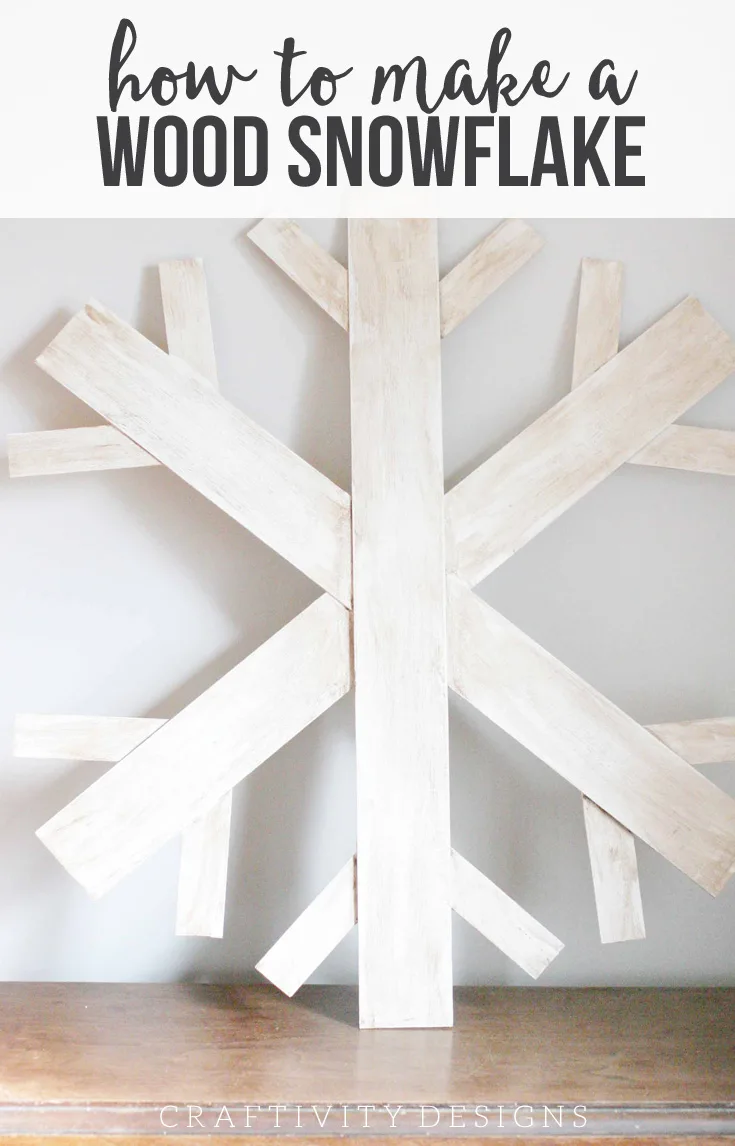
Learn how to make a wood snowflake wreath. A large wood snowflake will make a statement on the front door or inside your home.
It’s been an oddly warm winter, here in Kentucky. As I write this post, it is 70 degrees outside in February. So, our wood snowflake wreath may end up in winter storage prematurely, this year.
After all, the birds are chirping and the windows are open. At least I’ll be ahead of the game next winter?
Making a large wood snowflake is quick and easy if you use the right materials. You won’t need a power tool… and you don’t even need a saw. What?! Yes, please!
If you love wall decor made from wood – but aren’t comfortable with power tools – this DIY snowflake wreath is the perfect project.
**Note: This post was originally written as a guest post for Beauty in the Mess.
How to Make a Wood Snowflake Wreath
Supplies Needed
Build
- 4 Strips of Balsa Wood: 3/32 x 3 x 36 inches
- Measuring Tape
- Straight Edge
- Pencil
- Utility Knife
- Hot Glue and Glue Gun
- Metal Thumbtacks
- Sawtooth Picture Hanger
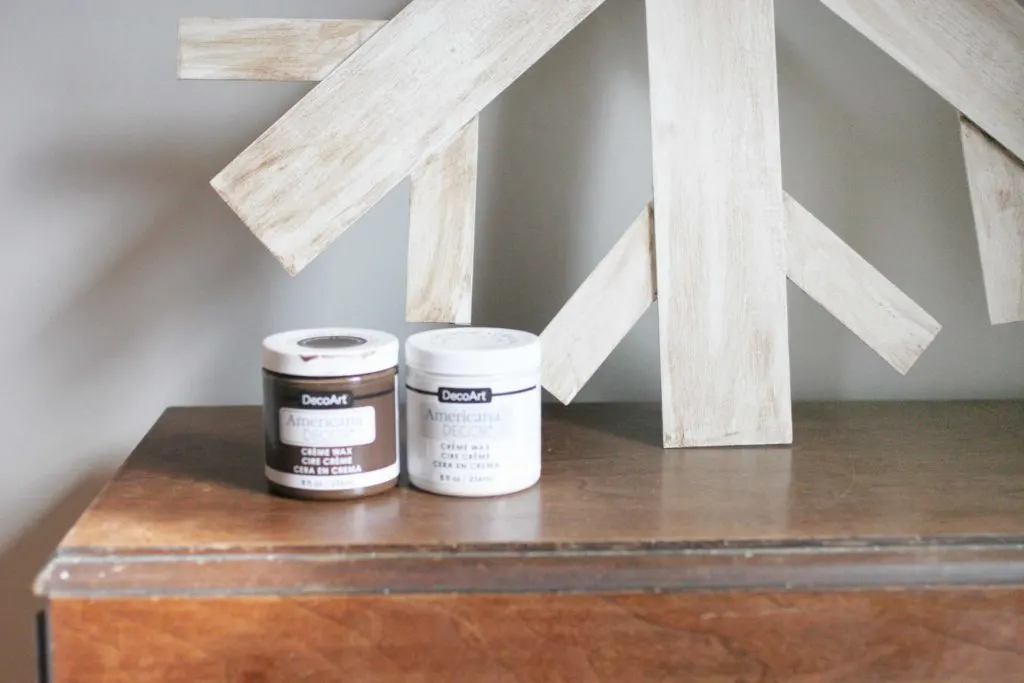
Paint
Instructions
- First, use the straight edge to mark a line at 30″ on 3 of the Balsa Wood strips.
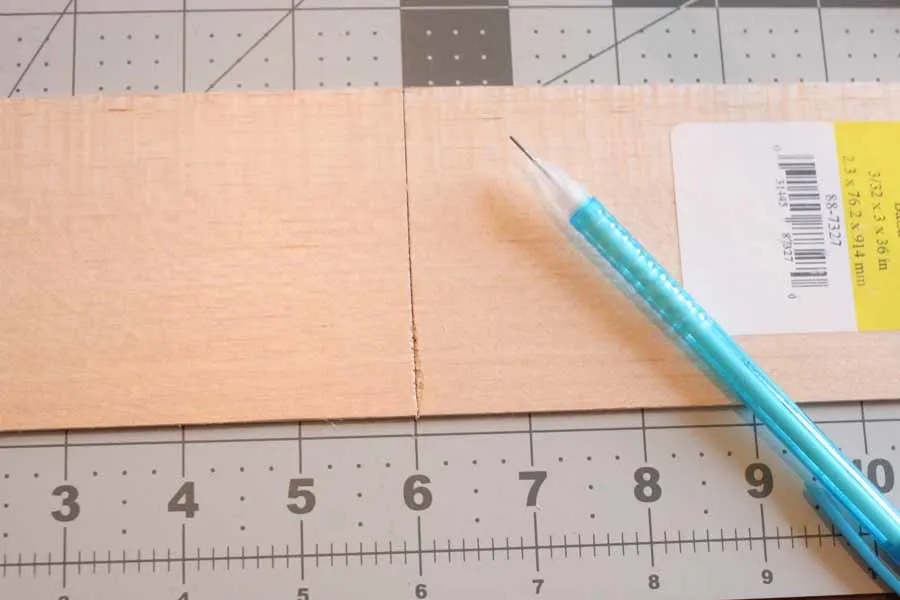
- Next, cut the 3 Balsa Wood strips down to 30″ lengths by dragging the utility knife over the line. (note: You may have to repeat this several times in order to cut through the wood completely.)
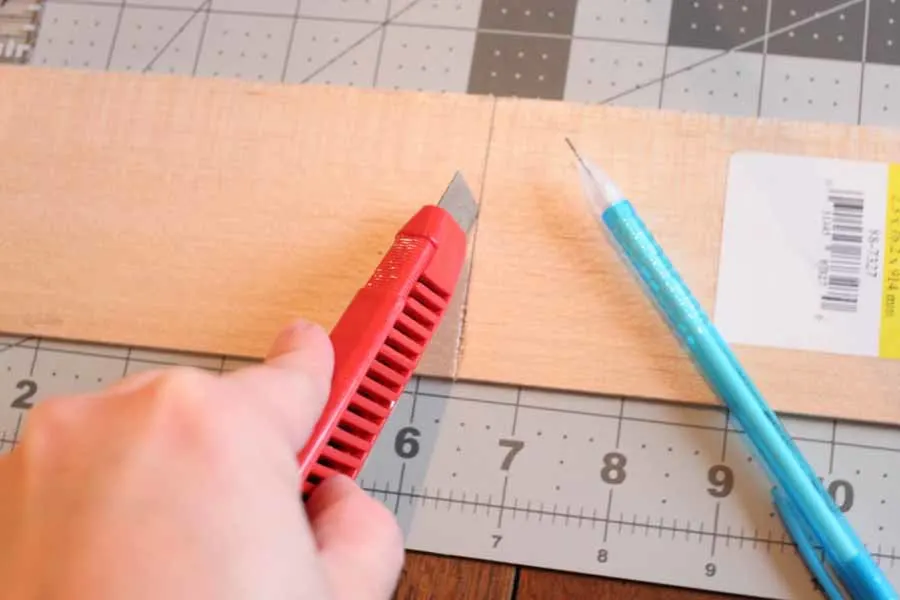
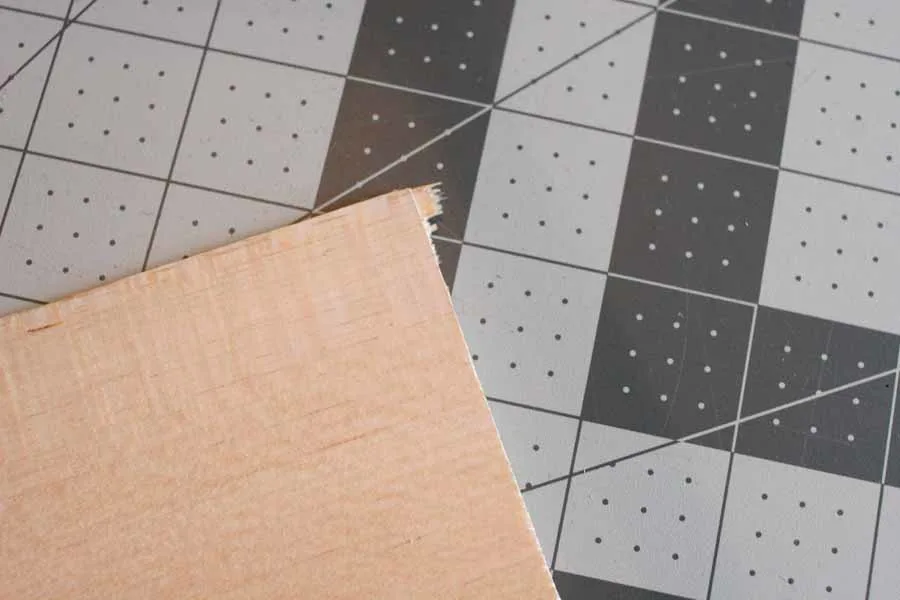
- If the wood does not cut clean and smooth, simply remove the excess wood with a utility knife.
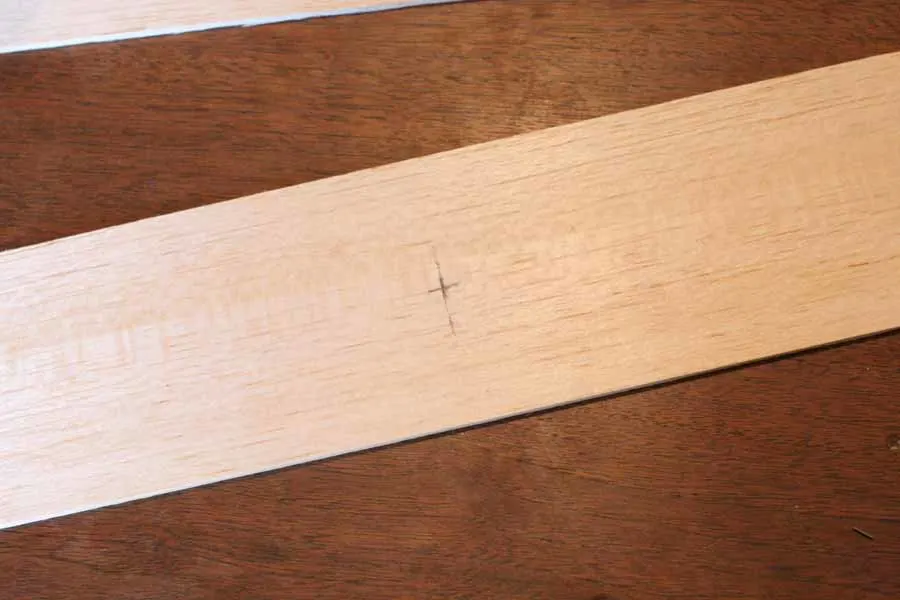
- Mark the center of each 30″ inch strip of balsa wood on both sides.
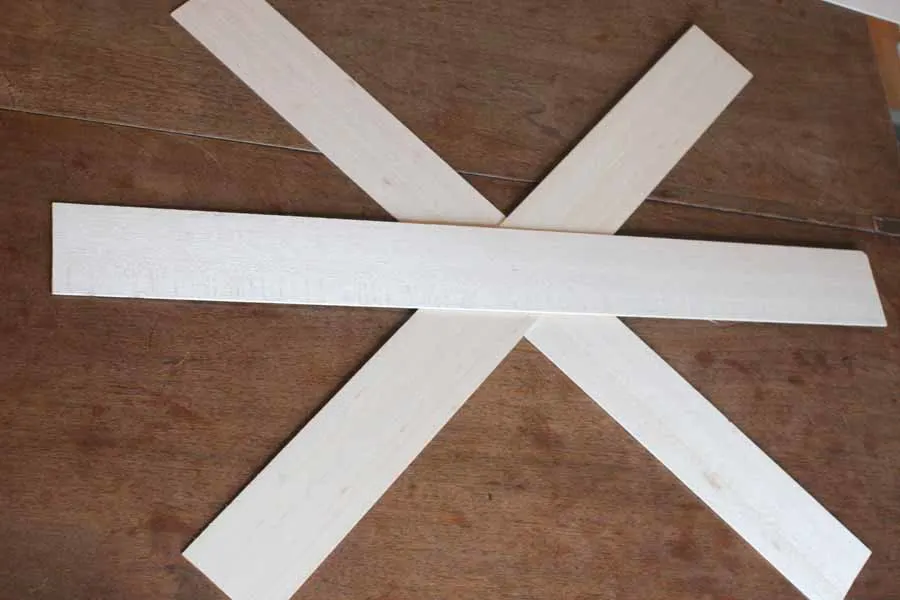
- Next, hot glue the 30″ pieces of balsa wood together at that point, creating a stack of 3, fanned out in a circle.
- From the remaining 36″ balsa wood, mark and cut 3 strips, 6″ each. These will match the length of the 3″x6″ strips leftover from the first 3 pieces of balsa wood.
- Use the straight edge to draw a line down the center of each 6″ strip, dividing it into 1.5″ halves.
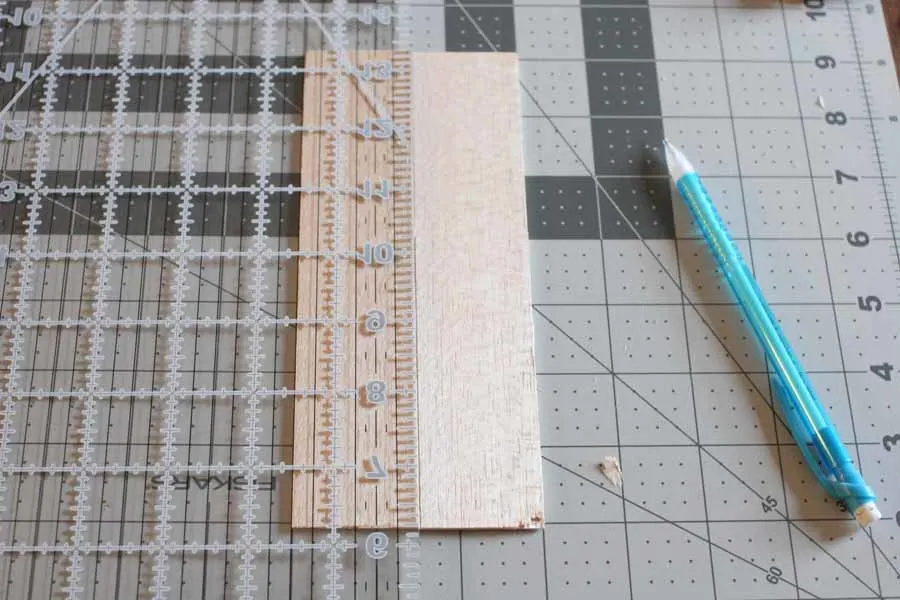
- Cut along the line with a utility knife, creating 12 1.5″x6″ sections.
- Assemble 2 of these into a “V” shape and hot glue the pieces together.
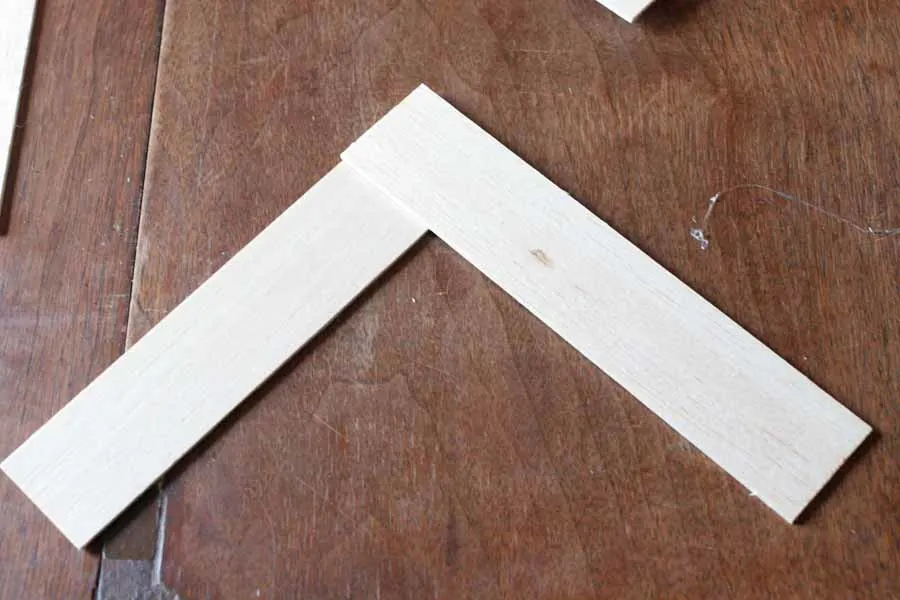
- Repeat step 9 for each set of 2, which will result in 6 “V” shapes.
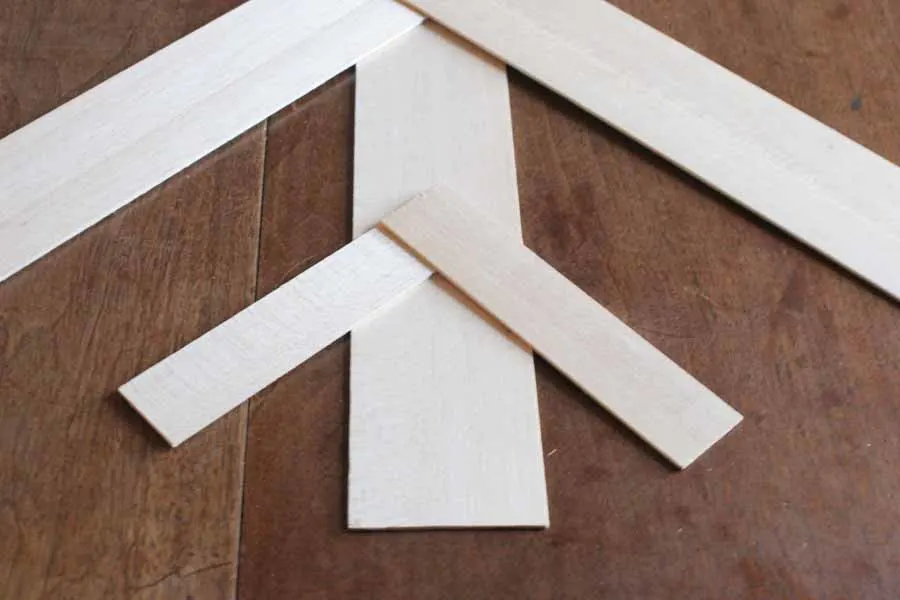
- Attach each “V” shape to the ends of the 30″ balsa strips with hot glue.
- Once the glue is dry, flip over the snowflake and press thumbtacks through the glued portions for additional stability.
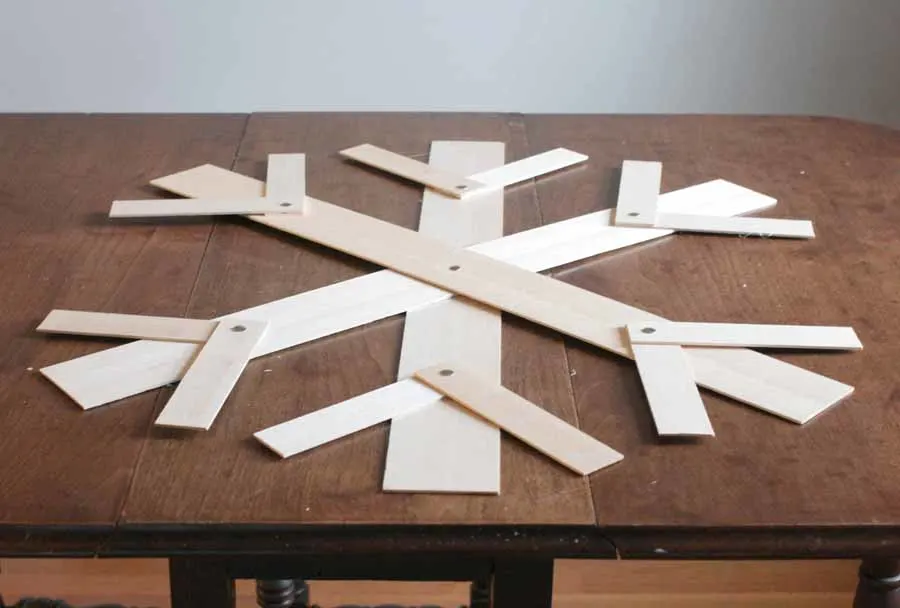
- Attach a picture hanger to the back of the snowflake for hanging.
Large Wood Snowflake made with Balsa Wood
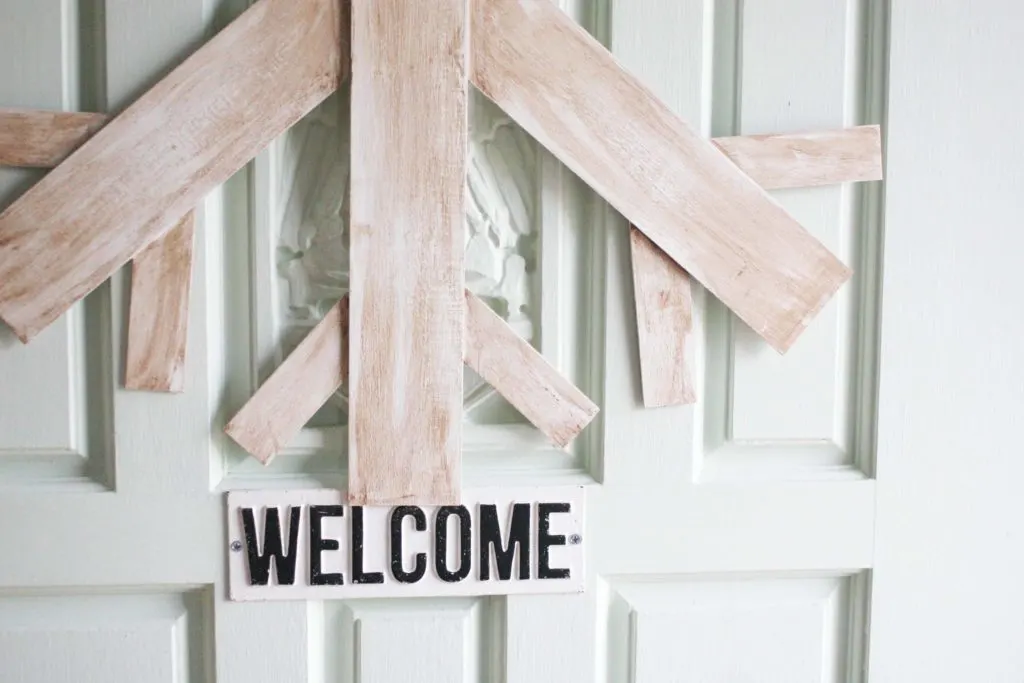
In the meantime, I’ll be enjoying my large wood snowflake wreath on the front door… and planting some flowers in February. Just kidding… I think?
This project isn’t limited to making snowflakes. Even if you aren’t handy with power tools, you can make a variety of shapes with this lightweight wood. Balsa is a great choice for people who don’t have access to a workshop. Just pick it up in most craft supply stores and cut with a utility knife.
Other ideas for this lightweight wood product:
- custom canvas frames
- faux pallet art
- large wood letters
The options are limitless! What would you make with Balsa wood?
FAQs: Wood Snowflake Wreath
What type of wood is best for a snowflake wreath?
In this tutorial, Balsa wood is used. Balsa is a soft wood and can damage easily. Therefore, if you are concerned about damage, such as from heavy winds, a closing screen door, etc.; it would be best to use a stronger wood such as:
- luan plywood, cut into strips
- or pre-cut strips of pine (also available at hobby stores, like Balsa wood).
What is the best way to hang a wood wreath on a door?
The best way to hang a wood wreath will depend on the door material.
- wood door – Hammer a nail into the wood door and hang the snowflake wreath with a d-ring or triangle hanger.
- steel door – Purchase a magnet hanger and attach picture hanging wire to the back of the wood wreath.
- fiberglass door – Hang a heavy-duty command hook and attach picture hanging wire to the back of the wood wreath.
How to Make a Wood Snowflake Wreath
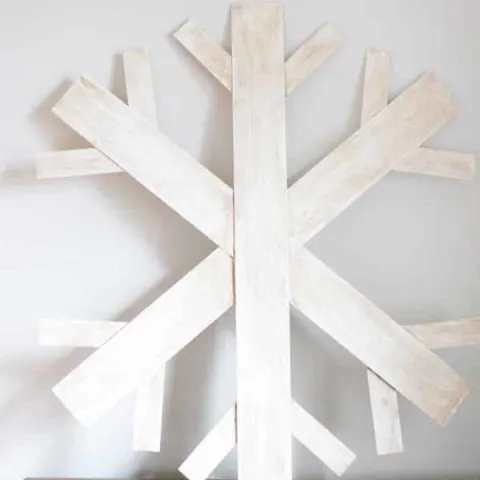
A large wood snowflake wreath will make a statement on the front door or inside your home. It is quick and easy if you use the right materials (you won't even need power tools or a saw!).
Materials
Build
Paint
Tools
Build
Paint
Instructions
Build a Snowflake Wreath
- First, use the straight edge to mark a line at 30" on 3 of the Balsa Wood strips.
- Next, cut the 3 Balsa Wood strips down to 30" lengths by dragging the utility knife over the line. (note: You may have to repeat this several times in order to cut through the wood completely.)
- If the wood does not cut clean and smooth, simply remove the excess wood with a utility knife.
- Mark the center of each 30" inch strip of balsa wood on both sides.
- Next, hot glue the 30" pieces of balsa wood together at that point, creating a stack of 3, fanned out in a circle.
- From the remaining 36" balsa wood, mark and cut 3 strips, 6" each. These will match the length of the 3"x6" strips leftover from the first 3 pieces of balsa wood.
- Use the straight edge to draw a line down the center of each 6" strip, dividing it into 1.5" halves.
- Cut along the line with a utility knife, creating 12 1.5"x6" sections.
- Assemble 2 of these into a “V” shape and hot glue the pieces together.
- Repeat step 9 for each set of 2, which will result in 6 “V” shapes.
- Attach each “V” shape to the ends of the 30" balsa strips with hot glue.
- Once the glue is dry, flip over the snowflake and press thumbtacks through the glued portions for additional stability.
- Attach a picture hanger to the back of the snowflake for hanging.
Paint a Snowflake Wreath
- First, apply two coats of white paint.
- Next, seal the paint with clear wax.
- Once dry, wipe dark wax onto the snowflake using a t-shirt rag.
- Finally, sand lightly to tone down the deep color of the dark wax.
Notes
This tutorial is for a 30″ diameter snowflake wreath (it’s big!). You may need to adjust the measurements to suit your front door, or if you intend to hang it elsewhere in the home.

Vanessa @ {nifty thrifty things}
Friday 24th of February 2017
No power tools sounds great to me! :) It really turned out cute! XO, Vanessa
craftivitydesigns@gmail.com
Saturday 25th of February 2017
Always :)