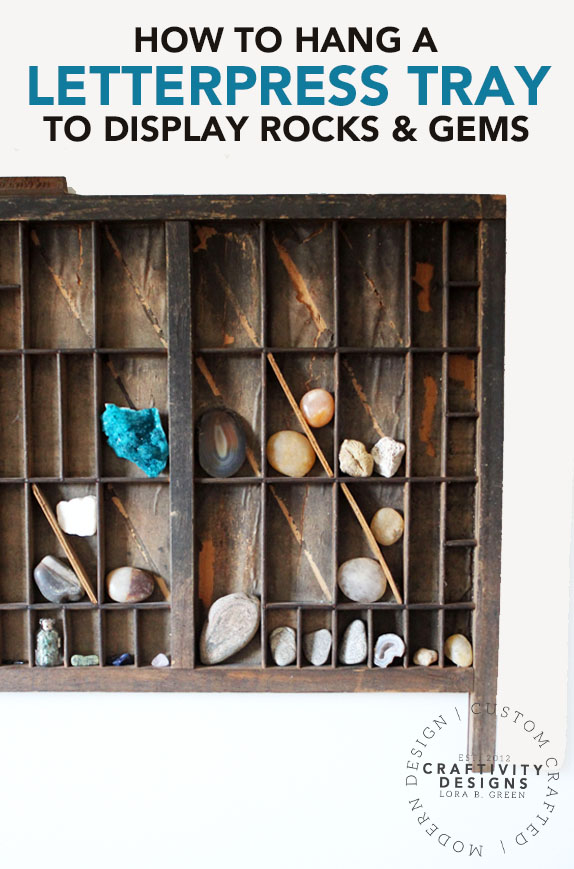
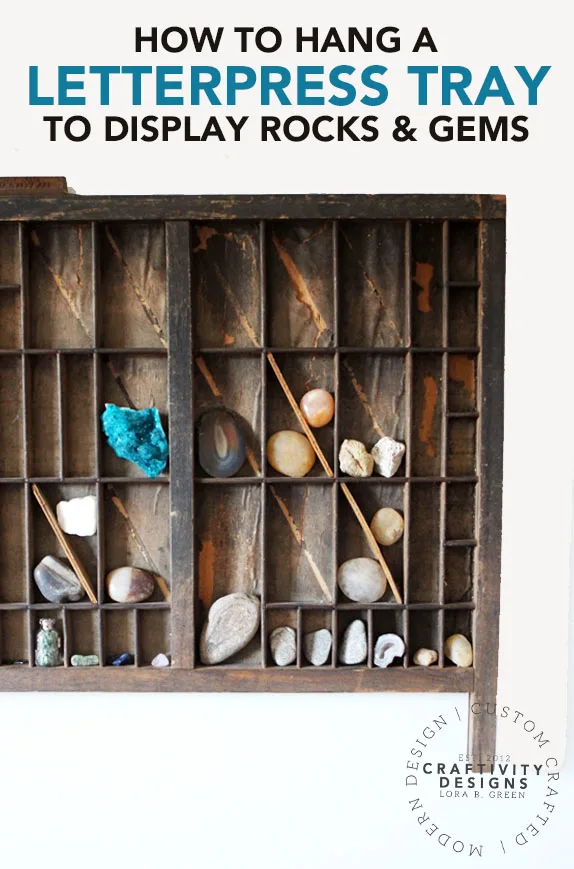
Do you want to display a rock collection? This letterpress tray turned rock collection box is an easy, stylish solution for rocks, gems, or minerals!
My son is a big science fan and his latest obsession is collecting rocks and fossils. For Christmas, he received several books about rock formations and my hand-me-down (but special) rock collection box from my childhood. His collection has literally grown overnight, and we needed a quick and easy way to display a rock collection.

Disclosure: This page includes affiliate links.
Encourage Kids to Collect
It might seem counterintuitive to encourage children to collect (after all, we’re trying to reduce the clutter), but there are benefits to this childhood habit, too:
- learn research skills through investigating types, colors, brands, etc.
- develop organizational skills through displaying, sorting, and labeling collected treasures
- build positive financial habits by saving to buy more treasures
- take on a sense of ownership by building the collection and caring for it
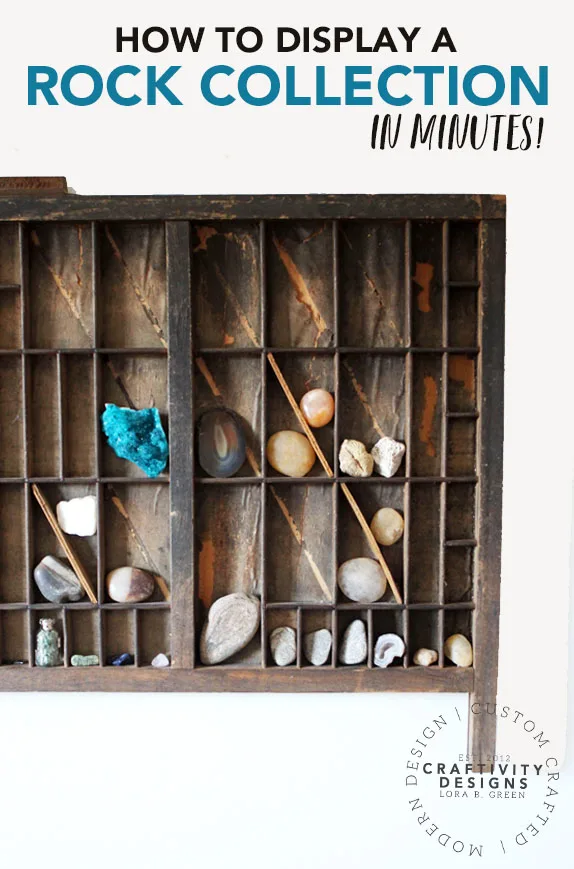
How to Display a Rock Collection
Disclosure: This page includes affiliate links.
TOOLS REQUIRED
- Phillips screwdriver
- pliers
SUPPLIES REQUIRED
INSTRUCTIONS
Determine where to Install Hangers
Place the printer tray facedown and determine where to install the hangers. Measure each side to ensure the hangers are located at an equal distance from the top of the letterpress tray.
TIP: Install the hangers at least 3 inches from the top. Since the wire won’t be perfectly straight, the wire can’t be installed too close to the top. Otherwise, the wire will be visible when hanging.

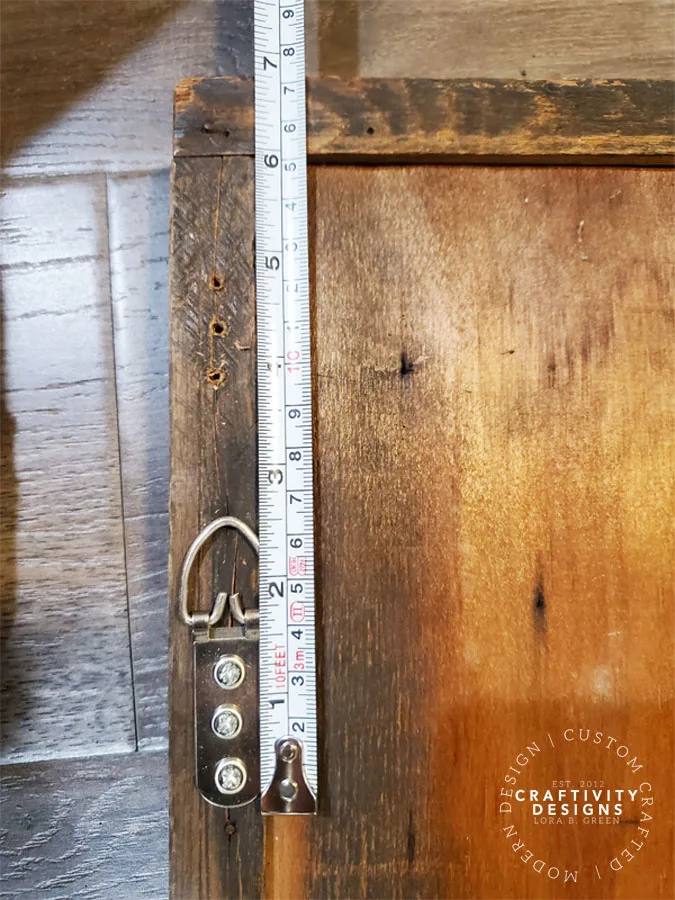
Attach the Hangers with Screws
Unlike nails, which are standard in most hanging kits, this heavy-duty wire picture hanging kit includes screws. Once measured, attach each D-ring hanger in place.
TIP: I’ve used many wire picture hanging kits, and this one is, by far, my favorite. It’s designed to hold over 100 lbs and it includes crimpers to secure the wire (so.much.easier. than twisting wire into place).
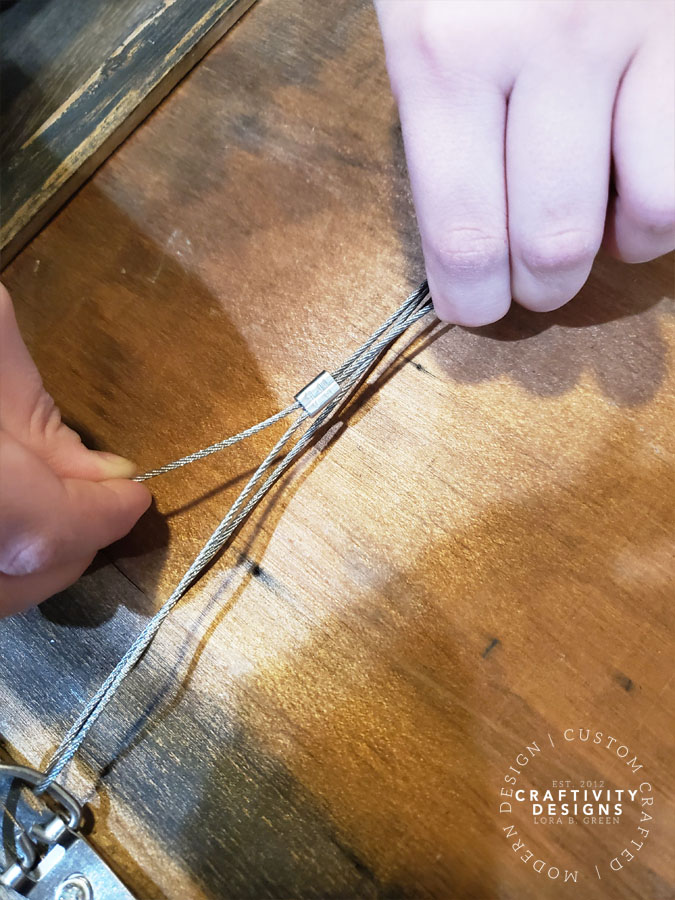
Thread the Wire through the D-Rings & Crimper
Once the D-ring hangers are in place, thread a loop of wire through each ring and into a crimper. The crimper will complete the loop of wire, by holding it in place.

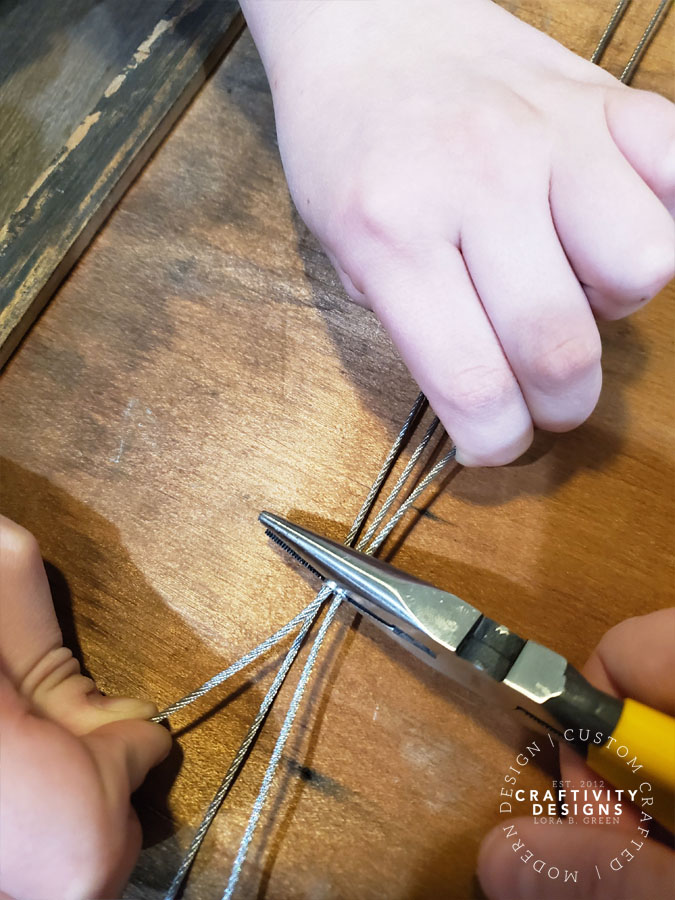
Crimp the Wire to Secure
After the wire is threaded for the crimper, it’s best to ask for a second set of hands. I grabbed my son (after all, this is his rock collection display!) to hold the wire taut. Use pliers to crimp the wire until secure.

Attach the Gripper Pads
Finally, before hanging it on the wall, attach gripper pads to the bottom corners. Most likely, 3-4 grippers will be required to create the appropriate angle.

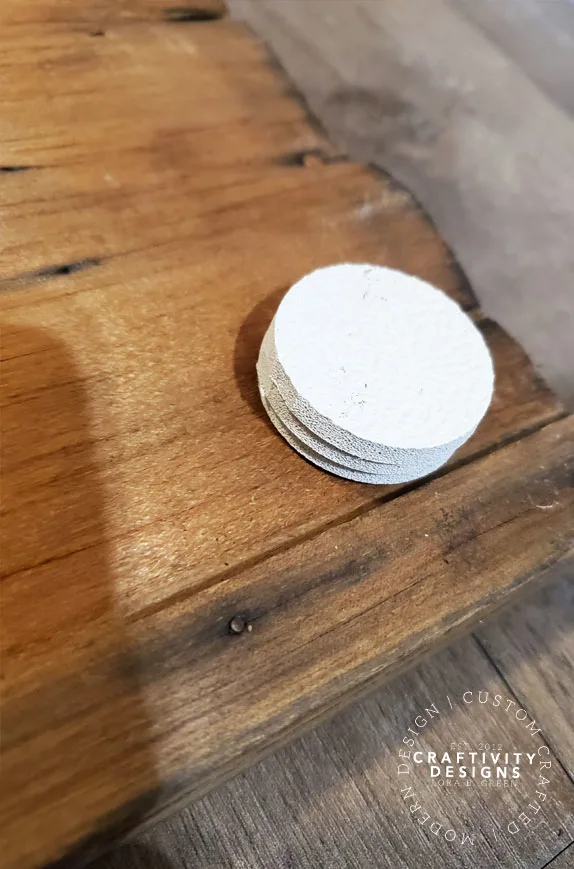
Why should the tray be at an angle? The gripper pads push the base of the tray forward, at a slight angle, when hanging on the wall. It’s not noticeable, yet greatly reduces the chance that rocks can fall out of letterpress cubbies.

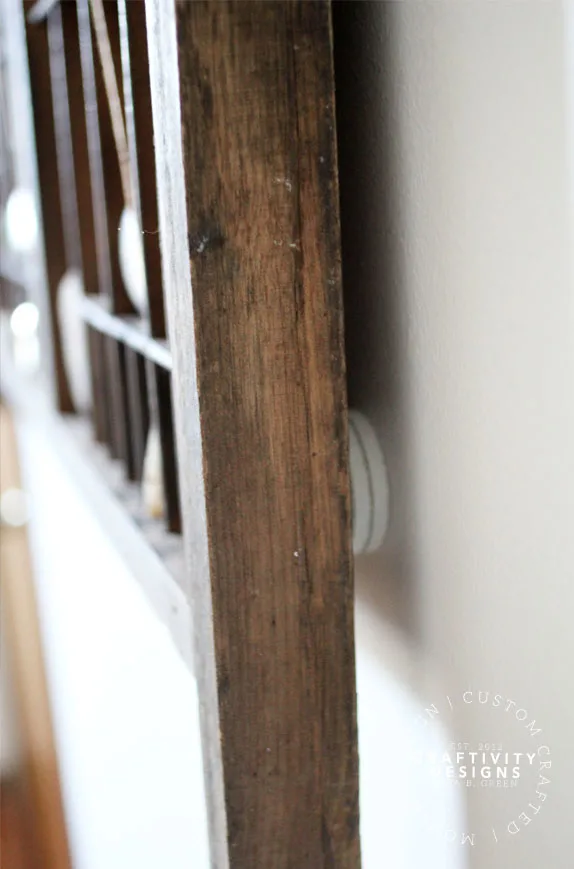
Hang the Rock Collection Box
Once the picture hanging wire is complete, hang it on the wall. Use a set of self-drilling drywall anchors if the printer tray is fairly heavy.


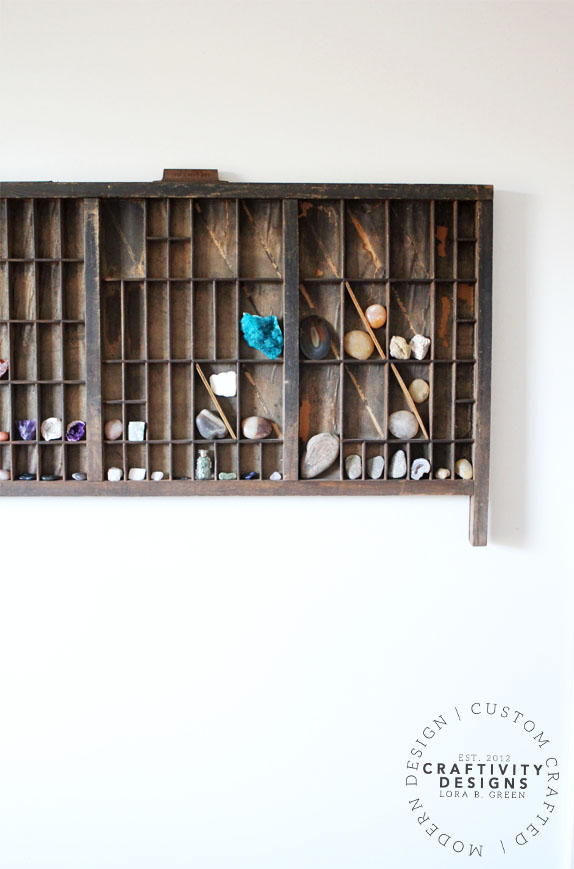
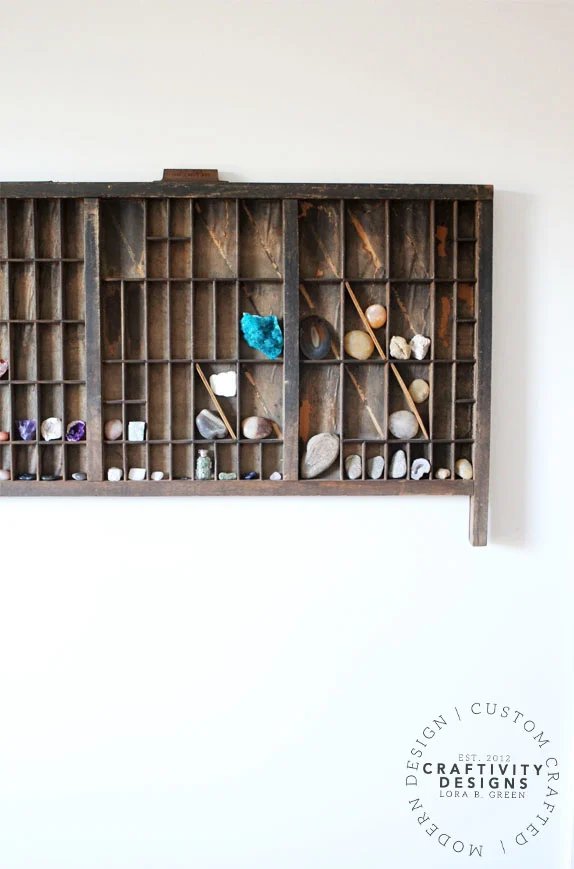
Rock Collection Display in a Vintage Printer Tray
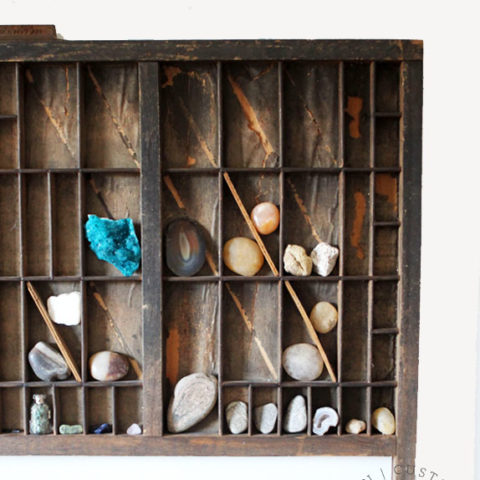
Once the project is complete, it’s time to stock the wooden letterpress tray with favorite rocks, fossils, gems, or minerals.
Of course, there’s no need to limit the kiddos to a rock collection… the options are endless (we’ve done LEGO® minifigs, Shopkins, and miniature dolls).
Need more ideas? Check out 15 more collections to display in a letterpress drawer.

How to Hang a Letterpress Tray to Display a Rock Collection
Do you want to display a rock collection? This letterpress tray turned rock collection box is an easy, stylish solution for rocks, gems, or minerals!
Tools
- Phillips screwdriver
- Pliers
Instructions
- Place the printer tray facedown.
- Determine where to install the D-ring hangers on each side (measure from the top of the tray so that both are located equal distance* from the edge).
- Attach each D-ring hanger in place with the included screws and a Phillips screwdriver.
- Thread a loop of wire through each D-ring hanger and into a crimper.
- Pull the wire taut (you may need a second set of hands for steps 5 & 6).
- Use the pliers to crimp the wire until secure.
- Attach 3-4 gripper pads** to the bottom corners.
Notes
* Install the hangers at least 3 inches from the top.
** The gripper pads push the base of the tray forward, at a slight angle. This reduces the chance that rocks can fall out of letterpress cubbies.
Do you like this Rock Collection Display Idea? Pin it!