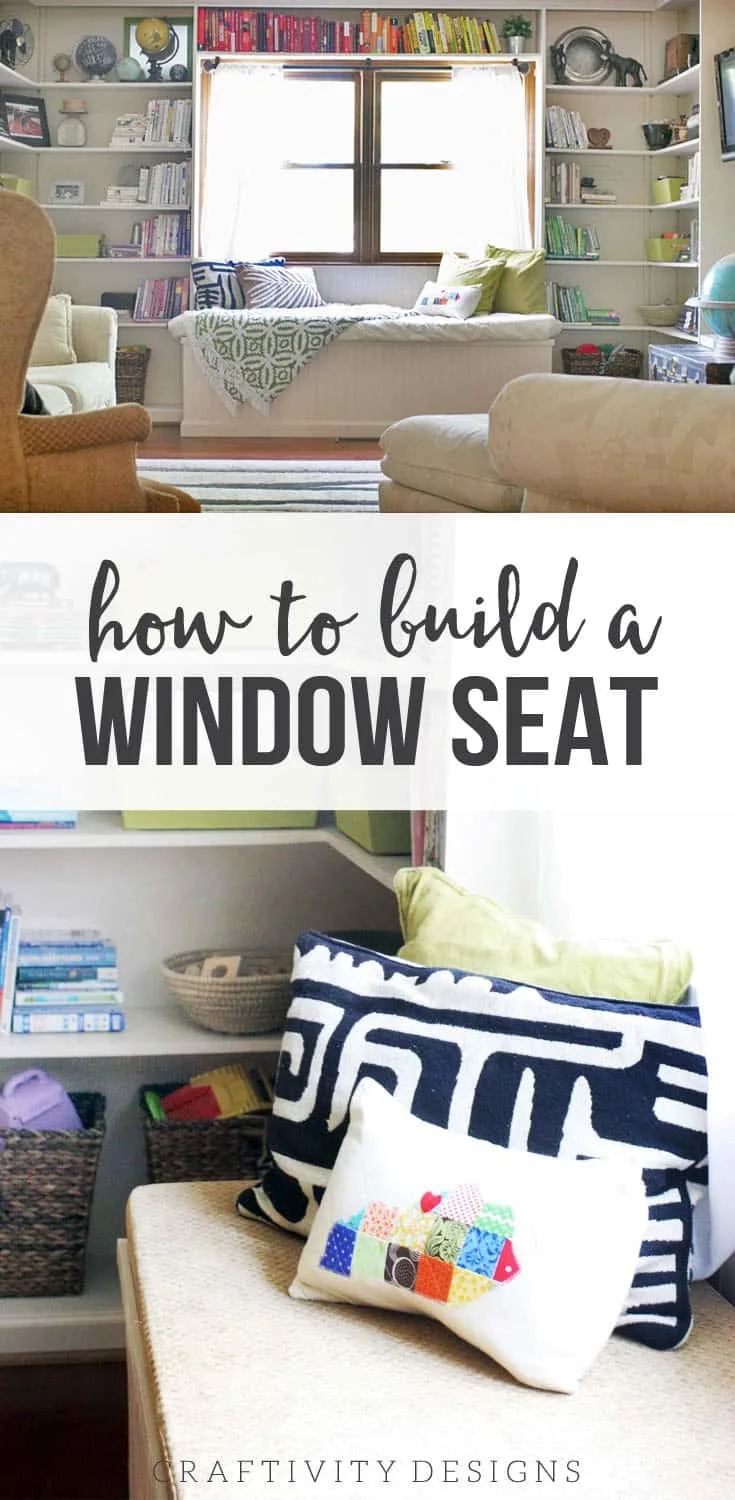
Last Monday, I showed you our window seat. Today, my husband, Mike, is making his blog-world debut to tell you what we learned while building the window seat in our living room.
Disclosure: This page includes affiliate links.
Supplies
- 2x4s
- Beadboard
- Plywood
- Self-Drilling Wood Screws
- Piano Hinges
- Wood Trim {we used scraps from other projects}
- Finishing Nails
- Paintable Caulk
- Wood Filler
- Paint
Tools
- Drill
- Jigsaw
- Circular Saw
- Power Sander
- Sanding Blocks
- Measuring Tape
How to Build a Window Seat
My blog debut! I am surprised these ladies would even let me enter one word on their blog, but they have — now let’s see if they regret it!
When we moved into our house the living room was dark, ok more than that, it was DARK! There was dark wood everywhere and the only window was covered with multiple curtains and most of it was blocked by the built in tv cabinet (see the before, here). I took great pleasure in the demolition of that cabinet! Once we finished the demo, we had to figure out exactly what we wanted to do with the space.
We decided on a window seat of some sort. I looked at some online sources and decided to just start building. The frame of the bench was built with 2x4s so it would be sturdy. Think something kind of like this, but without the feet:
However, I didn’t think about how heavy that meant the window seat would become. If I build another one, I would choose smaller wood and only use some 2x4s. This adjustment would take away some of the weight while still keeping the bench sturdy.
We used plywood for the lid because it is thick and will hold the weight of an adult or two easily (and a toddler jumping up and down on it!). The sides are covered with bead board — because Lora is in love with bead board. Look at the picture and notice how the bead board doesn’t quite fit. Look for this same corner in a later picture of the finished product.
Before nailing the top down we measured and cut two lids out of the top. A quick tip is to write in pencil on the wood which side is up, down, front and back. We didn’t want to mix anything up and have to redo it later.
We cut the “handle” out with a jigsaw. I had only used a jigsaw once before and was not confident about my abilities with the tool. Well, the first half circle was really crooked so I went back and made it a little bigger. We knew the handles would not be seen so we weren’t very worried about the beauty of the cuts.
The storage lids were attached with piano hinges so they could easily open. These were quite easy to install — even though there was a tremendous amount of small screws to use.
We used some scrap wood to brace the lids so they would not sag into the bench’s storage area.
Check the lids out in action!
The self drilling screws were so easy to use. They cost more but saved us a lot of time. I love them!
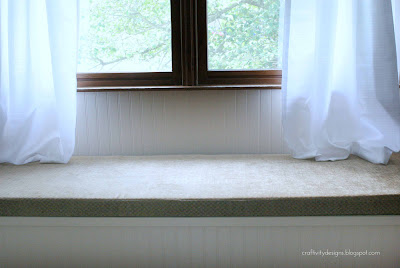
For consistency’s sake (and because Lora likes beadboard) we used beadboard on the wall behind the window seat. The seat was designed to fit exactly into the opening between the bookshelves.
And it was exact, a really snug fit, which give it that nice built-in look. Now, I’m going to let Lora take back over to share the finishing details. She takes care of that tedious stuff!
Ya’ll, we are so proud of this window seat. It’s really made us feel like we could tackle more complicated DIY projects. Mike shared how his handles weren’t perfect with the jigsaw, but honestly, I was sooo impressed. I kept suggesting he go simple with a square or something instead of curves, but it turned out great.
Well, I felt similarly about all the trim and caulking. I’d never cut mitered corners or used caulk and it turned out so beautifully!
But, first things first. To prep the surface I did some sanding {both with the orbital sander and sanding block}, applied some wood filler in gaps, and then more sanding.
I used this miter box {that’s an affiliate link} to cut down the trim. I’d measure {twice, of course} and then cut with the miter box. It worked really well! It’s definitely not a tool to use for large scale projects, but when you are making just a handful of cuts — and are new to the whole mitered corner thing — it’s very handy. Not to mention, it is inexpensive and doesn’t take up a lot of space. I plan on using it to make a frame for our wall calendar after we move.
Prior to painting I caulked all the corners — around the trim, along the bottom of the window sill, where the sheets of bead board met, etc.
My handy seamstress mother {she made our patio cushion covers and many of the details in my son’s vintage nursery} made a custom cushion to go across the window seat. I decided to use a neutral fabric since I knew we were moving.
The cushions are the same size as the frame of the window seat {24″deep}, but just slightly smaller with the trim added. I think that works perfectly, though I’ll admit, it was just by chance.
We are really enjoying the extra seating and added storage. It’s been a great addition to our living room! Too bad it took us so long, but now we feel so much better prepared to take on DIY projects.
I hope you enjoyed meeting Mike! What projects have you been afraid to tackle? I hope our learning-along-the-way experience encourages you to try it out. Happy Tuesday 🙂


Craftivity Designs
Sunday 4th of January 2015
Thanks so much, Thomas!
Thomas Watson
Sunday 4th of January 2015
What a great addition and it looks just gorgeous. Storage is always wonderful and the extra seating is great also.
Craftivity Designs
Monday 2nd of September 2013
Thanks, Danielle!
Danielle
Saturday 31st of August 2013
Fantastic job and fantastic tutorial. So glad the girls let you "guest post". Thanks for sharing at Silver Pennies Sundays. x
Craftivity Designs
Thursday 29th of August 2013
Thanks! I linked up!