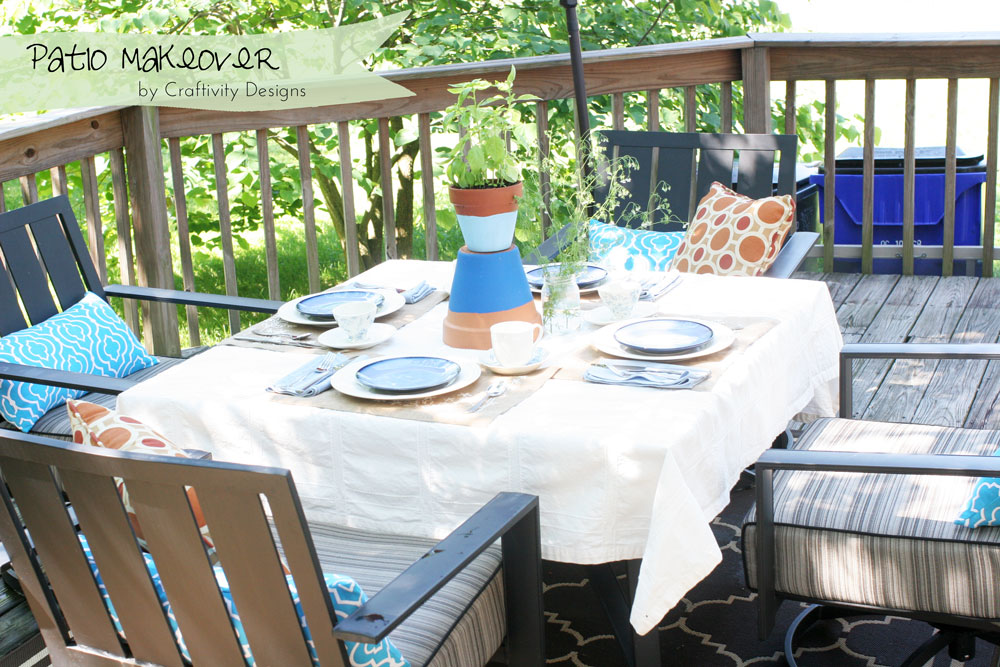
A month-and-a-half-ish later and the Quick Patio Makeover is complete!

There were some bumps along the way — literal bumps, in fact.

My “E” went crashing to the ground after a big gust of wind. It’s a little “rough around the edges” {haha} but I decided to go the way of The Nester and know that It doesn’t have to be Perfect to be Beautiful.
The patio lights got bumped a bit too, when the umbrella came falling to the ground {same storm that sent the “E” to its’ plummet.} We had to replace several bulbs. After searching the web a bit, I realized it would be cheaper to buy an additional string of lights instead of individual bulbs. I just keep them in the storage bench, along with the blue lumbar cushions and throw pillows, so that they are on hand for easy replacements.

It’s hard to see in the photo above, but the lights string from the gutters along our house, over to the tree and back. Instead of attaching the string of lights directly to the tree with nails, we used some thick jute rope {see it in the upper right hand corner of the photo}. We tied a large loop of rope around a couple limbs and slid the string of lights through it. As you can see, the rope blends right in.

The big blue letters came from Feather Your Nest in Lexington. It is my favorite antique/thrift shop in town. I searched and searched for big letters for the longest time. Everything I found would either rust or was too expensive. The plastic letters were about $15-$20 each. Sold.

The blue planters and wooden spoon herb marker tie in the blue across the deck and are conveniently located for both cooking and creating fresh smelling centerpieces.

While I was decorating the tabletop, my little one wanted to demonstrate dining Al Fresco.

Ok, maybe he didn’t say “Al Fresco”… or “Demonstrate”… but isn’t he the cutest?

And, yes, I am a brave Mommy letting him demonstrate with all those pretty breakables. 🙂 Luckily, there were no more “bumps.”
We are really enjoying our finished patio! It’s the perfect spot to relax in the evenings. And as a reminder, here is where we started:
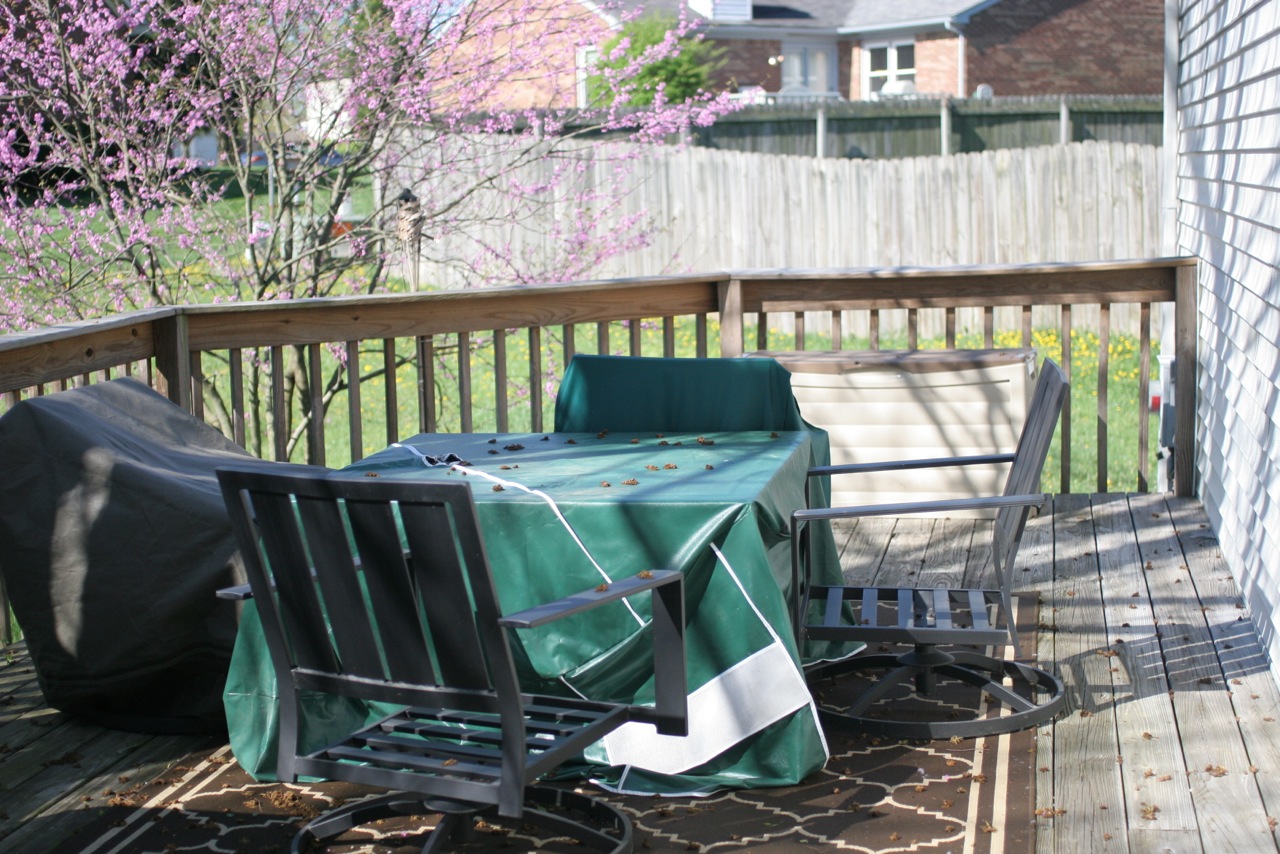
Pretty big improvement, huh? It’s amazing what some accessories and a little bit of color can do!
In case you missed any of the posts, here are all the projects included in this makeover:
- Quick Patio Makeover Plan
- How to Clean Grease off Siding
- How to Make Wooden Spoon Herb Markers
- DIY Covered Patio Cushions
- How to Paint Plastic Planters
Craftivity Designs
Wednesday 3rd of July 2013
Oh, yay! I love the DIY Show Off party :) So excited to be featured!
Roeshel
Sunday 30th of June 2013
Beautiful job, Lora! I love all of your DIY details. I'm including a link back in Monday's DIY highlights! Thanks so much for sharing your hard work! :)
Craftivity Designs
Friday 28th of June 2013
Thanks, Jocie! I'll definitely be back next week, it's a great cause!
Craftivity Designs
Friday 28th of June 2013
We've lived here for several years and had put it off -- I sooo regret it now, because we LOVE spending time out there.Thanks for stopping by!
Craftivity Designs
Friday 28th of June 2013
Thanks :) The chair is actually not wooden. it just has the look of wood. Which makes it great for handling the weather!