Don’t have a giant pantry in your kitchen? No worries! These 10 small pantry organization ideas will help you get the most out of your small space.
If you’re participating in the 8-Week Organizing Challenge, how did working on your kitchen or pantry go last week? I shared on Thursday that I was working on my pantry and, today, I’m excited to show you some clever small pantry organization ideas!
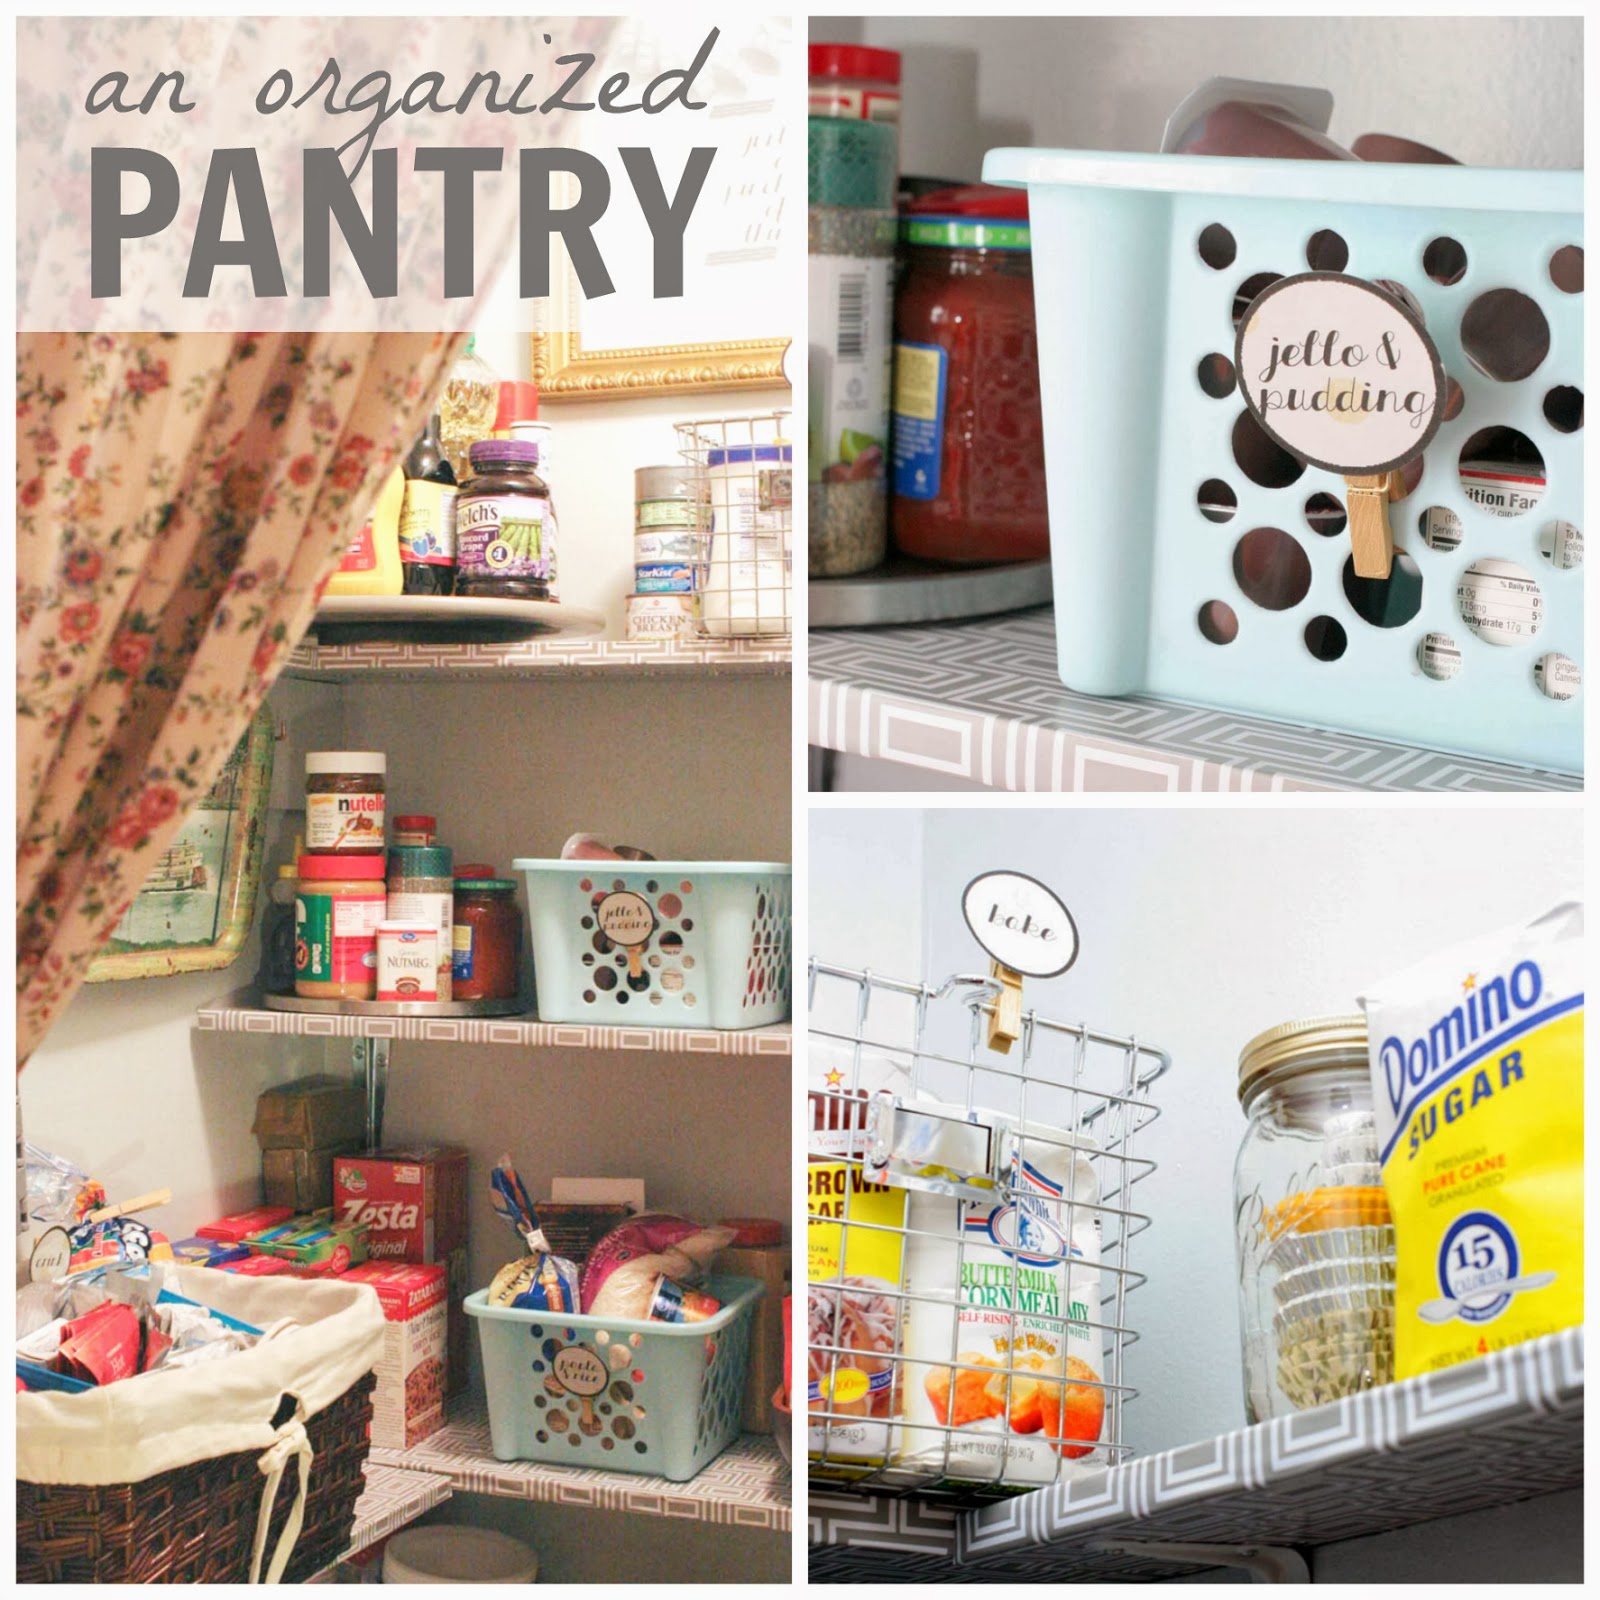
It is such a big improvement from before; mostly due to some paint and patterned shelf liner. That part was a lot of work though and it was much more fun to start filling up the shelves!
10 Pantry Organizing Ideas
1. Enable kids to self-serve by placing kid-friendly snacks and cereal within easy reach.
Since I have an almost 3-year-old, it was important to organize our pantry in such a way that jars that could break, or food that can spill, where stashed out of his reach.
This also allowed the lower shelves to be filled with his snacks. We have two baskets for him, one with the healthier snacks and the other for his fruit snacks that are more of a treat.
He likes to grab his own cereal box too, so those also worked well on a lower shelf.


2. Place breakable items (such as glass jars) on high shelves, and non-breakable items (like paper products) on low shelves to keep the pantry kid-safe.
Since paper products aren’t breakable I stuck them in the back corner of his snack shelf. They’re just sitting right on top of our popcorn container {which has popcorn packets stuck down in it.}
To me, it’s always a bonus to use one of our serving containers for storage. We don’t eat popcorn every night and when we do, we can just set the paper products on the shelf.

3. Corral drink mixes and related items in a basket or bin.
Our drinks {lemonade, hot chocolate, tea, coffee, etc.} are all stashed in a basket with handles so that we can pull it out and move it into the kitchen when we are making drinks.
I also leave things like marshmallows, coasters, straws, and creamer in this basket too.

4. Choose bins and baskets that fit within a cohesive color scheme.
All of these baskets and bins were pulled from around the house. So, even though they don’t exactly match, I did stick with a general color scheme of silver, browns and blues.
If you don’t have many containers around the house check places like the dollar store, supermarkets and consignment shops for affordable options.

5. Store baking supplies together, in baskets or bins, to easily grab from the pantry.
Baskets make things feel more organized, but they actually make things more organized too. All of my baking items are stashed inside two metal baskets, side by side.
This includes things from flour and sugar to sprinkles and icing. It’s easy to grab the entire basket and bring it to the counter when I’m baking.

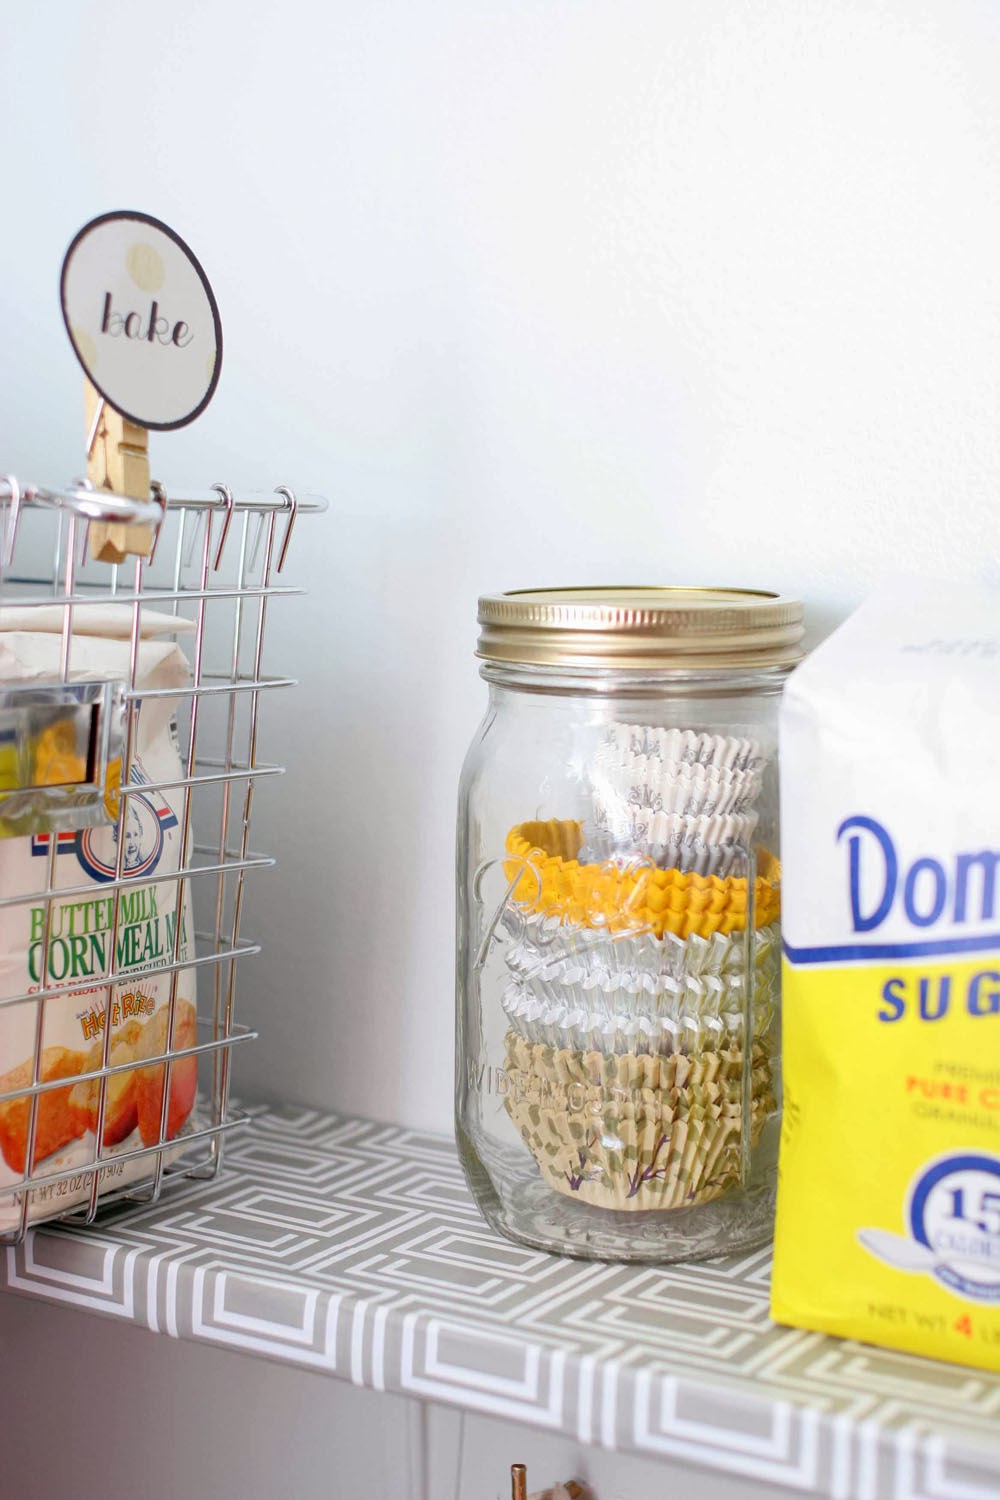
6. Stack cupcake liners in a mason jar.
To the right of the baking baskets are my cupcake liners. I remove them from the store-bought containers and stack them in a mason jar to keep their shape.
As you can see, I have 4 sets of liners easily stored within one jar (instead of 4 bulky boxes taking up space).
7. Use turntables to hold jars, bottles, and spices.
I use a couple of turntables in the corners to hold various jars, bottles, and spices. These are so handy since they keep everything easy to access, even when it is in the back.

8. Store pastas, rice, beans, and other dry goods in glass canisters.
Even though all of these baskets and bins were used, I did grab this glass jar for $6 + 40% Off coupon at Hobby Lobby for pasta and labeled it with some washi tape and my label maker.

9. Label your pantry storage, but don’t go overboard.
So when do you label? For me, it is only when it make sense.
For example, I don’t label the shelves holding our canned food. Sometimes we’ll have more green beans {or diced tomatoes, corn, etc.} and other weeks there will be less.
Therefore, I don’t worry with labeling that shelf.

However, labeling each container is very functional for our family since it makes it easy to refill the pantry after returning from the grocery. Or, in the case of our serving basket, after we empty the dishes.

10. Install small wall hooks for vertical storage.
We used hooks in the pantry for some of our cleaning supplies. To make them easy to hang I strung some leftover cording through each handle.

I’ll share a little more about some of the decorative details in later posts since I wanted to focus on organization and functionality today. Soo… now that we’ve looked at the progress made during Kitchen and Pantry week, let’s announce week #2!!

Tomorrow we’ll share a roundup of office and desktop ideas to get you started and then look for ideas through the week on our Facebook page too.
Of course, we’ll be sharing this post and are excited to hear what you completed this past week… and then we’ll do the same thing next Monday after we finish Week #2.
175+ Organizing Solutions for your Home – Craftivity Designs
Tuesday 27th of April 2021
[…] how to take a dark pantry and turn it into a bright, fresh spot in your kitchen with 10+ organizational tips, and a full pantry […]
I've Been Thrifting... – Craftivity Designs
Tuesday 27th of April 2021
[…] only been a few weeks since I completed our pantry, but my little plastic stool broke. At 5′ tall it’s hard for me to reach the top […]
How to Organize a Laundry Room – Craftivity Designs
Wednesday 21st of April 2021
[…] just like the pantry, we removed the doors and replaced them with […]
How to Organize Digital Photos with iPhoto – Craftivity Designs
Wednesday 21st of April 2021
[…] week was a tough project for me! You’d think that painting and organizing a hall closet or pantry would be a bigger undertaking, but I think photo organization can be so overwhelming. I really […]
Craftivity Designs
Monday 26th of January 2015
Yes! On Amazon, here is the link: http://www.amazon.com/gp/product/B000QGLB7Y/ref=as_li_tl?ie=UTF8&camp=1789&creative=390957&creativeASIN=B000QGLB7Y&linkCode=as2&tag=craftidesign-20&linkId=U7XT6APPALCARQXB (affiliate link, fyi!)