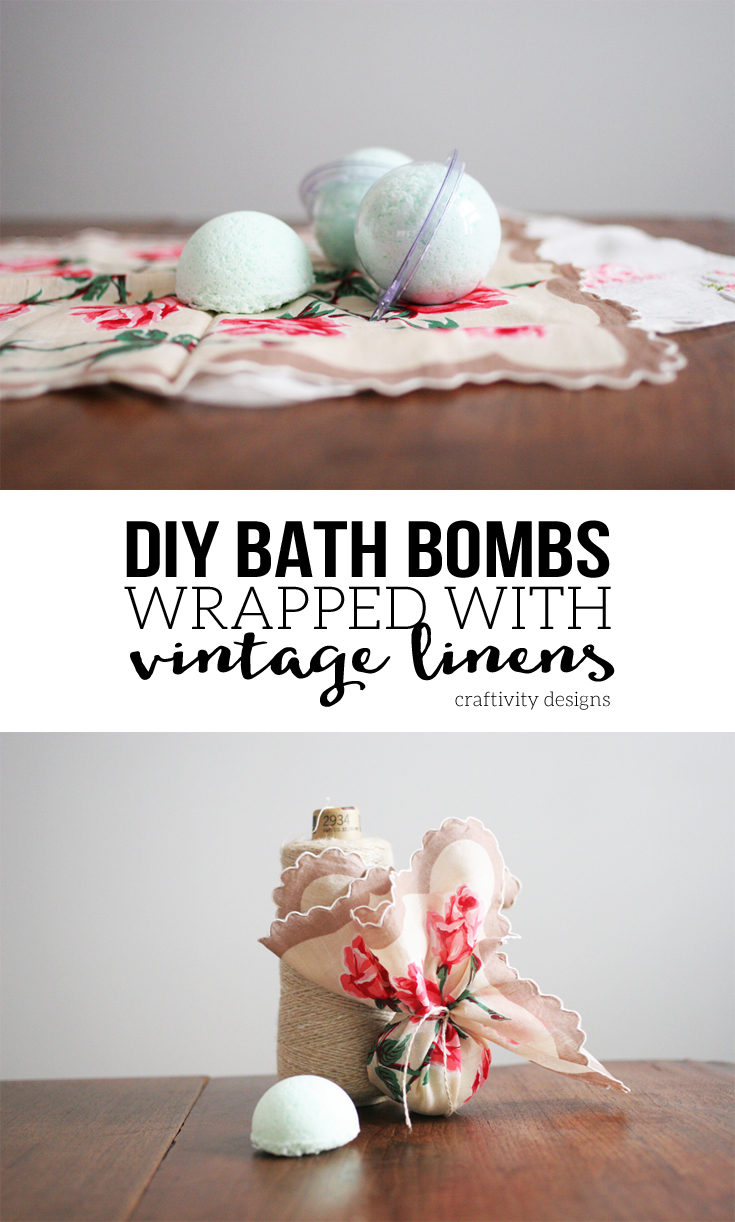
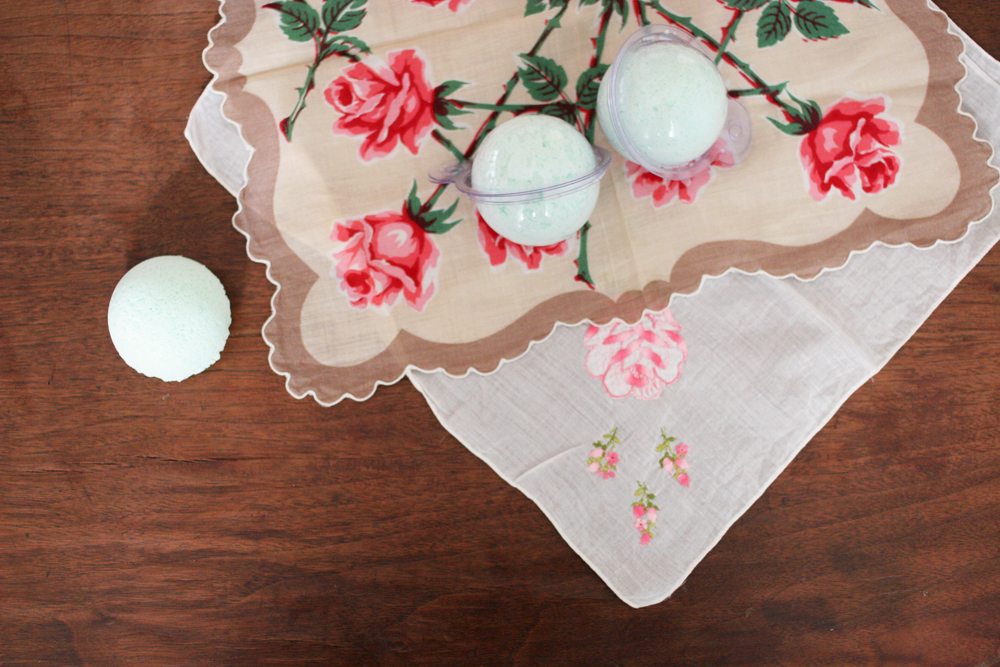
Make DIY Bath Bombs and wrap them in vintage linens, like cloth napkins, for a custom, luxurious look. A perfect gift for her or as a stocking stuffer!
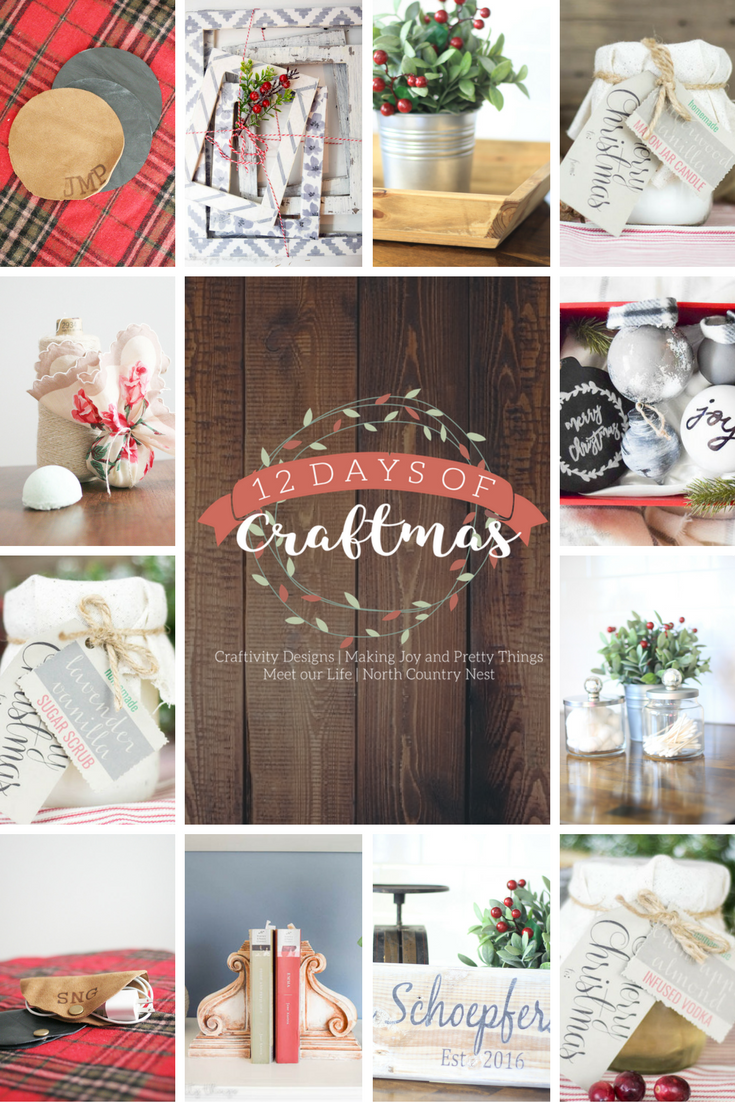
On the 5th day of Craftmas, my true love gave to me… a bath bomb wrapped in vintage linen napkins. Pamper your friends with homemade DIY bath bombs wrapped in delicate cloth napkins. Today, I’m showing you how to make bath bombs — and my mistakes along the way, so you know what NOT to do, too.
Psst: Are you just now finding the 12 Days of Craftmas Series? If so, head over to the 1st Day of Craftmas to learn more.
Disclosure: This page includes affiliate links.
How to make DIY Bath Bombs wrapped in Vintage Linen
This tutorial makes approximately 5 bath bombs that are 3.8 ounces and 2-1/8″ diameter.
Supplies
- 1 c Baking Soda
- 1/2 c Citric Acid
- 1/2 c Epsom Salt {Fine Grain}
- 1 tsp Water
- 2 tsp Peppermint Essential Oil
- 3 tsp Coconut Oil
- Green Food Coloring
- Vintage Cloth Napkins
- Twine
Tools
- Bath Bomb Molds
- Mixing Bowl
- Whisk
- Small Glass Bowl
- Spoon
- Measuring Cups & Spoons
- Scissors
Instructions
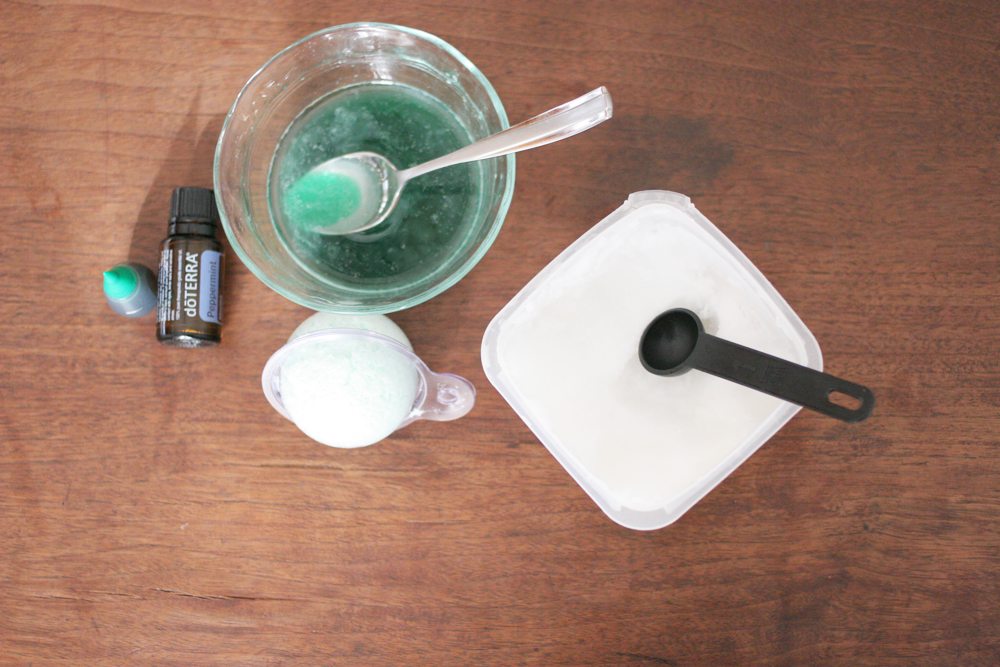
#1: Mix all of the dry ingredients with a whisk in the mixing bowl.
In the photo below, you’ll see coarse-grain Epsom salt. However, be sure to use fine-grain for DIY bath bombs, as it works much better in the recipe (I tried both).
In order to avoid wasting the coarse-grain Epsom salt, I used a mini food processor to grind up the salt into small particles.

#2: Use a spoon to mix the water, essential oil, and cooking oil in a small glass bowl.
Essential oil: You can use any scent essential oil. For this project, I chose Peppermint oil because it is a Christmas gift.
Cooking Oil: Some recipes I found recommend any type of cooking oil, such as olive oil. However, if you use a cooking oil like olive oil, which has a yellow tint — it will affect the color of the bath bombs.
For my first batch, I used olive oil (yellow) and red food coloring (for peppermint)… which led to brown bath bombs. Let’s just say that didn’t turn out very appealing. So, make sure to use a white or clear oil like coconut.
#3: Add food coloring to the small bowl of wet ingredients.
You won’t need much food coloring, just a few drops.
#4: Add the wet ingredients to the dry ingredients, slowly.
It won’t seem like much liquid and that is okay. DIY bath bombs don’t need much liquid, otherwise, it will expand inside the mold (ask me how I know…).
In fact, as you add the liquid to the dry mixture, only drizzle a little bit each time. I drizzled the liquid 4 times before using up all the liquid.
#5: Whisk the wet and dry ingredients to blend.
In between each addition of liquid to dry, I used the whisk to mix everything well. Essentially, you are working to coat the dry mix in color without getting it wet enough to fizz.
#6: Use a spoon to fill the bath bomb molds with the mixture.
Fill one side of the mold at a time, making sure to pack it into the mold tight and to the rim.
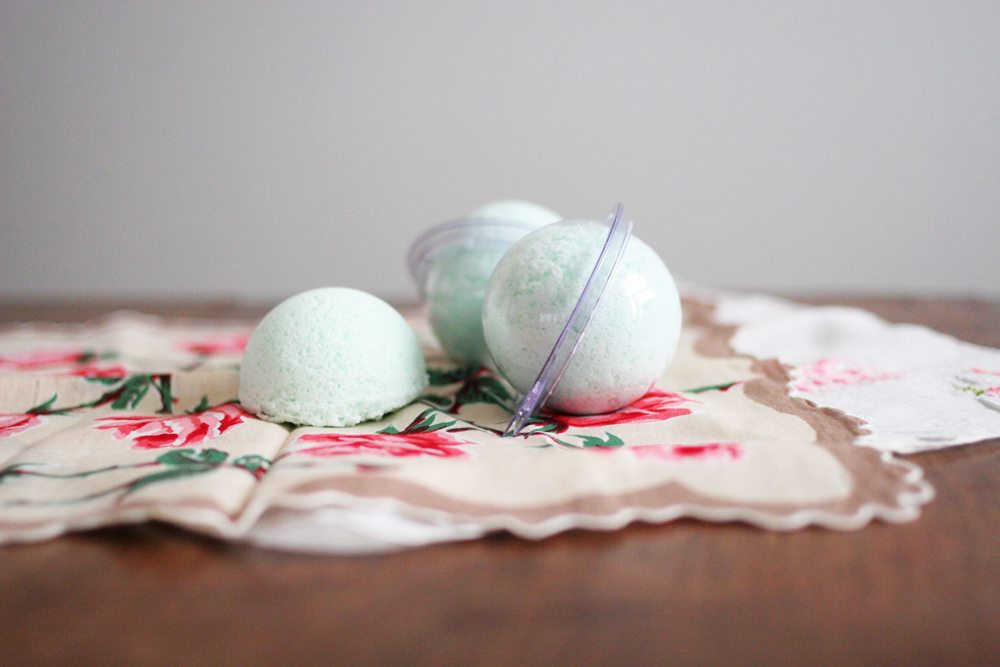
#7: Close the mold and let the bath bomb dry.
Press the two sides together and the plastic mold will “snap” into place. I place “snap” in quotations because it’s not a full-on snap or lock, but you can tell that it is closed.
It’s recommended that they stay in the mold to dry for at least 4 hours, though many recipes suggested overnight.
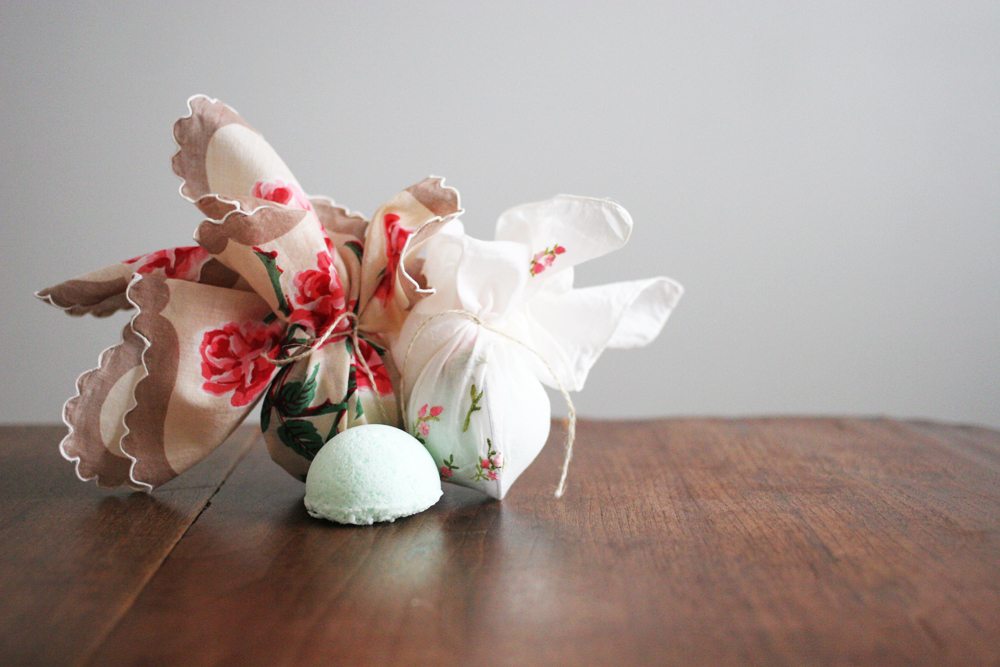
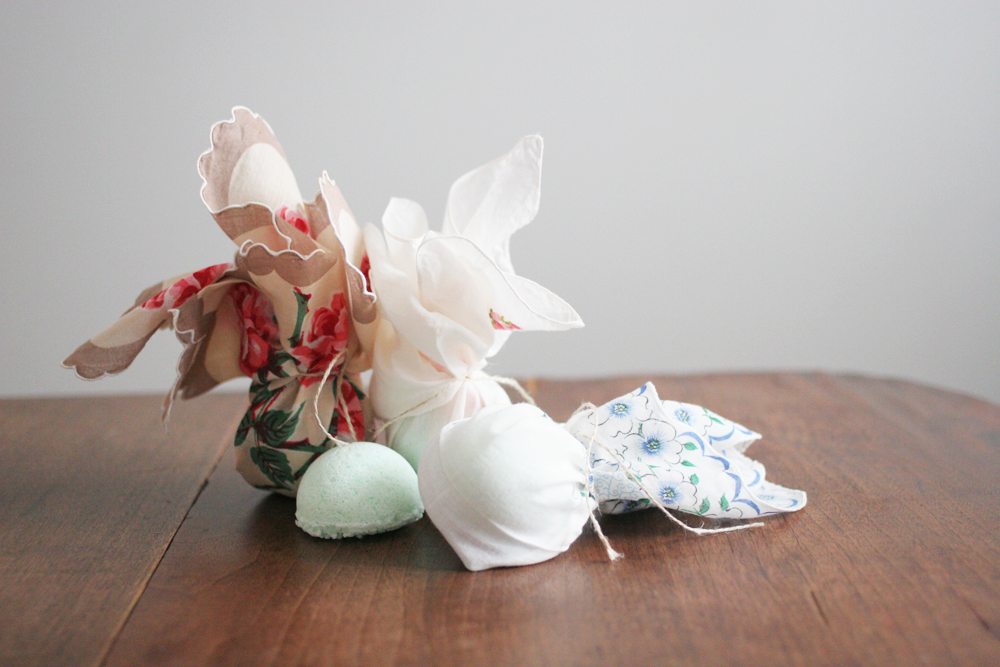
#8: Wrap the bath bomb in a cloth napkin and tie it with twine.
Once dry, wrap the DIY bath bomb in a cloth napkin and tie it with twine. I chose to leave the bath bomb in the mold because it was still about a month before Christmas. However, you could remove the bath bomb and re-use the mold if preferred.

Bath Bombs wrapped in Linen
Much of gift-giving is in the presentation. Though a DIY Bath Bomb is a great gift on its own, the vintage linen wrapped around it makes the gift feel luxurious, handmade, and unique. Bath bombs would work well as a small gift for friends and co-workers, or as a stocking stuffer.
Looking for something a little more modern to wrap DIY Bath Bombs? Try dyeing vintage linens using your favorite folding technique and homemade indigo dye to make shibori cloth napkins.
If you liked this handmade gift idea, you might also like:
- How to make a DIY Photo Holder (easy Stocking Stuffer!)
- 25+ Handmade Gift Ideas (that are simple!)
- How to make a DIY Essential Oil Shelf
Plus, there are still 7 more Handmade Gift Ideas in store, from the 12 Days of Craftmas. Click the image, below, to head to the next gift idea.


Shani | Sunshine & Munchkins
Sunday 18th of December 2016
I've always wondered how to make bath bombs! I love that you wrapped them in linen. So fun and unique.
craftivitydesigns@gmail.com
Monday 19th of December 2016
Thanks, Shani!
Ashley
Wednesday 14th of December 2016
Oh my goodness this is such a great idea and the end result is beautiful! xo
craftivitydesigns@gmail.com
Wednesday 14th of December 2016
Thanks, Ashley!
Melissa
Tuesday 13th of December 2016
This is a great idea and they look so beautiful!
craftivitydesigns@gmail.com
Tuesday 13th of December 2016
Thanks, Melissa!
Alexie
Tuesday 13th of December 2016
literally SUCH a clever idea. absolutely making these for christmas this year!
craftivitydesigns@gmail.com
Tuesday 13th of December 2016
Hope you enjoy them!
Dearlyndsey
Tuesday 13th of December 2016
These are super cute. I love how elegant they look all put together.
craftivitydesigns@gmail.com
Tuesday 13th of December 2016
Thanks!