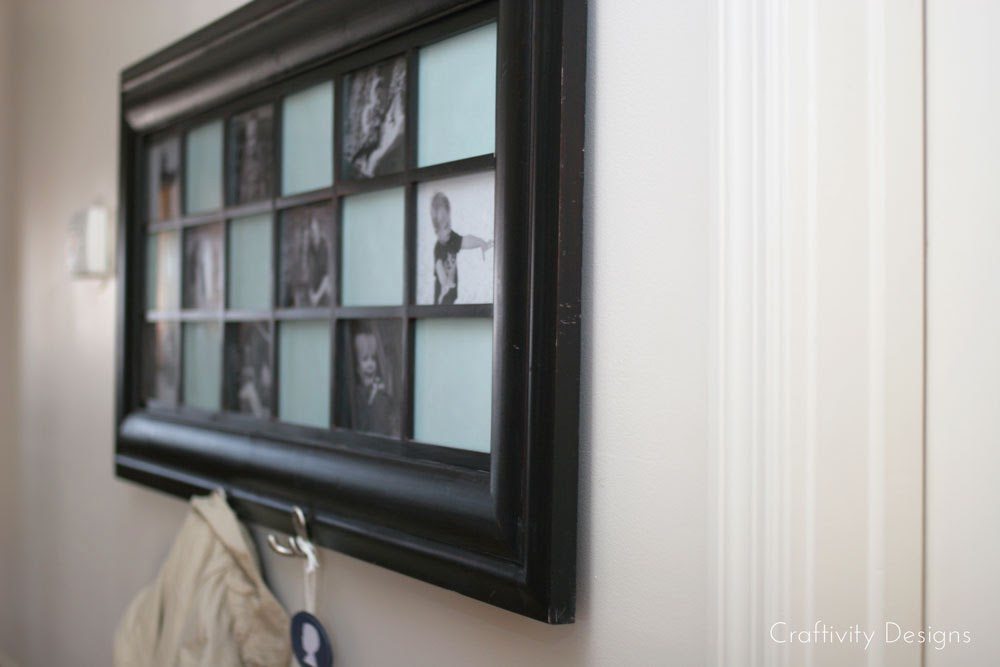
We’ve owned this basic collage frame for several years. We picked it up on clearance and for such a substantial frame it was a great price.


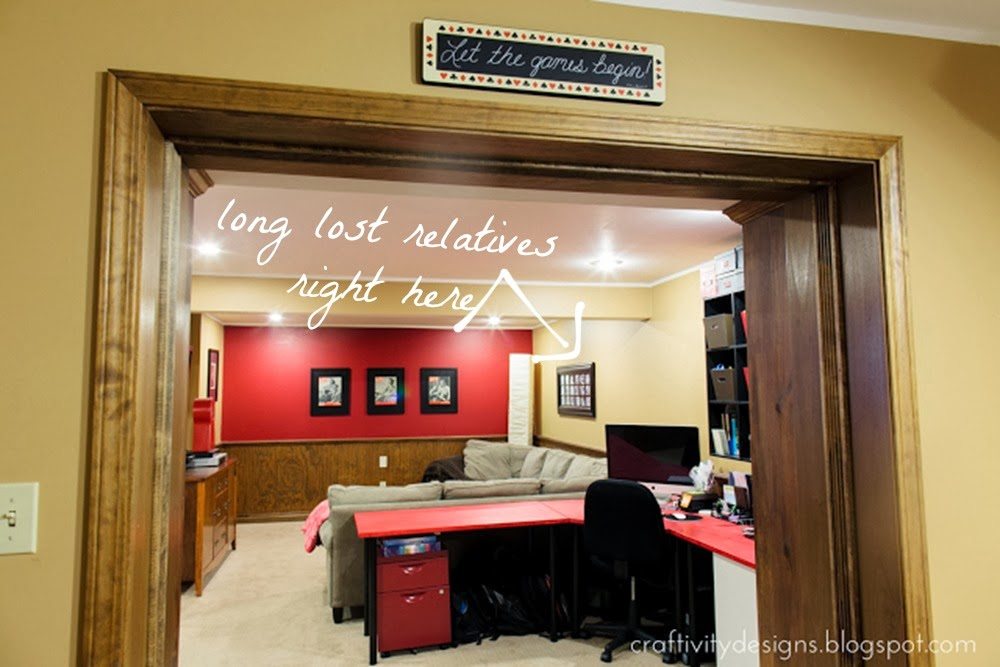
In the basement of our old home it hung above the couch, sporting photos of long lost relatives strangers.
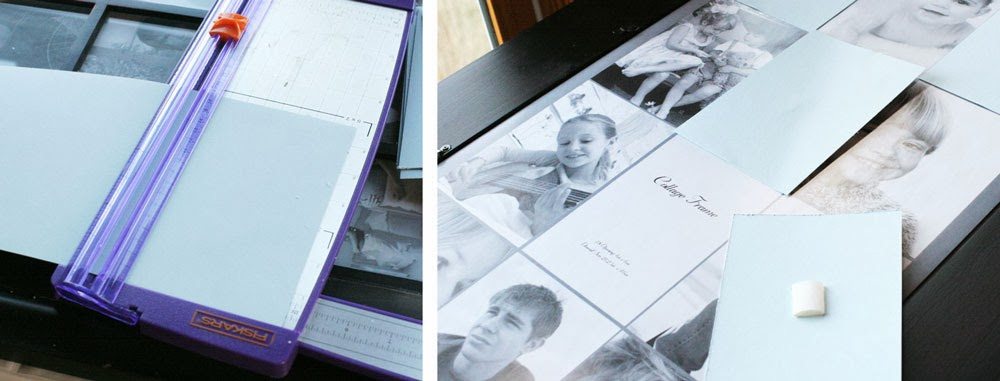
Before we hung it in this house, I made sure to pick out some special family photos from the last year and edited each of them to black and white. Sometimes I order our family photos in color and other times I stick to B&W.
In general, my rule of thumb is that I’m more likely to choose color over B&W when it’s a larger print.
A good example is my son’s photo that was in the entryway of our last home. However, in the nursery I chose B&W for the large photos since there were so many other colors in the room — I wanted the B&W canvases to pop, not blend in. In the case of this collage frame, there would be so many competing colors in all of the photos that I decided that keeping them B&W would let you focus on the faces; which is the most important part anyway!
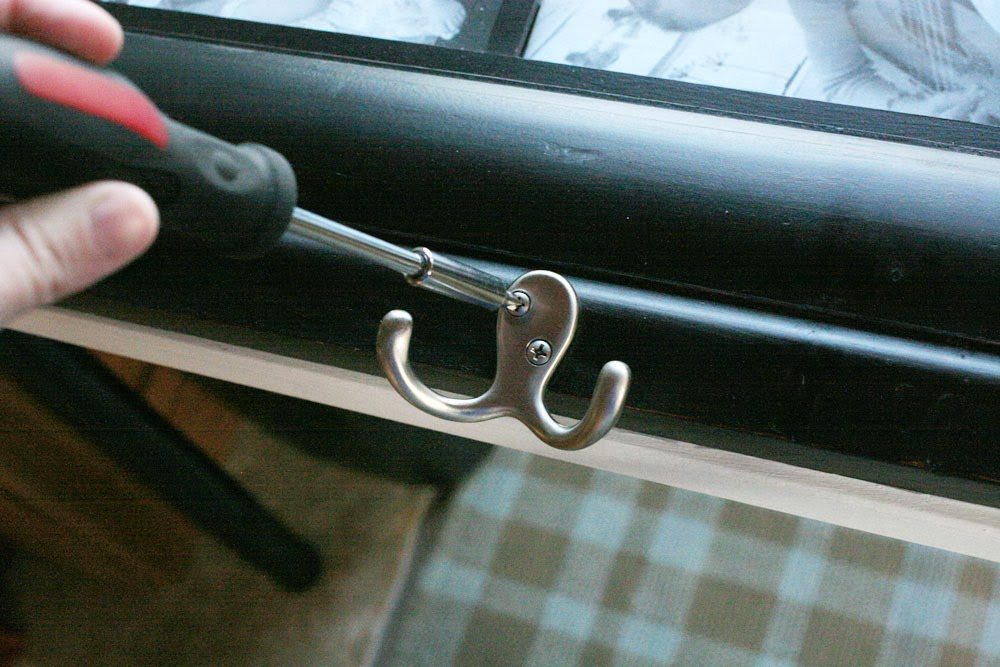
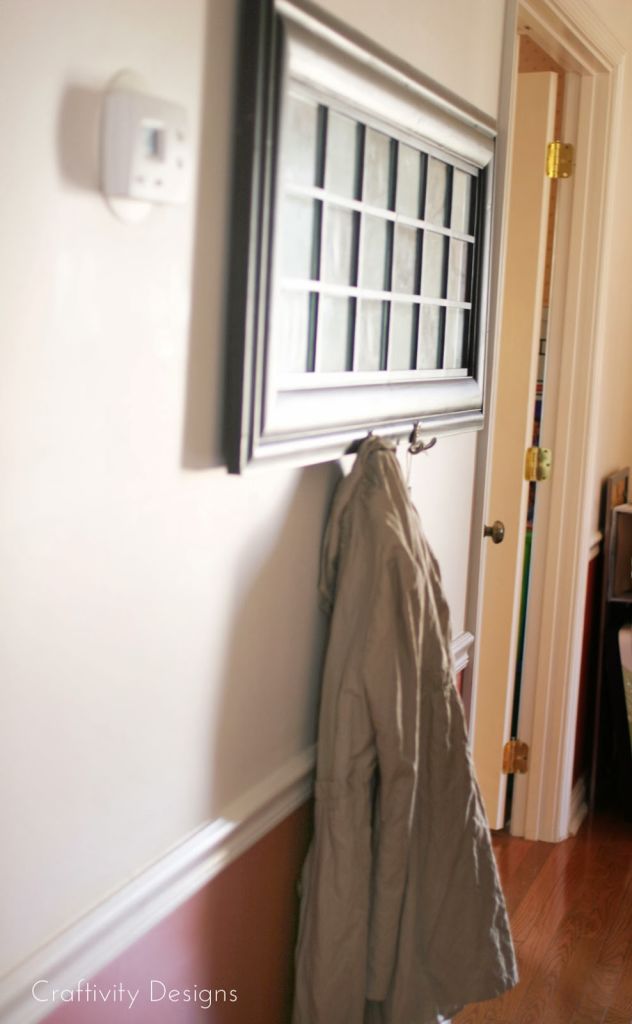
Along with photos, I grabbed some cardstock in a soft blue and metal robe hooks from the Threshold line at Target.
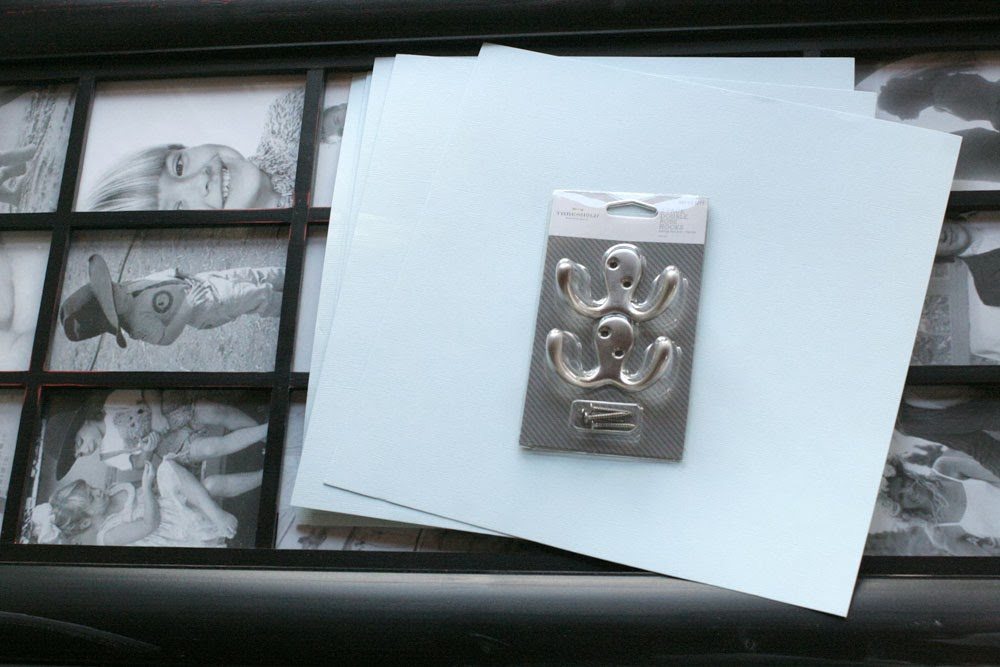
You’ll only see one set of hooks here, but I intend to pick up another set the next time I’m at Target so that there will be four hooks in total. Since there was going to be four hooks, I divided the total length {45 inches} of the frame by five, marked out every 9 inches and then screwed the hooks into the frame.
Instead of filling every opening with a photo, there is card stock in every other slot. It’s quick and easy to cut them out with a paper trimmer and then I just used the sheet of stock images as my guide for placing the card stock.
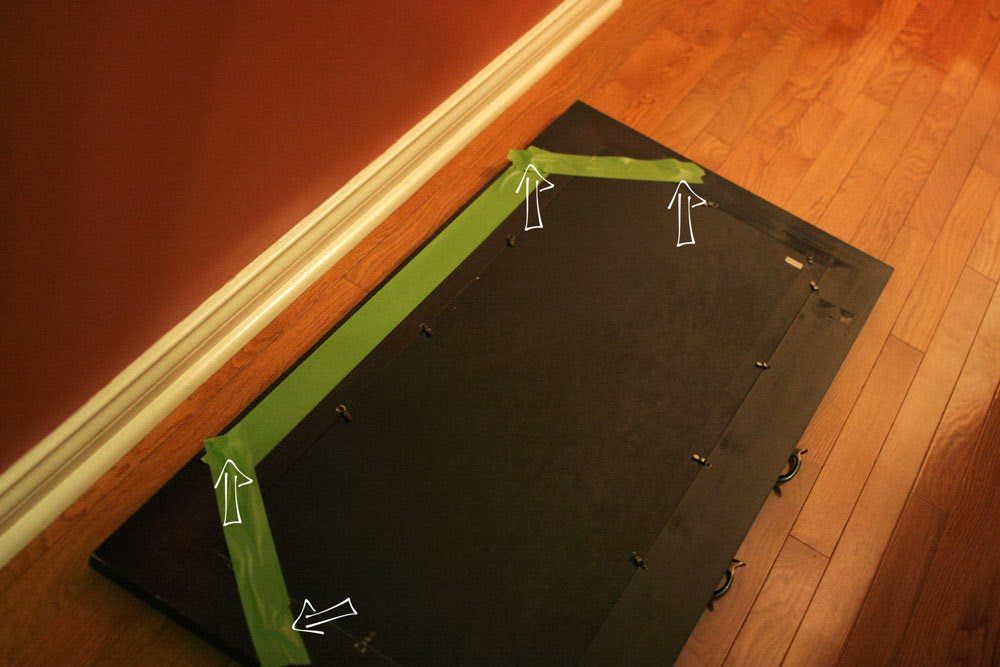
Since this frame will be holding coats and bags, I added two hangers on the back {there were already two} and each is attached to a stud or with an anchor in the wall.
The card stock spots are perfect for leaving notes to each other and reminders.

Plus, it’s nice to have a spot to hang some of our more “everyday” photos — like playing in the snow or taking a hike — as opposed to only portraits in our home.

The best part of this project is that besides the hooks, it was completely free! And I used something we’ve had for a while in a new and functional way. It’s been a great project to start getting our entryway organized as part of the 8-Week Organizing Challenge. If you are interested in our coat hook tags, head over here for the tutorial.
What have you been working on this week? Have you turned anything that was old into something new and functional?
175+ Organizing Solutions for your Home – Craftivity Designs
Tuesday 27th of April 2021
[…] DIY coat hook and message board is a multi-functional piece perfect for a small entry. You have to see the before! You might have […]
8-Week Organizing Challenge // Closets and Cabinets – Craftivity Designs
Monday 19th of April 2021
[…] actual post on Saturday was about our new entryway coat hook and message board. We are already putting this to good use! What did you end up working on for the entryway and […]
10 Popular Organization Ideas – Craftivity Designs
Sunday 18th of April 2021
[…] drop zone. If this is your trouble spot, buy some coat hooks and get the entry organized. Our old collage picture frame works as a coat rack and message board, which keeps coats and bags off the […]
Craftivity Designs
Tuesday 8th of April 2014
Thanks for the invite! I'll head over and link-up :)
Creative Dream
Sunday 6th of April 2014
What a fantastic idea. I would love it if you joined and contribute your awesome posts at my link party at City of Creative Dreams on Fridays :D Hope to see you there at City of Creative Dreams Link Party