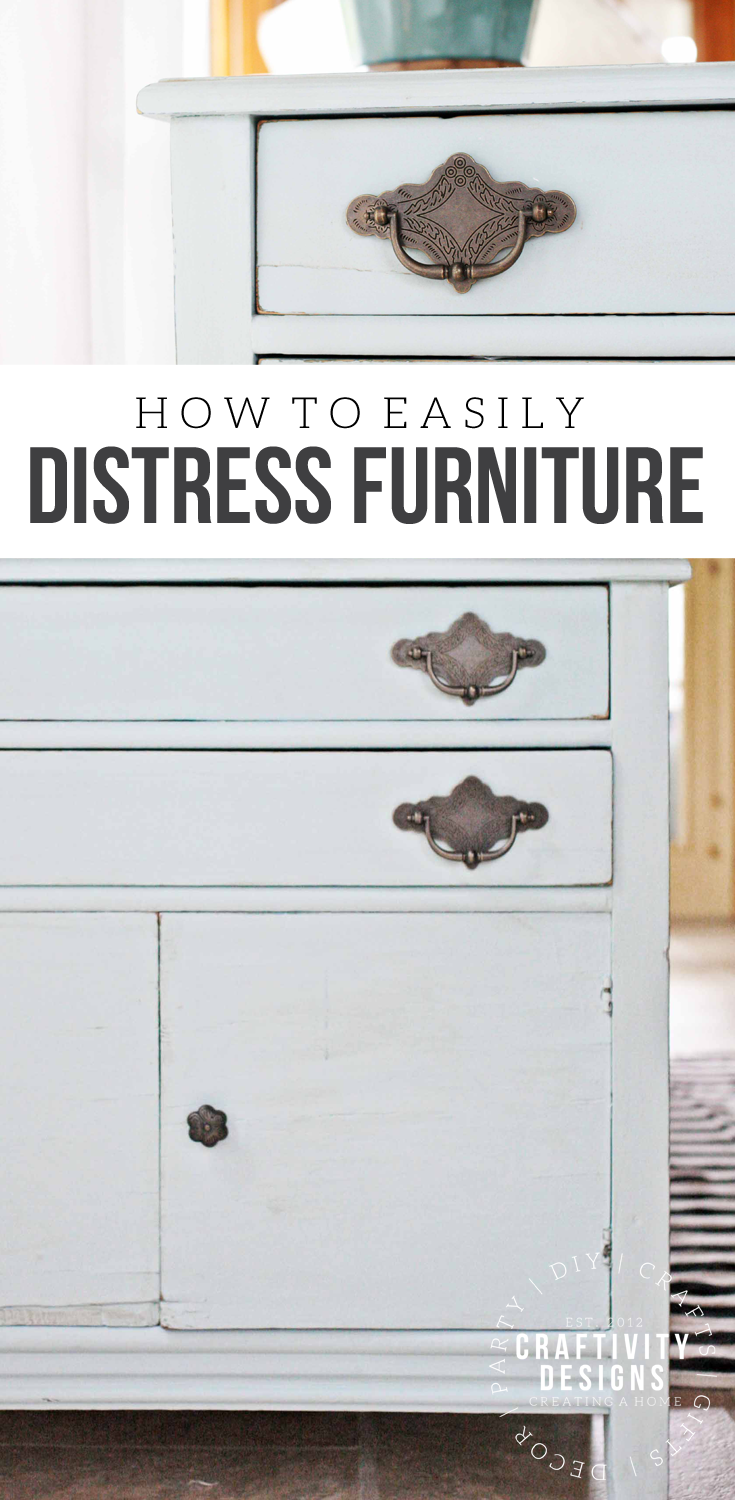
Would you like to learn how to paint furniture? Any beginner can learn how to distress furniture with chalky finish paint, using this simple tutorial.
I’m fairly new to furniture painting and have been trying to polish my skills in 2017. I’ve completed a white vintage chest, zinc-finish file cabinet, and pink crib to name a few — and now a small dresser in vintage green. I’ve learned through practice and reading tutorials with no formal training. So, if you are tempted to try furniture painting — go for it.
Disclosure: The product for this project was provided by Knobs.co and DecoArt. All opinions are mine alone.
Painted Furniture Projects
- Yellow Night Stand with Leather Pulls
- Vintage Dresser Makeover
- Navy Bath Vanity
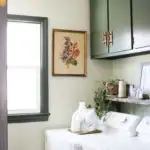
- Dark Green Laundry Cabinets
-

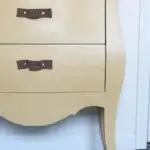
- Yellow Night Stand with Leather Pulls
-


- Vintage Dresser
-

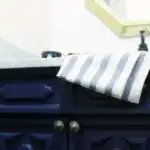
- Navy Bath Vanity

-
- Faux Zinc File Cabinet

-


- Pink Crib
-


- Personalized Foot Stool
Will it be intimidating? Yes, but you’ll learn as you go. Don’t start with your Great-Grandmother’s antique Dining Set. Instead, refinish something safer — like an ugly hand-me-down or a yard sale find.
You’ll be amazed at how quickly you start to master the necessary skills. Today, let’s talk about distressing furniture, from a beginner’s perspective.
How to Distress Furniture
Begin by applying a chalky finish paint. I have come to love chalky finish paint for its ease of use and matte finish. If you are new to furniture painting, this is the type of paint that I’d recommend. Here are a few reasons why:
- Low-Prep: neither sanding or primer is required {**though I do often do a quick sanding before painting}
- Low-Drip: rarely do I struggle with dripping paint, whether brushing or spraying chalky finish paint.
- Easy to Sand: if I make a mistake, it’s easy to fix with sandpaper
- Easy to Distress: because it’s easy to sand, distressing is simple
- Wax: protecting chalk paint with wax is fairly simple and beautiful {**there are some cases in which you should use a poly, not wax, such as high-use cabinetry and work surfaces}
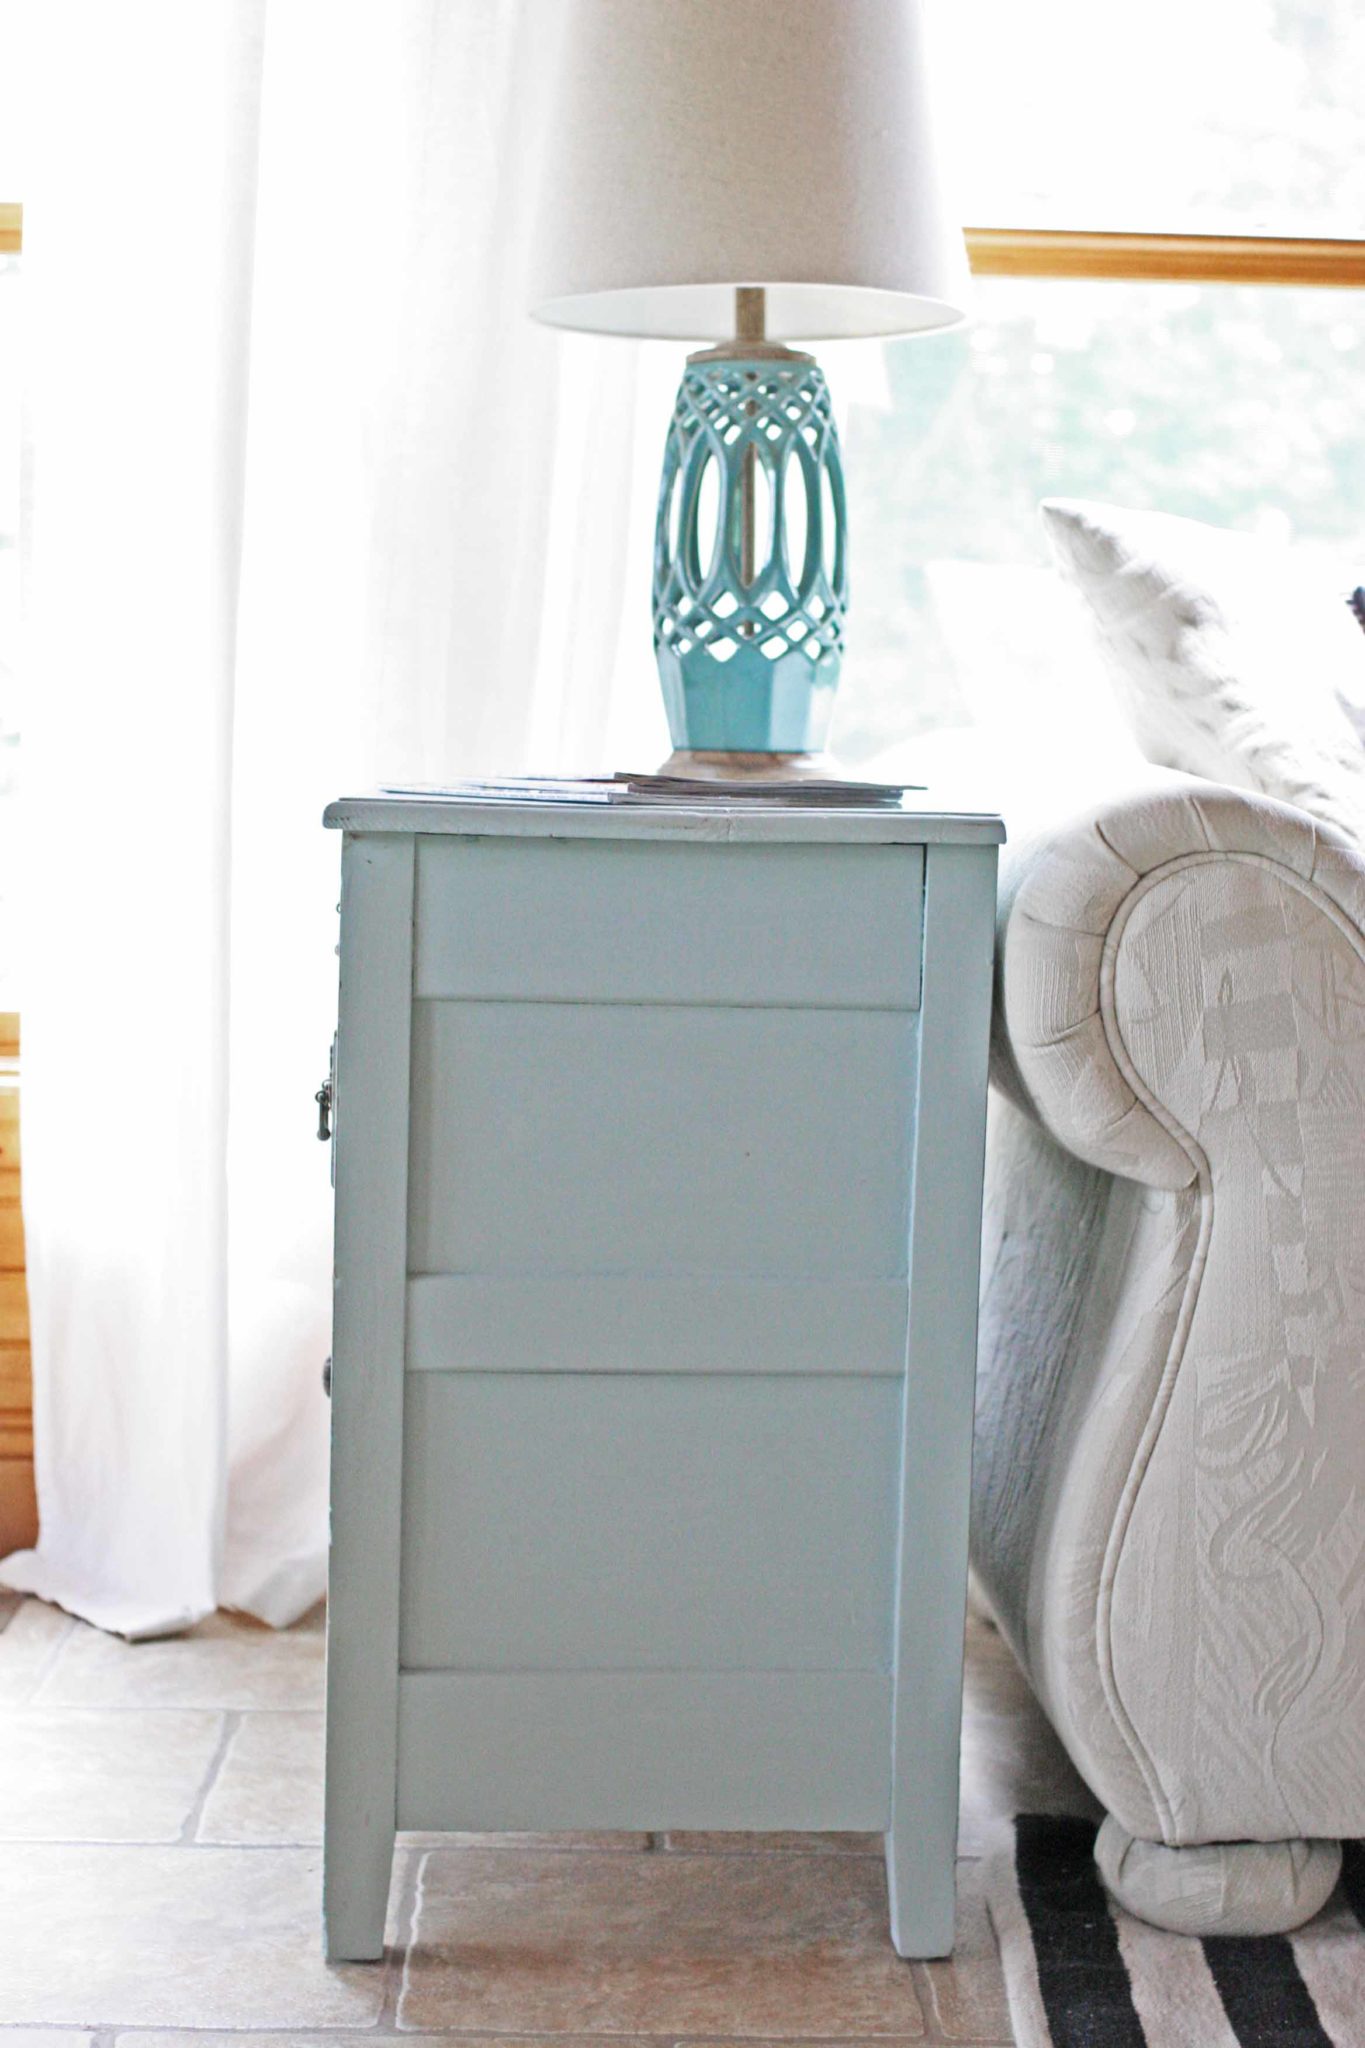
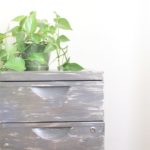
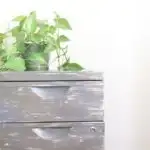
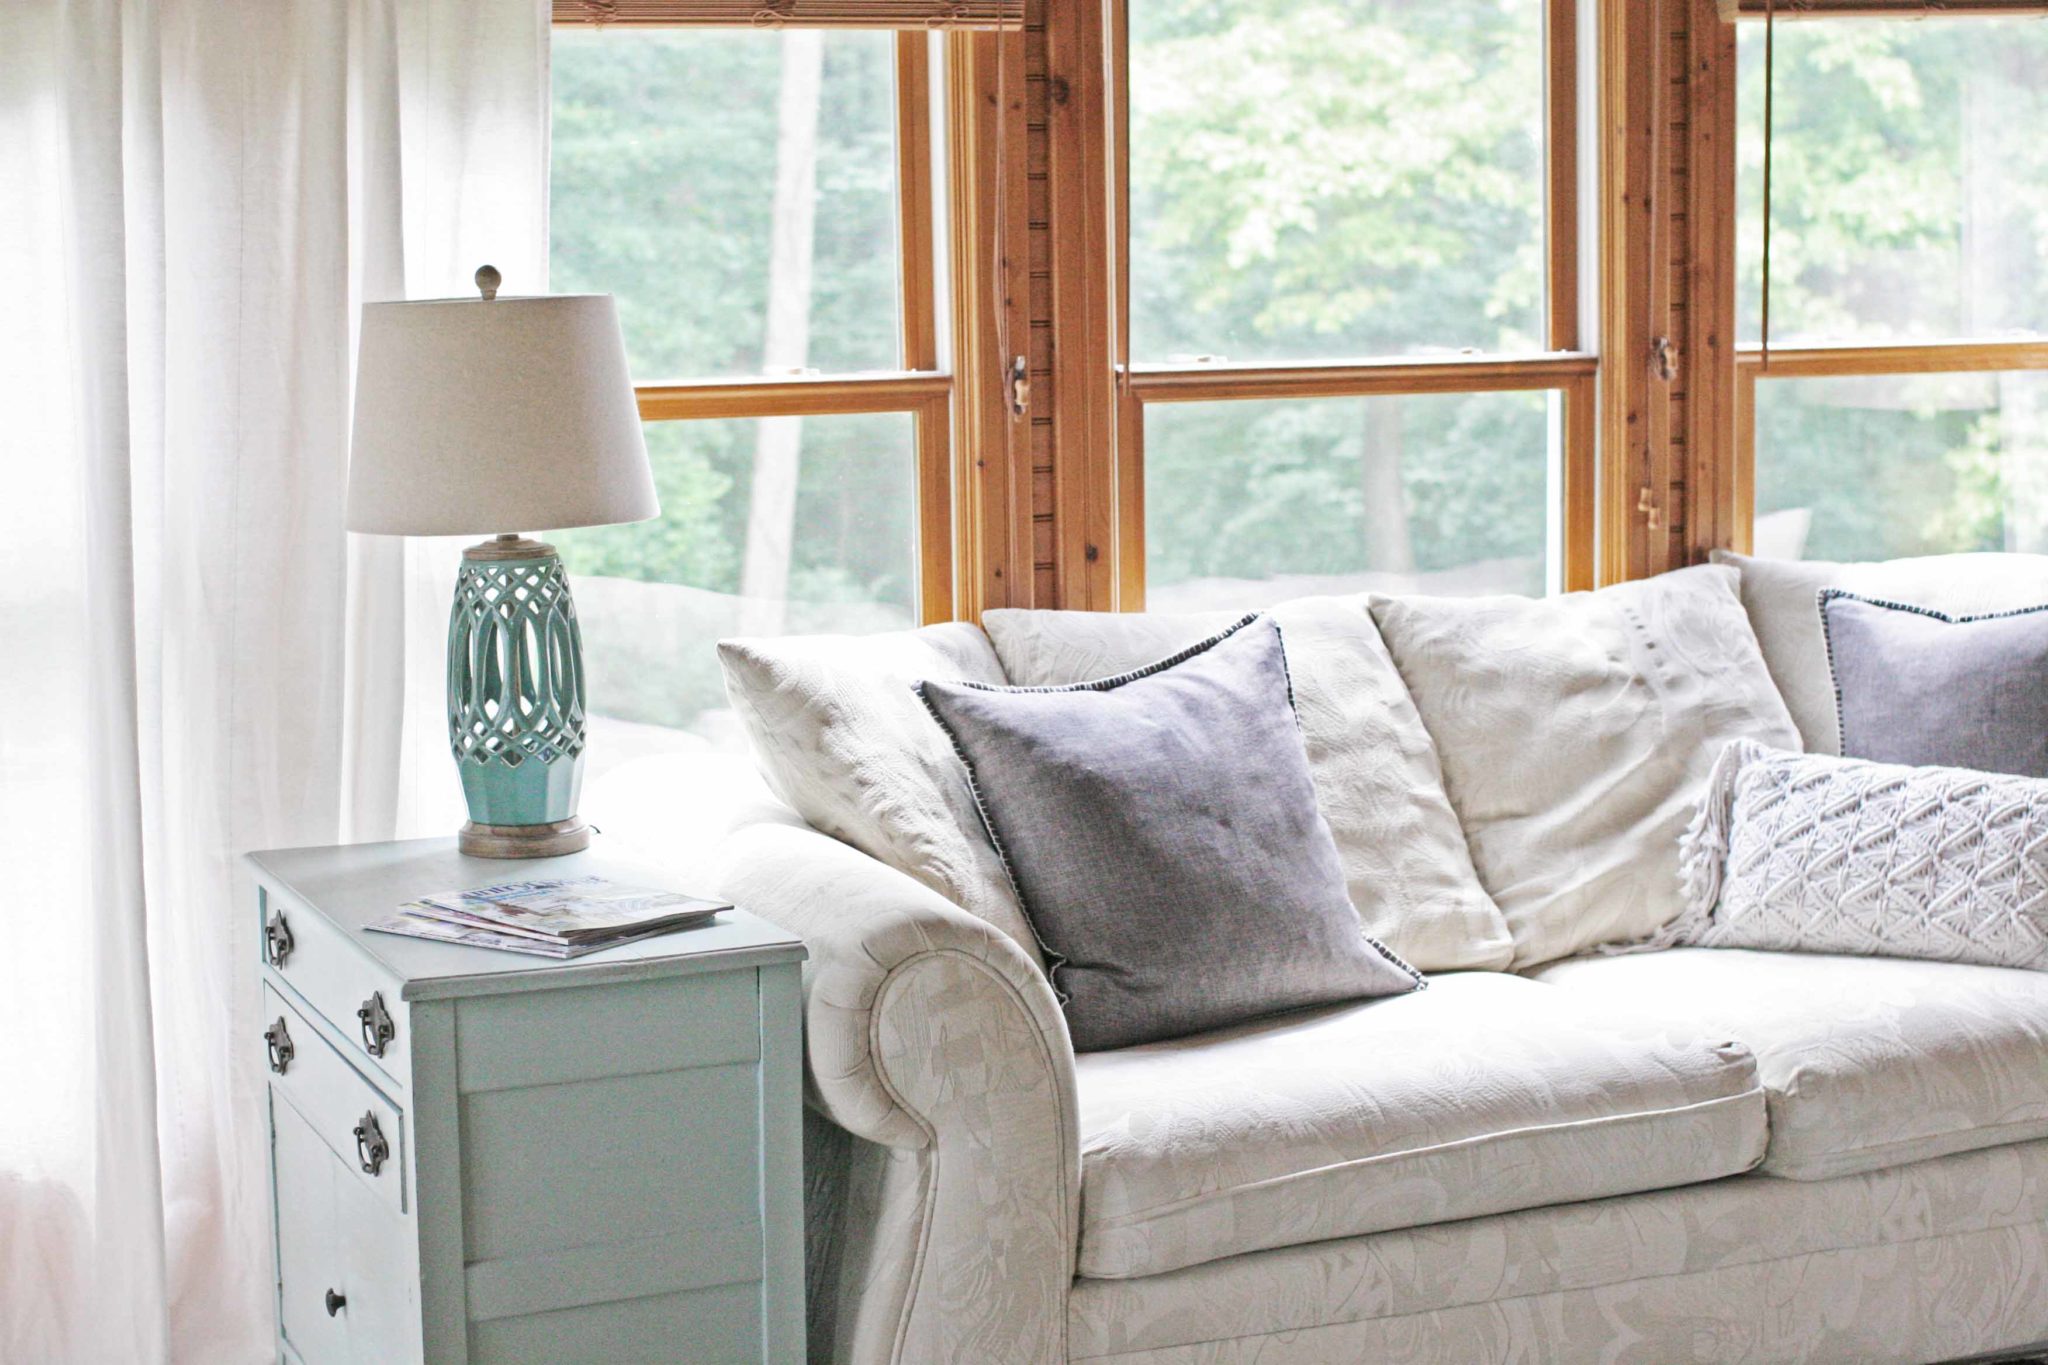
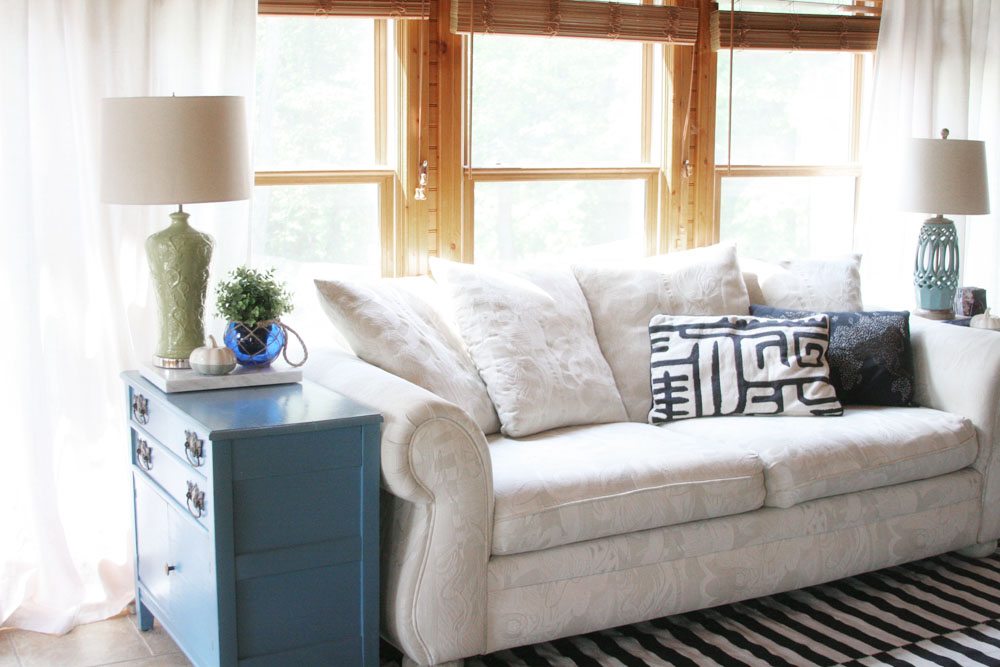
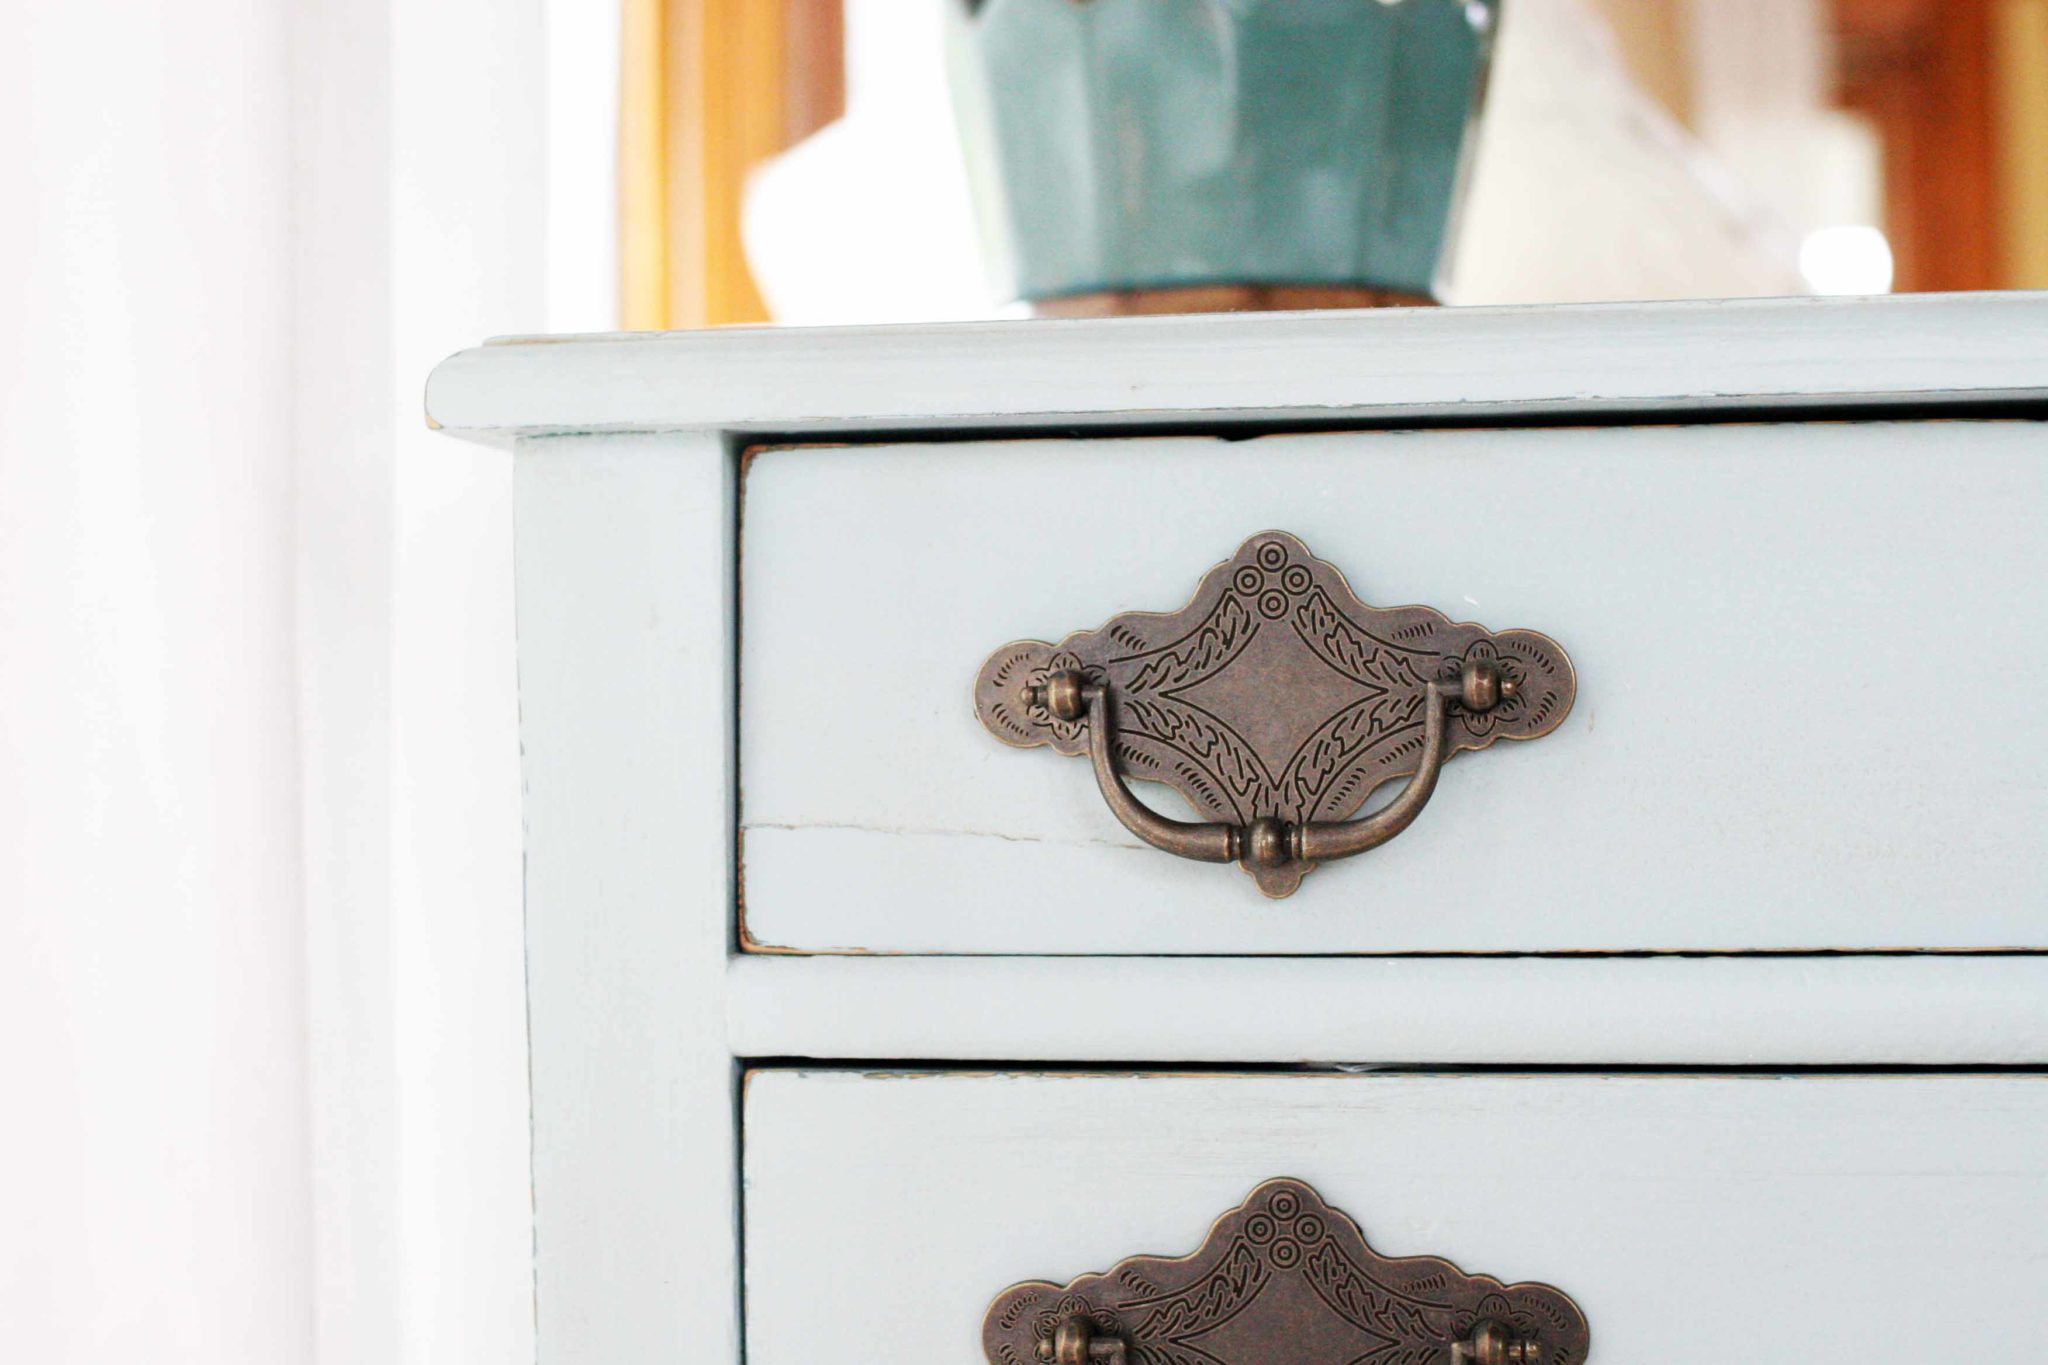
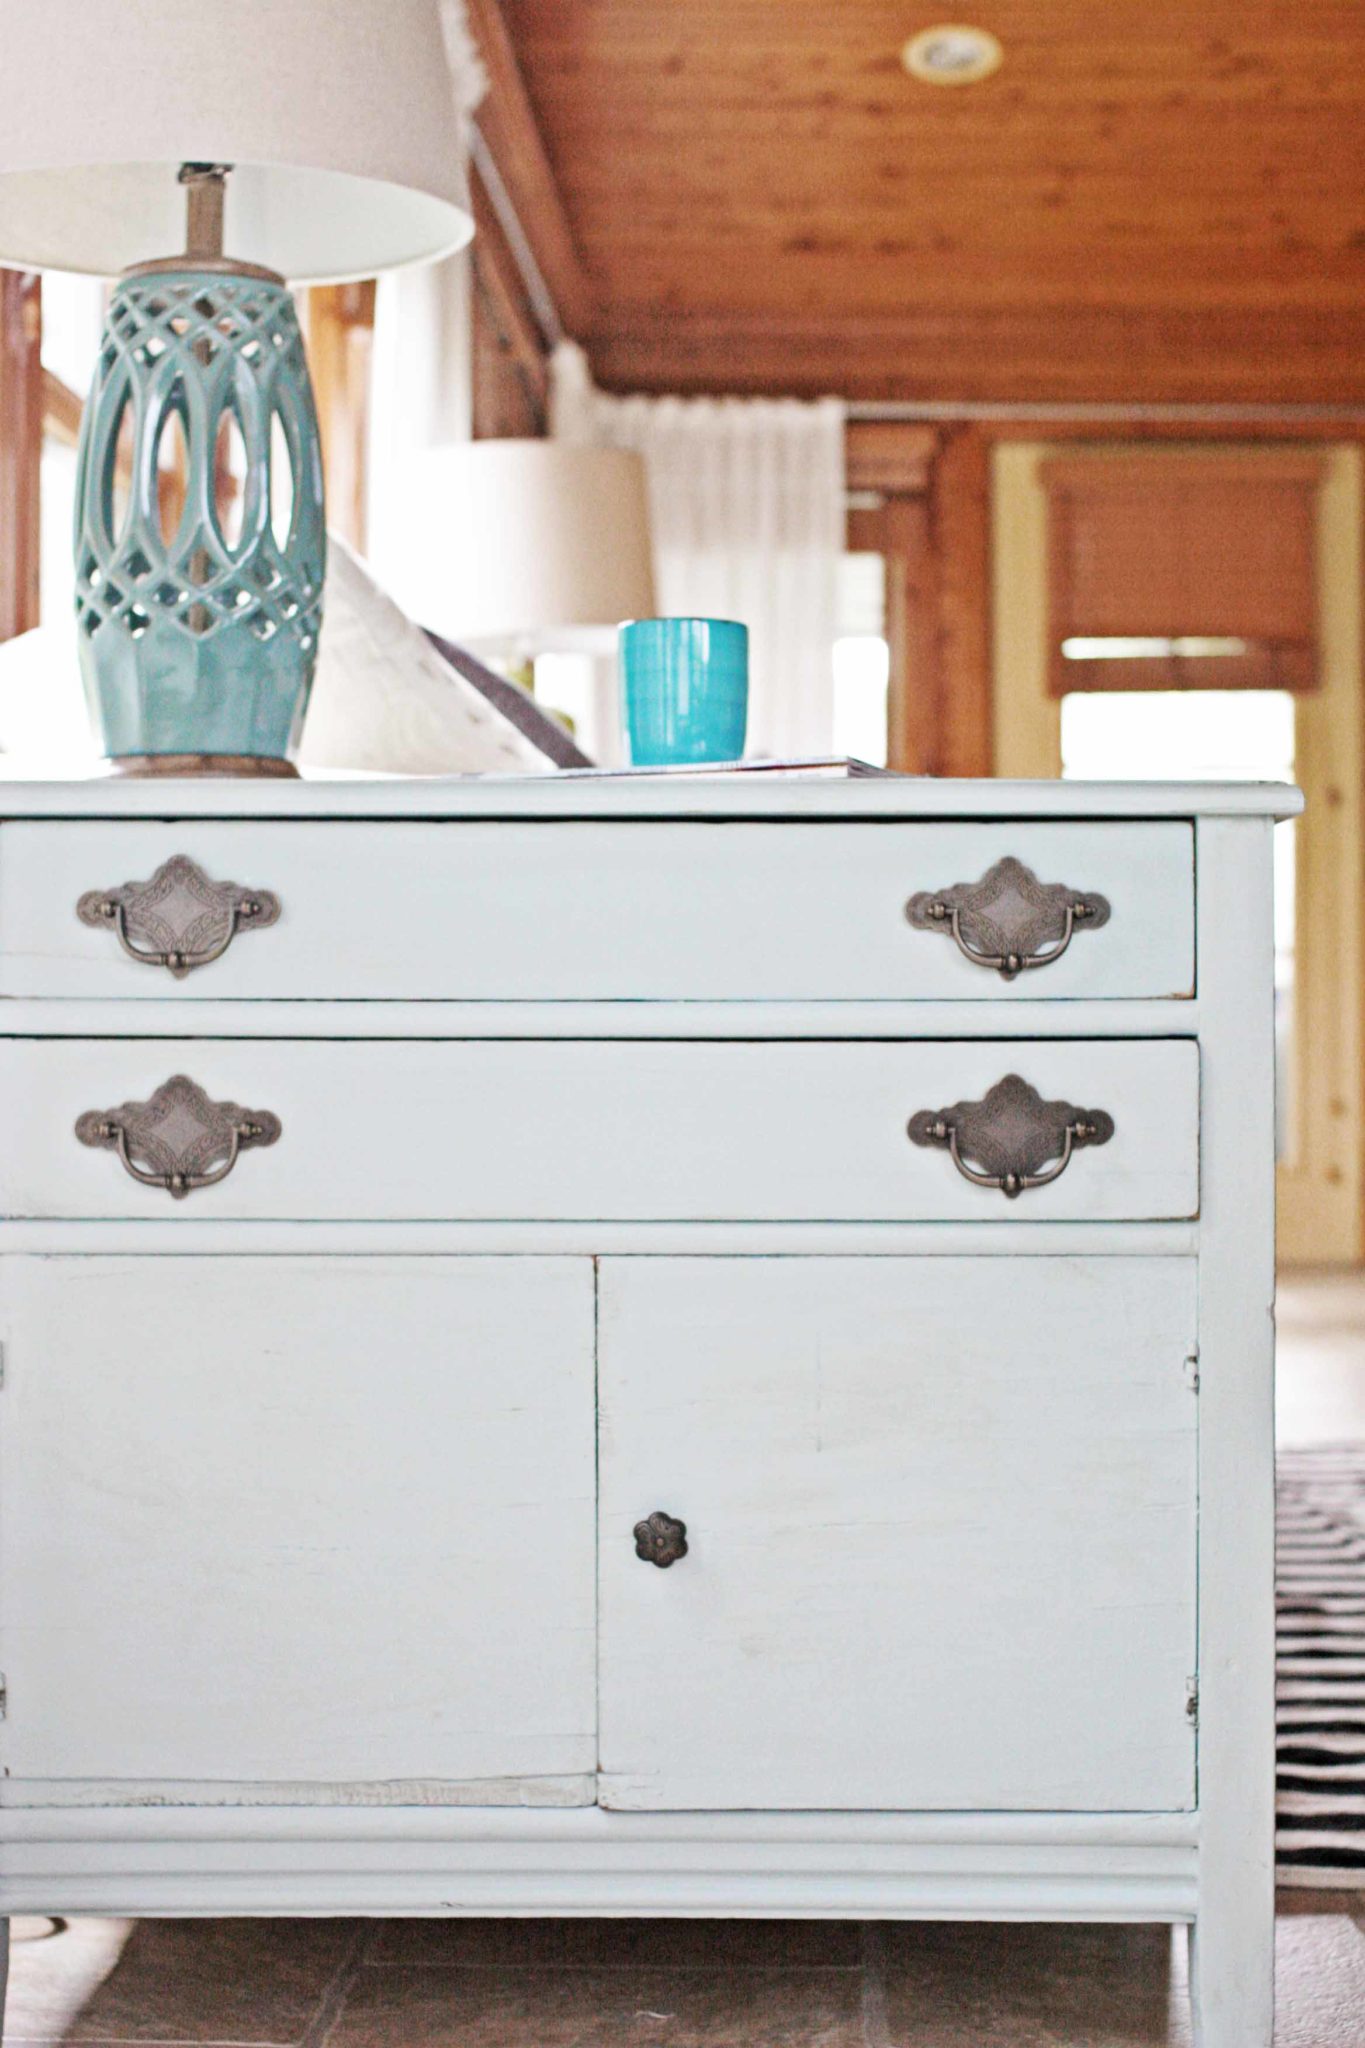
For this project, I chose Americana Decor Vintage Chalky Finish by DecoArt. It is — as named — a vintage shade of green with soft blue tones. Before this makeover, it was a turquoise blue, sitting in the same spot in our sunroom.


Once the paint is dry, begin distressing. Rub sandpaper along the corners and edges, revealing the wood underneath the paint. It will take a bit of elbow grease, but you’ll stay motivated when you see that pretty raw wood start to appear.
Sand as much as you’d like. For corners — such as on this drawer — I distress more than along the edges. However, that is just a personal preference. Don’t stress over distressing {see what I did there? wink}. If you distress too much, you can go back with more paint. If you distress too little, you can sand more paint away.
Now, for me, wax was the most intimidating step. However, it’s actually quite forgiving. You can be totally messy {I always am} and just keep applying layers of wax until you get the right look.
Start by applying a layer of clear or white wax with a clean rag. If you’re cheap thrifty like me, use old white t-shirts. There are also wax brushes, which are especially beneficial when working on a piece with intricate details.
Next, apply the dark wax. It will seem really dark, but don’t worry. Most of the color will wipe away with a rag. If it is still too dark, rub on more light wax to pick up the dark wax. I know this all sounds complicated, so just watch the video below. I found it sooooo helpful before tackling my first distressing and dark wax project.
How to Choose Hardware for Vintage Furniture
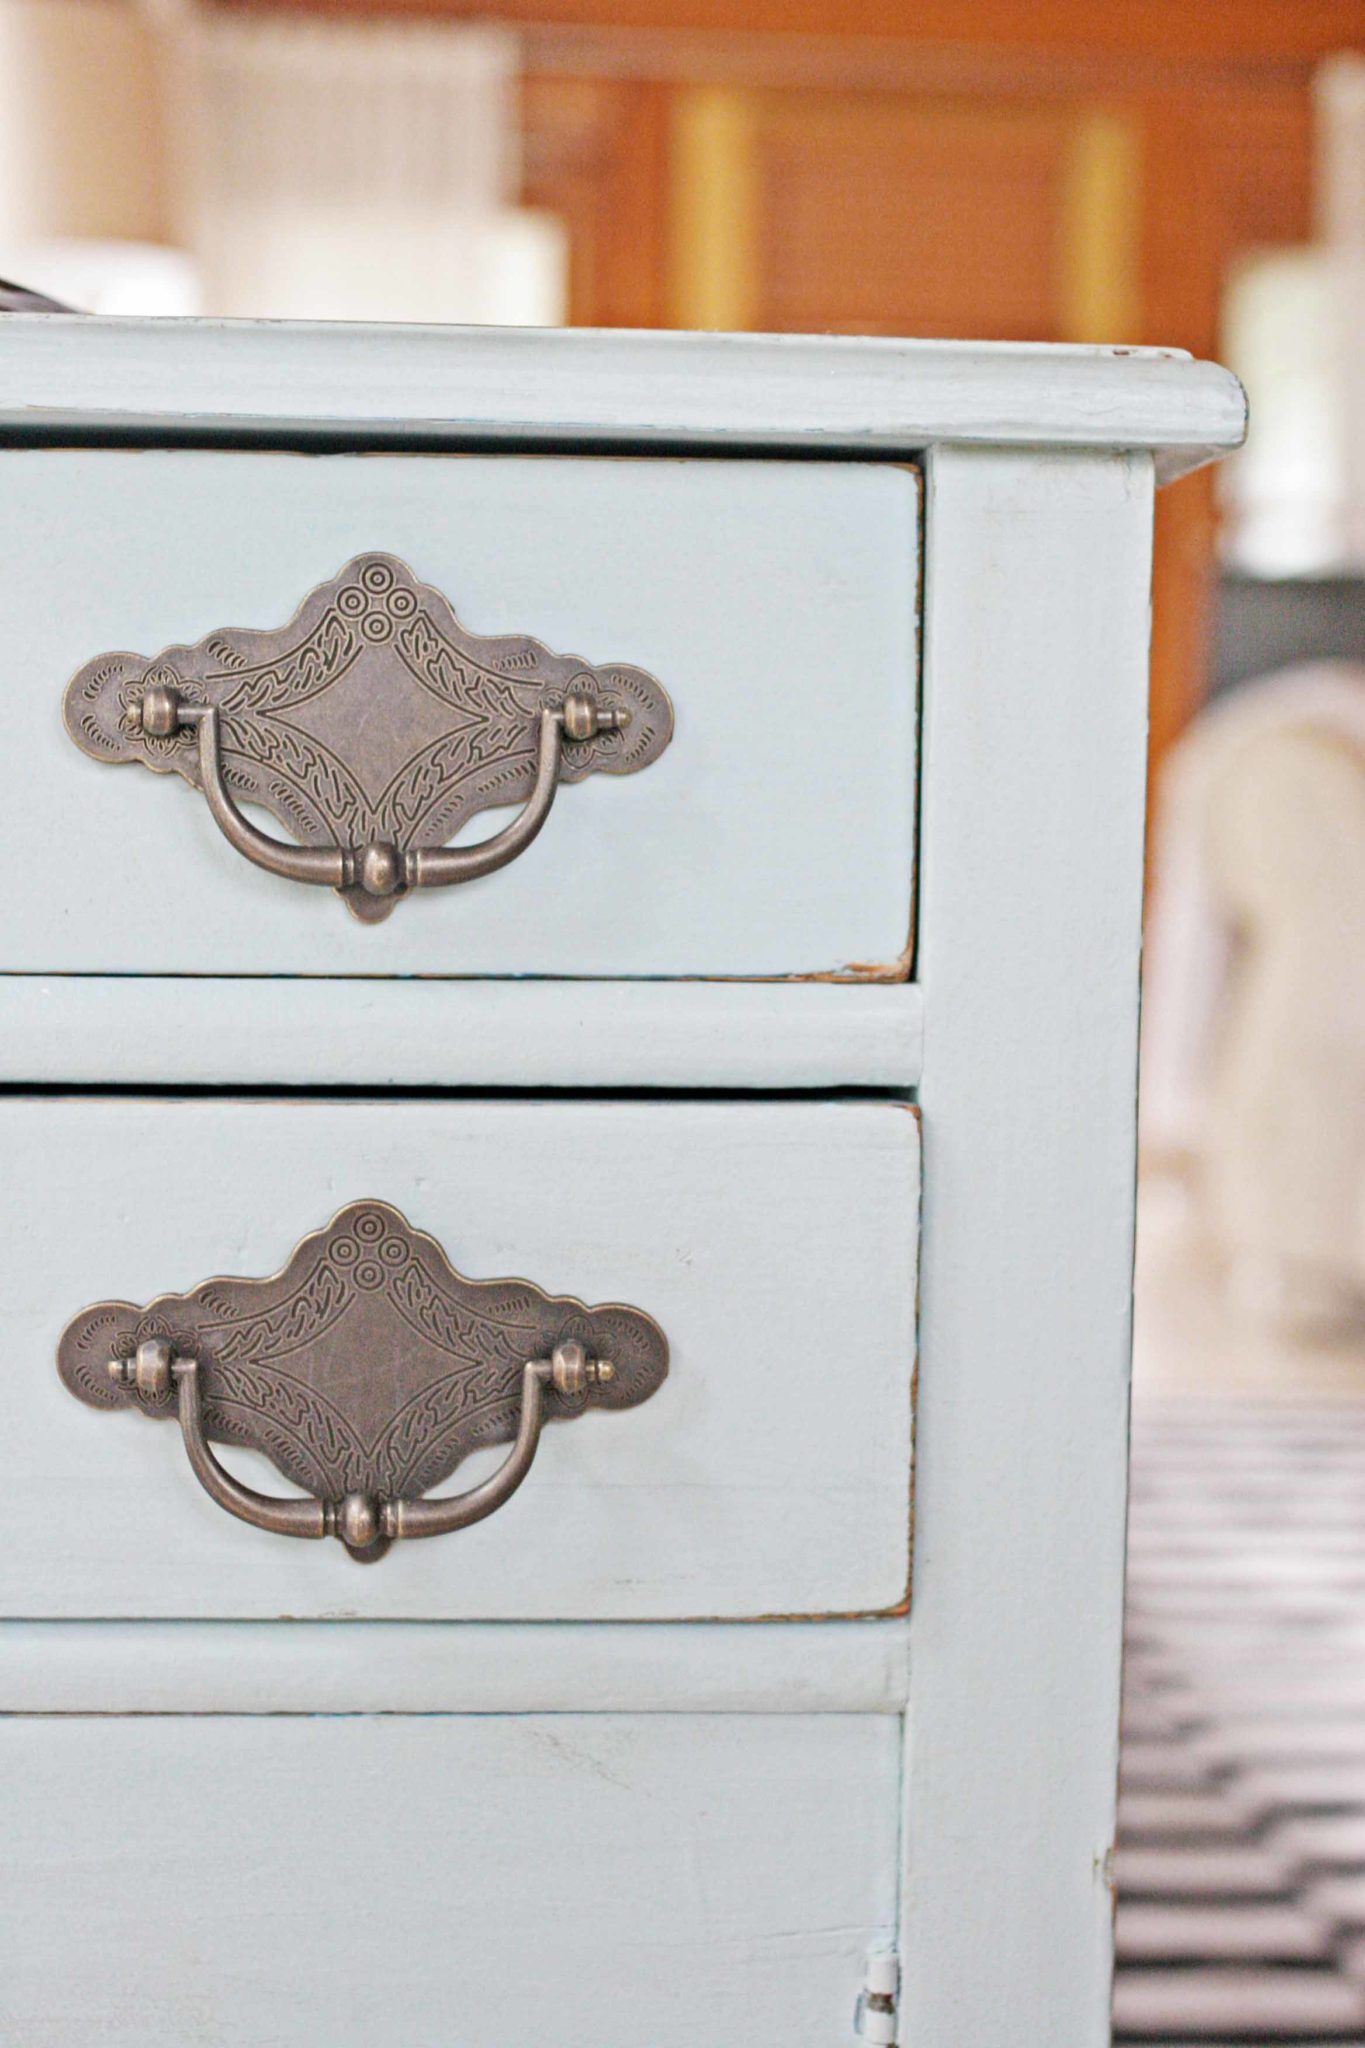
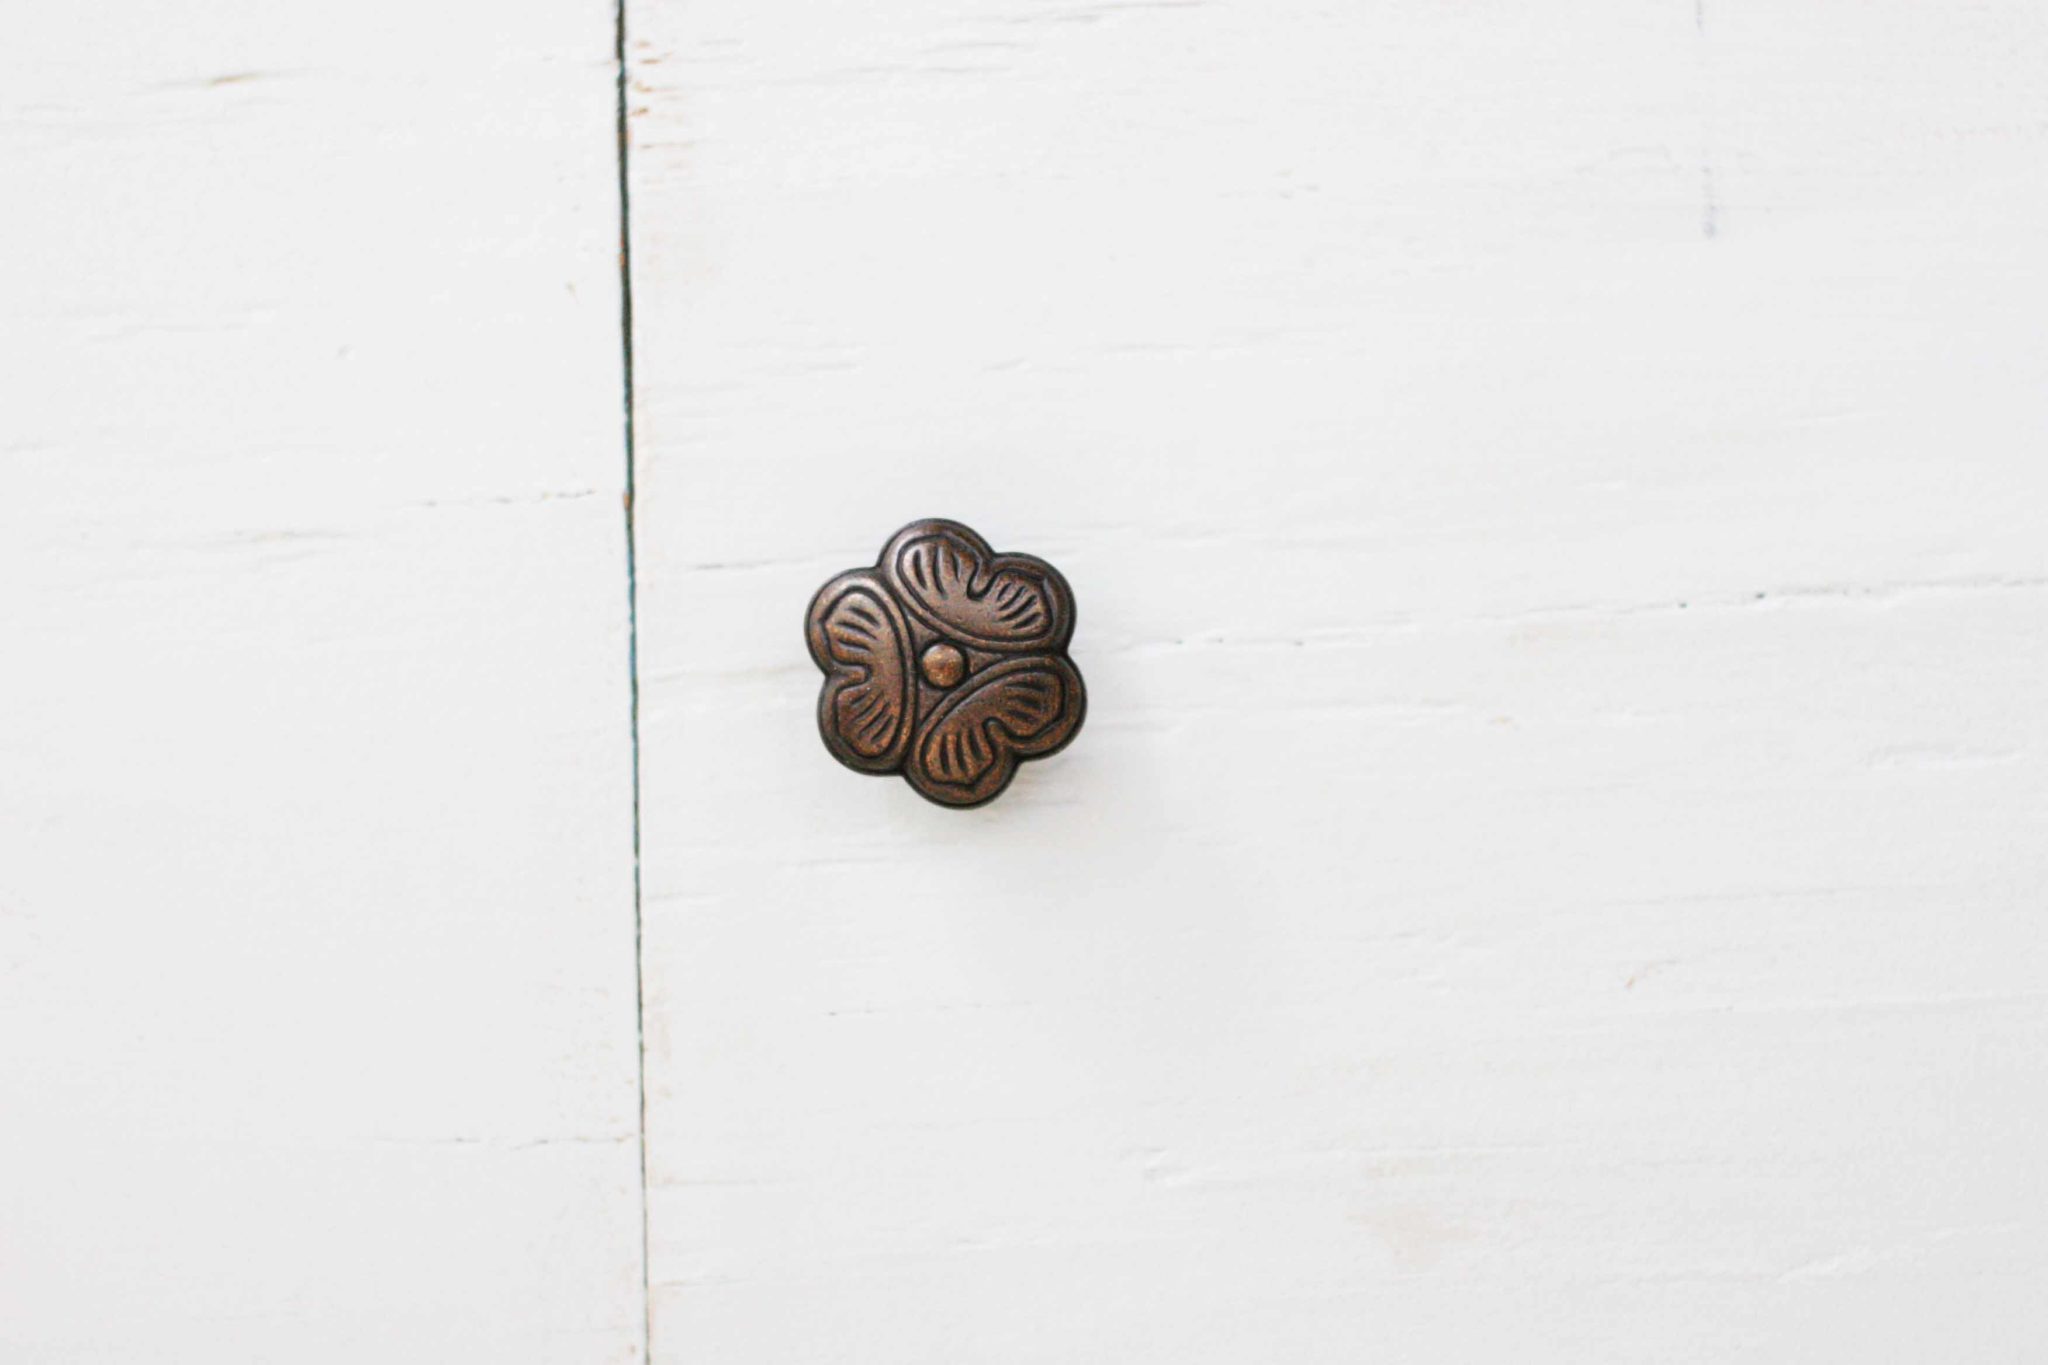
Once you’ve painted furniture, you’re probably going to want new hardware. If the original hardware is in good shape and unique, I might leave it. Otherwise — and most often — I replace the hardware. Beautiful hardware will be the finishing touch to a furniture makeover, it’s like the jewelry.
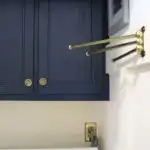
For this project, I chose Palmetto Bail Pulls and Palmetto Knobs from Knobs.co. The selection at Knobs.co is huge and I began narrowing down choices by limiting the pulls to 3″ centers. Of course, we could have filled the existing holes and drilled new holes to fit any size pull; but 3″ centers are a pretty standard size. I still had tons of options.
Next, I filtered the pull selection to show only drop pulls. I’ve always loved the delicate, antique, look of drop pulls. It seemed like an antique dresser was the perfect furniture piece for delicate drawer pulls.
I also filtered out silver and nickel pulls, narrowing the selection to brasses, golds, and bronzes. The Palmetto Bail Pulls immediately caught my eye, due to the pretty shape and intricate details.
Gorgeous, right? If you are struggling with choosing hardware, here are a few things to consider:
- What is the spacing between the existing holes?
- Will you reuse the holes or drill new holes?
- Would you like pulls, knobs, or a combination?
- What color and finish would look nice against the paint?
- Do you like aged/antiqued finishes or clean/modern finishes?
- How do you envision the style of the finished furniture piece? {for example: delicate antique, modern and clean, rustic and warm, etc.}

So, are you ready? Go paint that first piece of furniture. Don’t let fear stop you. Start Creating a Home, even if it means you’ll be learning as you go.
Like this post? Pin it!
Kay
Tuesday 19th of September 2017
Beautiful job! I love the color you used for the piece. I just painted my first piece of furniture w/ chalk paint. Excited and a little apprehensive about the distressing. Thanks for all the insight and encouragement. I' m going to go for it.
Lora Green
Tuesday 3rd of October 2017
You'll do great, Kay!! I'd love if you share a pic when you are done. I'd be excited to cheer you on :)
Oak Furniture
Monday 18th of September 2017
You did a great job. This is an awesome project. Thanks for sharing.
Lora Green
Tuesday 3rd of October 2017
Thanks!!
Bobbi
Wednesday 30th of August 2017
This project turned out so well. I just love the pale green color! Thanks for the DIY tips. One day, I'll work up the courage to give this a try.
Lora Green
Thursday 31st of August 2017
Thanks, Bobbi! You can do it :)
Lisa Wilson
Monday 21st of August 2017
Never thought distressing furniture would be so easy. The step by step detailing and little precautions are really required for beginners like me. Thanks though a little piece of hardware can create so much of a difference to the newly distressed furniture. Your furniture looks quite cute hope mine look the same and thanks for the video link.
Lora Green
Monday 21st of August 2017
Good luck on your project, Lisa!