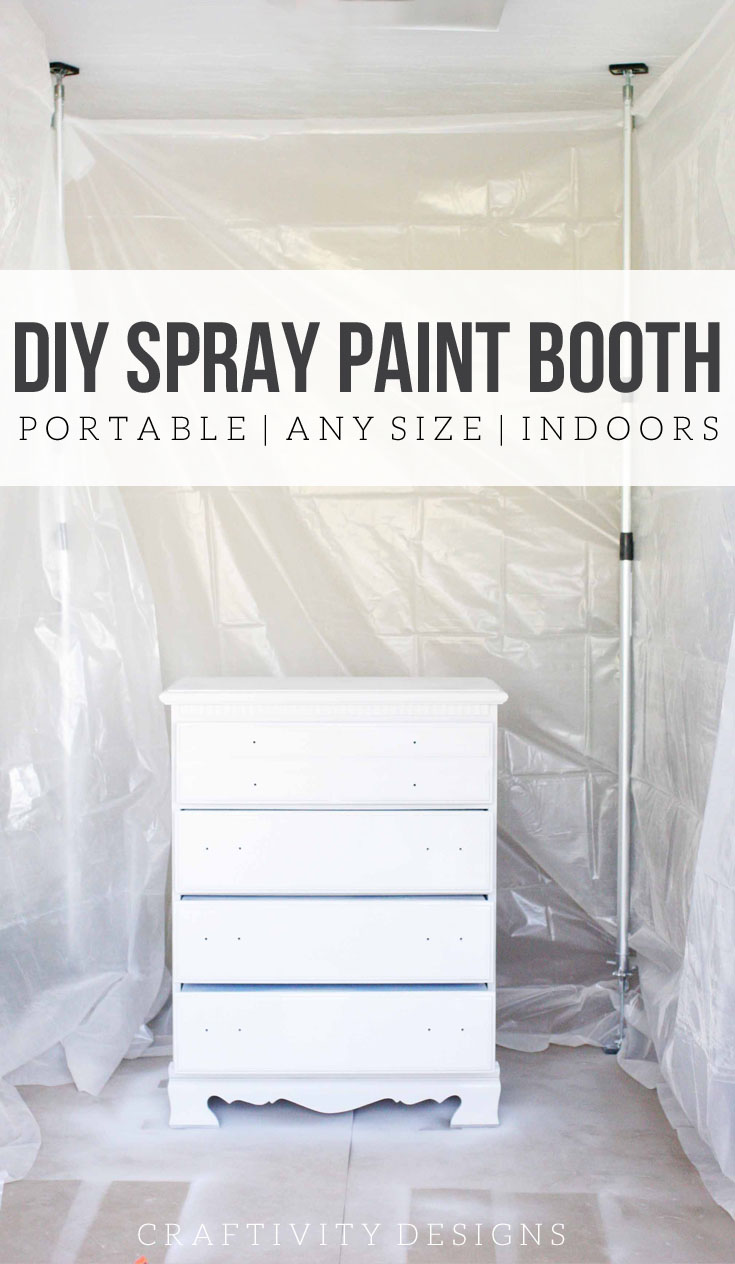
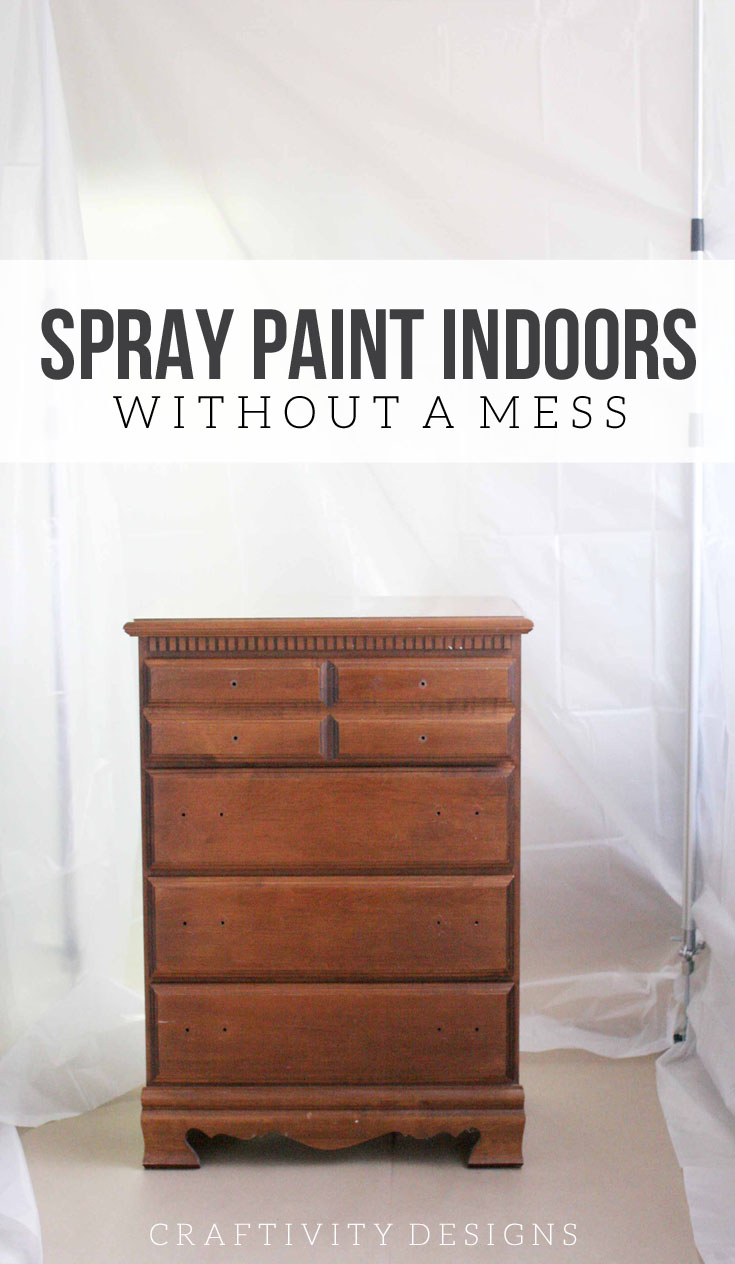
Learn how to spray paint indoors with a DIY Indoor Spray Paint Booth. No need to depend on weather with an indoor spray tent and indoor paint booth.
Our DIY indoor spray paint booth has changed my furniture-painting strategy. Because, confession, I’ve never liked spray painting.
It’s just been too complicated – and honestly, too risky. It makes me nervous painting a vintage piece while crossing my fingers that nature doesn’t mess it up.
All those amazing “before and after” spray painting tutorials on Pinterest? No thanks.
First, I have to wait for the perfect day. Rain, wind, or extreme temps are no good for spray painting. Second, I pray that no bugs land in my freshly sprayed paint… and that not a speck of pollen dust will land on it. In Kentucky, wishing for “no pollen” isn’t much different than wishing for a pot-of-gold at the end of a rainbow.
Plus, there is that entire season, where it’s too cold for ideal spray painting conditions.
Disclosure: This post has been sponsored by Trimaco. All opinions are mine.
Disclosure: This page includes affiliate links.
How to Spray Paint Indoors
Several years ago, my husband bought me a paint sprayer for Christmas. We intended to eventually paint the shutters on our home, which is how it ended up on my wish list. However, I haven’t touched the thing.
When Trimaco contacted me about a collaboration, I knew it was time for me to get the paint sprayer out of the box. For one, I have several pieces of furniture that are waiting for a smooth, professional-finish, paint job. Plus, Trimaco has a versatile product, E-Z Up Containment Poles, that could save me from my spray painting fears.
How?
The containment poles are designed for projects such as remodeling a kitchen. In that case, you can wall off an entire room to protect from paint spray, sanding dust, etc. It’s a quick and easy setup, that works in any size room. Take a look at this video.
Supplies
Instructions
1. Clear Floor Space
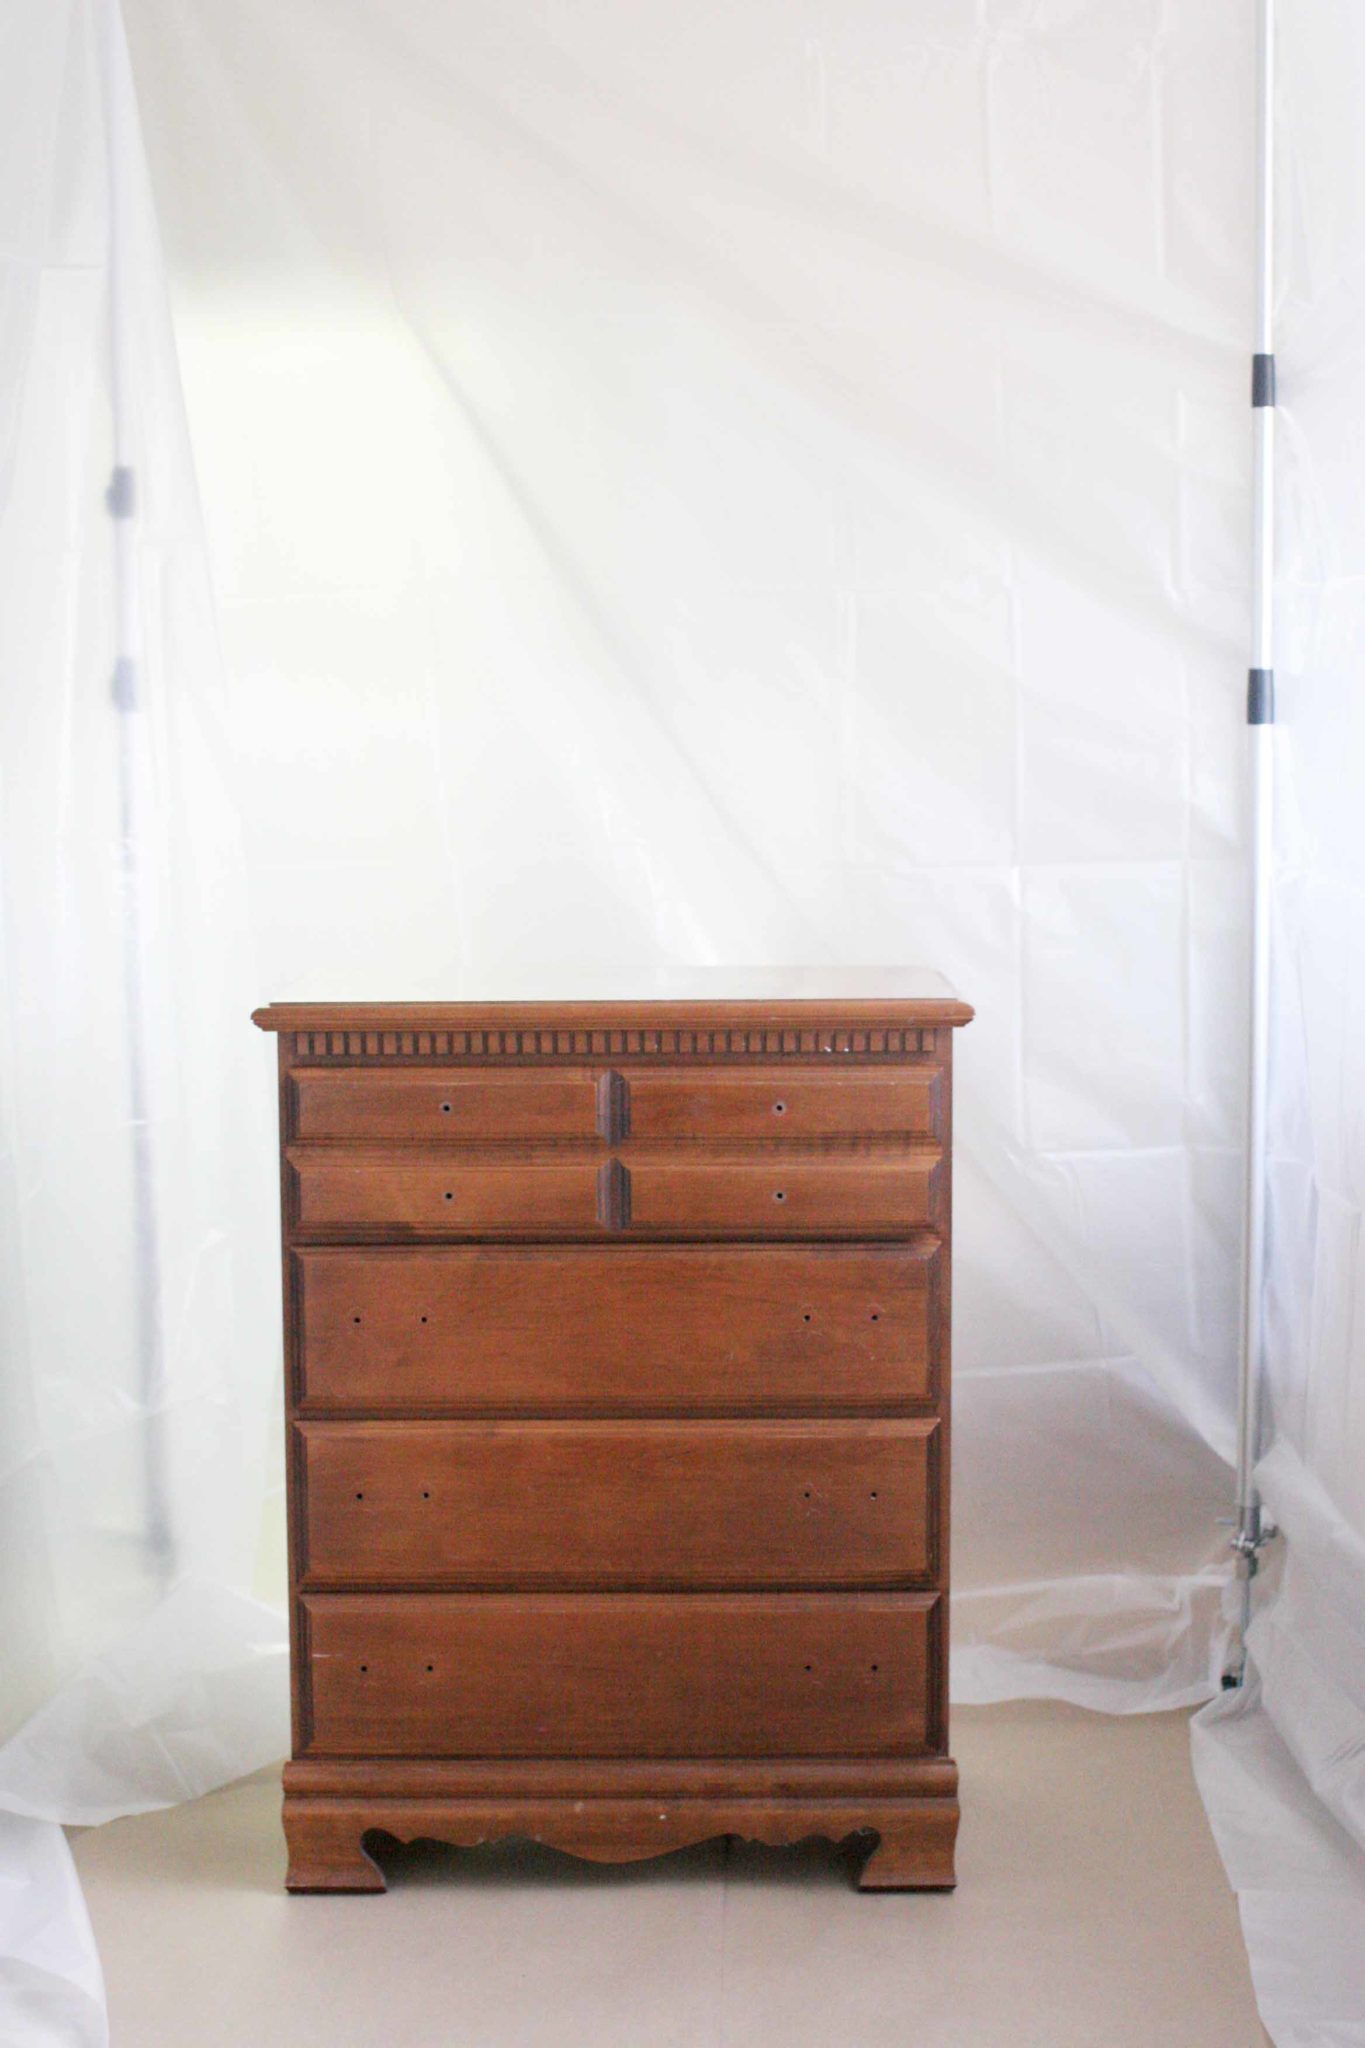
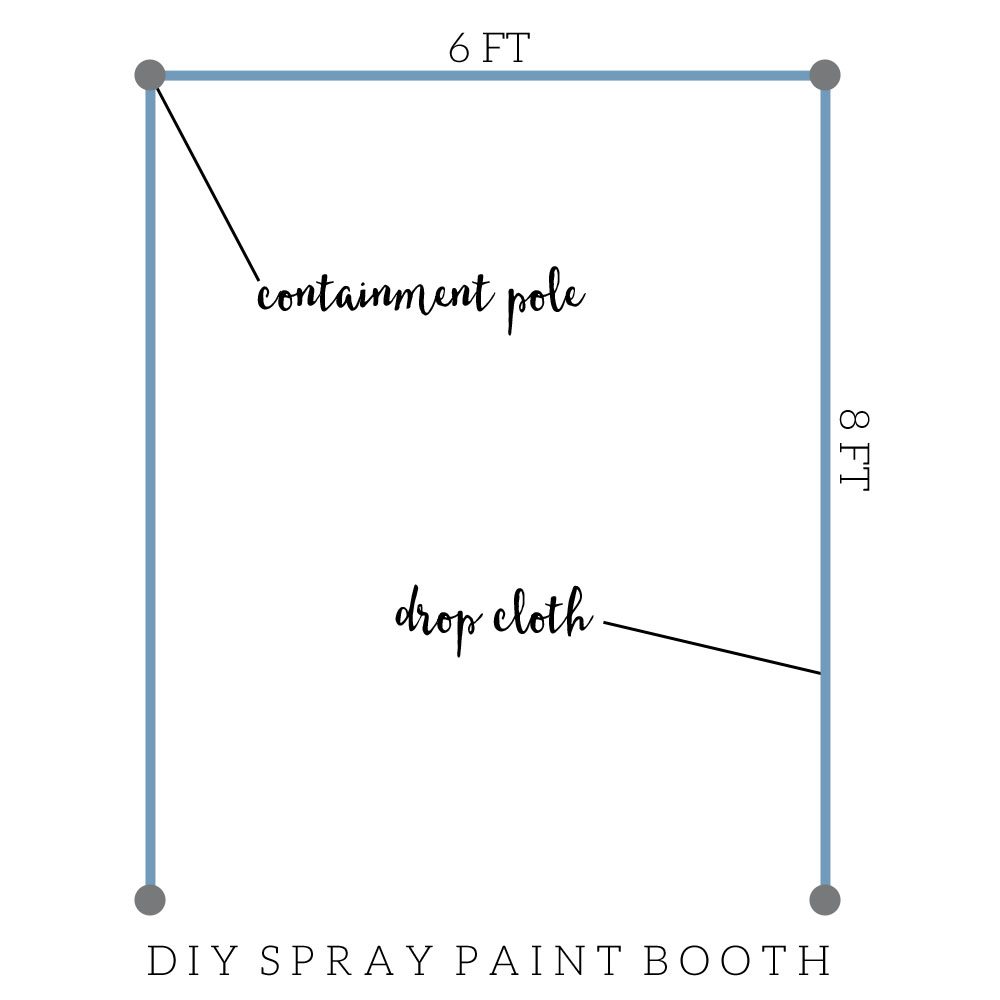
To begin, clear out an approximate 8’x6′ space in the garage. If you need access to open the garage during the project, make sure to set up the booth beyond the track of the door rails. If not, the containment poles — which reach the ceiling — would interfere with the door when raised.
As I mentioned, we’ve got several pieces of furniture to paint. Some are smaller, others are larger, some have drawers, etc. An 8’x6′ space is a suitable indoor spray paint booth size for a variety of projects. The drop cloth is 20′ long, which means it could have made a booth up to 20’x20′.
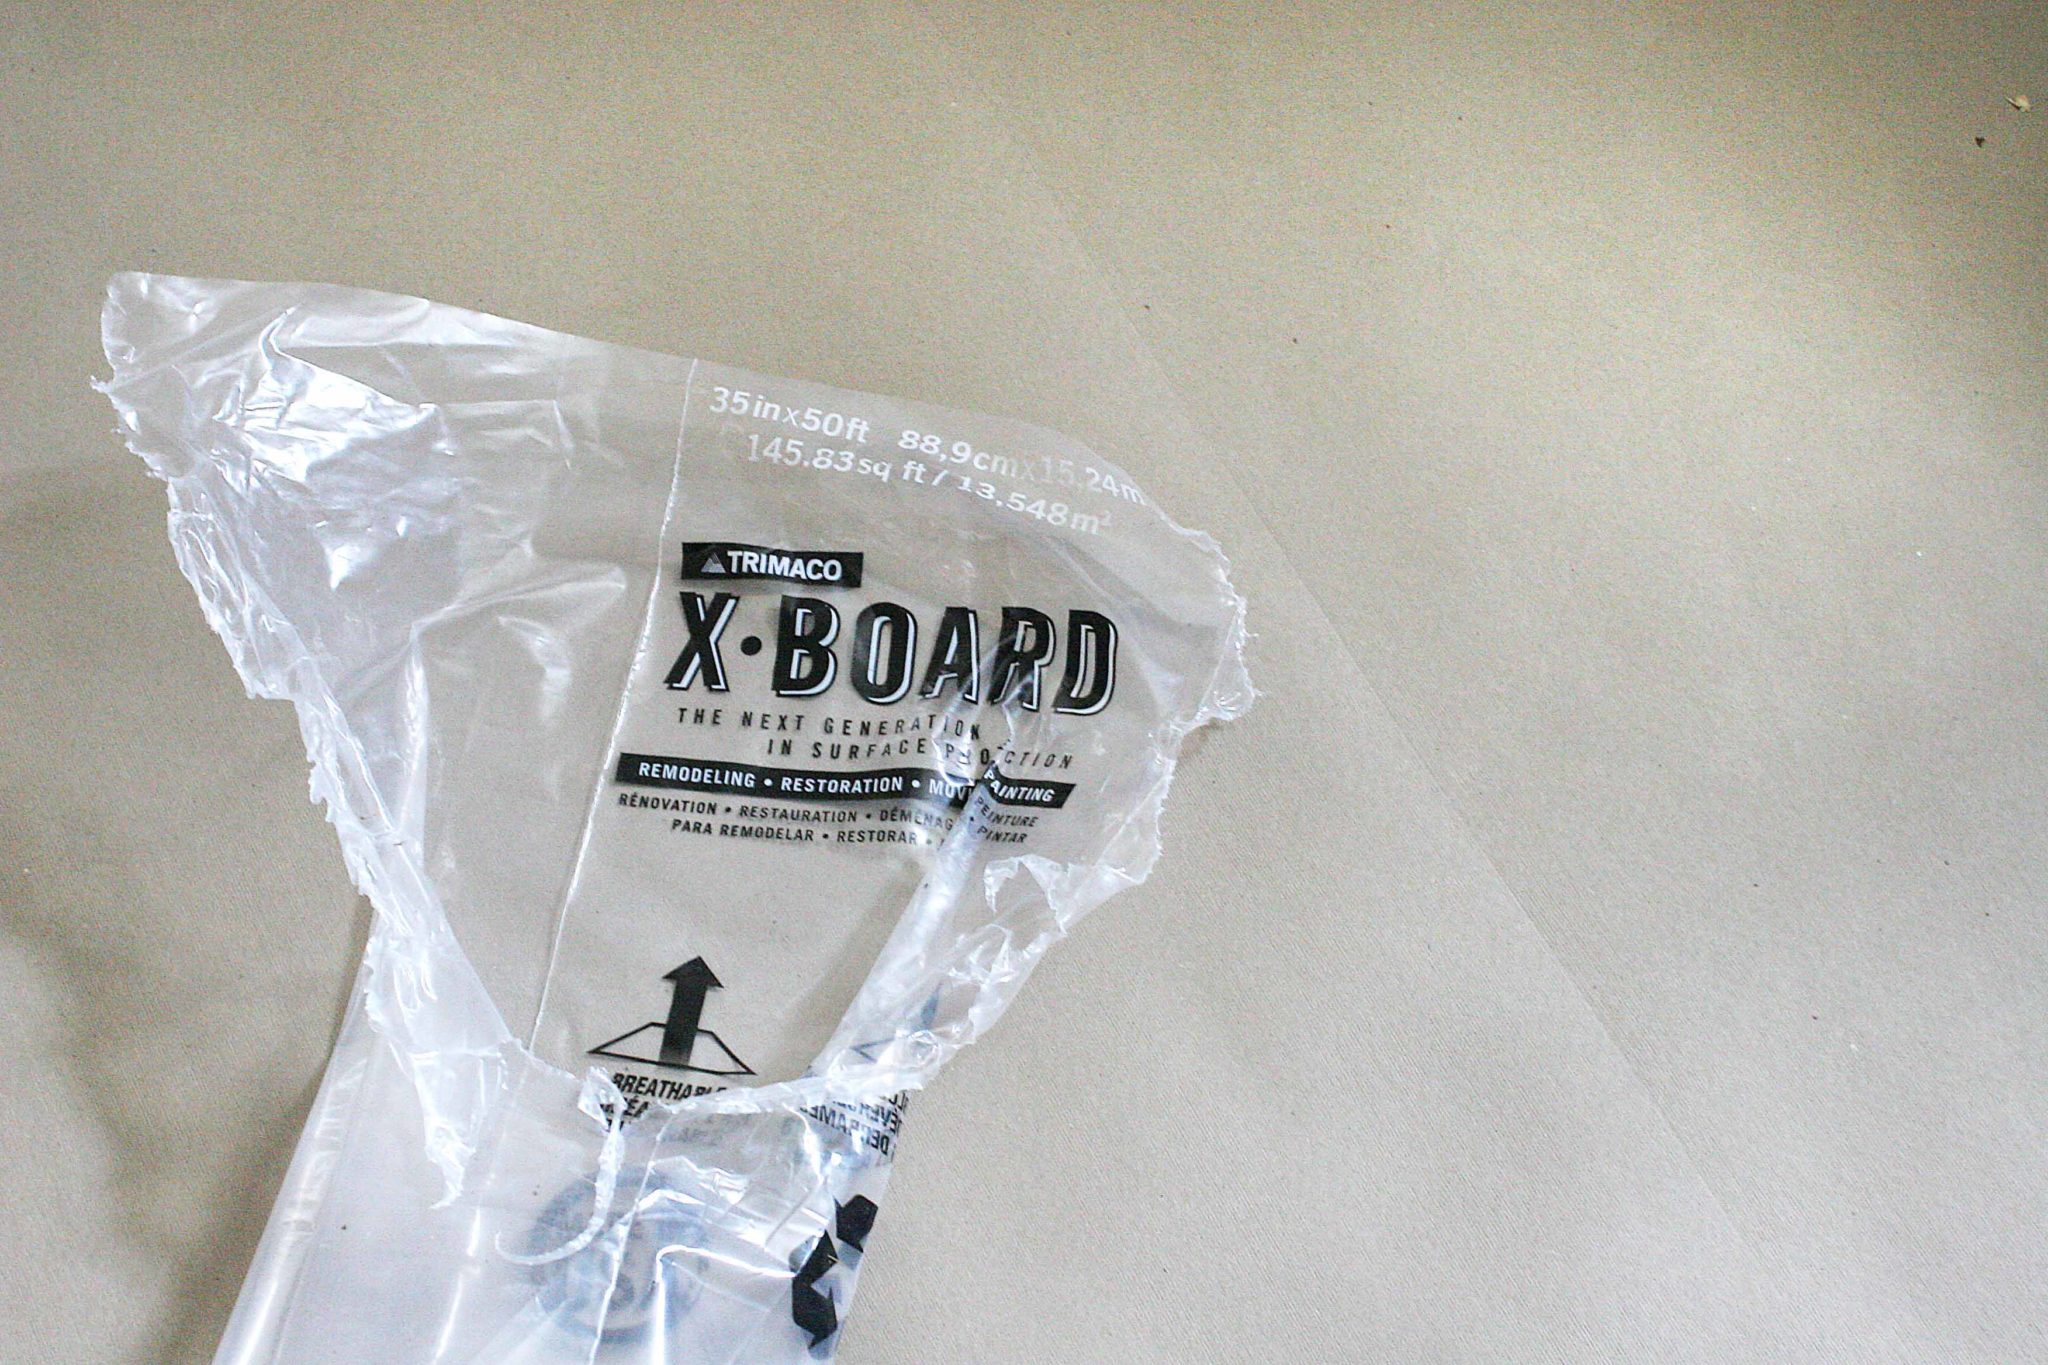
2. Protect the Floor
In order to protect the garage floor and mark the booth space, we laid down X-Board. It’s a lightweight, but heavy-duty, floor covering that repels liquids.

3. Build the Indoor Spray Paint Booth “Walls”
The “walls” of the paint booth are plastic drop cloths.
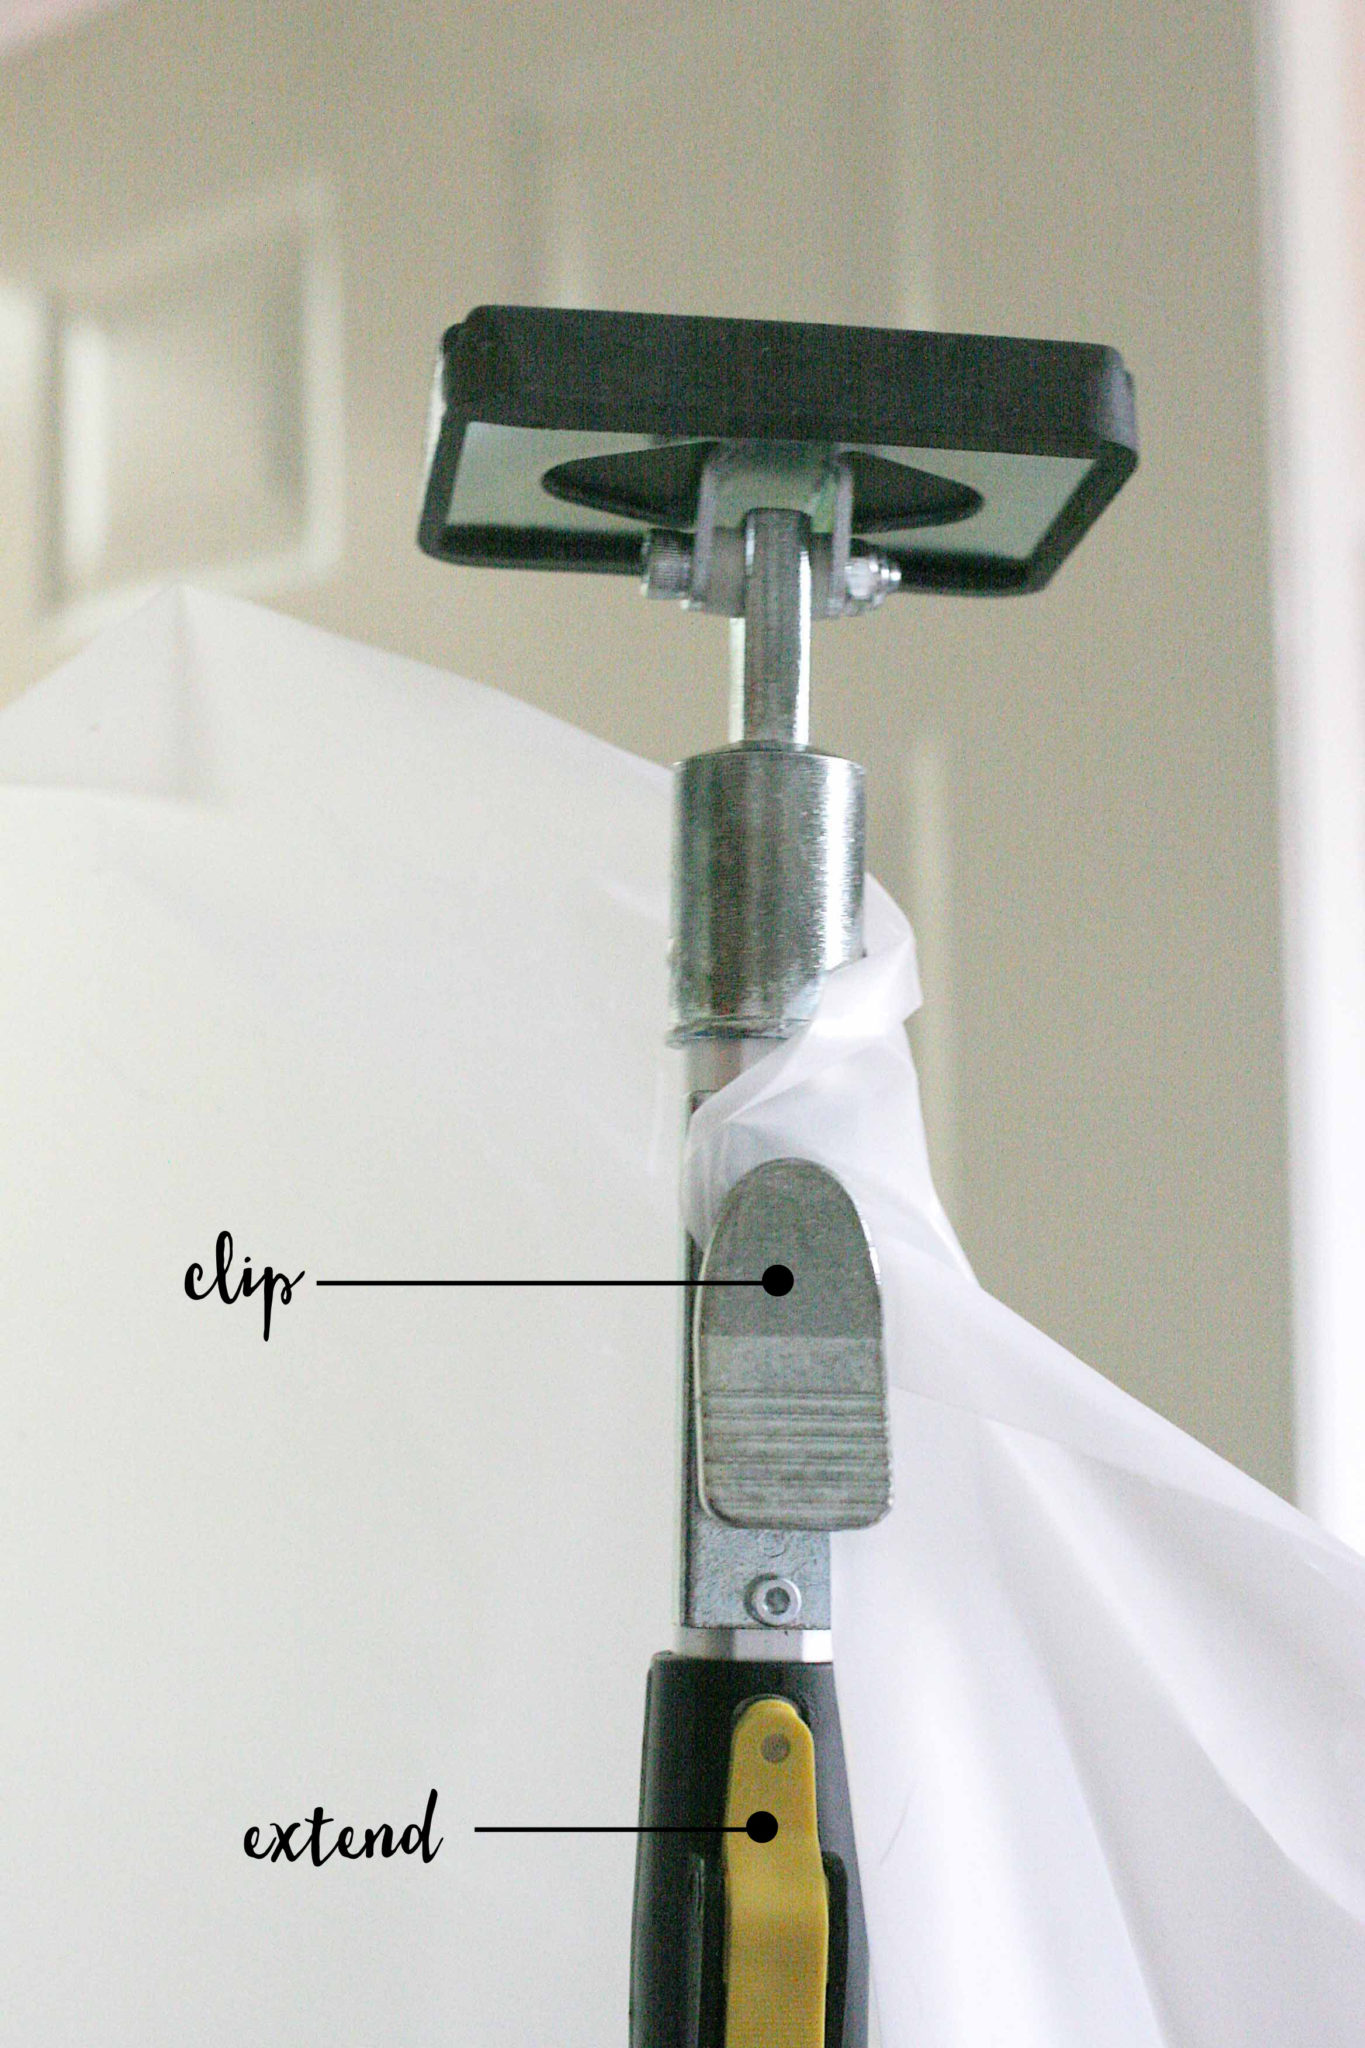
- First, clip the plastic to the top of each containment pole, before extending it to the ceiling.
- Next, the yellow tabs make it easy to extend the pole.
- Once the black pad is near the ceiling, use the foot pedal to tighten the fit.
Setting up the containment poles is a one-person job (guess that is why they are called E-Z Up, right?). I’m a tall 5’1″, but the poles — before extension — are only 5′ 3/4″, which means I can easily reach the clip for the drop cloth.
Note: If you aren’t clear on how to use the poles, watch the video.


Once in place, the containment poles are very sturdy. I’ve been working in the space over the period of several days, pulling back the dropcloth as needed to enter and exit and adjusting the drop cloth at times to access other items in the garage. The poles haven’t budged.
FAQs: Indoor Paint Booth
Q: How do I get furniture into an indoor paint booth?
A: As a visual, the image below shows the booth layout that I chose. It includes two sets of containment poles and two drop cloths. Make sure to consider from which direction you’ll be loading the furniture into the booth.
Q: Should an indoor spray booth have 3 or 4 sides?
A: I left the front of the booth open, but it can easily be closed. If you close off the entire booth, use one of the corners (at the poles) where the two drop cloths meet as the entrance and exit point.
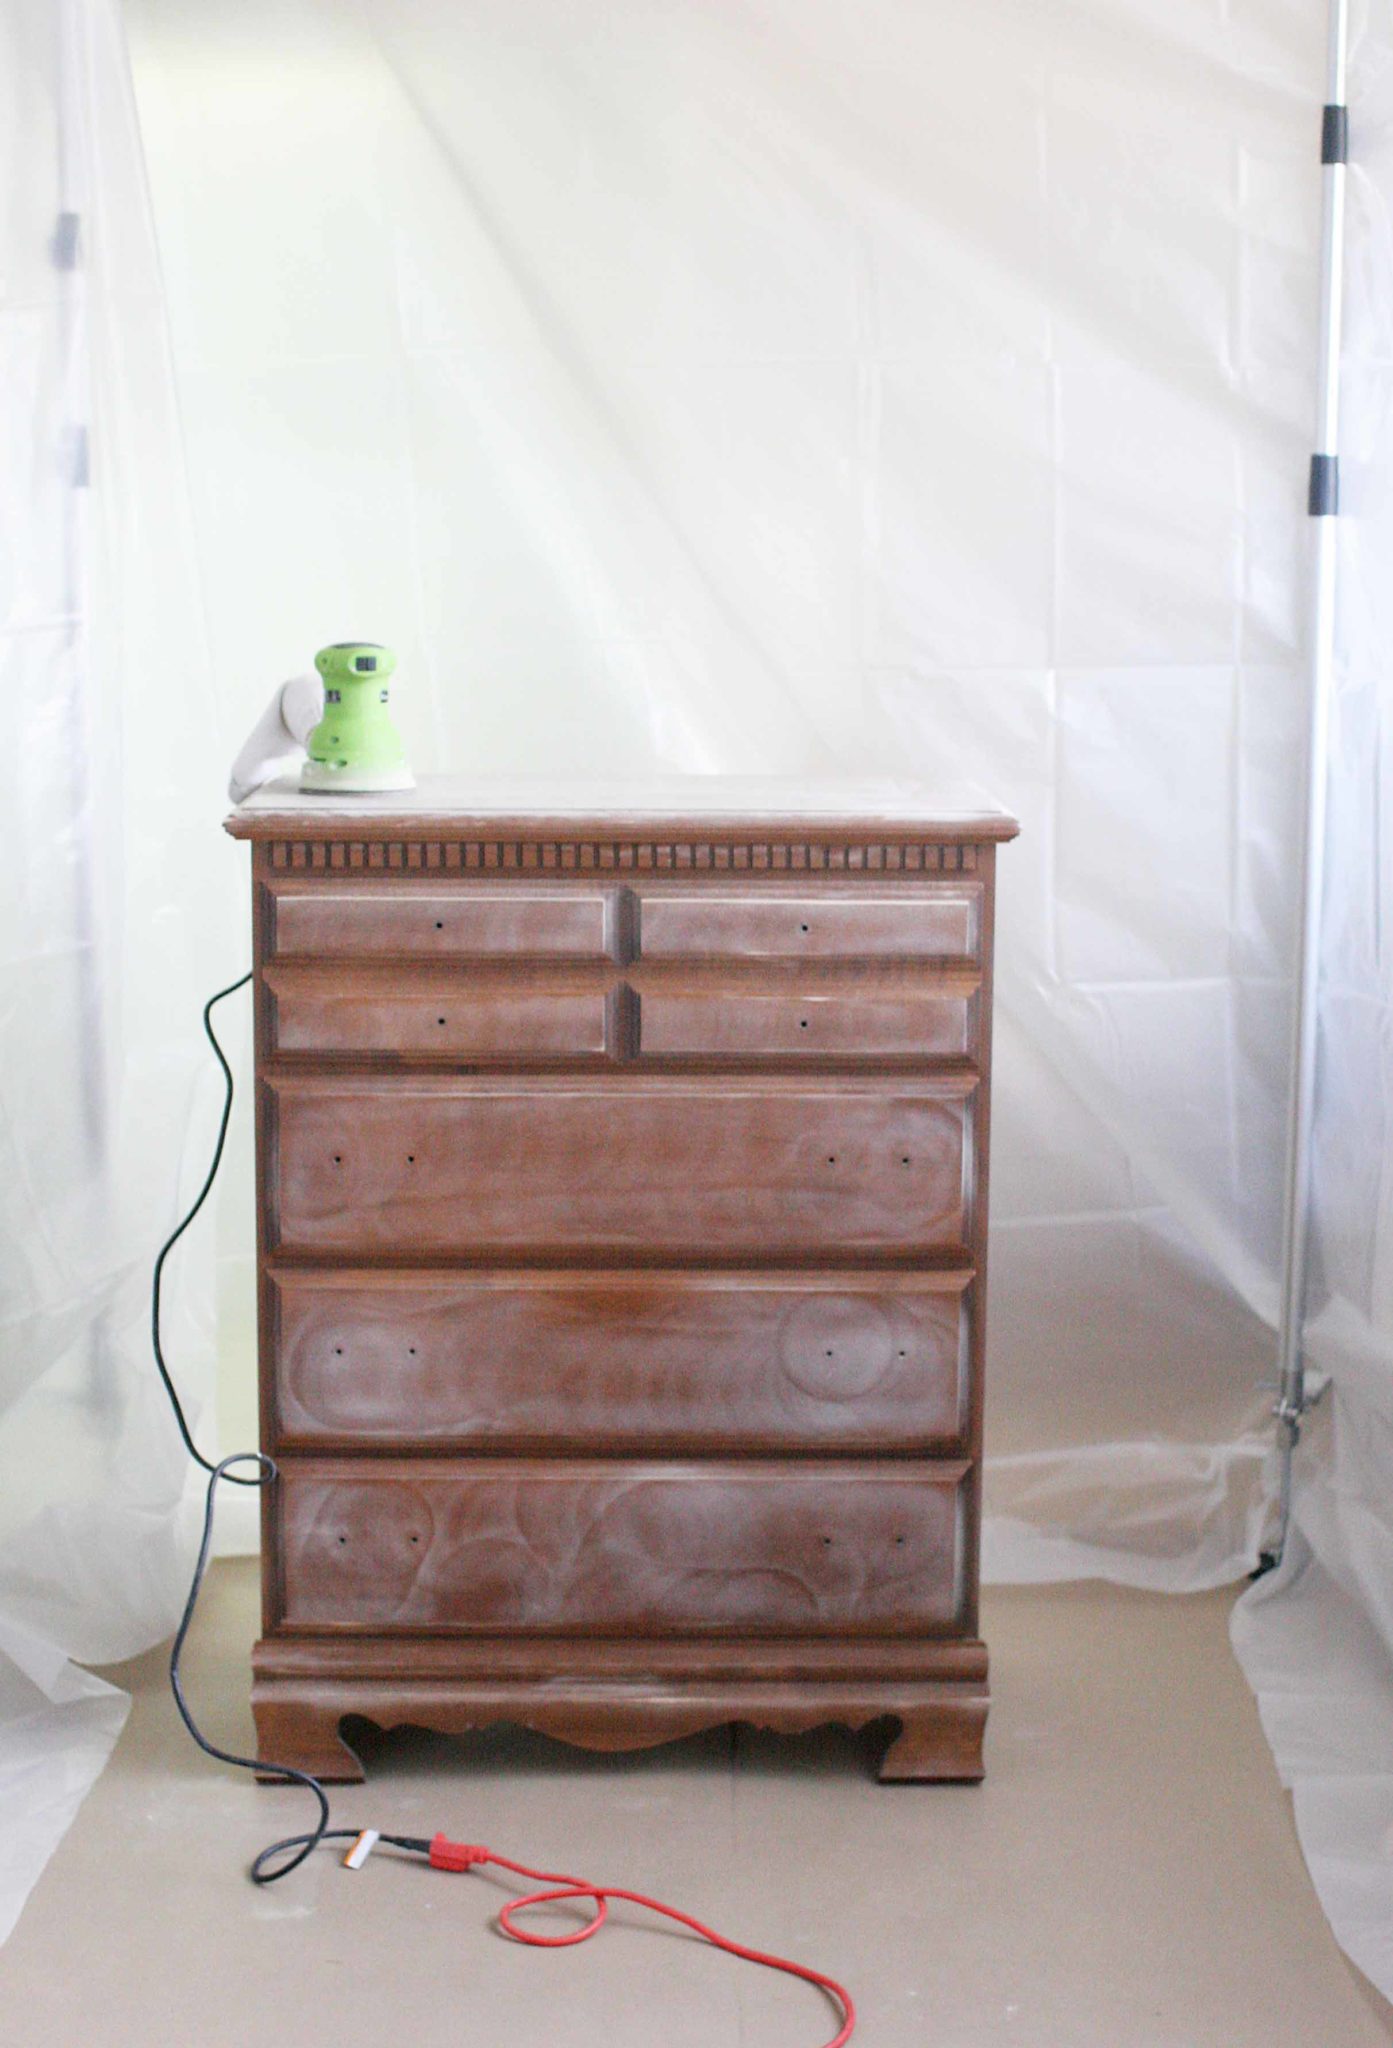
Q: Will the booth contain the paint overspray?
A: Yes! Both painting overspray and dust from sanding are easily contained within the booth.
DIY Indoor Spray Paint Booth: Project Ideas
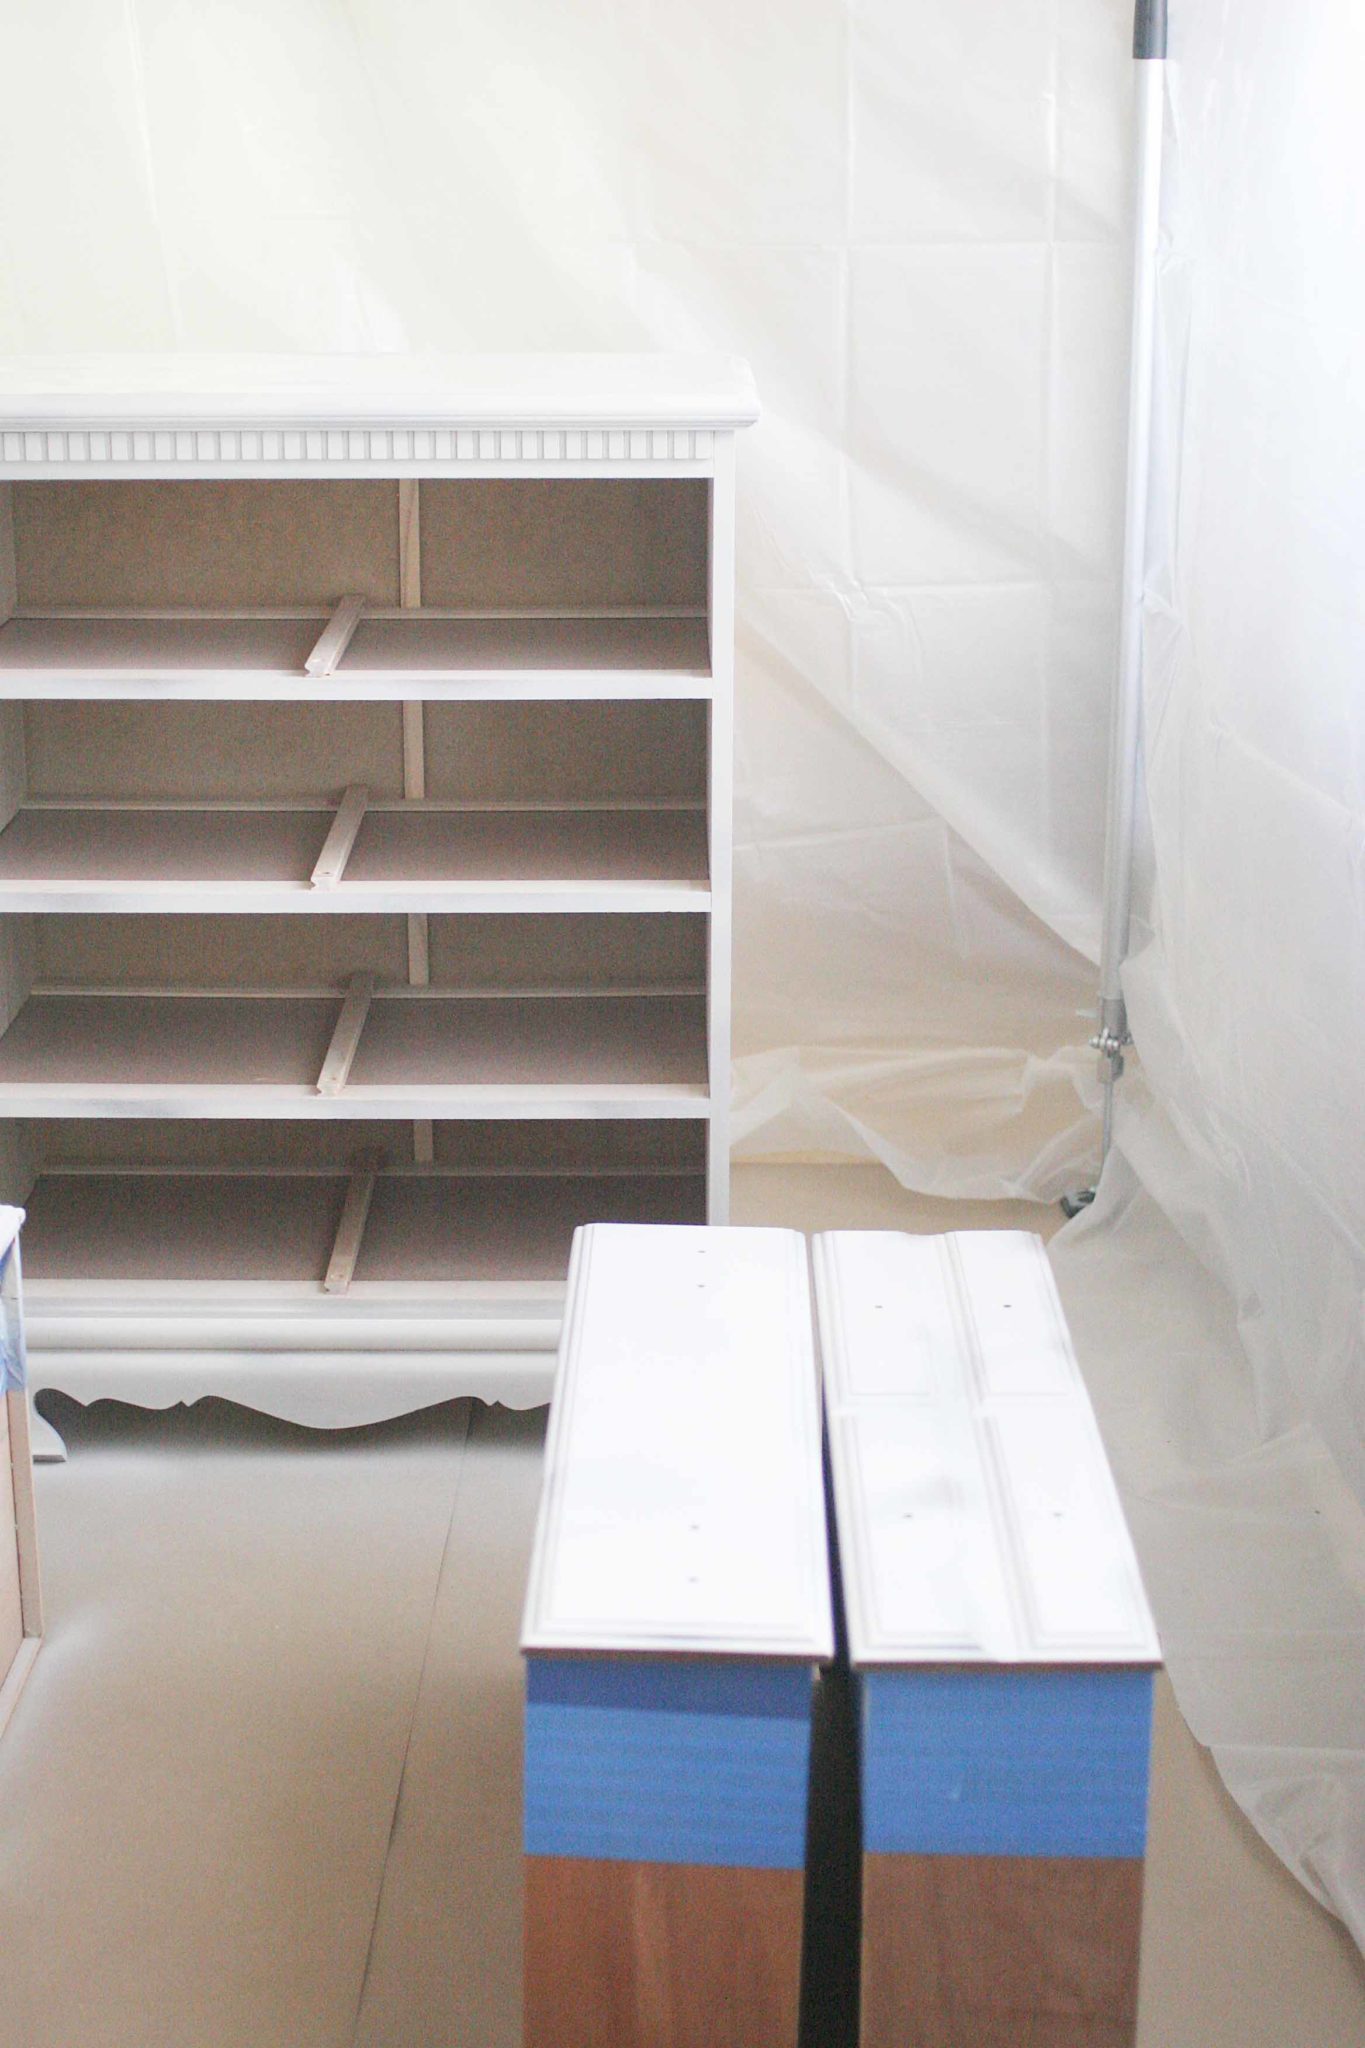
- Furniture: Since an indoor paint booth can be so big, you can work on both the piece of furniture and it’s drawers or doors. For example, I could pull out the drawers to work on while also painting the chest.
- Renovation: Imagine how much easier it would be to paint kitchen cabinets with a spray booth like this? Bring all the cabinet doors and drawers into the booth – and spray them all at once! Yes, please!
- Art and Home Decor: Just because the spray paint booth can be large, doesn’t mean it’s only suitable for small projects. Spray a large group of frames for a coordinating gallery wall, for example.

DIY Spray Paint Booth: Safety
When you are working in the spray tent, don’t forget to take proper safety precautions. I wore safety glasses and a dust mask while sanding and spraying the furniture. Opening the garage door slightly provided ventilation to the room.
Trimaco offers a variety of safety products, too. When setting up the spray paint booth, make sure to protect yourself — not just the floor and walls.
Spray Paint Indoors
My spray paint fears are officially gone. In fact, I could paint all the things right now. Hold me back. Kidding… sort of. Next up is a tall bookcase in our sunroom. As soon as I settle on a color, it will be heading to the garage.
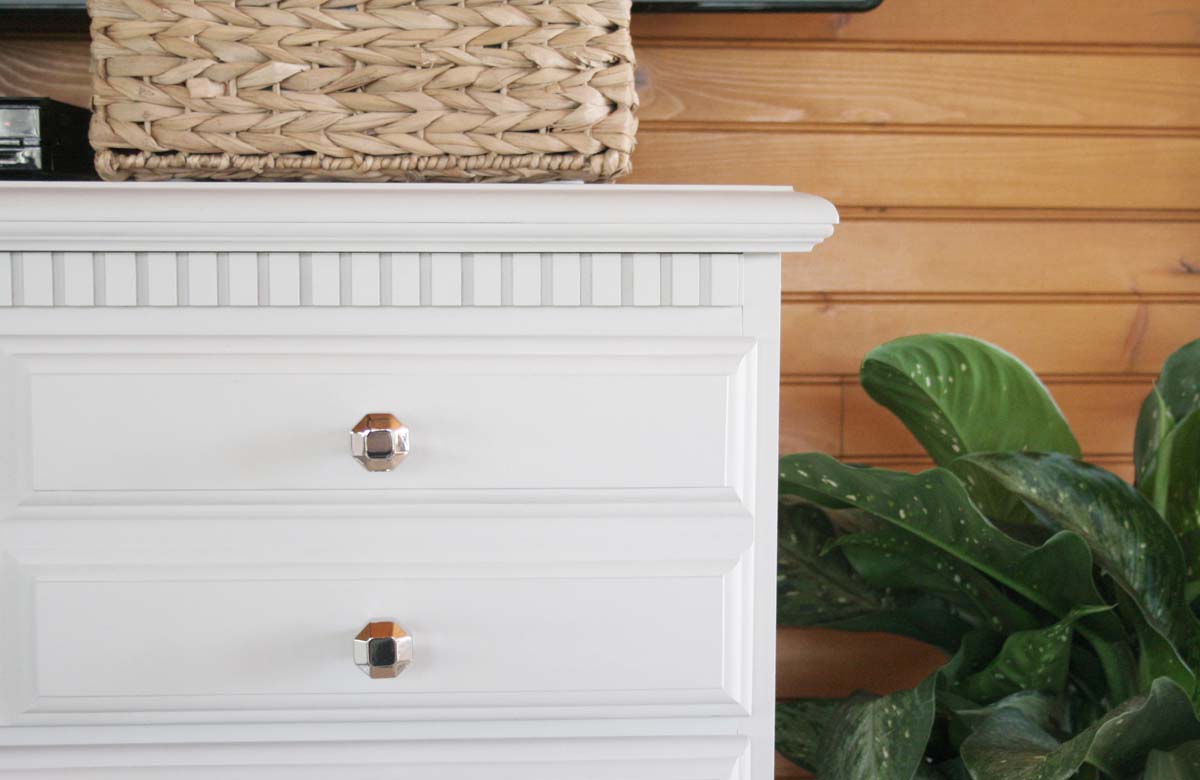
Would you like to see the finished project? Click here to see the full vintage dresser makeover, before and after, along with tips for how to choose a great second-hand dresser.


How to Build a DIY Indoor Spray Paint Booth
Learn how to build an easy indoor paint booth. With a DIY Indoor Spray Paint Booth, you can spray paint indoors.
Instructions
- Clear floor space to prep for the indoor spray booth.
- Protect the floor with a heavy duty, water resistant floor covering, such as X-Board.
- Open 2 sheets of plastic drop cloth.
- Clip the corners of each plastic drop cloth to the top of the first containment pole.
- Press the yellow tab on the E-Z up containment pole to extend the pole toward the ceiling.
- Once the black pad is near the ceiling, use the foot pedal to tighten the fit.
- Repeat steps 4-7 until 4 containment poles are in place, creating a square/rectangle booth.
Notes
The required number of plastic drop cloths will depend on the size of drop cloths and the size of the paint booth. For example, a paint booth with 5' sides would require 15' of drop cloth (if the paint booth has 1 open side) or 20' of drop cloth (if the paint booth does not have an open side).
Furniture Makeovers
- How to Refinish a Vintage Dresser
- Farmhouse Chair Makeover
- How to Easily Distress with Chalk Paint
- 13 Grey Furniture Makeovers + Paint Colors
If you liked this DIY project, you might also like:
- How to Install a Faux Brick Backsplash
- Board and Batten Tutorial for Small Spaces
- How to Paint a Brick Fireplace

Jess
Saturday 7th of December 2019
This is great, but what about fumes? If you don't have a paint sprayer and you're using store bought spray paints, is it safe to use this (using regular precautions, eg disposable 3m respirator mask etc, closing it up, opening windows, running fan, closing the room)? Still seems risky... do you have any suggestions for those of us who don't have a latex spray paint machine and still want to get use those enamel based paints off season (like for plastics, really no alternative...).
Thanks!
Lora Green
Monday 16th of December 2019
That is a great question, Jess! I can't say for certain what is safe or not, as I'm not a doctor. I can simply speak to what I've tried myself. I have spray painted (with a can) small items in my garage before, but not large items. So, the only other suggestion I'd add is to limit the amount of time spraying. This is likely easier with a paint sprayer than a spray paint can. But, for example, I walk in the garage, spray a coat with my paint sprayer, and then get out. Spraying 1 coat, even on a large piece of furniture, is fast (maybe 15 minutes at most?). So, I leave the garage door open/cracked for ventilation while it dries and I'm not in there for extended periods. Of course, less time would be better for a spray paint can, too. Unfortunately, spray paint cans are slower in the application than a paint sprayer. Wearing the proper protective equipment, ventilation, and keeping the time exposed to the fumes at a minimum are always good ideas.
Sarah
Wednesday 29th of March 2017
this is amazing Lora! Allows you to spray paint in any season since you can do it in your garage without making a gigantic mess!
craftivitydesigns@gmail.com
Wednesday 5th of April 2017
Yes, it's sooooo handy!
Kelly @ North Country Nest
Tuesday 28th of March 2017
This is SO cool. I usually just go in our basement where it doesn't matter if I paint the floor. However, it would be so great to not have to haul furniture up and down the stairs to paint. Fantastic idea! Best, Kelly
craftivitydesigns@gmail.com
Wednesday 5th of April 2017
Yep! Bring it straight in from the thrift store, haha!!
Colette @ restyle it wright
Sunday 26th of March 2017
This is awesome Lora! We always end up using blue painters tape and those plastic tarps but these poles are AMAZING! Such a creative use for them too! I hate spray painting too - it never goes as smooth as I want! Yours turned out great!
craftivitydesigns@gmail.com
Wednesday 5th of April 2017
So so easy to use. WAY faster than painters tape, too!
zan
Friday 24th of March 2017
I love the smooth look of spray paint because I am all for a modern look. I recently spray painted a few things of smaller size and I agree with you about the worry about things getting messed up. This is such a great idea to have something like this all set up. I like that you can use it for projects big or small even though it is made for room renovations!! Also, glad you are confident to finally have a way to paint the things in your home.
craftivitydesigns@gmail.com
Wednesday 5th of April 2017
Yes, it's very versatile!!