Learn how to make a set of personalized marshmallow sticks. This quick and affordable craft makes a great gift for him. Plus, make a nearly no-sew carrying bag to tote the smores sticks.
Y’all know that I love anything personalized (coasters, cord wraps, recipe boxes, photo holders…), so it just seems fitting to have personalized marshmallow sticks for summer bonfires. This simple craft can be completed in minutes and makes a thoughtful, customized gift.

Plus, make a DIY carrying bag to kick it up a notch. Though the carrying back is a bit more time consuming, it’s nearly no-sew (only a tiny bit of embroidery is required) and you may already have the supplies in your fabric stash.
Supplies Needed
Marshmallow Sticks
Carrying Bag
- canvas fabric (or a drop cloth)
- scrap leather
- rotary cutter
- self-healing mat
- iron-on hem tape
- iron and ironing board
- scrap leather
- embroidery thread
- embroidery needle
How to Make Personalized Marshmallow Sticks
- First, attach the desired letter to the woodburning tool.


- Next, plug in the woodburning tool and allow it to heat up.
- Once hot, place the letter on the wood handle for 5-10 seconds.
Note: You may need to slowly roll the letter to the left and right in order to burn a curved handle.


- Next, lift the woodburning tool and check the burn. Is it dark enough? If not, press it back against the wood another 5-10 seconds.
- Repeat steps 3 and 4 until you have reached the desired color.


How to Make a DIY Carrying Bag for Smores Sticks
- First, measure the length of the marshmallow sticks.
- Cut the canvas fabric (or drop cloth) 14 inches wide. The length of the fabric should be 2 inches shorter than the total length of the marshmallow sticks.
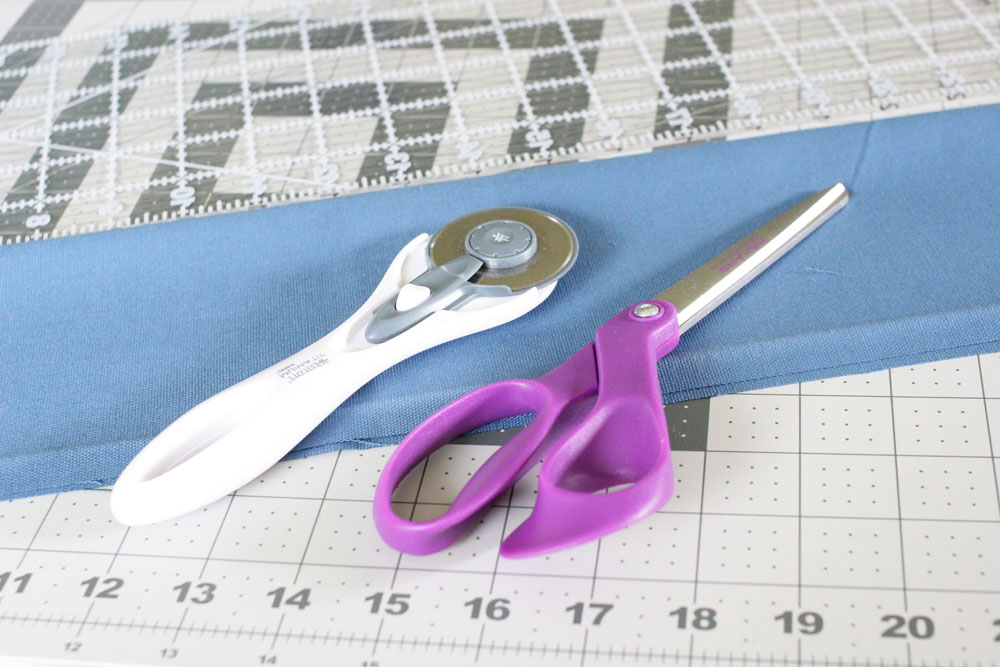

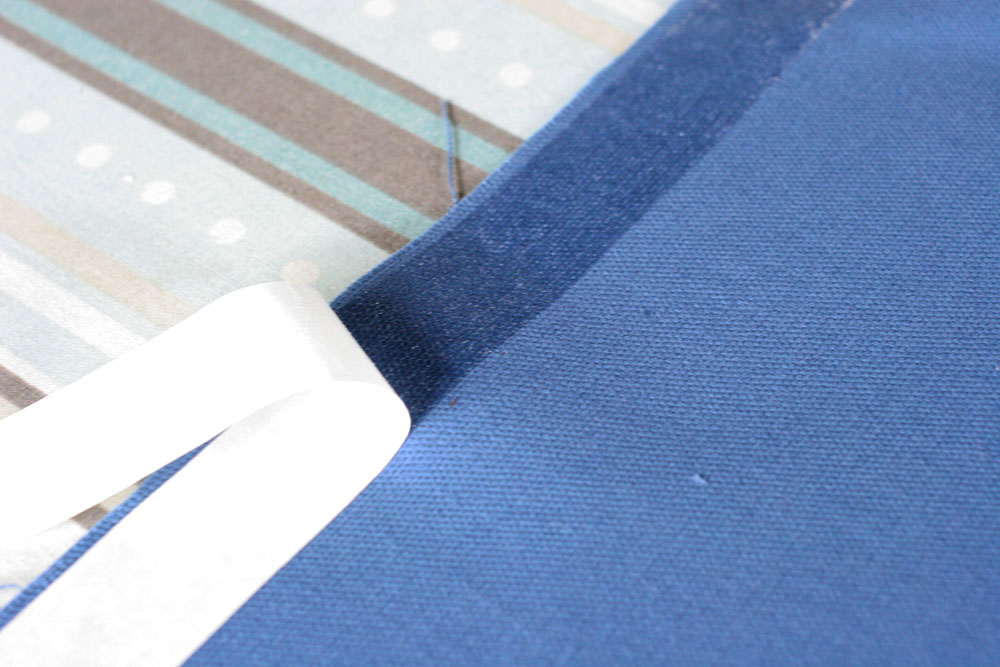
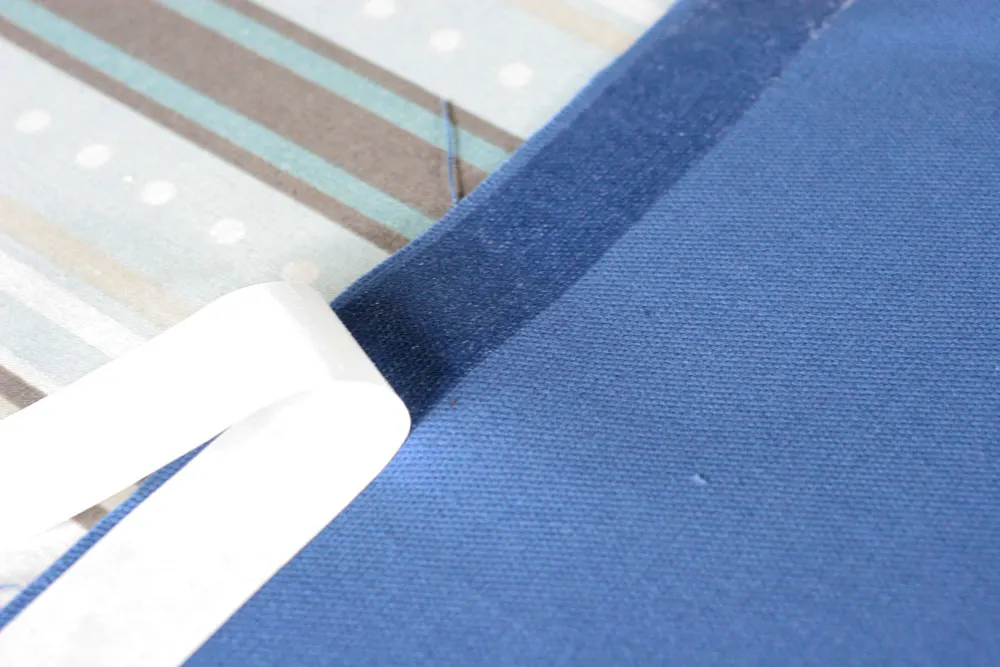
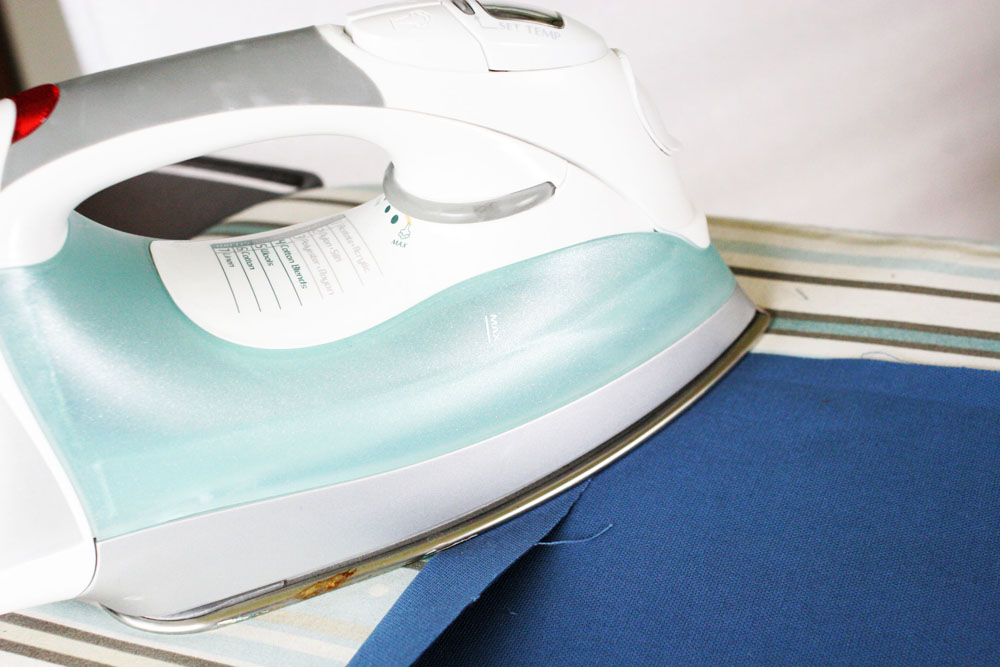
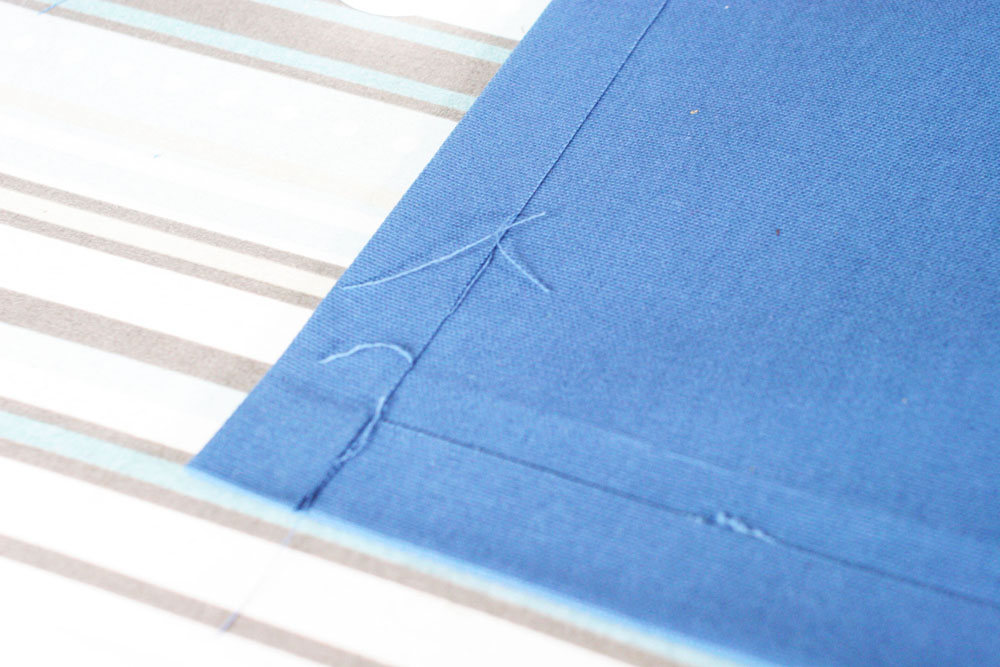
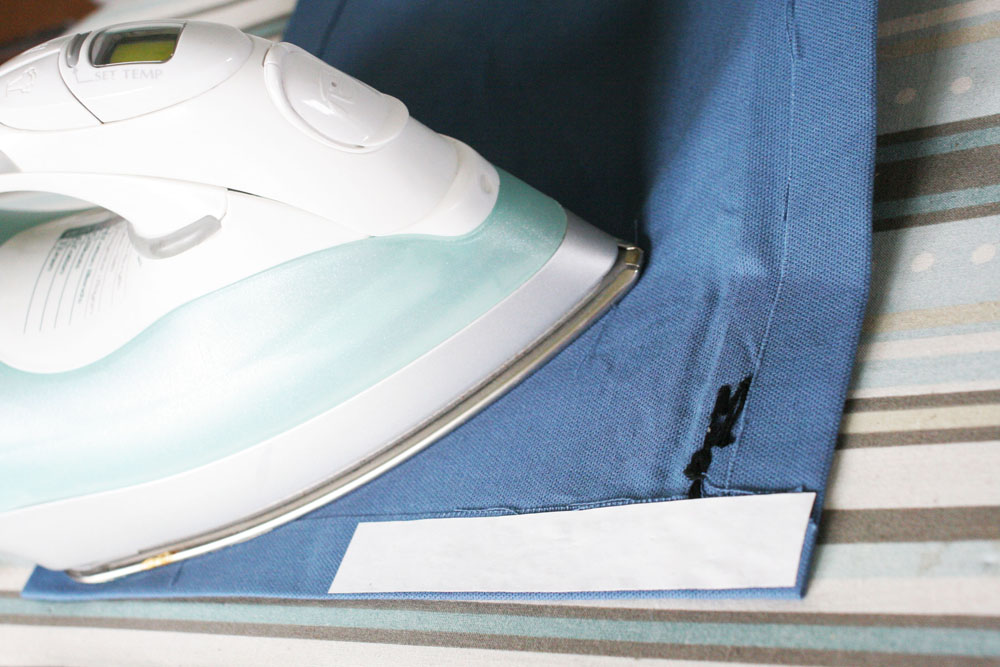
- Next, fold and iron a 1″ seam along the edges of the fabric.
- Secure the seams with iron-on hem tape (follow the directions on the package).


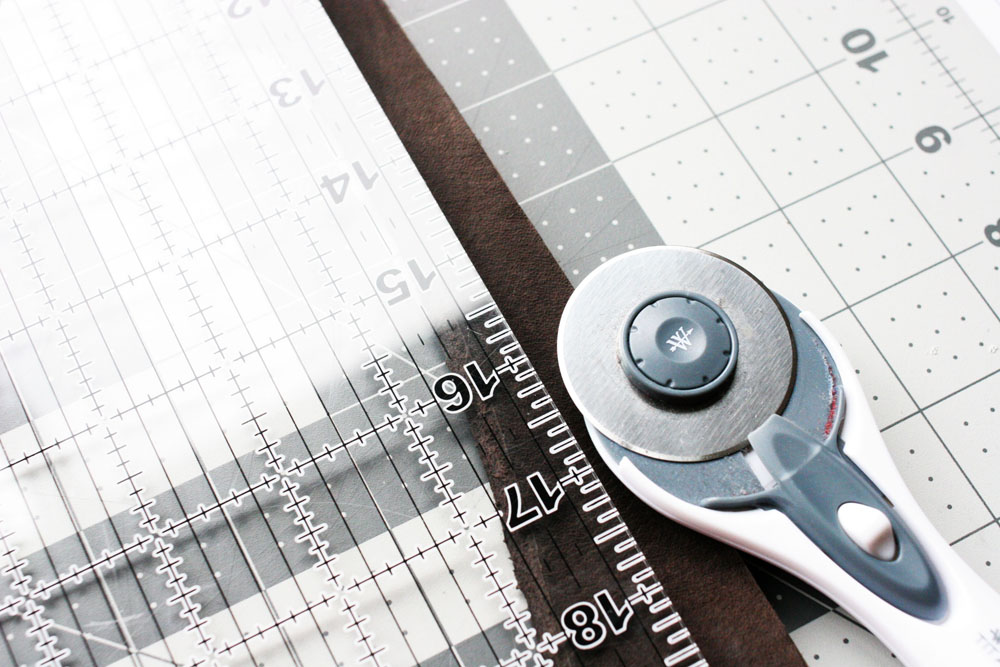
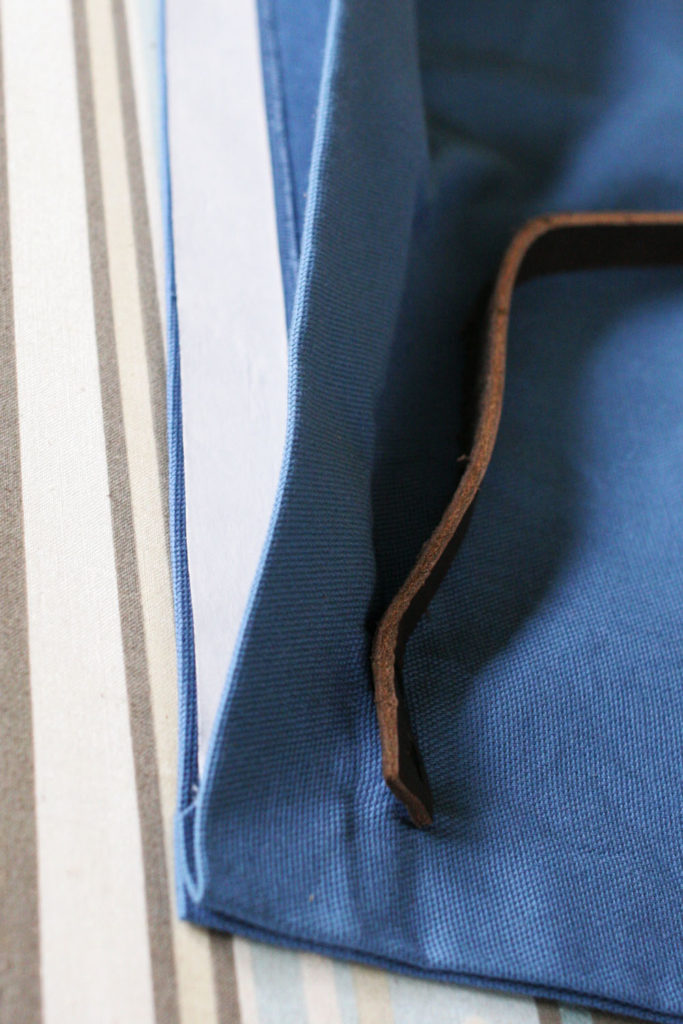
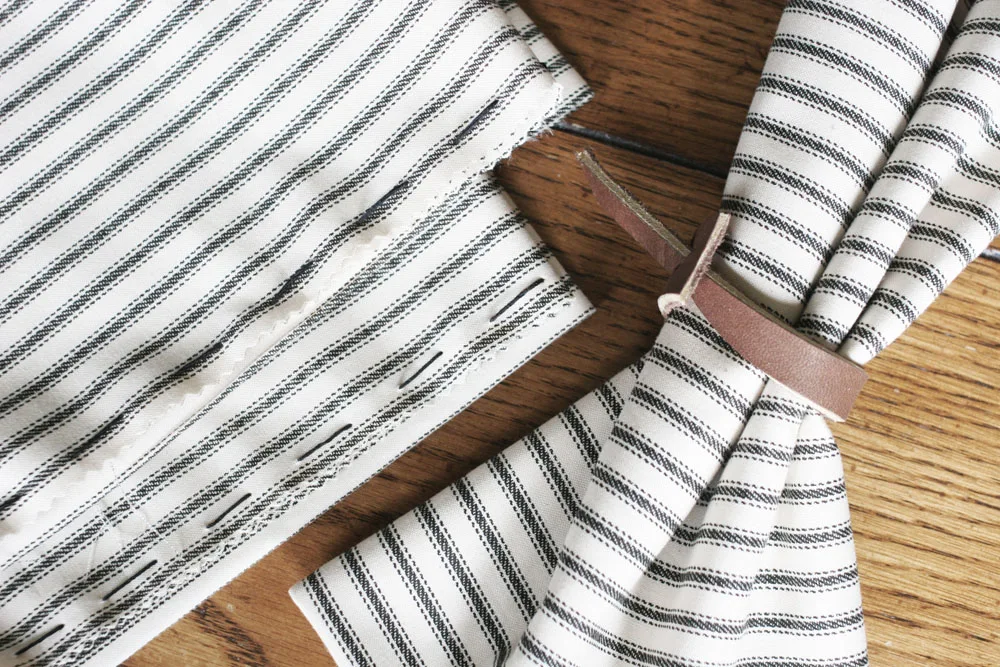
- Once hemmed along all 4 sides, cut a strip of scrap leather approximately 1/2 inch x 25 inches.

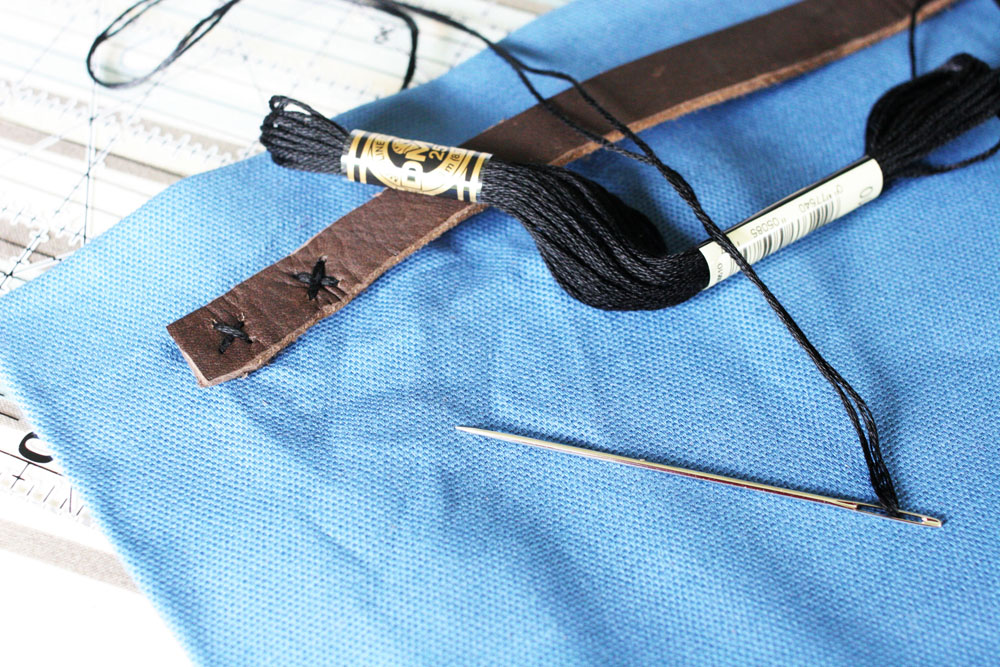
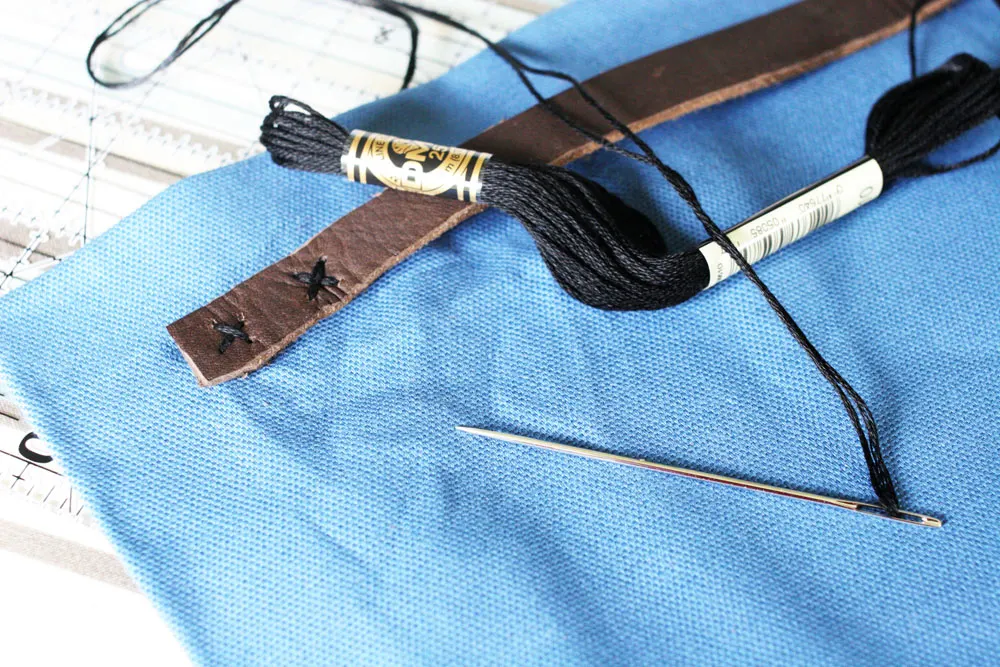
- Attach the leather strap to either long edge of the fabric using embroidery thread. I embroidered five Xs at three points along the strap.
Note: This photo shows the strap next to the inside of the hem, but I ended up moving it to the outside edge of the hem.
- Use hem tape to fold and sew one of the short edges of the fabric.

- Use hem tape to attach the long edges of the fabric.


Host a Bonfire Party (put those marshmallow sticks to good use!)
Now, host a bonfire party — or just grab the kids for a special after dinner dessert — but use your new set of personalized marshmallow sticks! They are no good if these stylish sticks aren’t motivating you to roast tasty marshmallows, right?!
If you host a party, invite your neighbors, or family and friends, with a free printable bonfire invitation. (And P.S. you don’t actually have to print a printable — just send a digital invite! Keep it simple.)
Here’s to a fun-filled summer, filled with cool(er) evenings, gathered around a bonfire.
Do you like this personalized marshmallow sticks project? Pin it!

If you like this woodburning and leather craft project, you might also like:

Learn how to make a modern photo holder.

Learn how to make personalized leather phone cord wraps.

Learn how to make simple leather napkin rings.