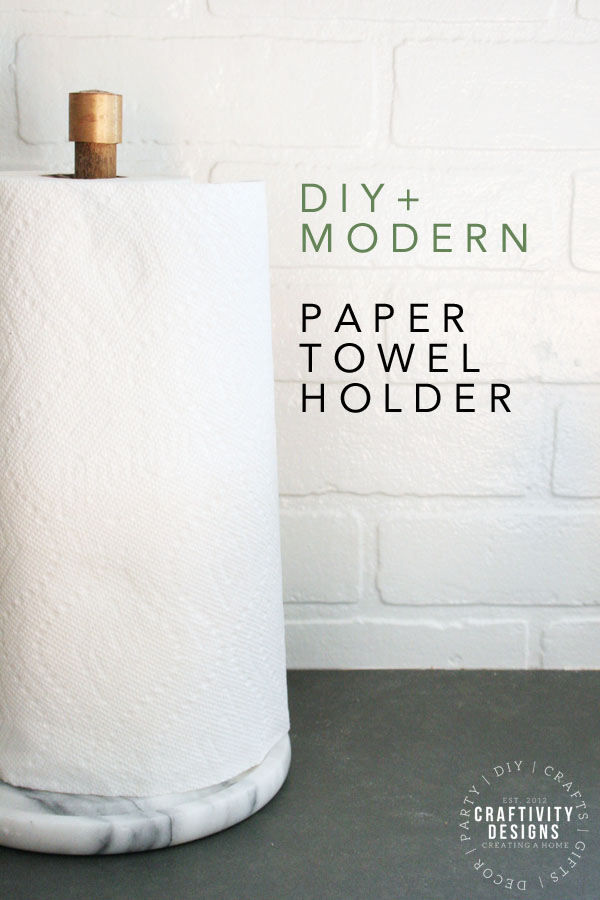
Learn how to make an easy, modern, DIY paper towel holder! This Brass and Marble Paper Towel Holder looks so stylish, and it’s incredibly simple to make.
Before we sold our last home, we broke our paper towel holder. In lieu of replacing, we glued it back together until we moved. Not knowing what our new kitchen would look like, I wanted to wait and buy something that fit the new home’s style. Turns out, another broken kitchen item lead to the creation of a DIY Paper Towel Holder for our modern cottage kitchen.
What kitchen item was it? The glass dome from a marble cheese board set didn’t make it through the move. Shattered into pieces, the dome was trash, but I kept the marble (because… marble, right?! that stuff is expensive). It was a thrift-store find, and likely cost me less than $15, originally.
A Modern Paper Towel Holder
Having months over a year (yes, it took that long to sell our house) to think about paper towel dispensers, I had a pretty good idea of what I wanted. Something modern, which blended into the aesthetics of our kitchen. Enter –> our broken cheese dome.
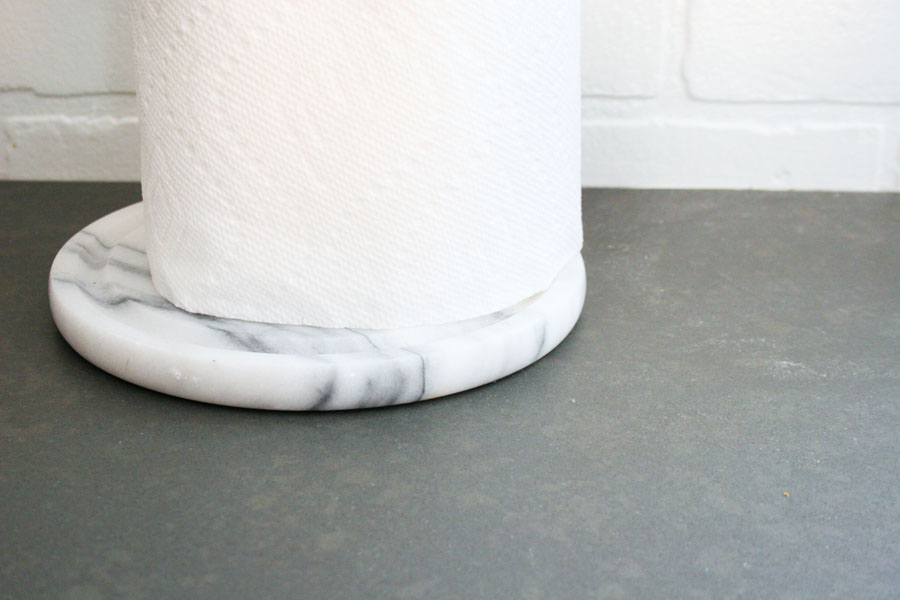
It was a perfect choice. Just the right size. Heavy, as a base, so it won’t tip over. A trendy and classic material. With a marble base in hand, I just needed to pull together the remaining pieces of a modern paper towel holder.
P.S. If you aren’t into making your own, check out this list of 5 Marble Paper Towel Holders for a modern kitchen.
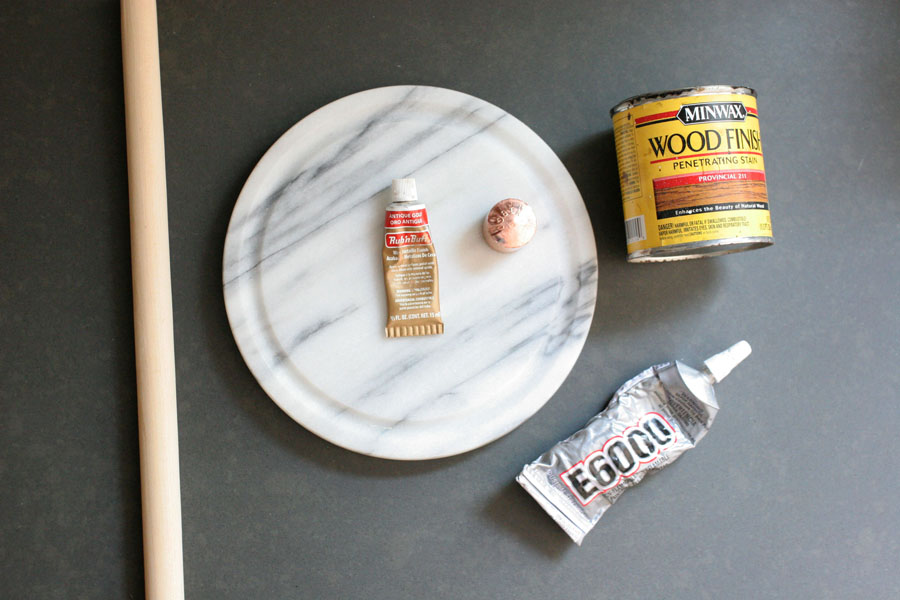
Supplies Needed
- 7.5″ marble base of a cheese dome set
- 3/4″ diameter x 12″ long wood dowel rod
- minwax provincial stain
- paper towel
- 3/4″ copper pipe cap
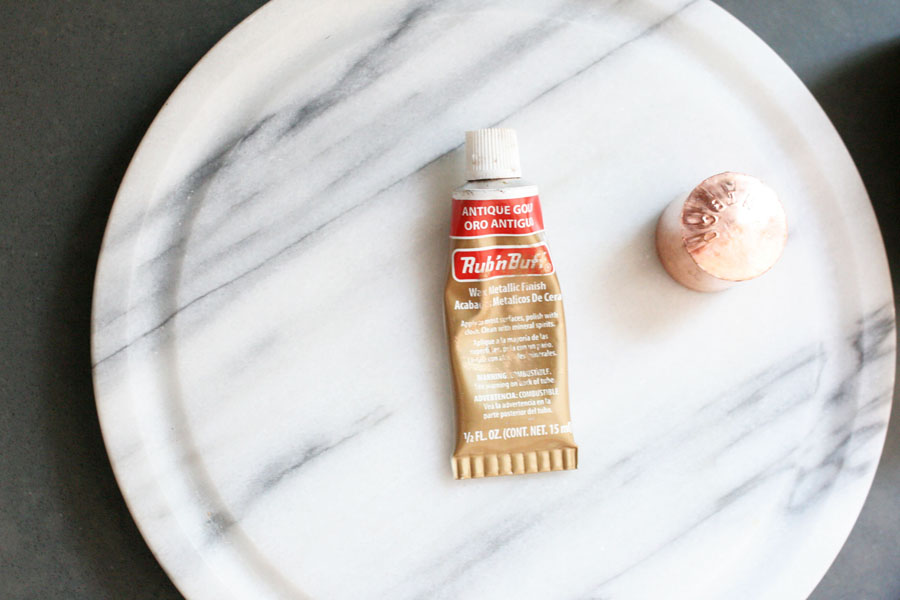
- rub n’ buff in antique gold
- measuring tape
- pencil
- E6000 glue
How to Make a DIY Paper Towel Holder
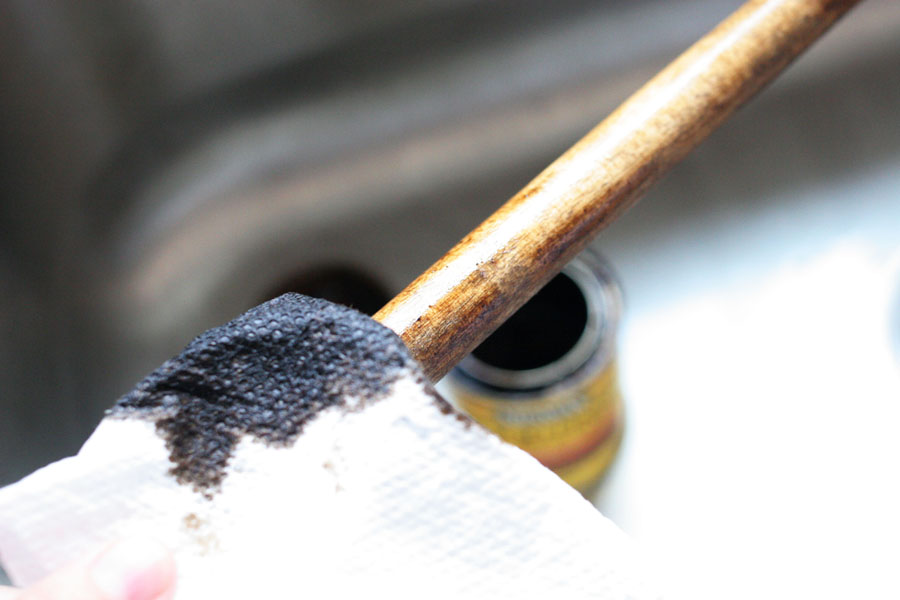
1. First, apply stain to a 3/4″ x 12″ wood dowel rod with a paper towel. The color that I used is provincial by minwax because I had it leftover from other projects (such as our faux weathered wood shelves and rustic baskets). Set aside the wood dowel to dry.
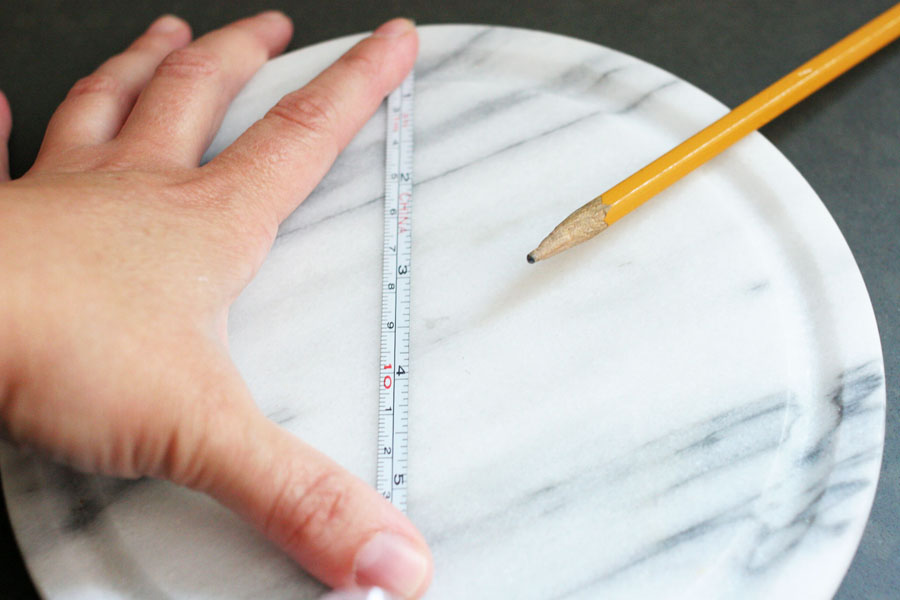
2. While drying, mark the center of the marble base with a pencil.
3. Once the stain is dry, apply E6000 glue at the pencil mark. Place the dowel in the glue, and hold in place for a few minutes, per the E6000 package directions.
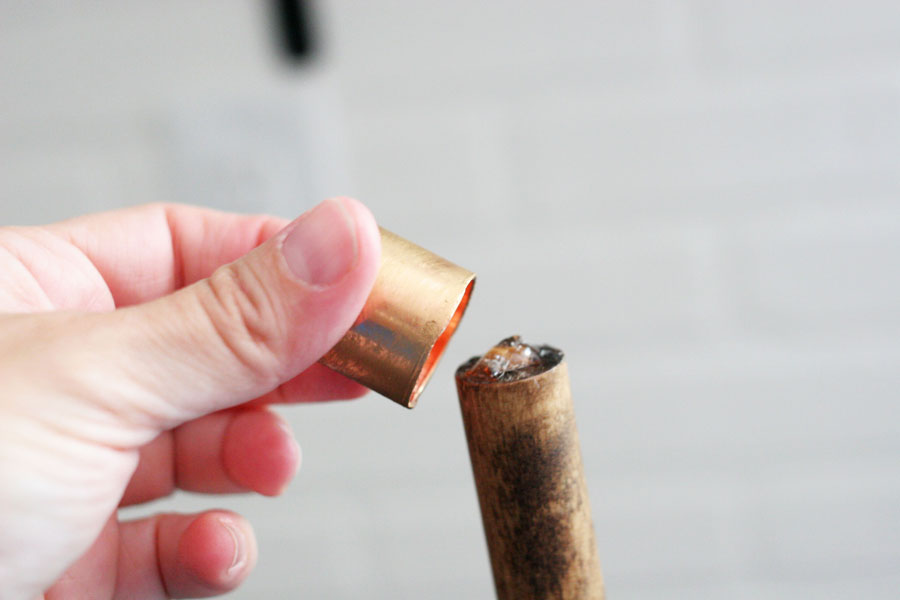
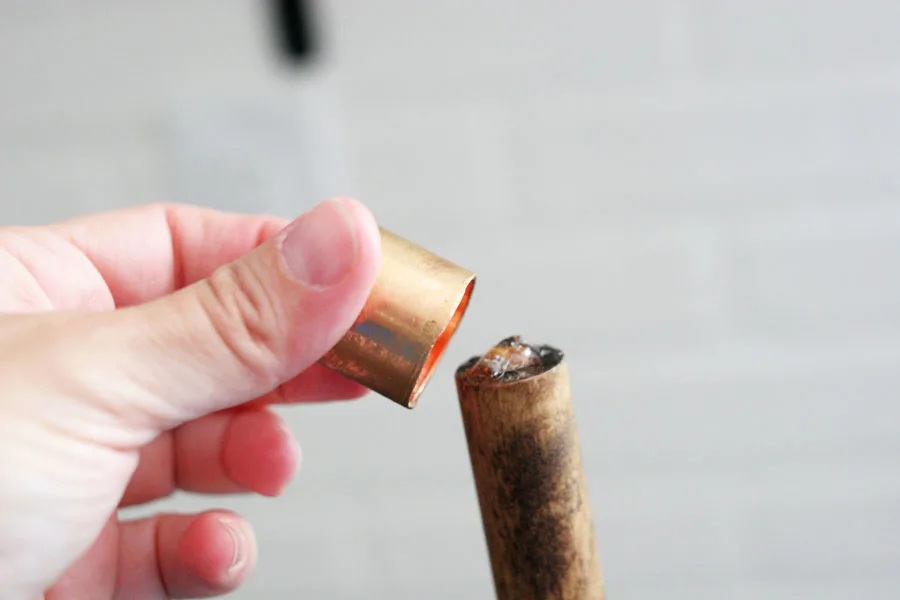
4. While the glue is drying, apply rub n’ buff with a paper towel to the 3/4″ copper cap. You may prefer to leave the cap in its copper finish. If so, skip this step.
In our case, I chose an antique brass finish to match hardware in the kitchen. By adding a bit of antique gold rub n’ buff, it softened the red tones in the copper.
5. Once the glue (from step 3) has hardened, add E6000 glue to the top of the wood dowel. Press the cap onto the glue.
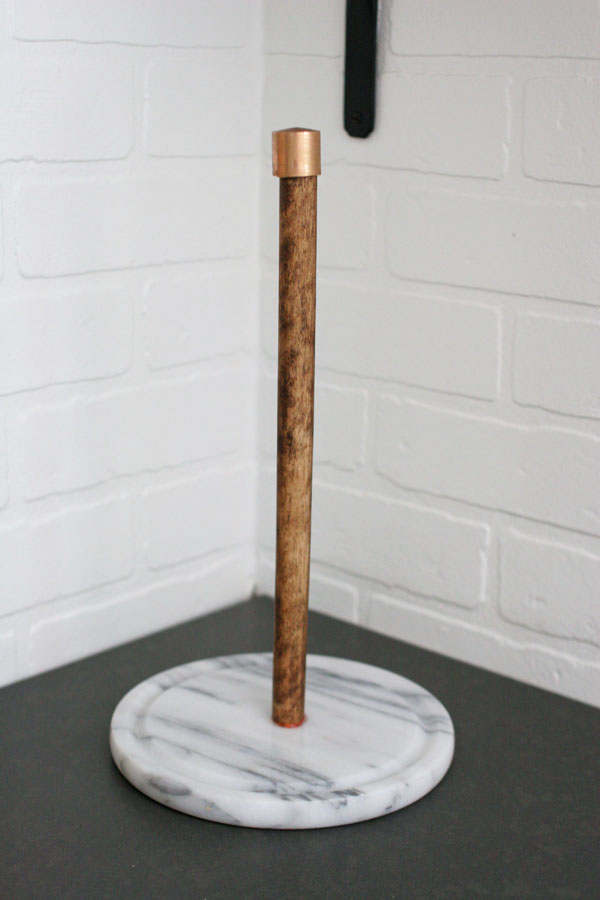
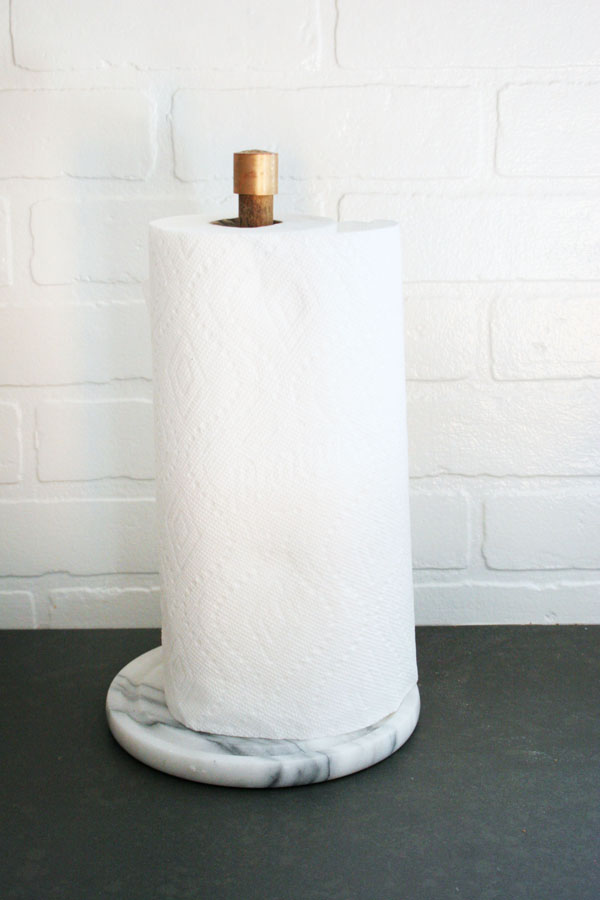
Simple and stylish — modern, yet understated. The marble, wood, and bronze combo fits seamlessly into the finishes of our modern cottage kitchen. I even love how the veining in the marble base picks up the grays found in our quartz counters.
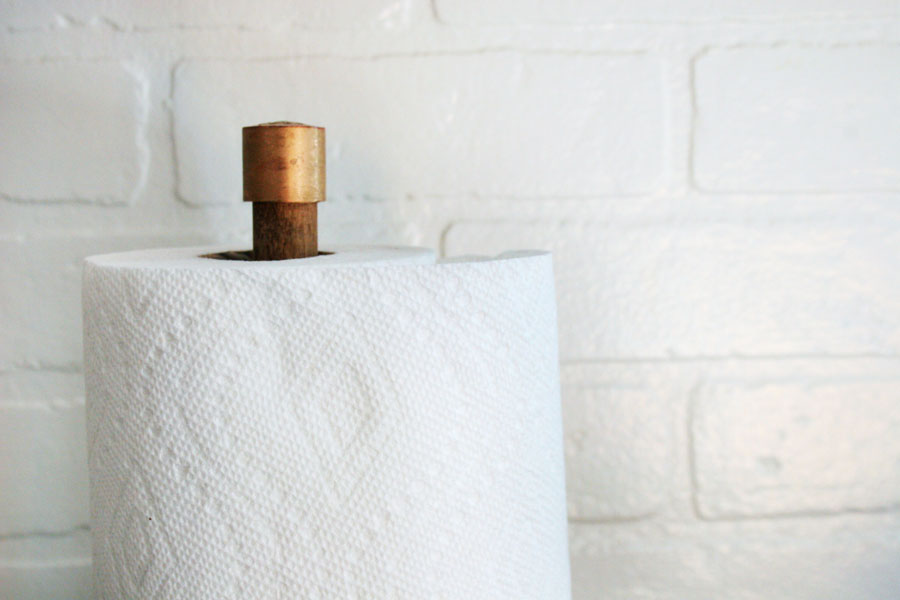
The antiqued brass cap and wood stem keep the marble paper towel holder from feeling traditional. Since I had the marble, rub n’ buff, E6000, and stain on hand, I only spent about $3 to complete this project (the pipe cap and wood dowel). Compared to this one at nearly $40, I’d say that’s a win!
Paper Towel Holder Video Tutorial
If you liked this craft for the home, you might also like:
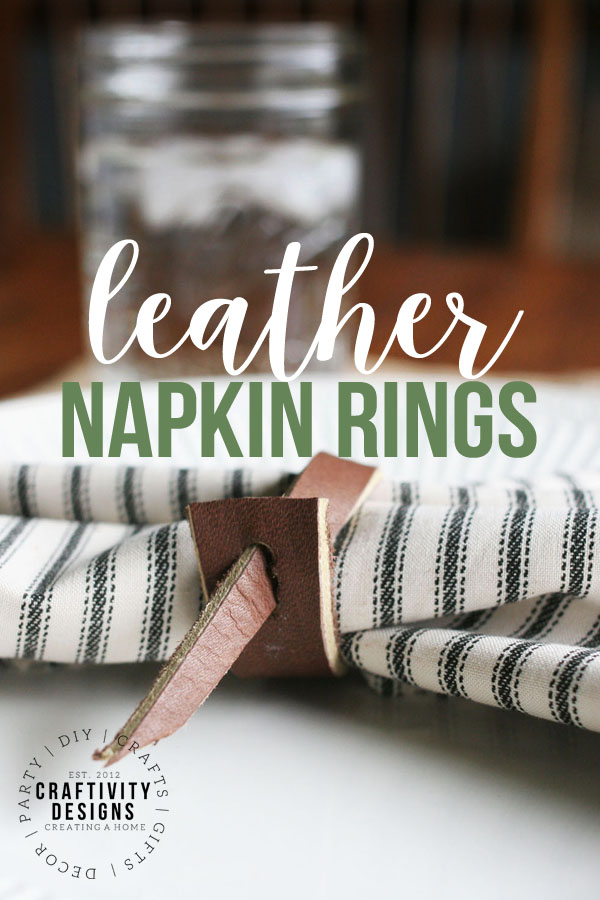
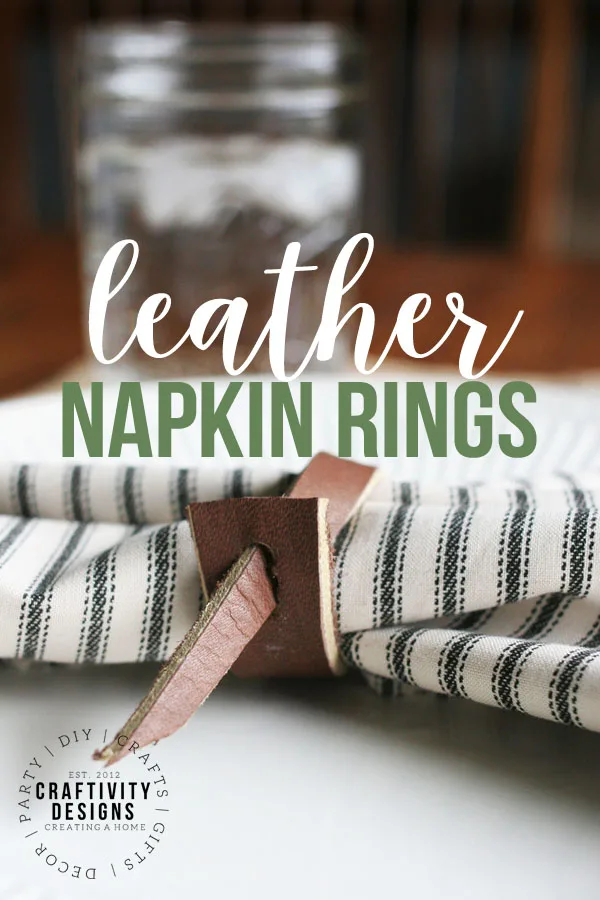
Learn how to make simple leather napkin rings for a stylish, modern table.
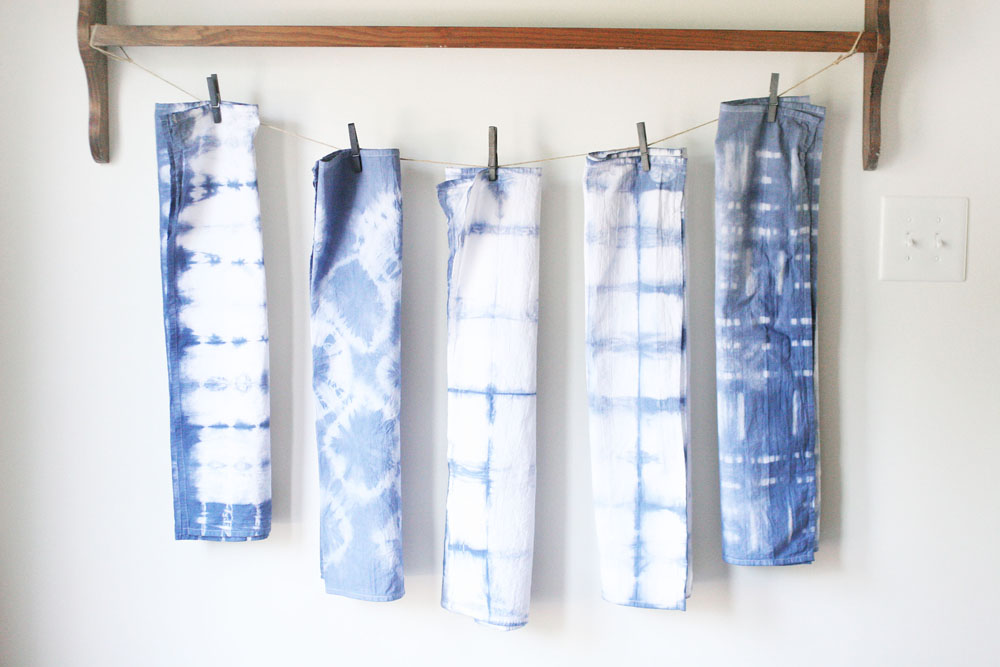
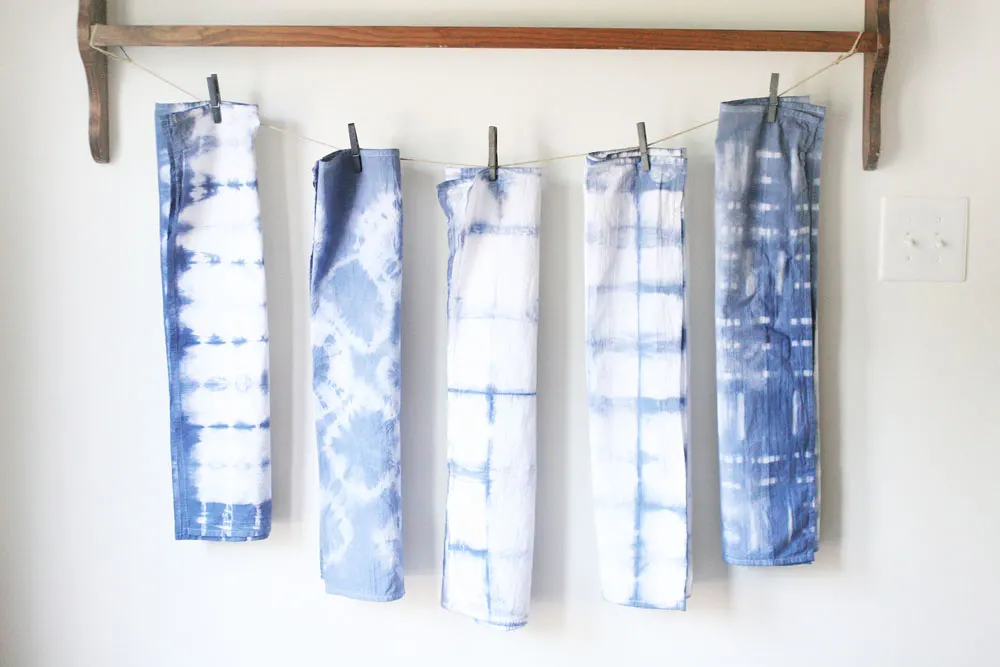
Make shibori patterned textiles with an easy do-it-yourself Indigo dye.
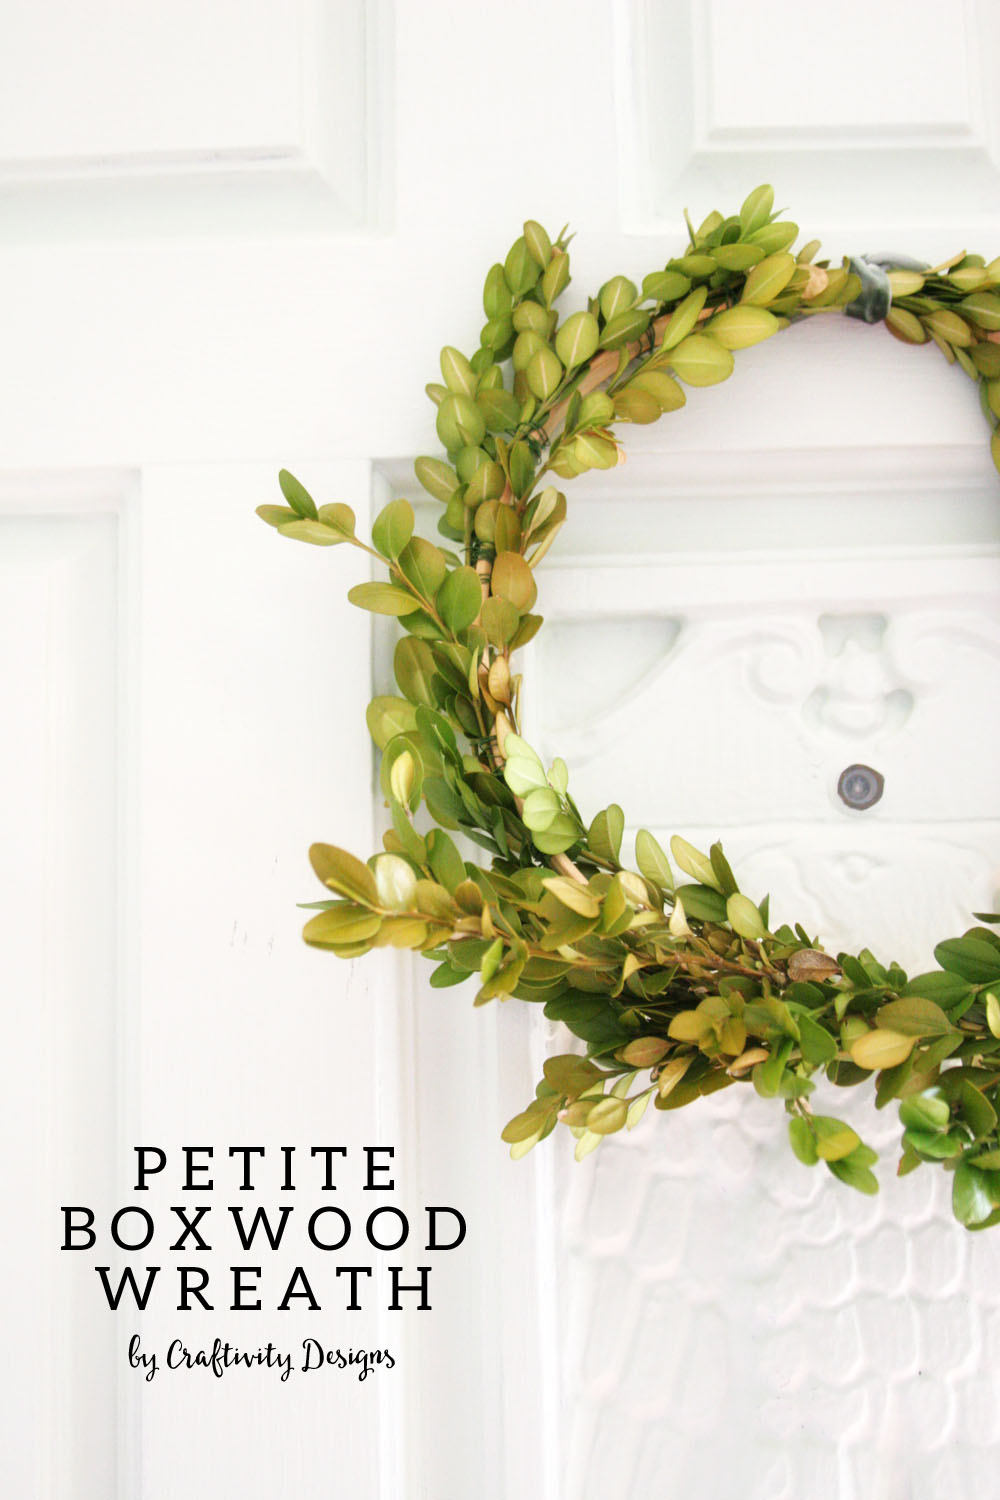
Learn to make a real boxwood wreath to hang in the home.

Melissa
Thursday 23rd of May 2019
Can I just say that I love all of the creative things you do! I love how classic all of the designs are. Goals!!!
Lora Green
Saturday 25th of May 2019
Awe, Thank you! I appreciate your sweet comment :)
Rachel Drinnon
Wednesday 23rd of January 2019
How well did the glue hold up? Did you roughen up the surface of the marble? I haven't had much luck getting e6000 to stick to marble
Lora Green
Thursday 24th of January 2019
That's a great question - and you have good timing, :) ! I didn't roughen up the surface but the marble is a matte/honed finish, so I'm sure that helps. The E6000 held up fine for about 4 months. Now, I actually am in the process of testing a few types of glue to see which is best (testing e6000, construction adhesive, gorilla glue, etc.). I will update the post when I have finished trying out each product :)