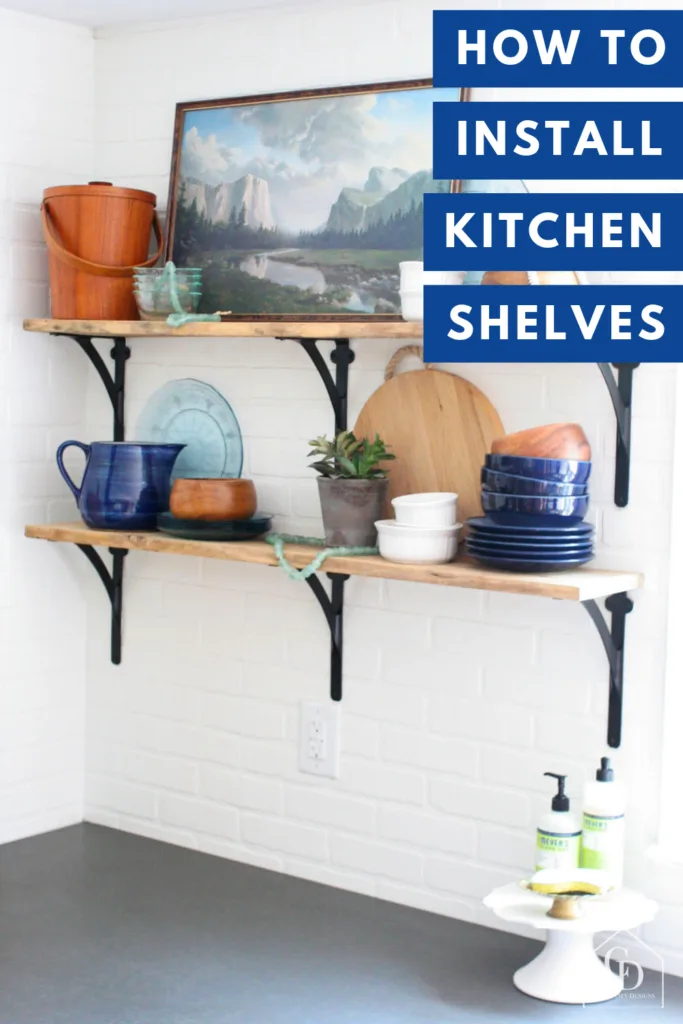
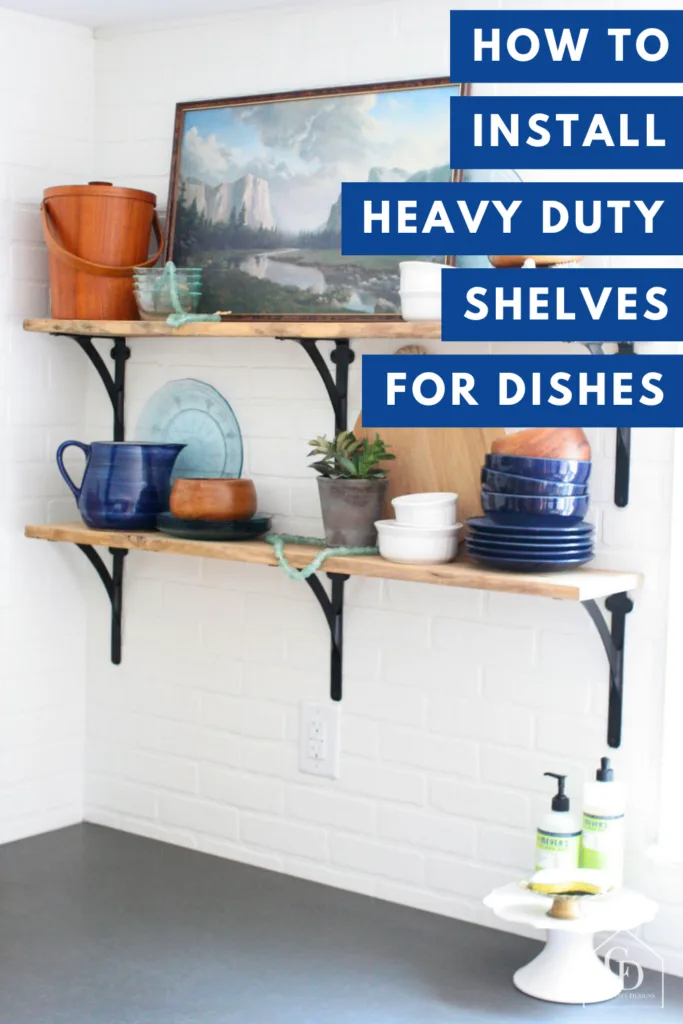
Organize and display your dishes on heavy duty shelves for the kitchen. Learn how to install open shelving in a kitchen.
When installing wall shelves for kitchen dishes, it is imperative to make sure that shelves are sturdy, strong, and well supported. After all, dishes are heavy! You need to build heavy duty shelves for a kitchen… but, of course, you don’t want to sacrifice style in the name of function. There must be a balance.
When I planned our budget kitchen remodel, I had to include open shelving. Its so convenient to have everyday dishes right at hand. Plus, removing the upper cabinets made our kitchen so much brighter.
Disclosure: This page includes affiliate links.
Using reclaimed shelves adds warmth and texture to the kitchen. But, it does mean that I couldn’t buy out-of-the-box kitchen shelves. We were going to have to build our own heavy duty shelves for kitchen dishes.
Heavy Duty Wall Shelves for Kitchens
In order to plan for the installation of shelves in a kitchen, you must understand how much dishes weigh and how much weight the shelf will need to support.
How much weight should a kitchen shelf hold?
Since dish weights vary based on the material and type of dish, it is difficult to estimate how much a shelf of dishes will weigh.
Instead, it makes more sense to estimate weight bases on what a kitchen cabinet is capable of holding. A typical kitchen cabinet will hold approximately 500 lbs. That is the total weight for all 3 shelves. Therefore, you can assume closer to 165 lbs. per shelf.
However, I would not necessarily recommend placing 165 lbs. worth of dishes on open shelving. Kitchen shelves are installed differently than a cabinet. The construction of a cabinet also impacts how much weight it can hold.
How much weight will a shelf bracket hold?
The weight capacity of a shelf bracket will vary by make and manufacturer. Always be sure to purchase heavy duty shelf brackets for kitchen shelves.
According to the seller, each pair of these brackets can hold 60 lbs, or 30 pounds per wall bracket. The shelf’s weight limit will vary depending on:
- How deep is the bracket? Greater depth distributes the weight over a larger space.
- What material is the bracket attached to? Wall studs can hold up to 100 lbs. Drywall will hold less.
- What hardware is used to install the bracket? Screws should go 1″ or more into the wall stud. Drywall anchor weight limits vary by product (I like this self-drill style which can hold up to 75 lbs).
Generally, I use the following line of logic when installing shelves:
- I assume that the manufacturer’s weight limit is the shelf limit (no matter the depth or material it is installed into).
- For example, if my shelf has 3 of these brackets, it can hold 90 lbs.
- To add extra support, beyond the 90 lbs, I install each bracket into a wall stud.
- I don’t fully-load shelves – for both aesthetic reasons and due to shelf weight limitations.
How much Space should be between Kitchen Shelves?
Before installing open shelving in the kitchen, it is important to determine how much space will be between each shelf. In order to make that decision, you should consider several things:
Minimum Space Above Countertops
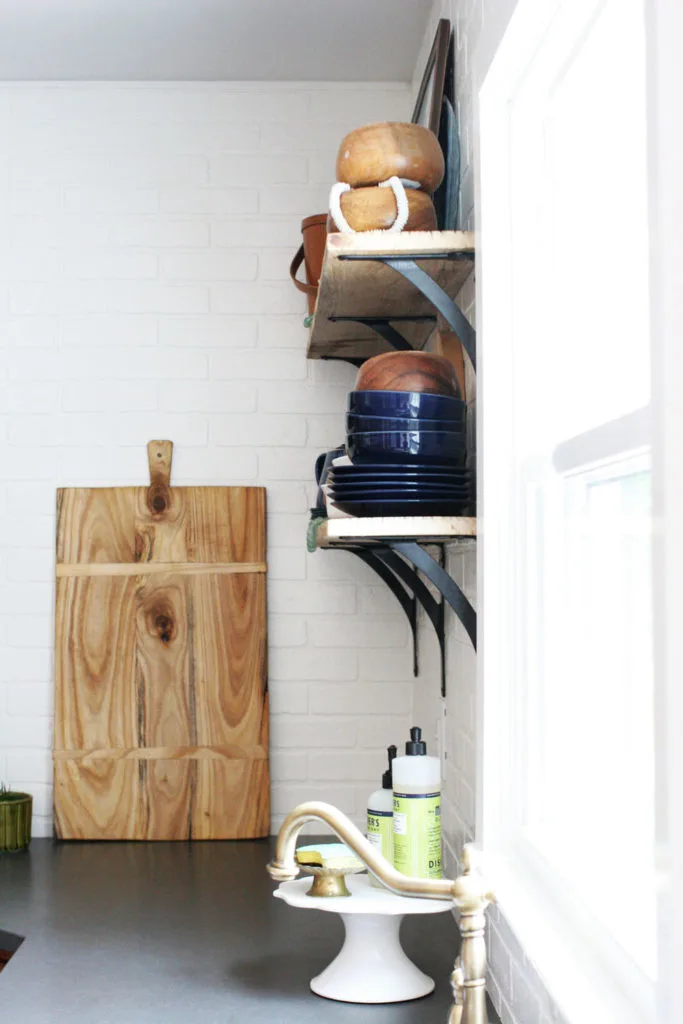
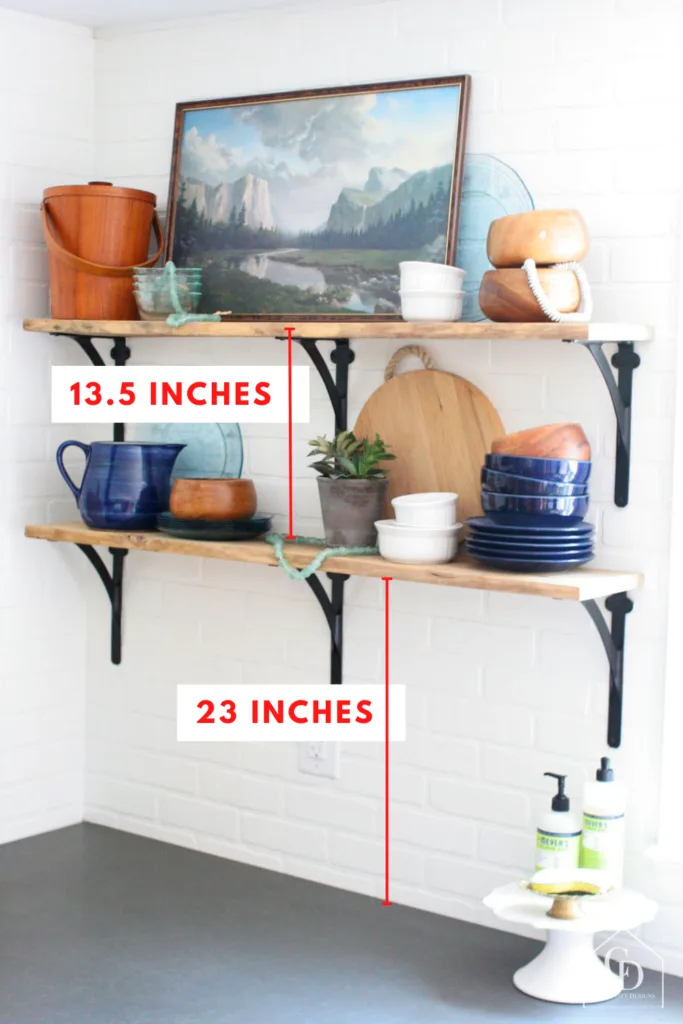
You should not install shelves closer than 18-24 inches above the counter (I prefer closer to 24 inches, mine are 23 inches above our black countertops).
Number of Shelves
How many shelves do you want for open kitchen shelving? This will depend on your storage needs.
We have plenty of cabinet space on the opposite side of our kitchen, so I only wanted two shelves. Therefore, I could space them fairly far apart and still have plenty of space above the top shelf.
If you’d like 3 or 4 shelves, the shelves should be placed closer together.
Size of Dishwares
If there are any particular dishes that you plan to store on the open shelving, make sure to measure those items. For example, we have an ice bucket that is 11 inches tall. Therefore, I want to ensure that my shelves are greater than 11 inches apart.
Our shelves are 13.5 inches apart. I recommend no less than 8 inches and no more than 15 inches in most cases.
Organizing Open Kitchen Shelving
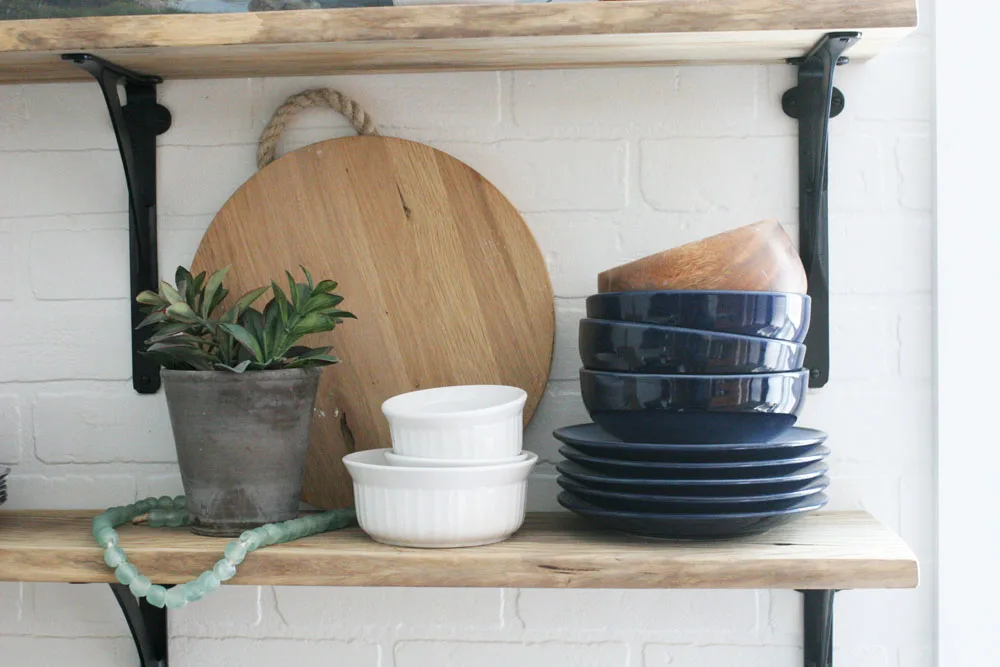
Once you have shelves in the kitchen, take time to organize them. We store everyday-use items on the lower shelf, and rarely used (but pretty!) items on the upper shelves.
I’ve got an entire post about styling open shelving in kitchens, if you’d like some tips on making kitchen storage pretty. After all, the benefits of open shelving are both function and style – so take some time styling them how you like!
How to Install Shelves for Kitchens
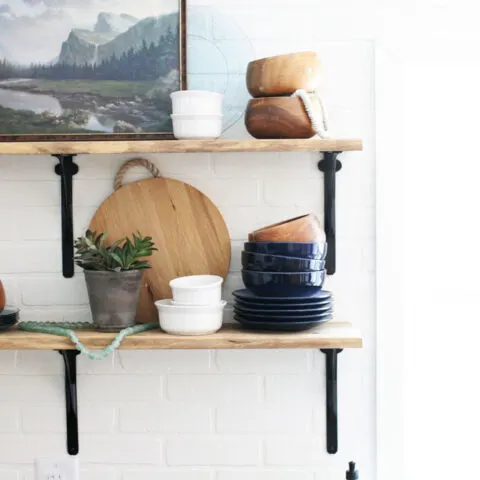
How to Install Shelves for Kitchens
Organize and display your dishes on heavy duty shelves for the kitchen. Learn how to install open shelving in a kitchen. How to Hang Open Shelves | Kitchen Shelves DIY
Materials
- Heavy Duty Shelf Brackets
- Wood Shelves
Tools
- Stud Finder
- Pencil
- Level
- Measuring Tape
- Drill with Screwdriver and Drill Bits
- Rubber Mallet
- Ratcheting Screwdriver
Instructions
- Use the stud finder to locate wall studs for the first shelf.
- Mark the wall stud locations with a pencil.
- If installing more than one shelf, determine the distance you want between each shelf.
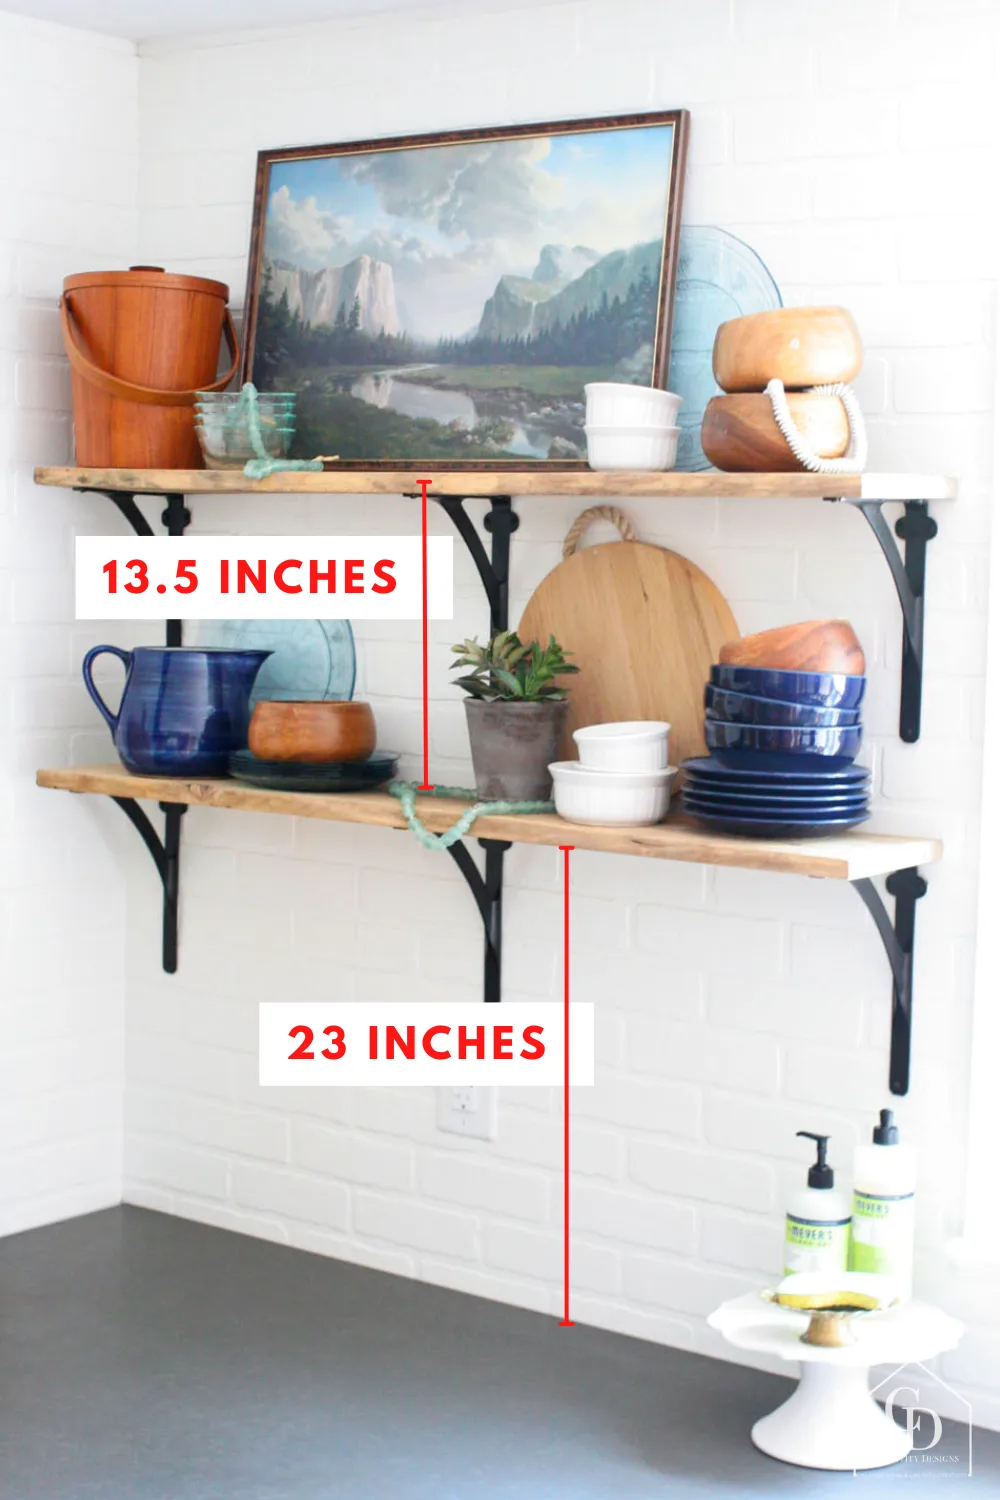
- Using the measuring tape and a stud finder, mark wall stud locations for each additional shelf.
- Place a level on the wall to check levelness between stud marks (both vertically and horizontally).
- After completing steps 1-5, you should have a grid of marks on the wall noting where brackets will be installed. See image (red dots are located where the pencil marks were drawn).
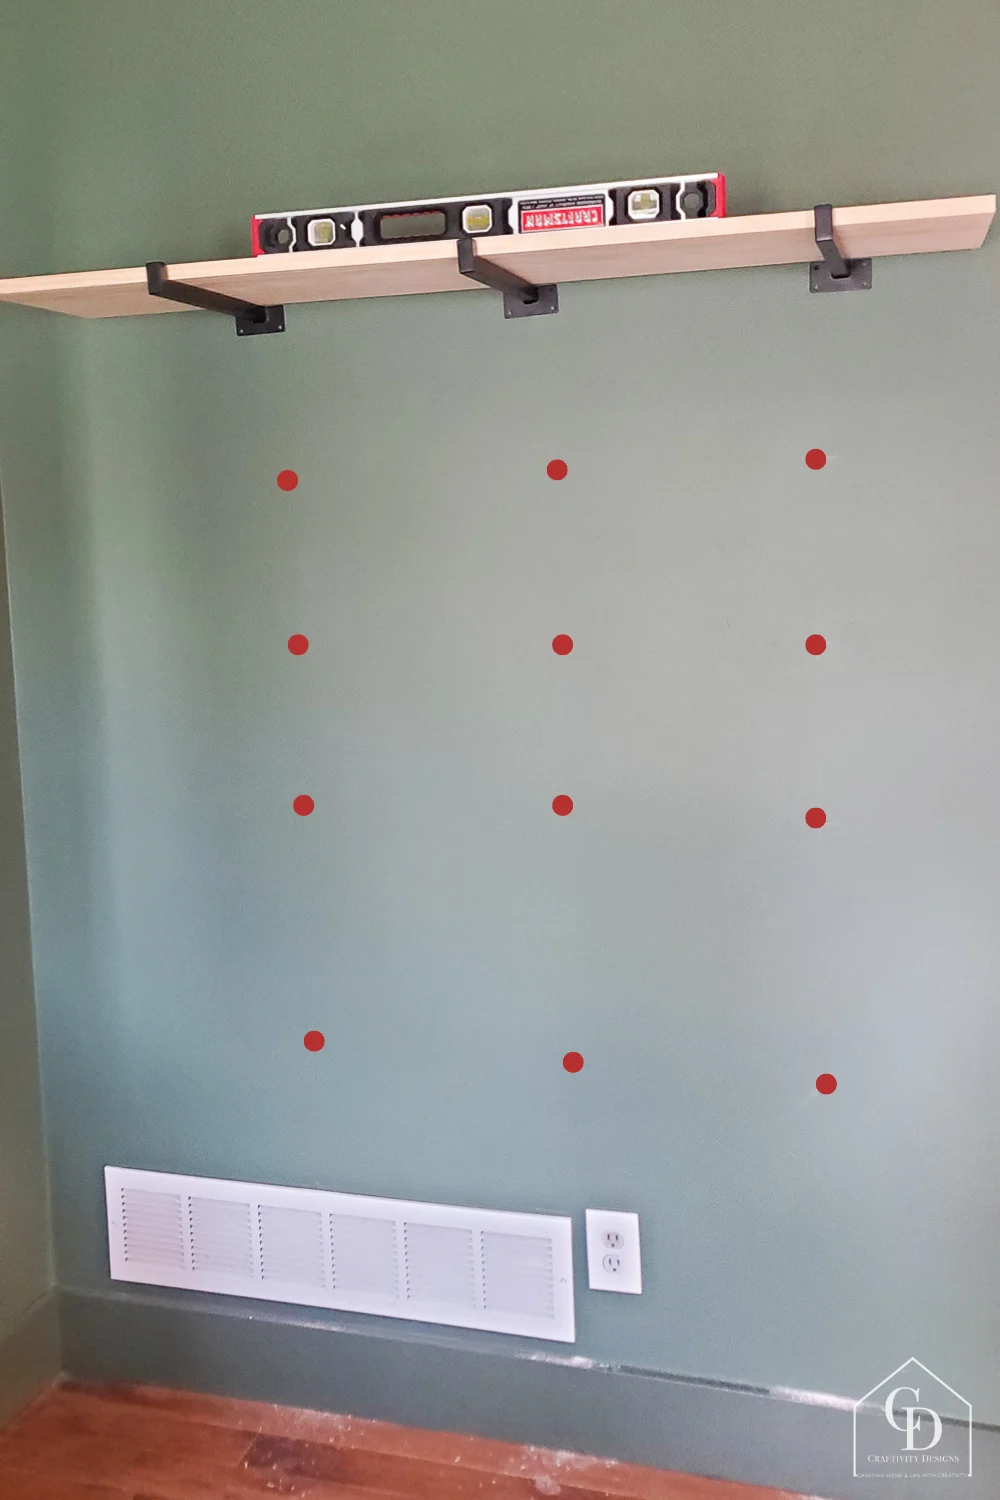
- Next, select the starting bracket location. Start on the top row of marks and a center bracket (if more than 2 brackets, otherwise choose right or left). It is best to work from top to bottom in order to give yourself working space.
- Drill ONE HOLE for the first bracket.
- Once the hole is drilled, insert the screw. Then, place a board atop the bracket to ensure it is level. Adjust the bracket until level, if needed.
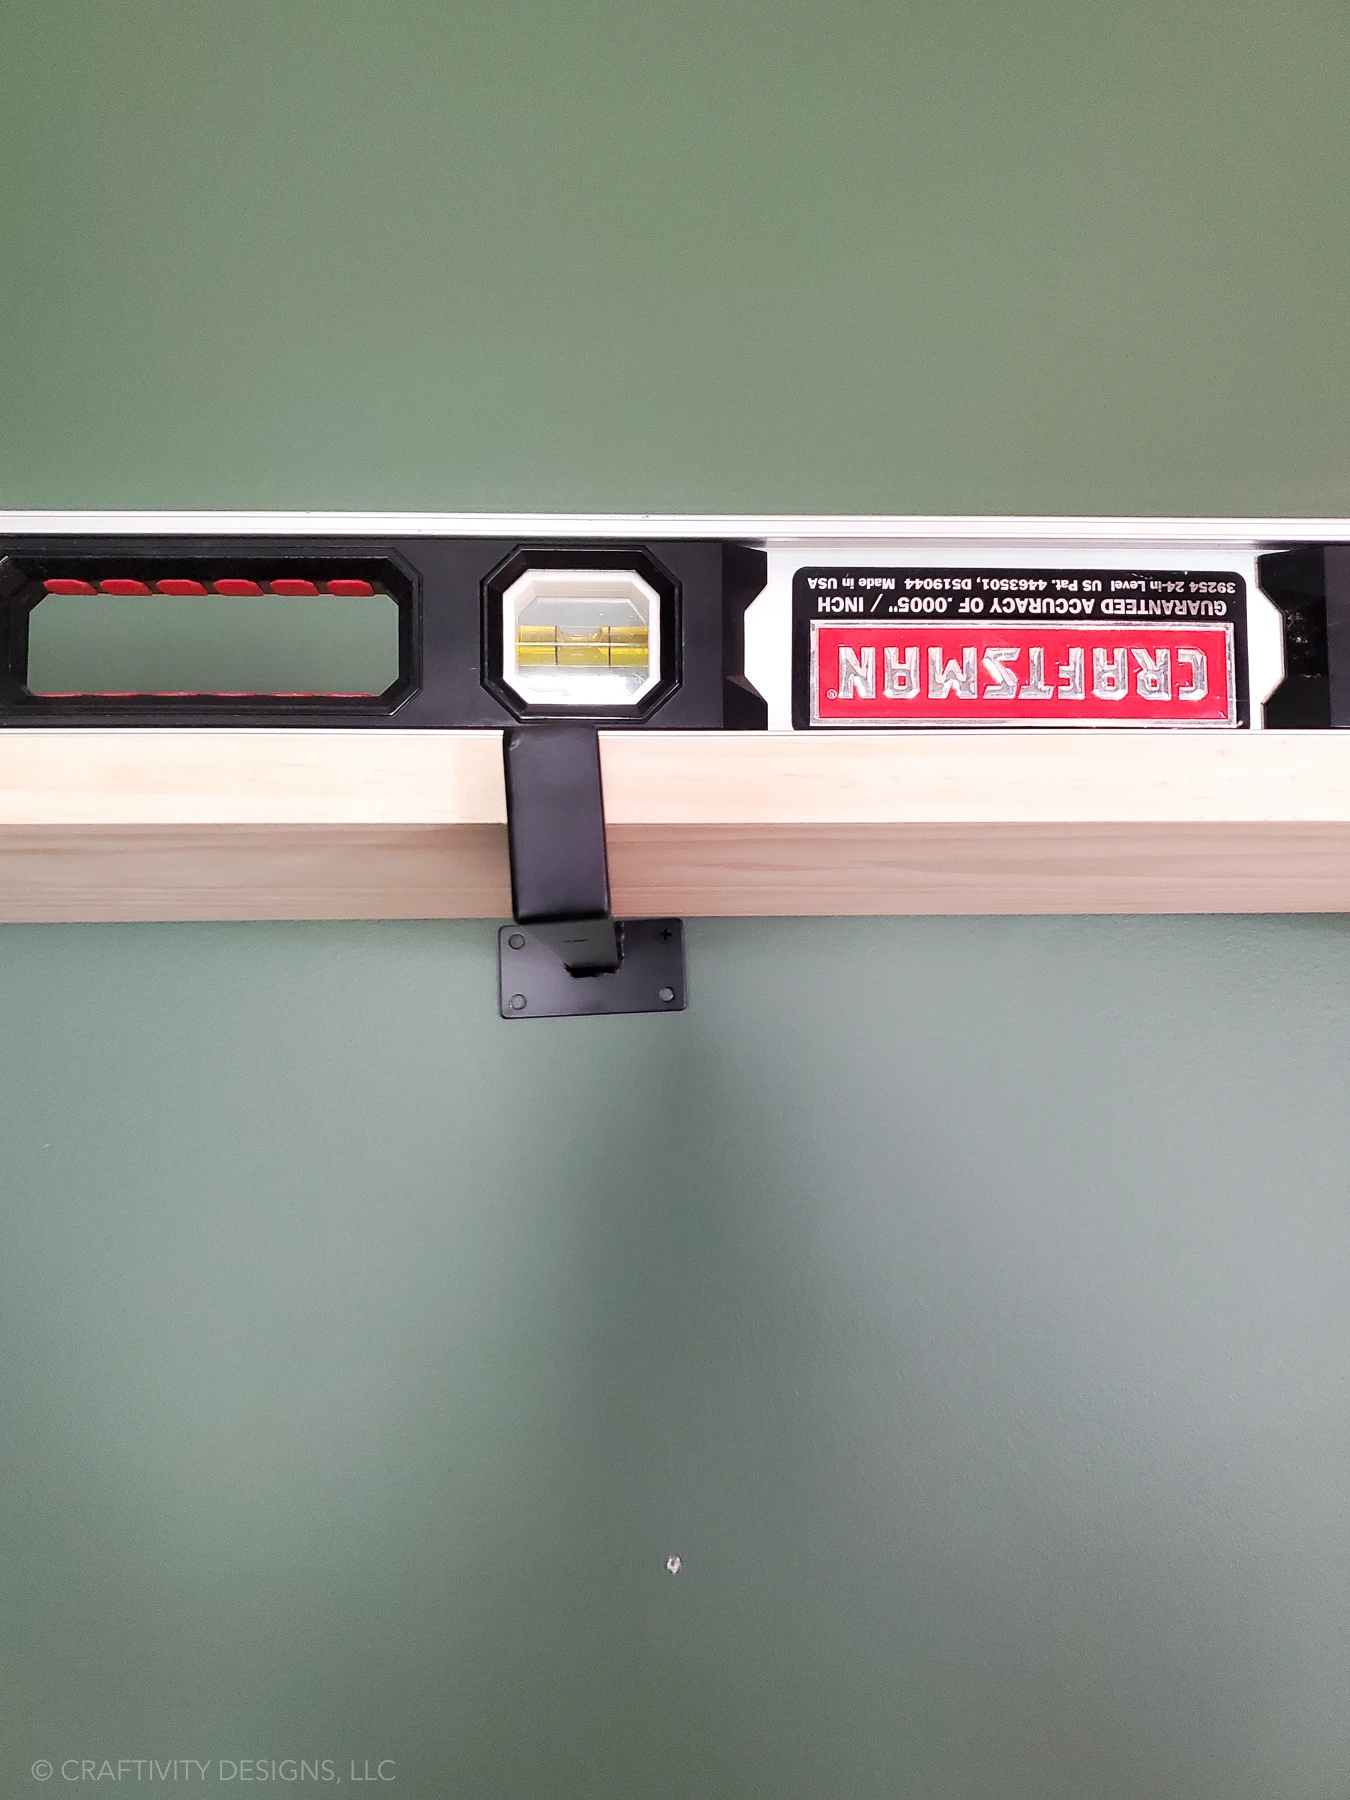
- Once the bracket is level, mark the other hole(s) with a pencil.
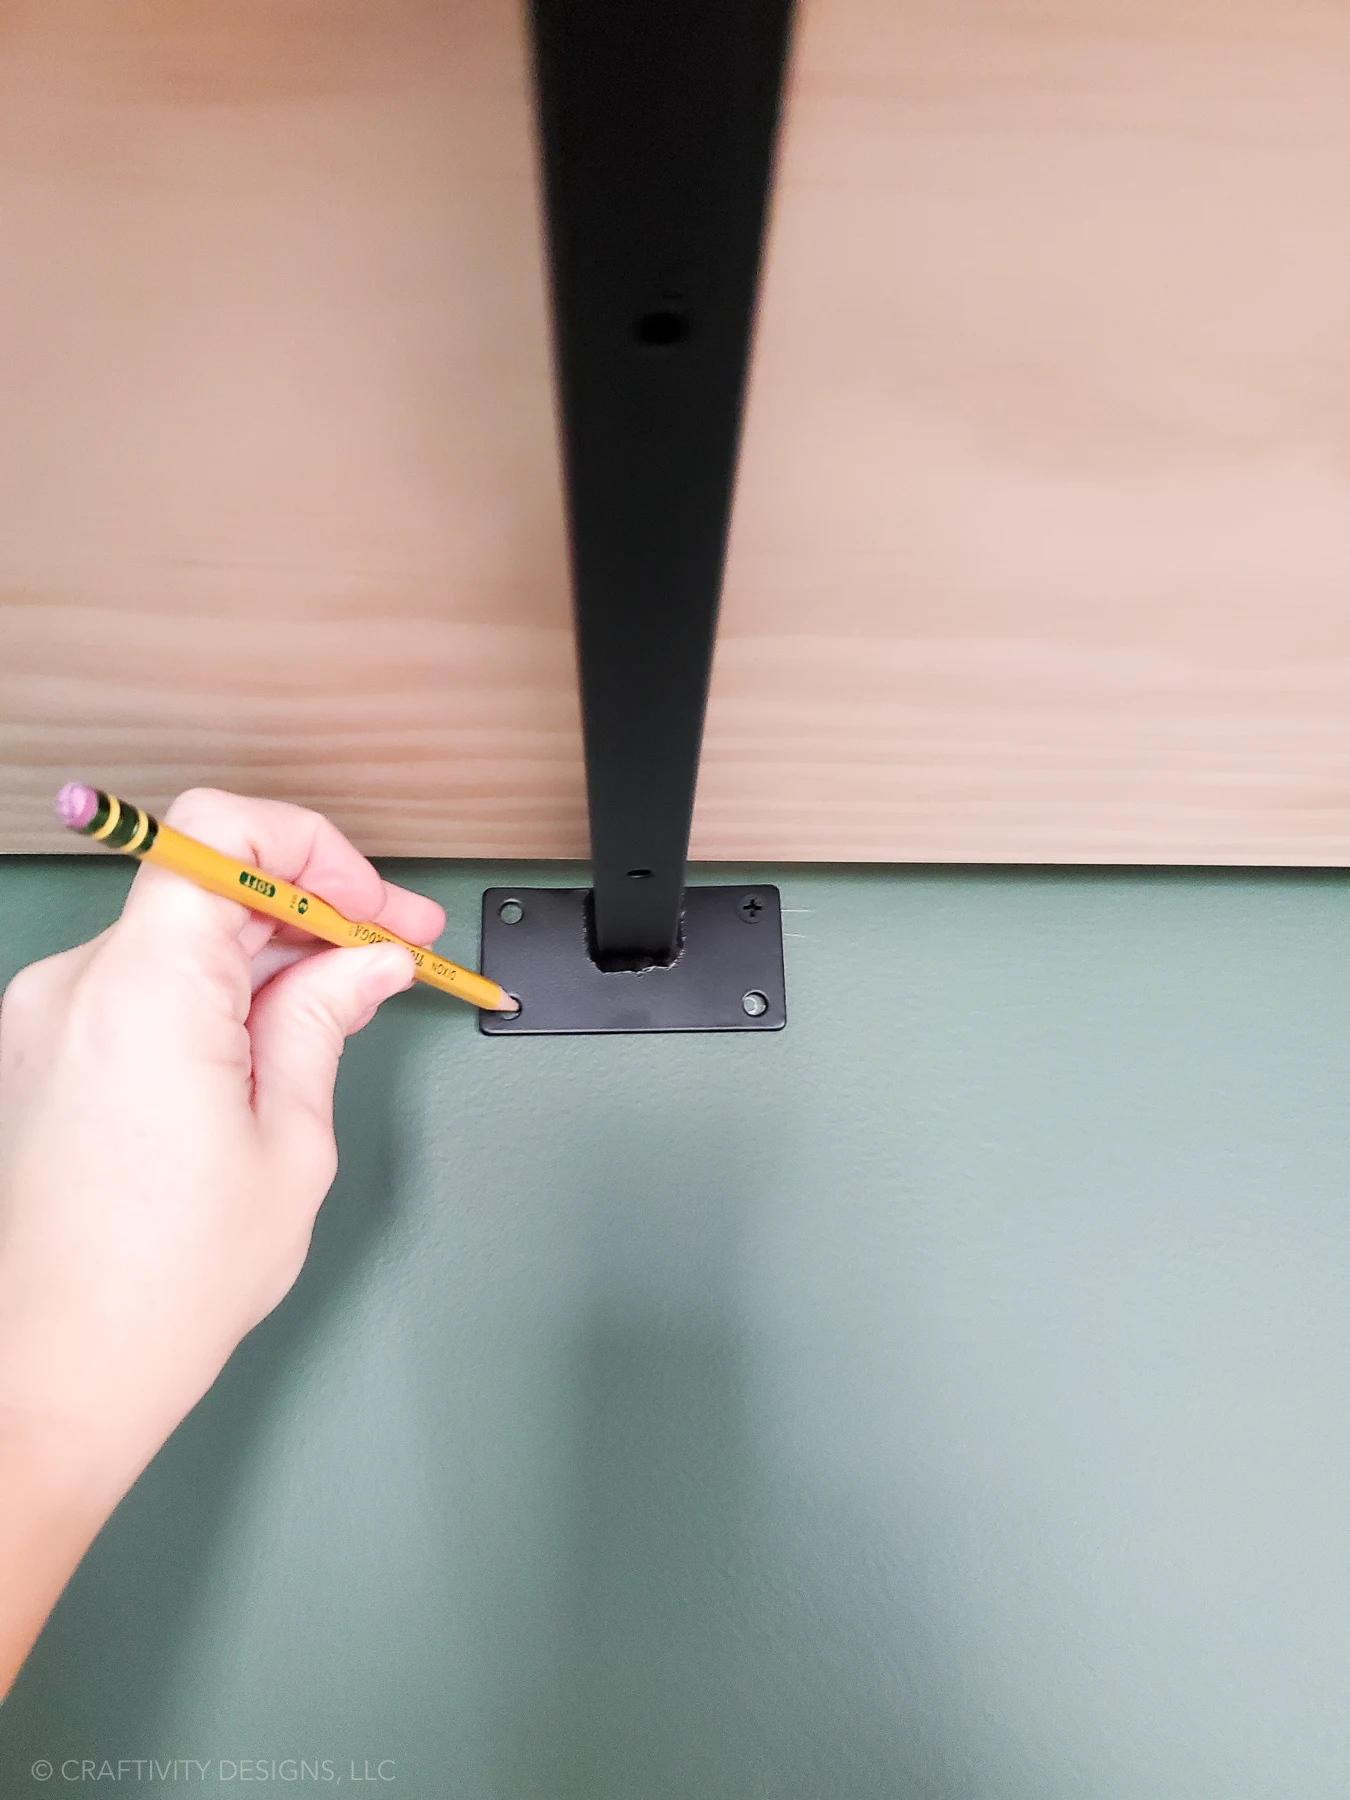
- Drill the additional hole(s).
- Screw in the remaining screw(s).*
- Slide the bracket over and insert the anchors. Hammer with a mallet if needed.
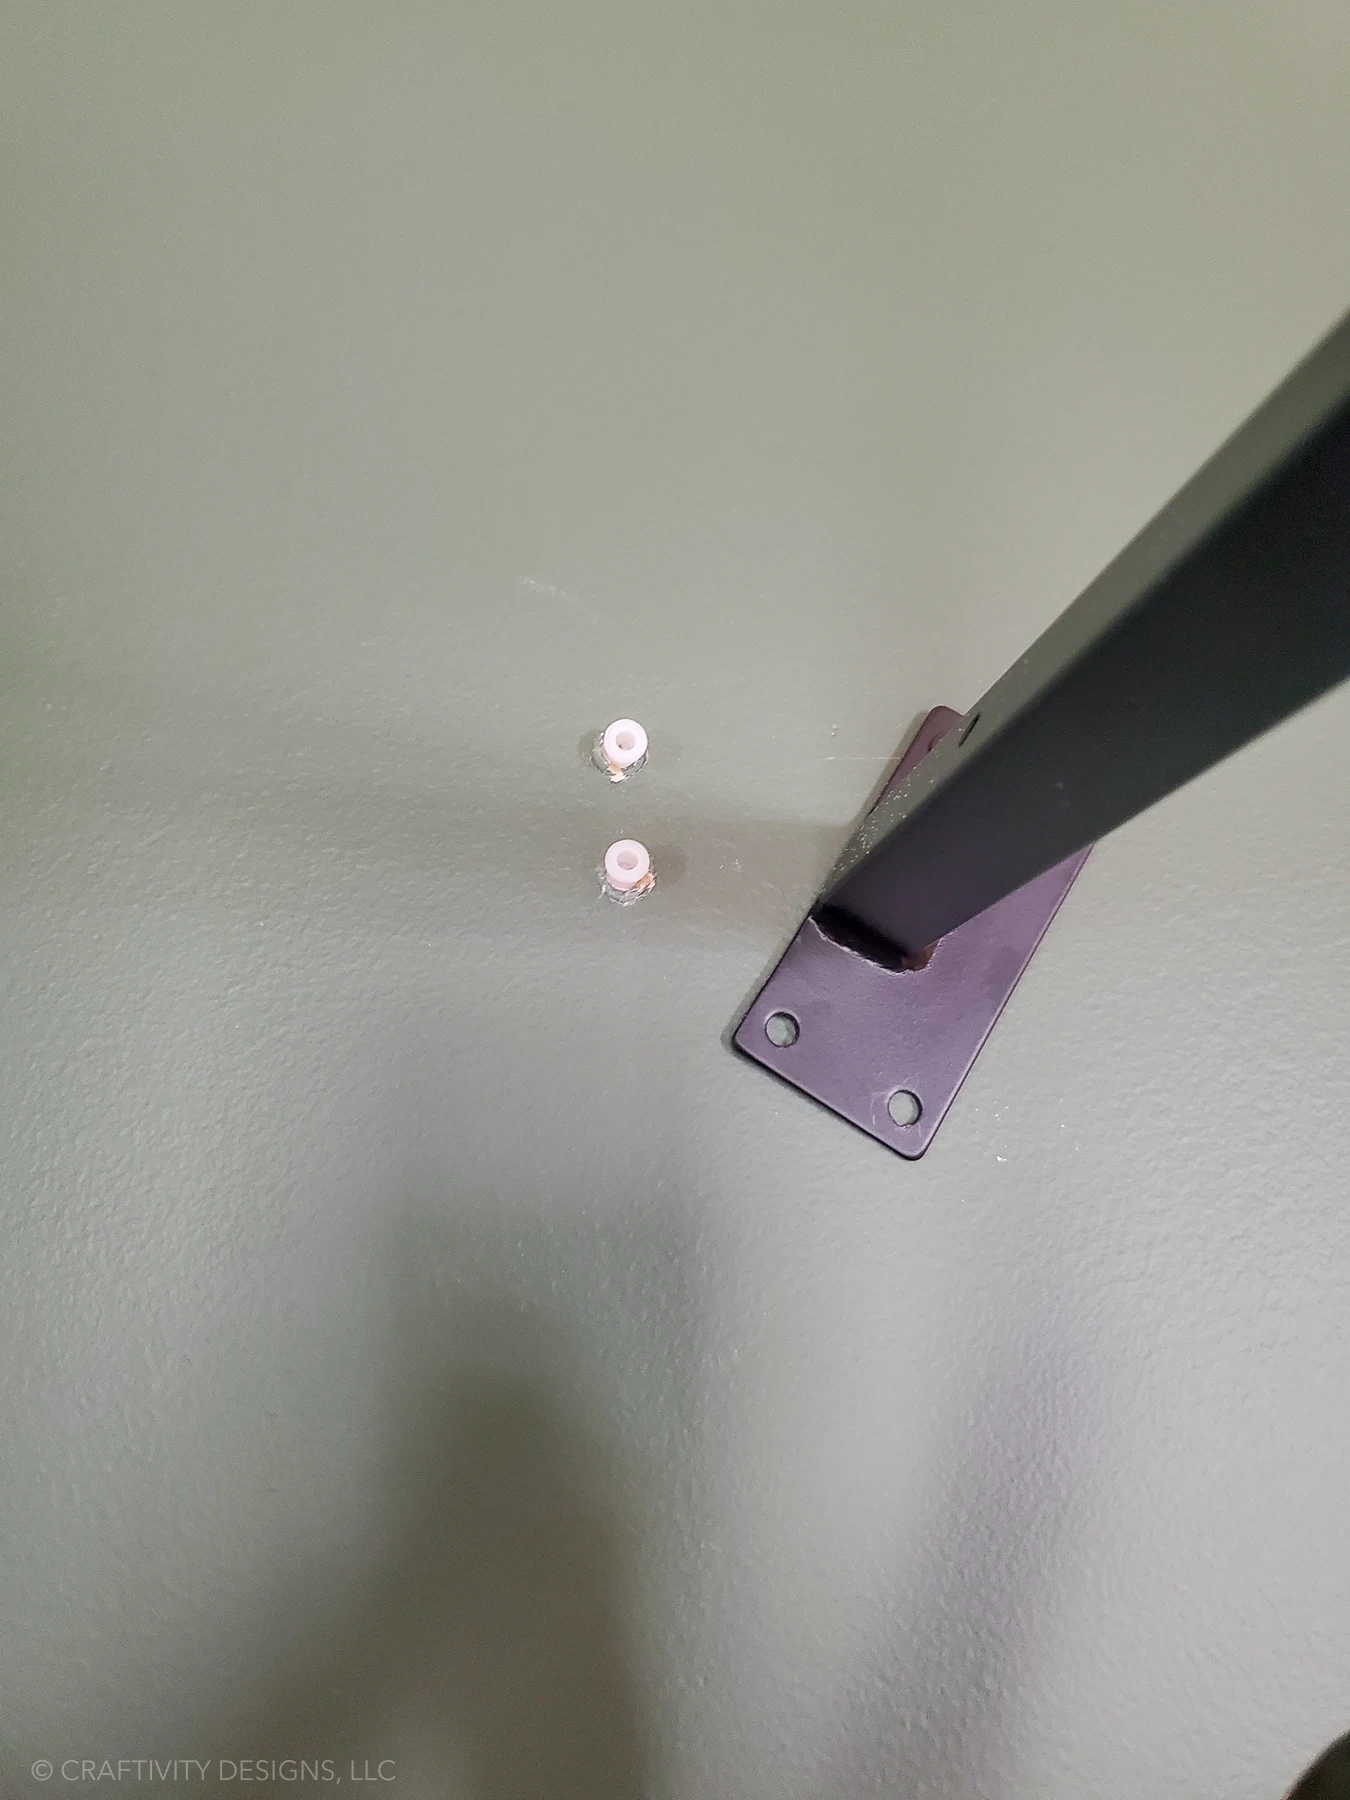
- Repeat steps 8-13 for each bracket, but add an additional level check during step 9. Check BOTH that the bracket itself is level AND that it is also level with the adjacent (already installed) shelf bracket.
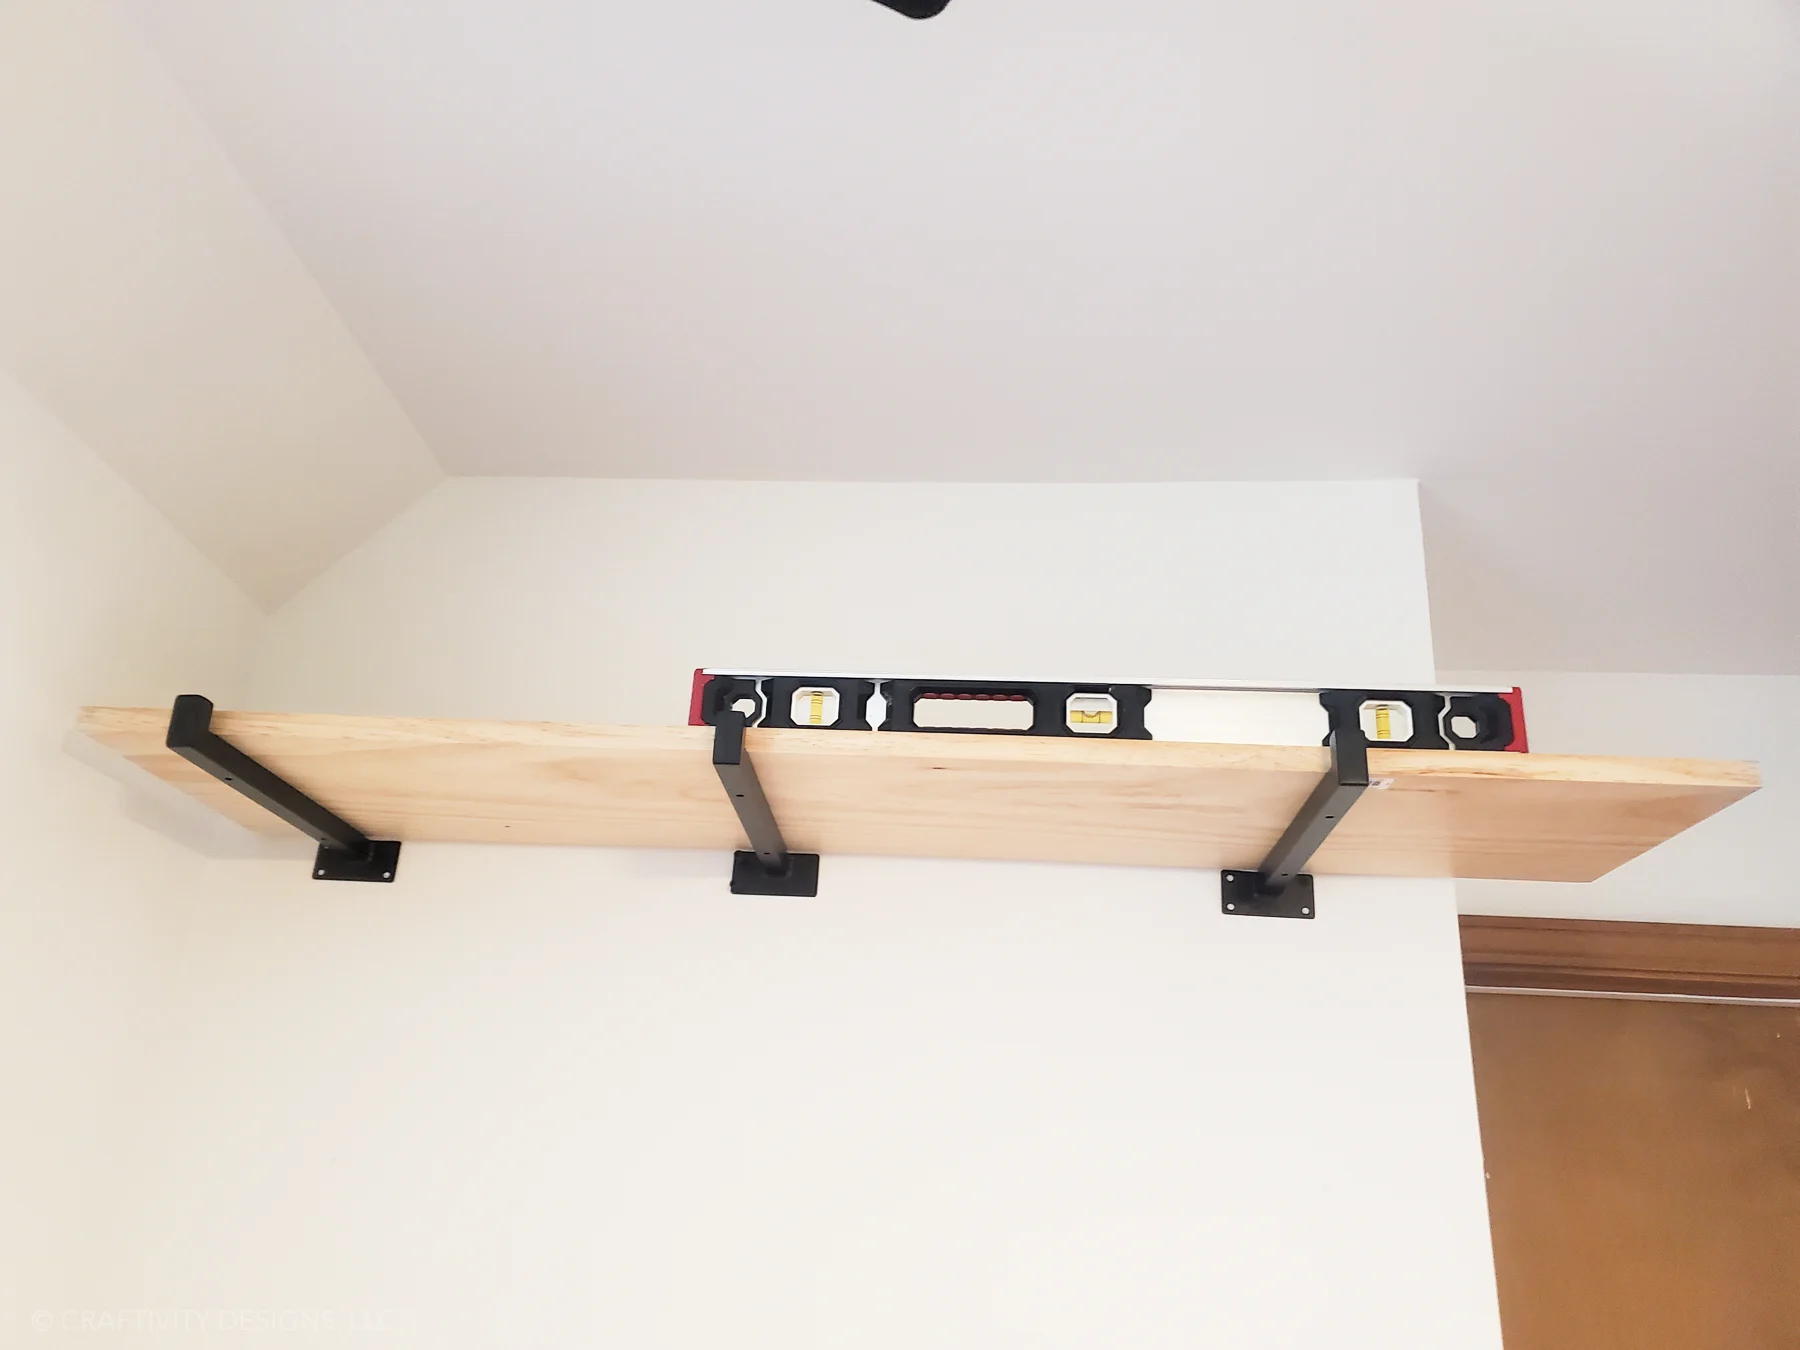
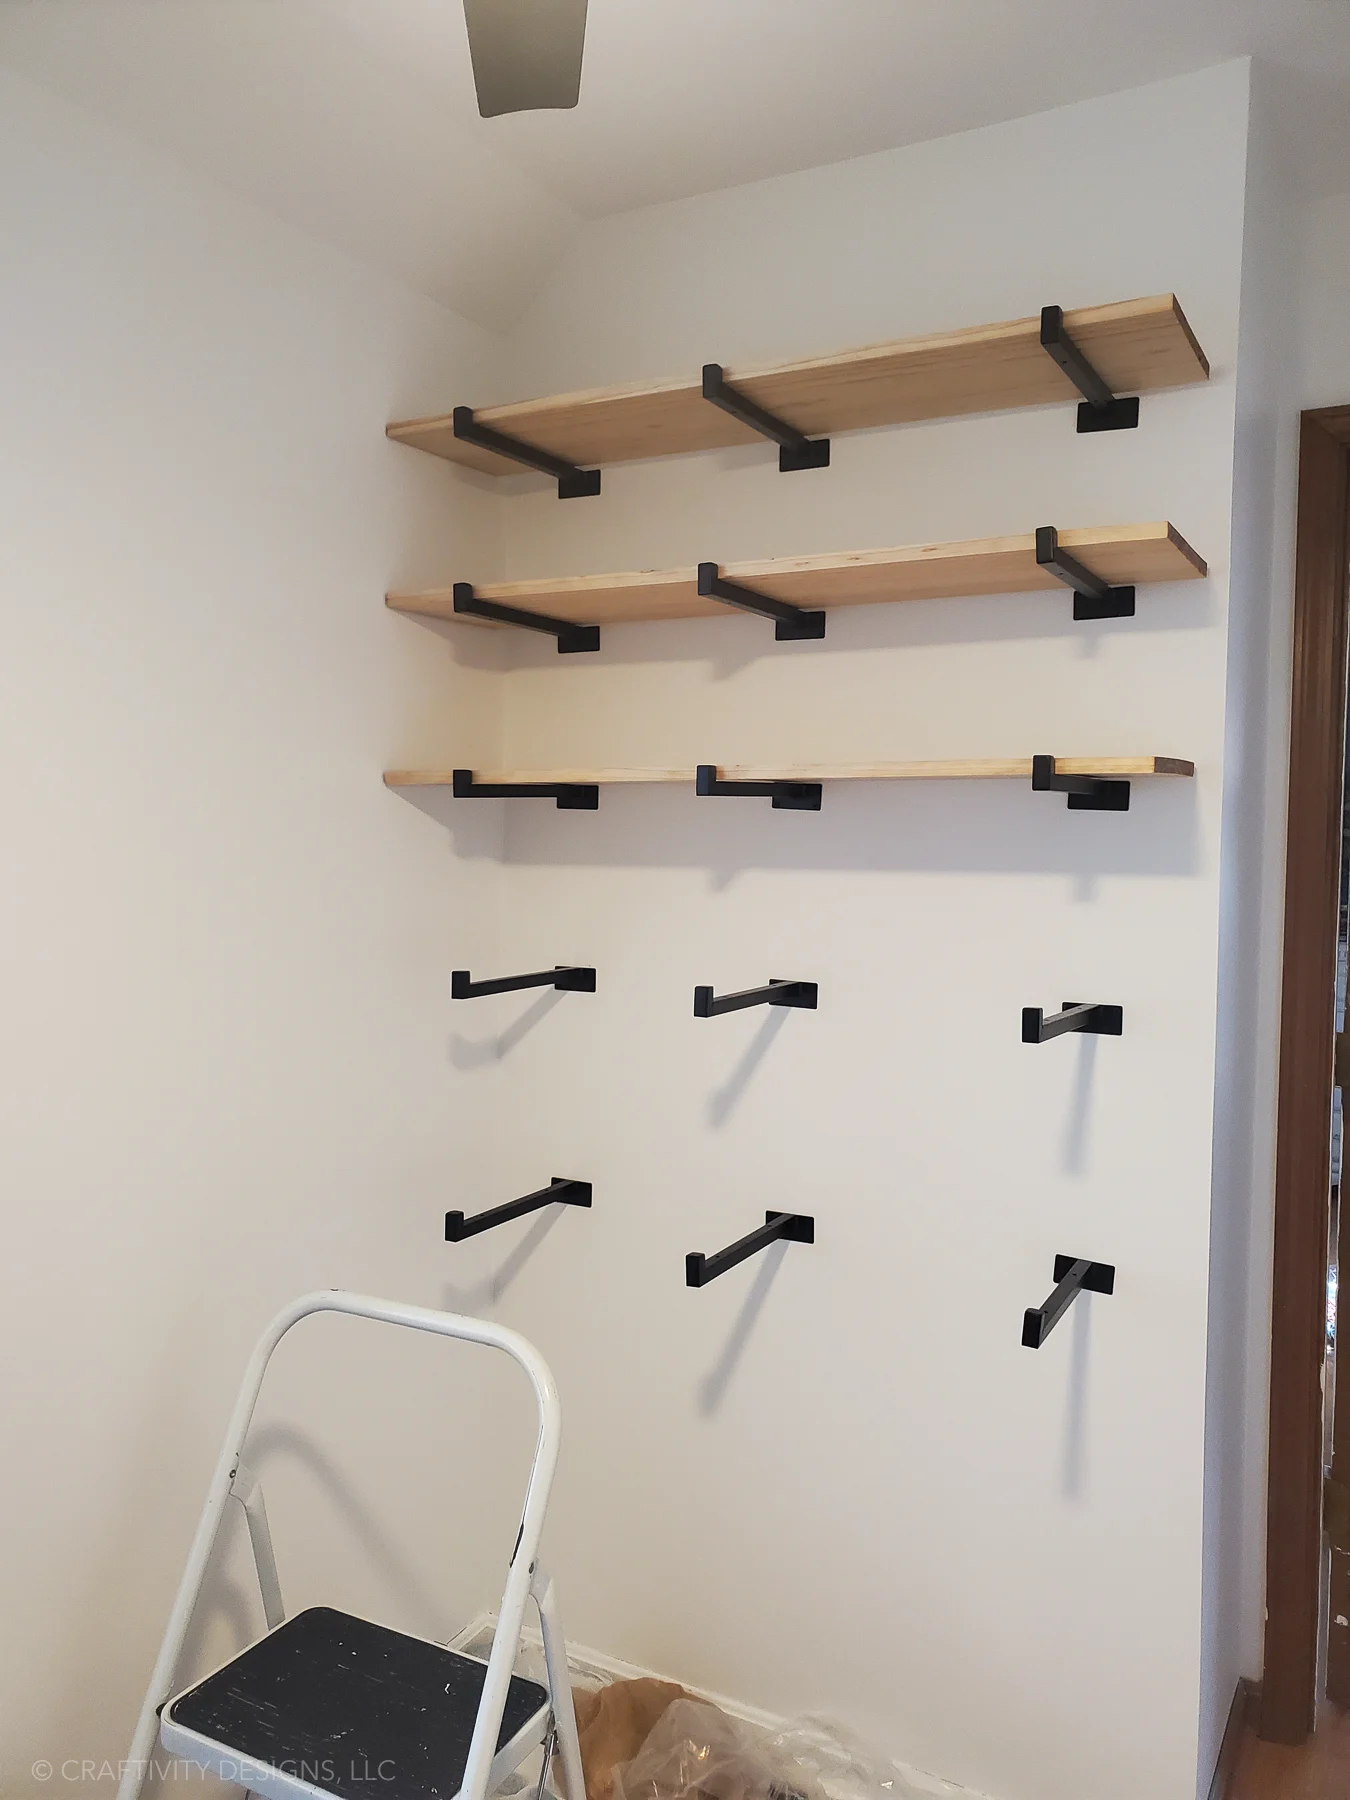
- Once all shelves are installed, place the boards on top of each row of heavy duty shelf brackets. Screw the shelves in place, proceeding from the top shelf to the bottom shelf.
Notes
*For inserting screws: A drill with screwdriver bits, a ratcheting screwdriver, or a power screwdriver, will make this process faster and easier on your hands.

Oak and white sideboards
Thursday 2nd of February 2023
This is really interesting and awesome, shelfs is very helpful to save space and you are doing very good job, thanks for the share.
Lora Green
Thursday 2nd of February 2023
Thanks, Christina!