Remodeling your kitchen on a budget? Learn how to install a Faux Brick Backsplash. This budget-friendly DIY project will transform your kitchen without breaking the bank.
Are you remodeling a kitchen on a budget? Does your backsplash need a cheap refresh without renovating the whole kitchen? In either case, a faux brick backsplash is a stylish, cost-effective option. We’re renovating our modern cottage-style home and installing a DIY brick backsplash in the kitchen saved us hundreds of dollars.

For less than $150 dollars, we installed our own kitchen backsplash (which goes all the way from the counters to ceiling!). You could complete a standard size backsplash (18″ tall) for $40 per 16ft of counter space.
Faux Brick Backsplash
Finished in Sherwin Williams Pure White, our faux brick backsplash is both beautiful and practical. A semi-gloss finish makes the brick wipeable and kitchen friendly.

We installed a set of heavy duty wall shelves for the kitchen after we finished the backsplash. The open shelving is strong enough to hold many of our regularly used dishes.
Stained wood shelving and a matte black range hood pop against the white brick which provides a clean, modern backdrop to our cottage-style kitchen renovation.

How to Install a Faux Brick Backsplash
Supplies
- embossed red brick 4’x8′ hardwood panel(s)
- table saw {optional}
- primer
- 1/2″ nap rollers
- roller frame
- brush
- measuring tape
- kraft paper {optional}
- painter’s tape {optional}
- utility knife {optional}
- pencil {optional}
- jigsaw
- heavy duty construction adhesive
- caulk gun
- paintable caulk
- brad nails
- nail gun
- air compressor
- semi-gloss paint
Instructions
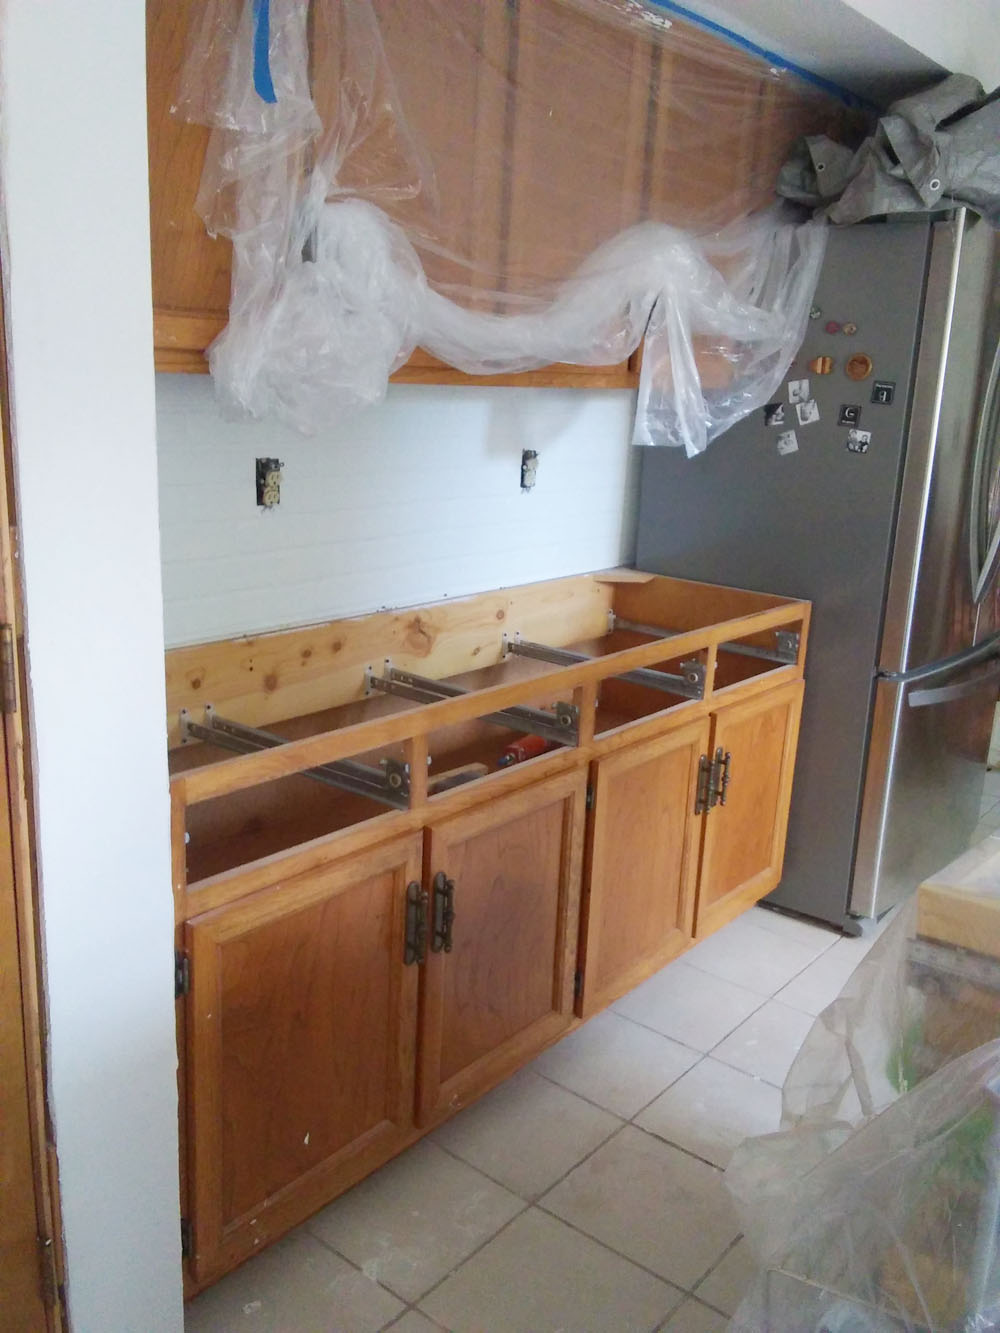
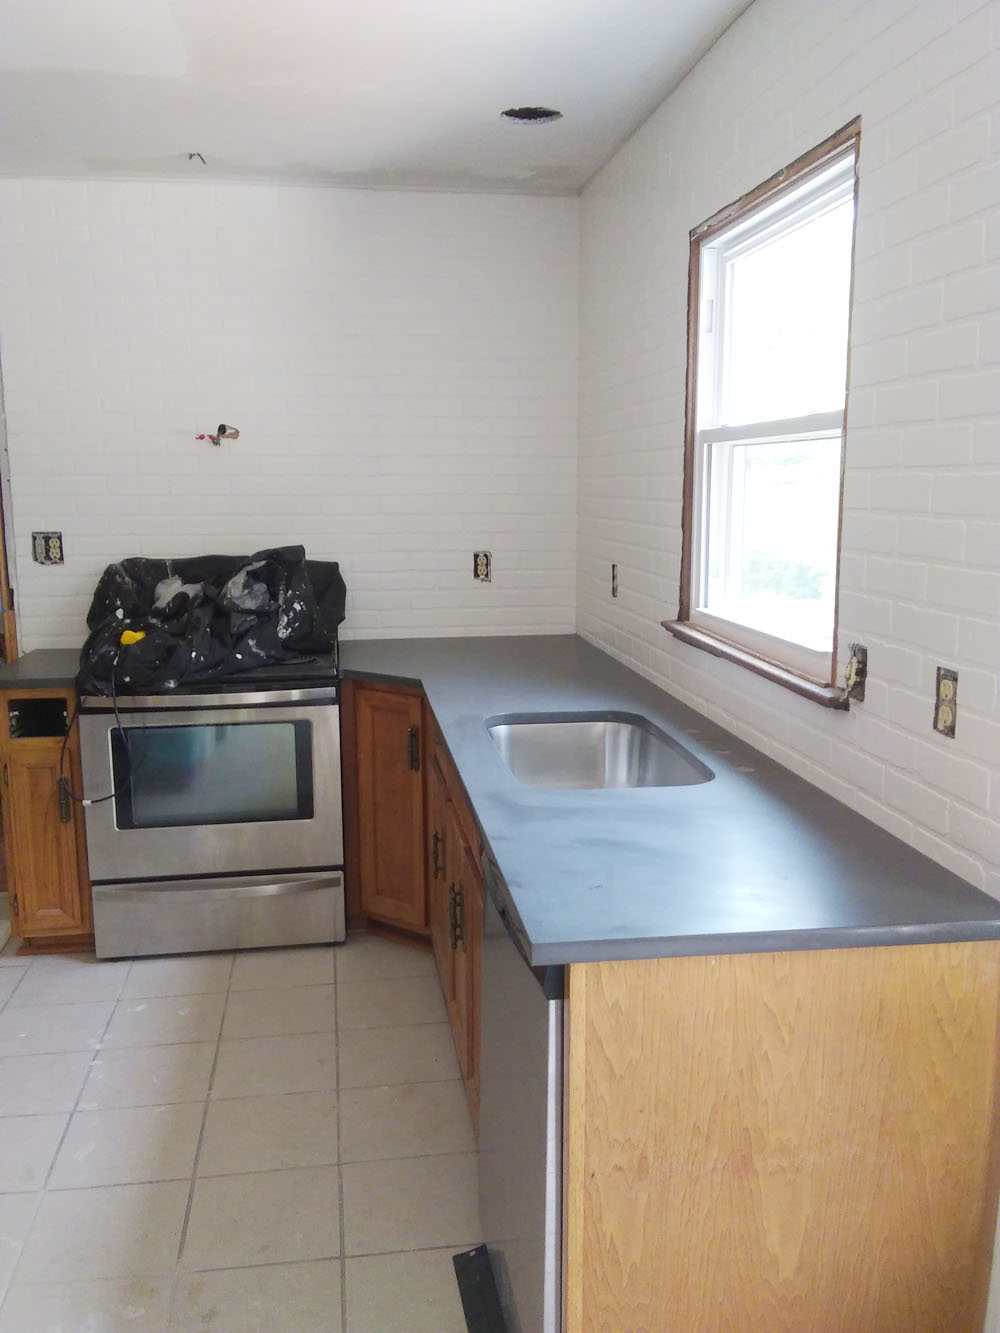
1. Measure the Backsplash
First, measure the backsplash. The embossed brick panels are 4ft wide and 8ft tall. They are designed to be placed side by side, tall enough to reach floor to ceiling on an 8ft wall.
Therefore, you’ll want to plan for 4ft wide sections, cut to the height of your backsplash. For example, we covered the wall from countertop to ceiling and needed 4ft x 61″ sections.
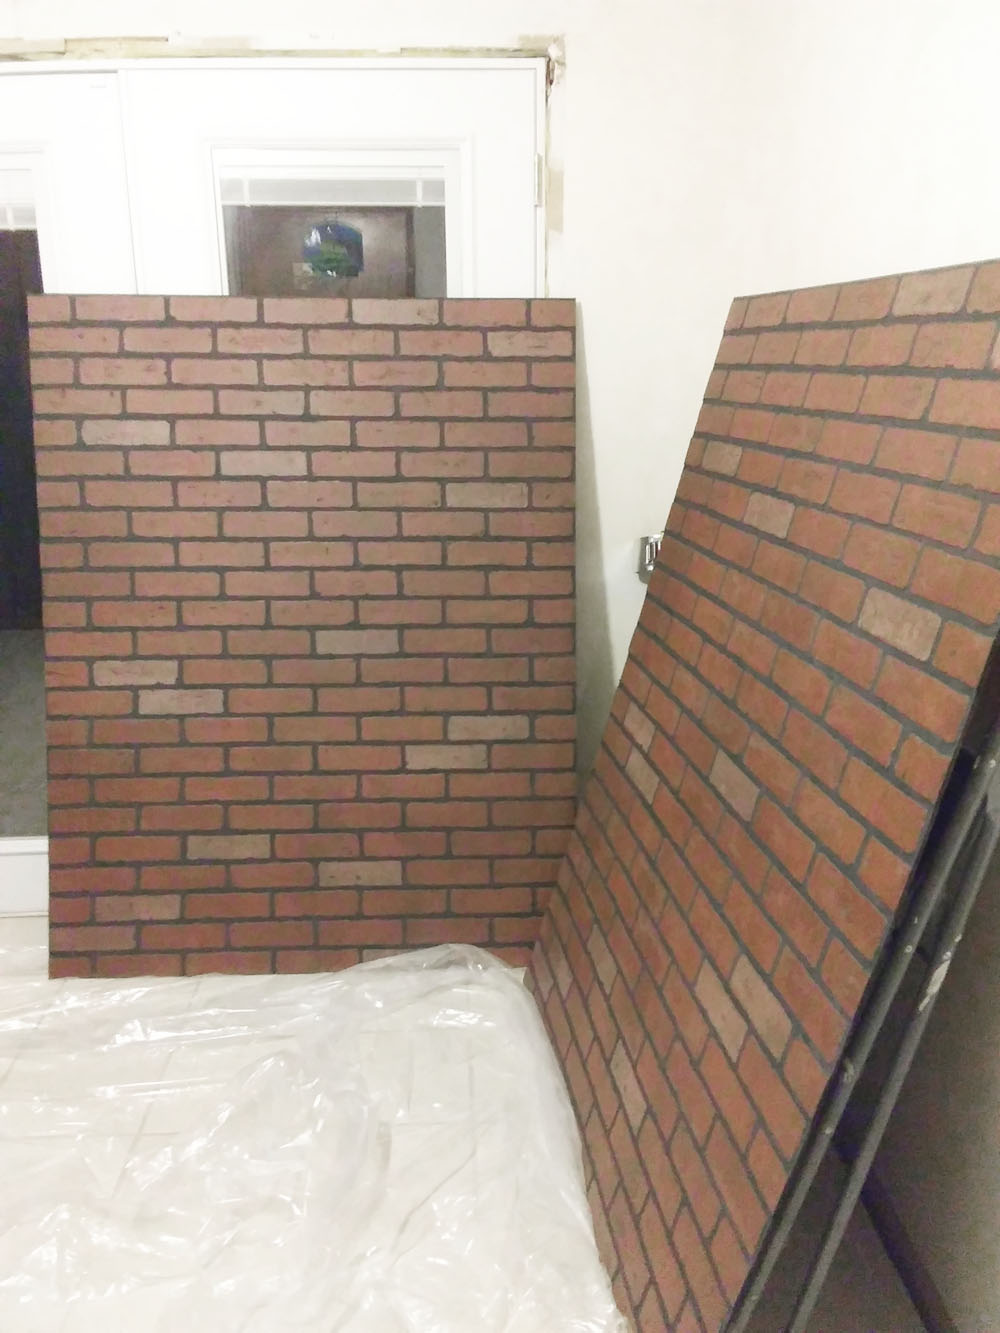
2. Cut the Faux Brick Panels to Size
Cut the panels to size. We have a table saw, but didn’t use it for this project. Instead, we had our panels cut down to 61″ at Lowes.
3. Prime the Faux Brick Panels
Once cut to size, prime the embossed brick panels. Use a 1/2″ nap roller, which is designed for semi-rough surfaces. The thick nap made it easy to paint both the mortar and the surface of the brick.
Use a paintbrush to touch-up any hard-to-cover spots in the mortar.

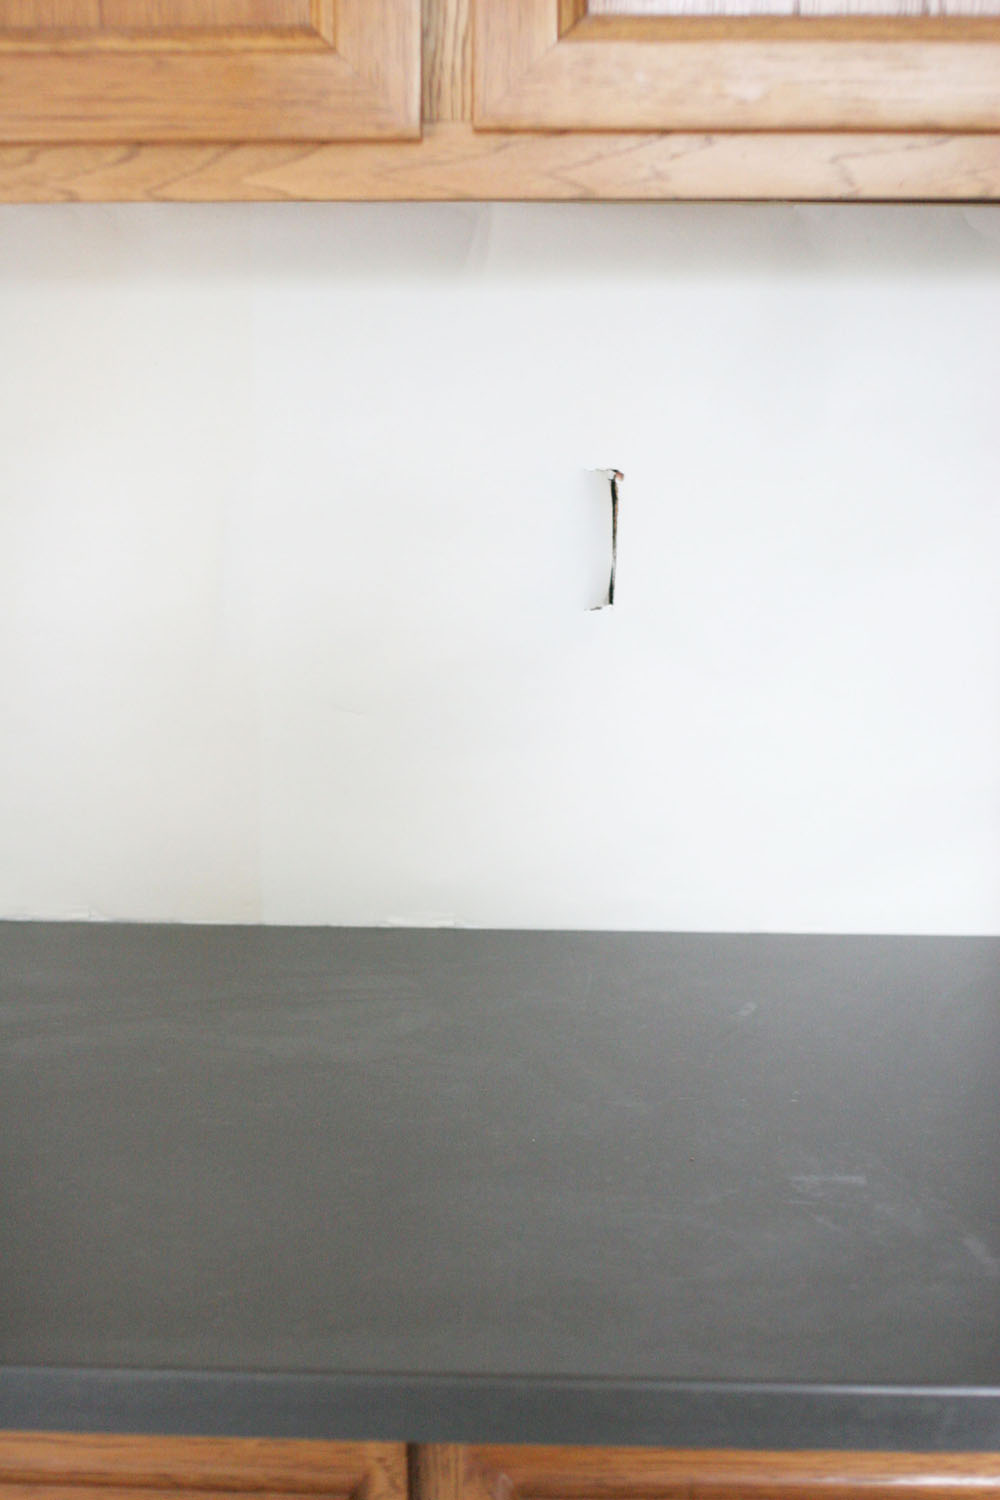
4. Identify and Mark Panels for Obstructions
Next, determine the location of any outlets, light switches, windows, or other obstructions. There are two ways to do this, we used a combination of both methods:
Method #1 – Kraft Paper:
- Hang kraft paper over the backsplash area.
- Attach it with painter’s tape.
- Use a utility knife to cut out the outlets, light switches, etc.
- Then, remove the paper from the wall and attach it to the embossed brick panels.
- Mark the outlet location on the panel with pencil.
- Make sure to keep the paper orientation the same as the panel orientation.
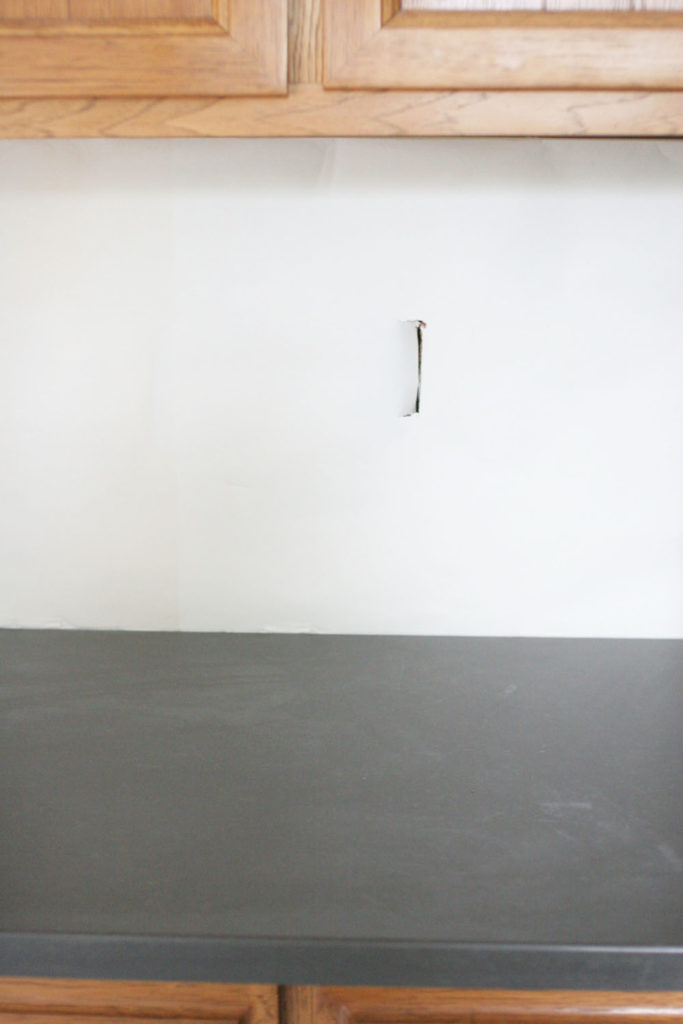


Method #2 – Measure:
- Measure the distance, on the x and y-axes to each obstruction.
- Then, transfer those measurements to the embossed brick panels.
- Make sure to begin in the same corner, with the panel orientation the same as the wall measurements.
- Mark it in pencil.
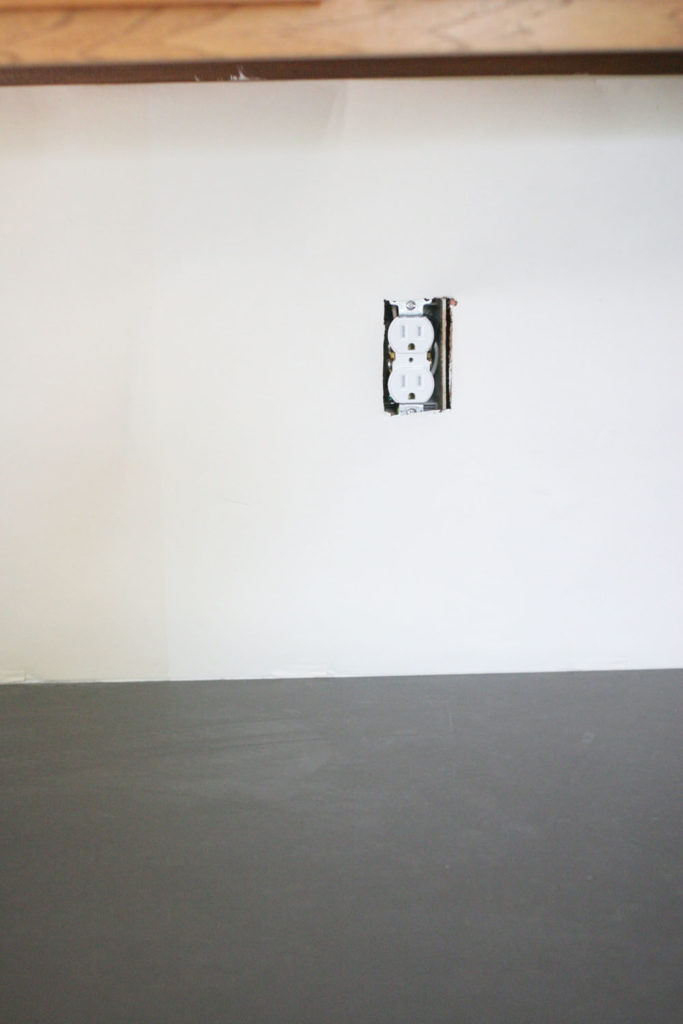
For example:
- measure the distance from the corner of the backsplash to the outlet (x-axis)
- measure the distance from the top of the backsplash to the outlet (y-axis)
- measure the height and width of the outlet
5. Cut the Panel for the Obstruction
Next, cut out each obstruction with the jigsaw.
Once cut, place the brick panel over the backsplash to check the cut. If needed, take additional measurements and make any additional cuts.
Repeat steps 1 through 5 until all of the brick panels are complete.
Work from one end of the backsplash to the other end. Before measuring and cutting each panel, line the panel up on the wall.
Specifically, line up the brick and mortar lines to ensure the faux brick remains level across the full length of the backsplash.
6. Install the Faux Brick Backsplash
Once the panels are cut, load a tube of heavy duty construction adhesive into a caulk gun.
Apply the adhesive to the back of the panel and place it on the wall. You should have approximately 15 minutes to reposition the panel if needed.
7. Add Nails to Secure the Brick Panels
Use a nail gun to attach the panels with brad nails, especially along corners and edges of the panel. If you know where the wall studs are located, add a few nails along the studs.
Nail into the mortar, not the brick, in order to minimize the appearance of the nail holes.
8. Hide the Nail Holes and Seams
Once the panels are all attached, fill the nail holes with paintable caulk.
In addition to the nail holes, fill the seams between each panel with caulk. This won’t eliminate the seam, but it will greatly minimize the appearance of the seam.
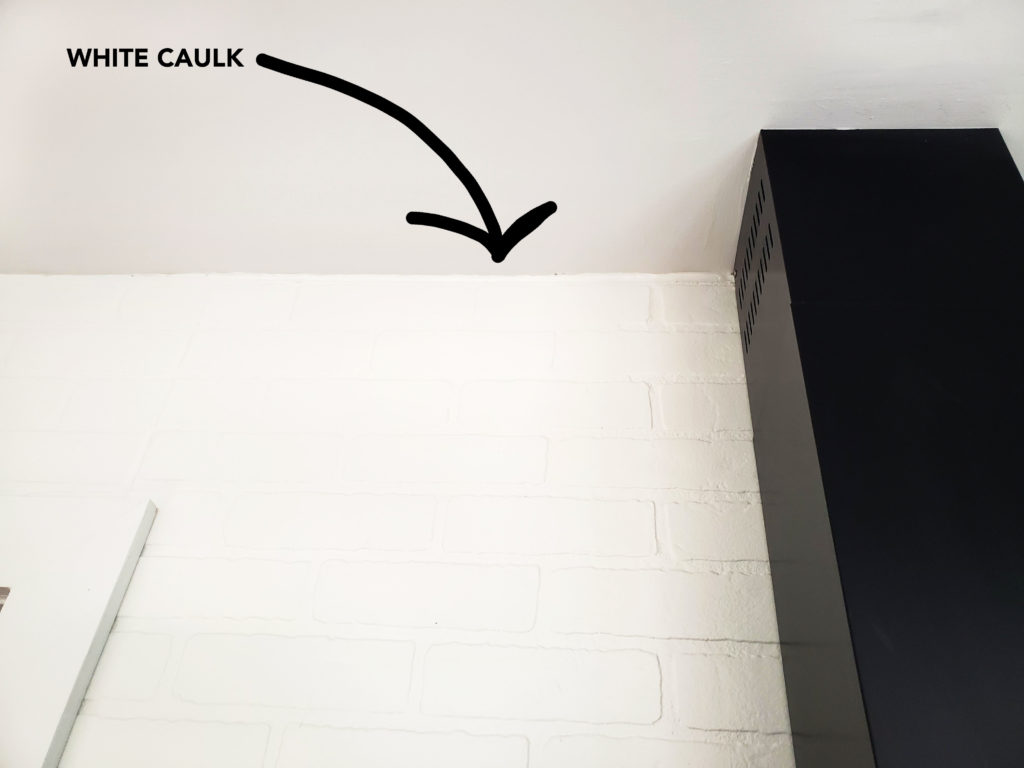
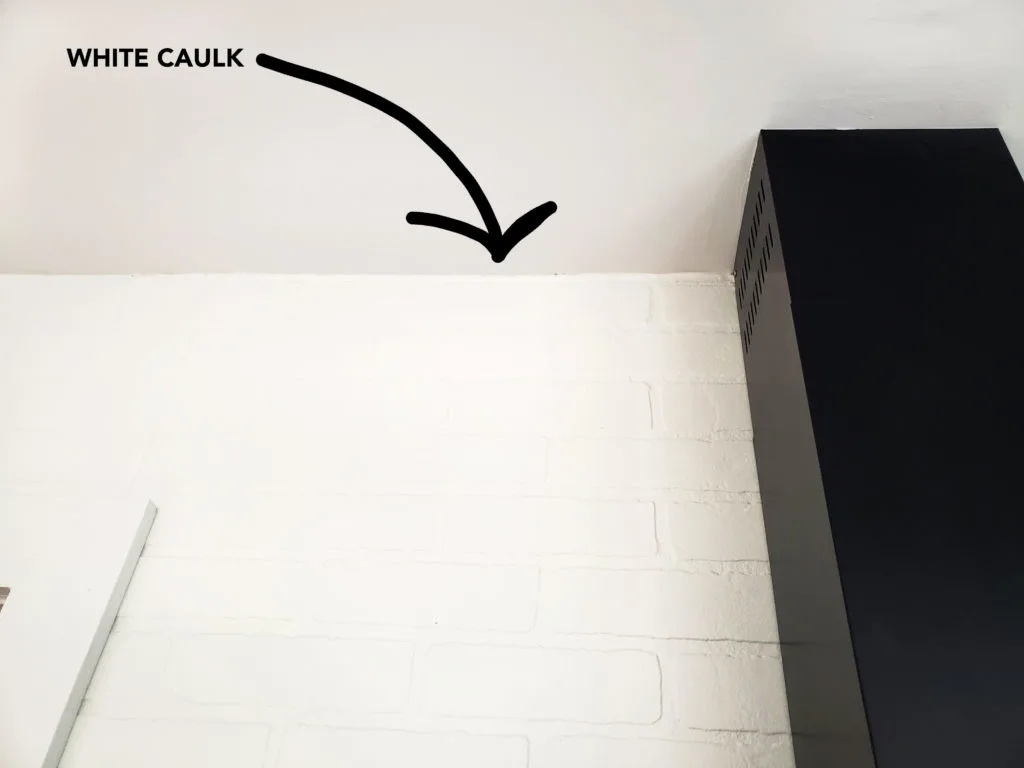
You may also need to caulk along wall corners, ceiling corners, countertop corners, etc. — any endpoint of the panel.

9. Paint the Faux Brick Backsplash
Finally, give the brick panels two coats of semi-gloss paint so that the backsplash is easy to clean.

Our Modern Cottage Kitchen with a Faux Brick Backsplash
Keeping with the modern cottage style of our home; the brick is a nod to an old, English cottage, while the white feels modern and fresh.

Yes, that’s my spice storage! Learn out how to make this vintage spice jar rack.

Love this range hood? It was a steal, marked over 65% off! (affiliate link)
Tips and Tricks
- Hang kraft paper on the wall to mark the obstructions (outlet, light switches, etc.), creating a template to mark and cut the brick panels.
- Find and mark the stud locations before you hang the faux brick. Then, when you hang the panel, make sure to insert a few nails along the studs for extra durability.
- It’s always best to be conservative with cuts. For example, when cutting out an outlet, err on the side of a too small cut. Why? You can always check it against the wall and make the opening larger.
FAQs: Installing a Faux Brick Backsplash
Q: How do I start the cutouts for the outlets and light switches?
A: We found it easiest to drill starter holes at each corner of the marked outlet or switch. Once the starter holes are drilled, slide the jigsaw blade down into the one corner and begin cutting.
Q: How do I finish the edges of a faux brick backsplash?
A: In corners and at seams, use paintable caulk to finish the edges (see image below). If it ends in the middle of a wall, use wood trim.
Did you love this DIY project? Pin it!

If you liked this DIY project, you might also like:
- How to Paint Brick (and which type of paint to use!)
- 50+ Subway Tile Ideas
- How to German Schmear Brick
- How to Install a Granite Backsplash
CL Topliff
Friday 12th of November 2021
(1) Does this need to be sealed w a clear (matte) non-urethane sealer for easy wipe cleanups? (2) can this be safely used behind a slide-range? Concerned re heat issues from stovetop
Lora Green
Tuesday 23rd of November 2021
No clear urethane is needed as long as you use a high-quality semi-gloss paint. We used SW Pure White in semi-gloss. It wipes clean very easily. As for heat from the stovetop, I would suggest confirming with the paint manufacturer from which you purchase the semi-gloss paint. Here is some general info on stovetop heat and paint: https://www.ehow.com/info_12010373_kind-paint-should-use-wall-behind-stove.html
Scarlet
Friday 7th of August 2020
Wow. I love this look. I had no idea faux brick backsplash could be so easy or so affordable. I am showing this project to my hubby to see if I can get him on board!