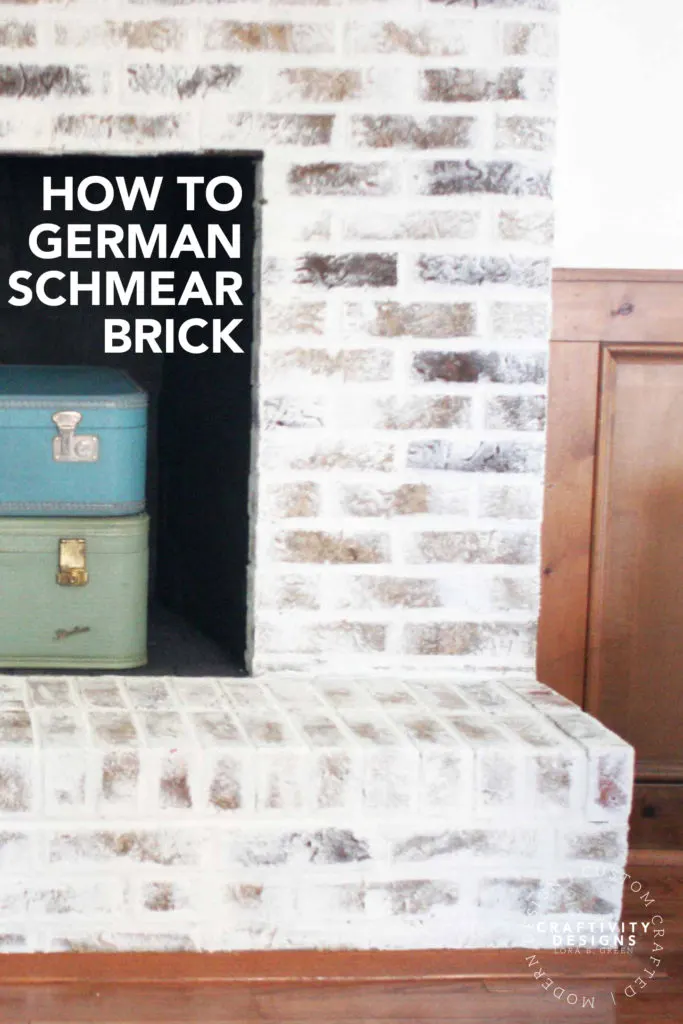
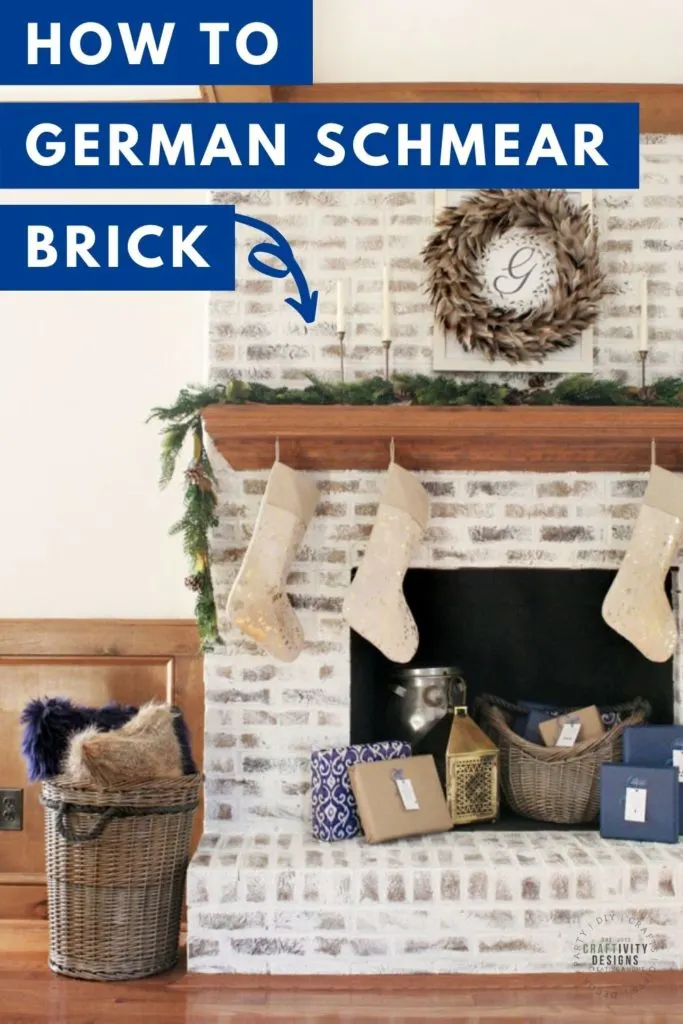
Learn how to German schmear brick, in no time! Makeover a brick fireplace with mortar wash, a beginner-friendly DIY project.
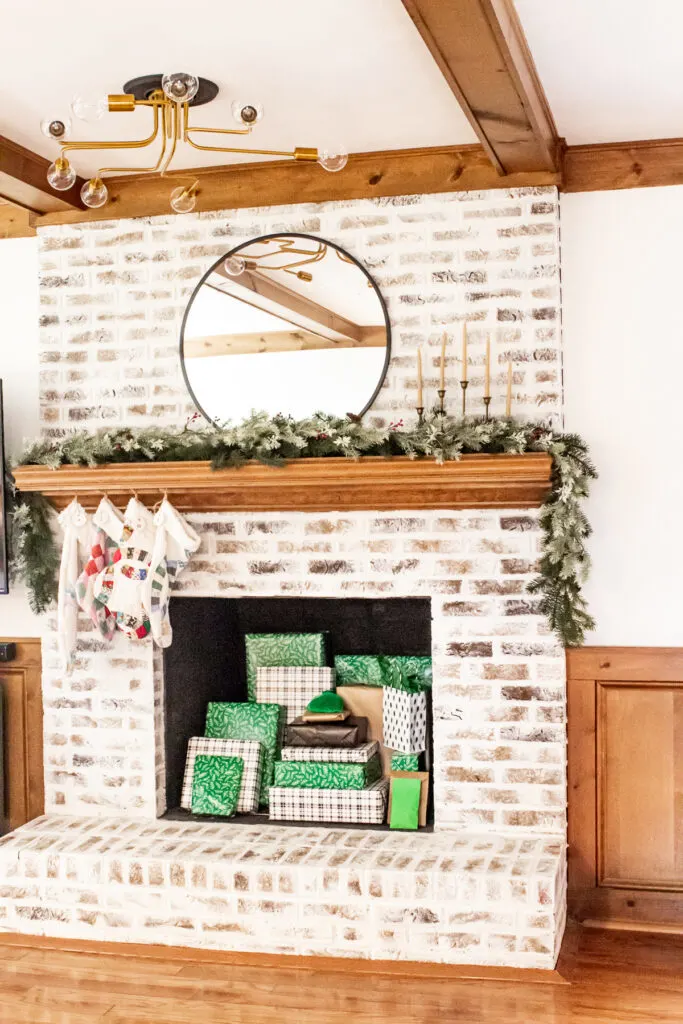
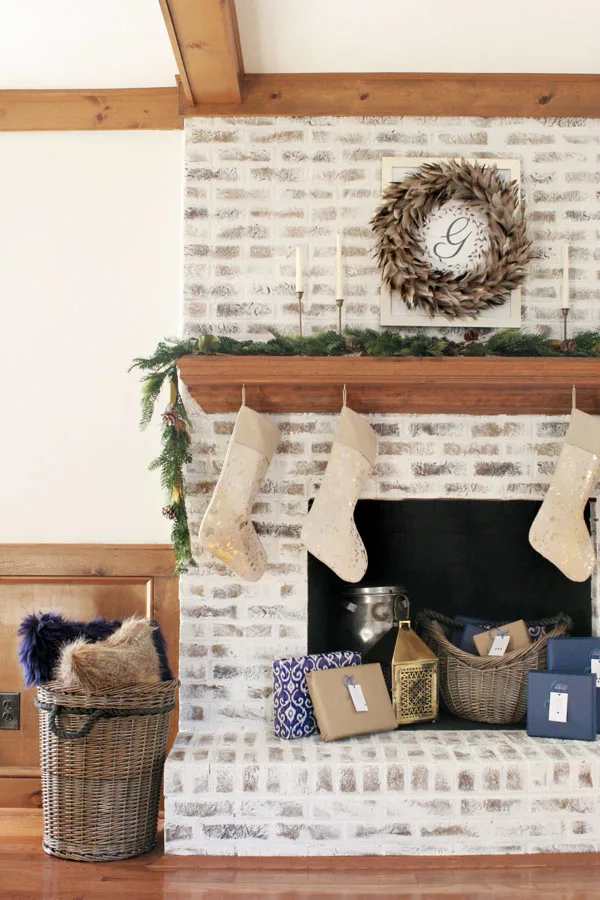
As much as I love the cozy features in our cottage-style home, some of it is a bit dark for my liking. For example, our east-facing living room only gets morning light, making it dim in the afternoons. Though I like the chunky wood trim, I’m not tied to the brick fireplace or mid-tone walls. Therefore, a German schmear brick fireplace makeover was a solution to brighten the living room.
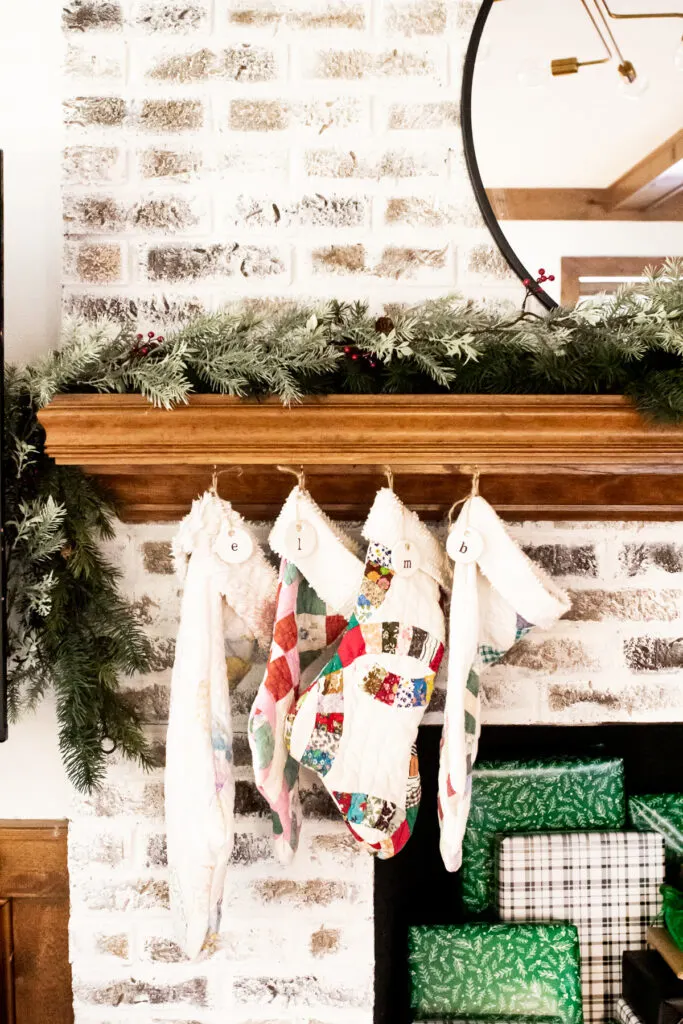
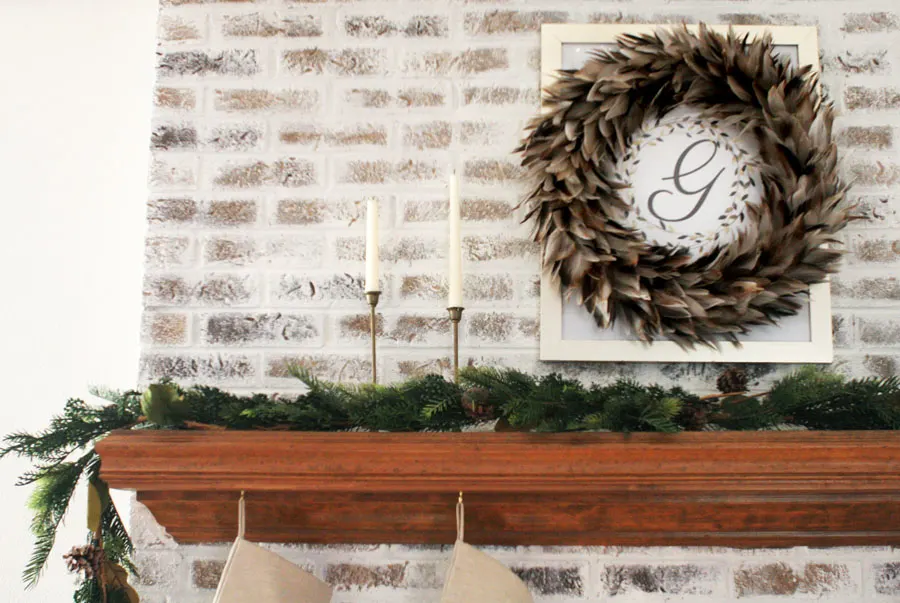
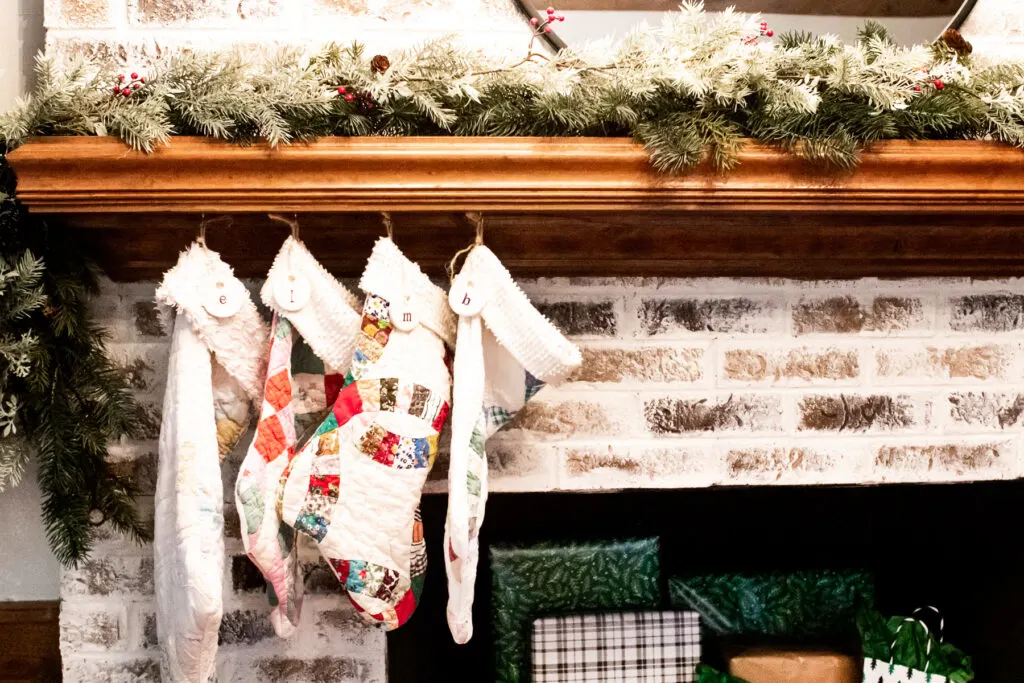
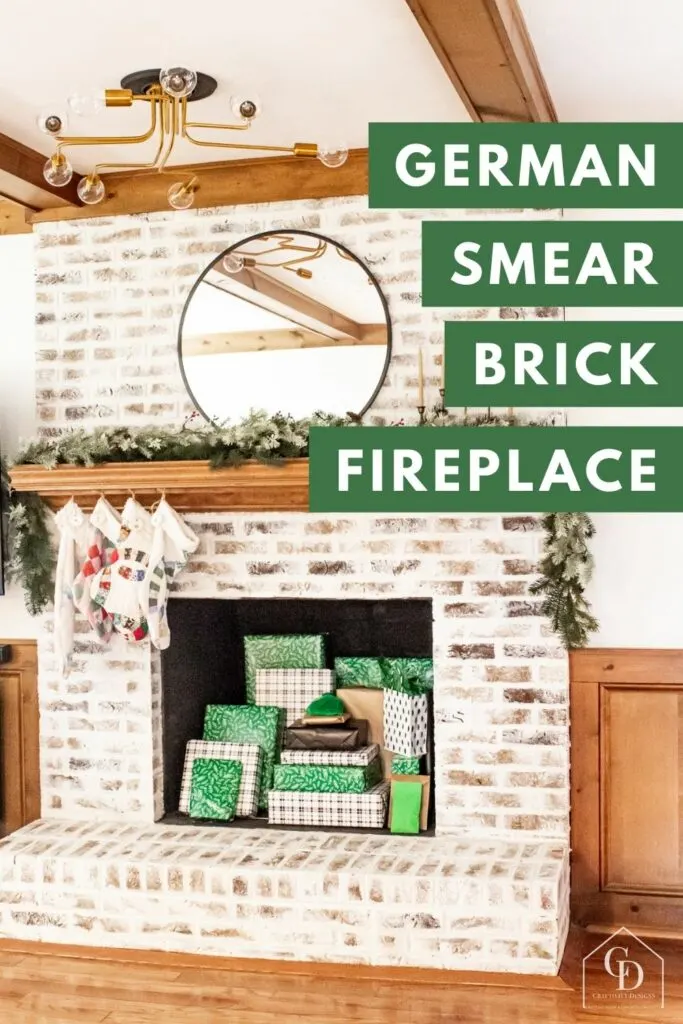
German schmear, like a whitewash, doesn’t fully cover the brick. While I like painted brick, I felt retaining some amount of exposed brick would be true to the modern cottage design concept we’ve chosen. So, if you are a brick lover, a German schmear is a great compromise — lighter and brighter, while still preserving character.
What is a mortar wash?
A mortar wash is a decorative effect which involves strategically spreading a mixture of mortar and cement across brick.
The term German schmear (or German smear) has origins in Germany from the word “schmear” meaning “to spread, grease, smear.“
Unlike a whitewash, which is typically thin paint or paints thinned with water, the German schmear technique uses a thick medium. Mortar is the traditional medium, or use paint for a faux treatment. Completing German schmear with paint is simpler, and achieves a similar look.
You might also like: What are the differences? German Schmear vs. Mortar Wash vs. Limewash
Save Your Favorite Ideas & Get Updates
- Save your favorite content (from my site and thousands of other sites including: home, DIY, craft, recipe, and travel blogs)
- Receive my weekly newsletter
- Gain access to my Freebie Library
How to German Schmear Brick
Note: This tutorial utilizes paint. If you want to try mortar, I suggest this mortar wash tutorial from Dimples and Tangles.
Supplies Needed
- Satin Wall Paint (my fireplace is SW Alabaster)
- Paint Brush
- Plastic Dropcloths
- Painters Tape
- Vacuum
Instructions
- First, vacuum the brick to remove dust, debris, and cobwebs.
- Once clean, cover the mantel, firebox opening, floor, trim, etc. with plastic dropcloths and painters tape.
- Now, dip the paint brush into the paint. There is no need to cover the brush in paint, only the tip of the brush.
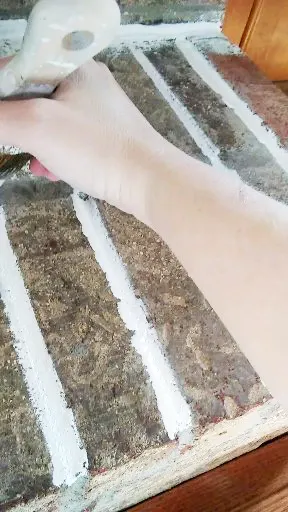
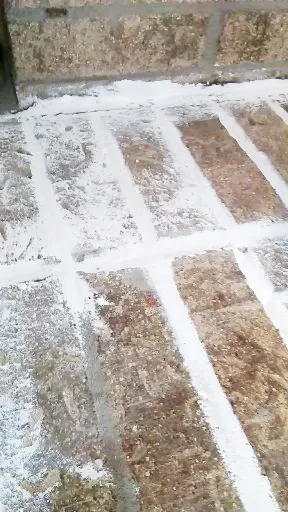
- Next, run the brush tip over the mortar surrounding a brick, generously applying paint.
- Once the mortar is covered with paint, use the paintbrush (without adding paint) to spread the paint from the mortar and across the brick. This smears the paint over the face of the brick… hence, the name “German schmear.“
- Finally, repeat steps 3-5 until all of the mortar on the fireplace is covered. If you aren’t satisfied with the coverage, apply a second coat.
Note: For reference, my fireplace has two coats of German schmear. It took less than 4 hours to complete, including dry time and cleanup. I used less than 1 gallon of paint.

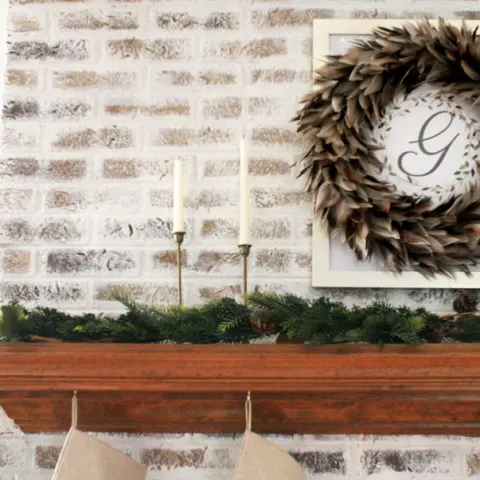
Note: Looking for living room light ideas? The light in the photo above brightened our entire room.
DIY German Schmear Projects
German schmear can be used on interior or exterior brick – even on faux bricks! If you’re considering giving german schmear a try, you’ll want to check out the following posts, too:
- Before and After Photos of German Schmear Fireplaces
- Before and After Photos of Exteriors with German Schmear
We couldn’t be more pleased with our german schmear fireplace, and plan to use the technique on the exterior of our modern cottage home and on the basement fireplace.
FAQs
A mortar wash uses a mortar/cement mix or with undiluted paint. A whitewash requires thin paint or paints diluted with water.
No. However, using paint and primer in one may reduce the total number of coats required.
Skip expensive brushes since the brick will be tough on the brush bristles. Ideally, choose a brush that is thick enough to cover the mortar lines, and approximately 2 inches wide. This will make painting the mortar quick and easy.
No. German schmear is a dry brush technique.
Yes! If your firebox is dingy and dirty, give it a fresh coat of paint, as well. Use a heat-safe paint as described in this tutorial about how to paint the firebox.
How to German Schmear Brick (Mortar Wash)
Learn how to German schmear brick, in no time! Makeover a brick fireplace with mortar wash, a beginner-friendly DIY project.
Materials
- Plastic Dropcloths
- Painters Tape
- Interior Satin Paint
Tools
- Paint Brush
- Vacuum
Instructions
- First, vacuum the brick to remove dust, debris, and cobwebs.
- Once clean, cover the mantel, firebox opening, floor, trim, etc. with plastic dropcloths and painters tape.
- Now, dip the paint brush into the paint. There is no need to cover the brush in paint, only the tip of the brush.
- Next, run the brush tip over the mortar surrounding a brick, generously applying paint.
- Once the mortar is covered with paint, use the paintbrush (without adding paint) to spread the paint from the mortar and across the brick. This smears the paint over the face of the brick... hence, the name "German schmear."
- Repeat steps 3-5 until all of the mortar on the fireplace is covered. If you aren't satisfied with the coverage, apply a second coat.
Notes
For reference, my fireplace has two coats of German schmear. It took less than 4 hours to complete, including dry time and cleanup. I used less than 1 gallon of paint.
If you liked this DIY project, you might also like:
- How to Install a Faux Brick Backsplash
- Learn How to Paint a Brick Fireplace (and the best paint to use!)

Karen
Thursday 13th of October 2022
Your Step #5 seems to be missing a few words in the first sentence.
Lora Green
Thursday 20th of October 2022
Thank you! Good catch, Karen. I have fixed that step and appreciate you letting me know :)
Luke
Tuesday 14th of December 2021
Looks great! Which SW paint did you go with? SuperPaint, Emerald, Duration? Acrylic Latex, Acrylic Enamel? Oil base?
Lora Green
Monday 20th of December 2021
Thanks, Luke! That is a great question and I can't recall for certain - but I generally buy Emerald. I do know for sure that it was an Acrylic Latex, and not enamel or oil base.
Jen
Monday 15th of November 2021
Did you use a sponge at all to get the coverage you got, or was it only the brush? Your results are the best I've ever seen and I'm trying to work up the nerve. Nothing looks streaky in your images and I'm wanting to learn how to achieve that. Thanks!
Lora Green
Tuesday 23rd of November 2021
Thank you, Jen, for your kind comments :) I did not use a sponge, only a dry brush. Let me know if you have more questions!
Liz
Saturday 12th of June 2021
After years of loving this look and doing lots of research, I finally got the courage to try your technique on our master bedroom fireplace. I love it! The process was so easy and actually fun!! Thanks for all of your tips. Now on to my family room! Here are by before and after pics.... image 1 779C9F49-2FFC-42B9-BF16-F8C9D0241D2D/IMG_3485.HEIC image 2 8B64F38B-88DC-42FE-B44E-0A66D7E42E7B/IMG_3487.HEIC
I had trouble attaching the photos...hope it worked!
Lora Green
Monday 14th of June 2021
I'm so glad you are happy with it, Liz! It is such a surprisingly simple and enjoyable DIY project, I'm so glad you enjoyed it. I can't open your pics, but if you'd like to send them to loragreen@craftivitydesigns.com, I'd love to see them!
Regan
Friday 7th of May 2021
Love this! How has your paint held up after all this time? Did you use an wall paint or trim paint?
Lora Green
Friday 7th of May 2021
Thank you!! Wall paint. It has held up great! We've had no issues at all.