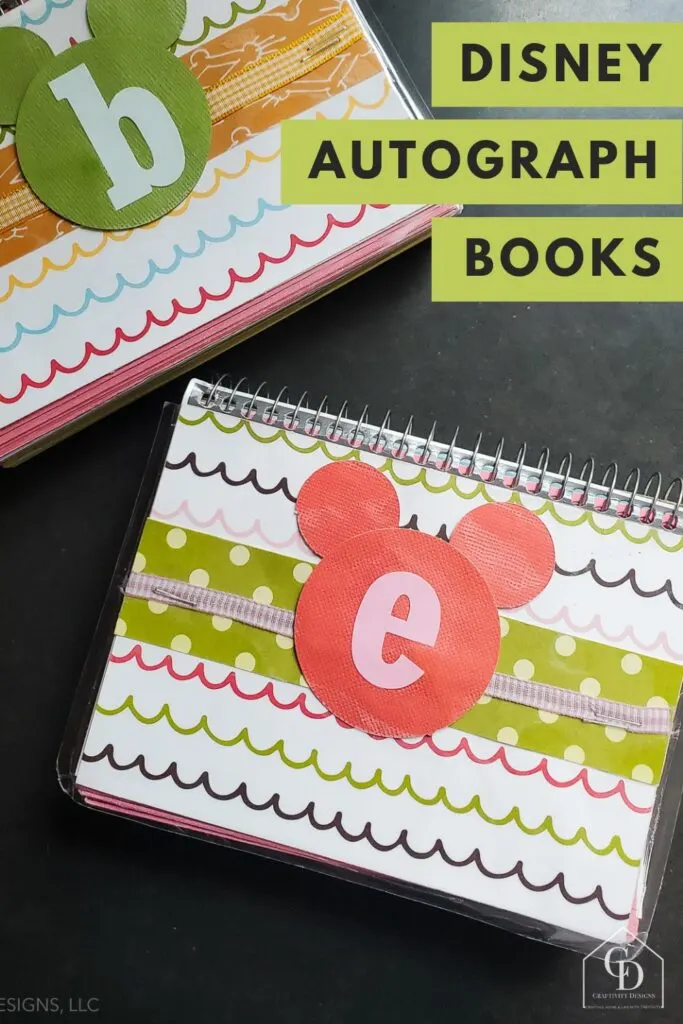
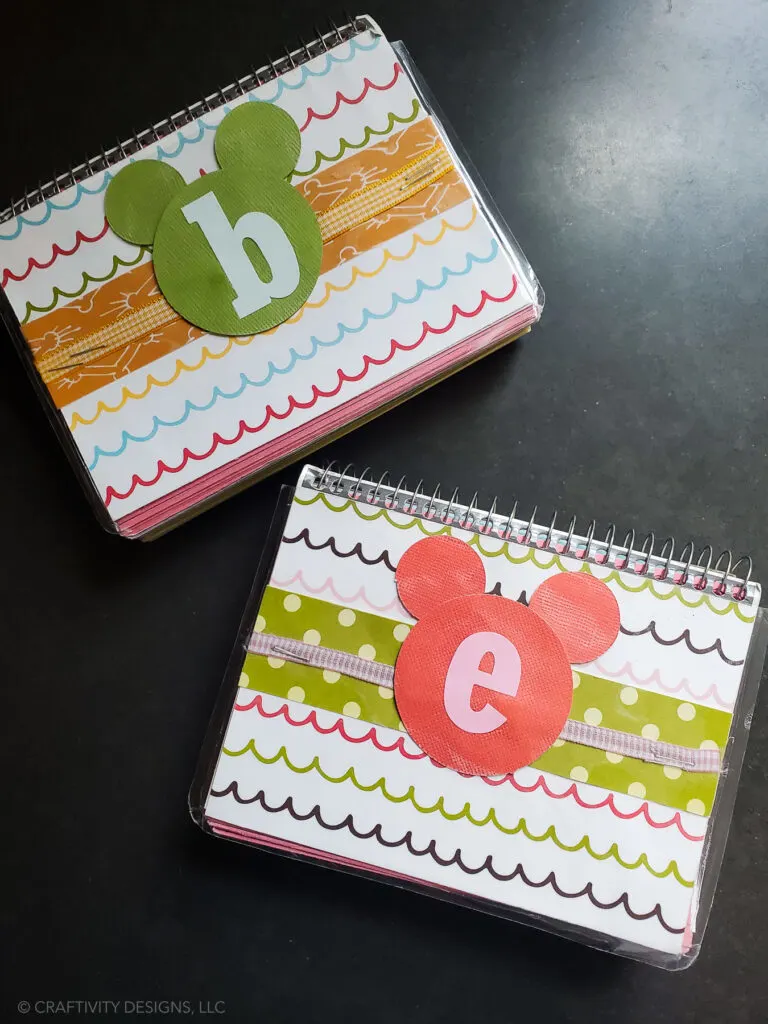
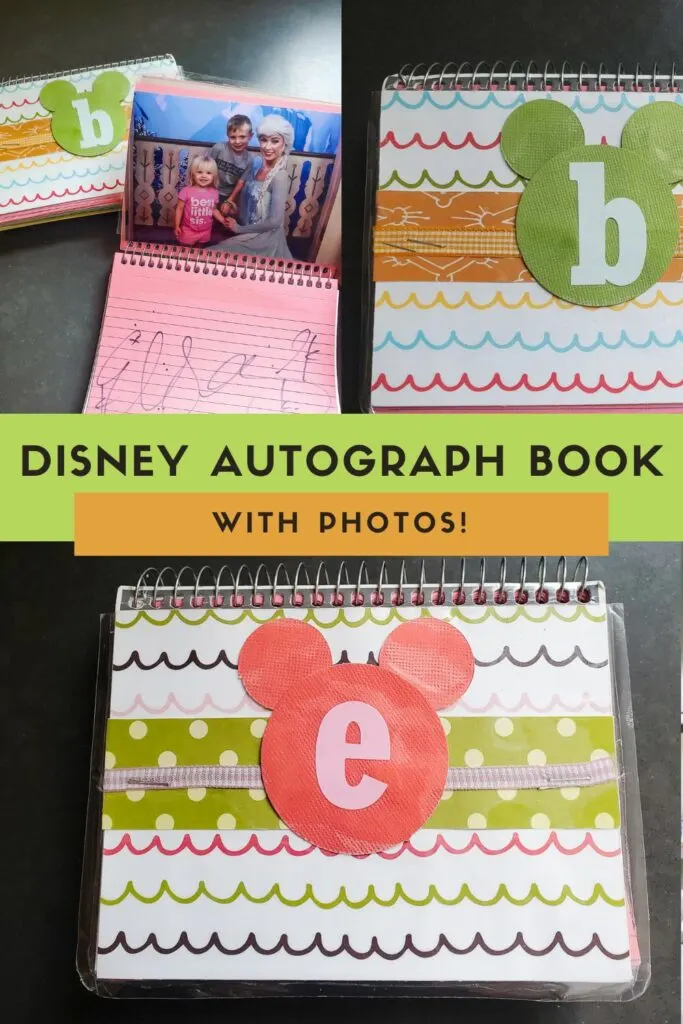
Learn how to make a Disney autograph book for your next trip to Disney World, Disneyland, or Disney Cruise Line. Your kids will loving collecting signatures from Disney characters and adding their photos for years of memories, too!
Are you heading to a Disney theme park or cruise soon? If so, don’t forget to pack an autograph book. In this tutorial, I’ll show you how to make a Disney autograph book for each child (the kids can help, too!).
If you’re like me, you’ve been busy planning your Disney vacation. You’ve got your flights booked, your resort reserved, and your dining reservations selected. But, don’t forget a Disney signature book for when your kids meet their favorite characters. Don’t worry, this tutorial is quick and easy… you’ll still make your plane!
Disclosure: This page includes affiliate links.
Disney Crafts and Creative Trip Ideas
I love planning Disney vacations. I listen to the podcasts, read tip websites, and more (maybe I’m a bit obsessed?). In doing all that planning and dreaming, it brings out my crafty side.
One of my favorite Disney crafts is our Disney Countdown Calendar. We use it every vacation, and excitement builds as we watch the numbers drop to zero.
Our Passport for the World Showcase was a fun Epcot activity and our Mouseketeer costumes were perfect for the Not-So-Scary Halloween Party (not to mention our many other Disney costumes… Snow White, Cinderella, the Little Mermaid, and Pirates of the Caribbean).
We’ve even put our Disney crafting skills to work at home with Haunted Mansion Halloween decorations and Enchanted Tiki Room patio decor.
So, it’s no surprise that I’d choose to make our Disney Autograph books rather than buying one online or at the parks. Plus, by making our own signature books, we can add our photos afterward – creating a memory scrapbook-style keepsake, too!
How to Make a Disney Autograph Book
This project is easy and fun, and it’s a great way to keep track of all the signatures from your favorite Disney stars at character meet and greets.
Supplies
- Spiral-Bound Index Cards
- Scrapbook Paper
- Glue Stick
- Ribbon
- Letter Stickers
- Self-Sticking Laminate
- Jumbo Sharpie
Tools
Instructions
1. Decorate the Cover
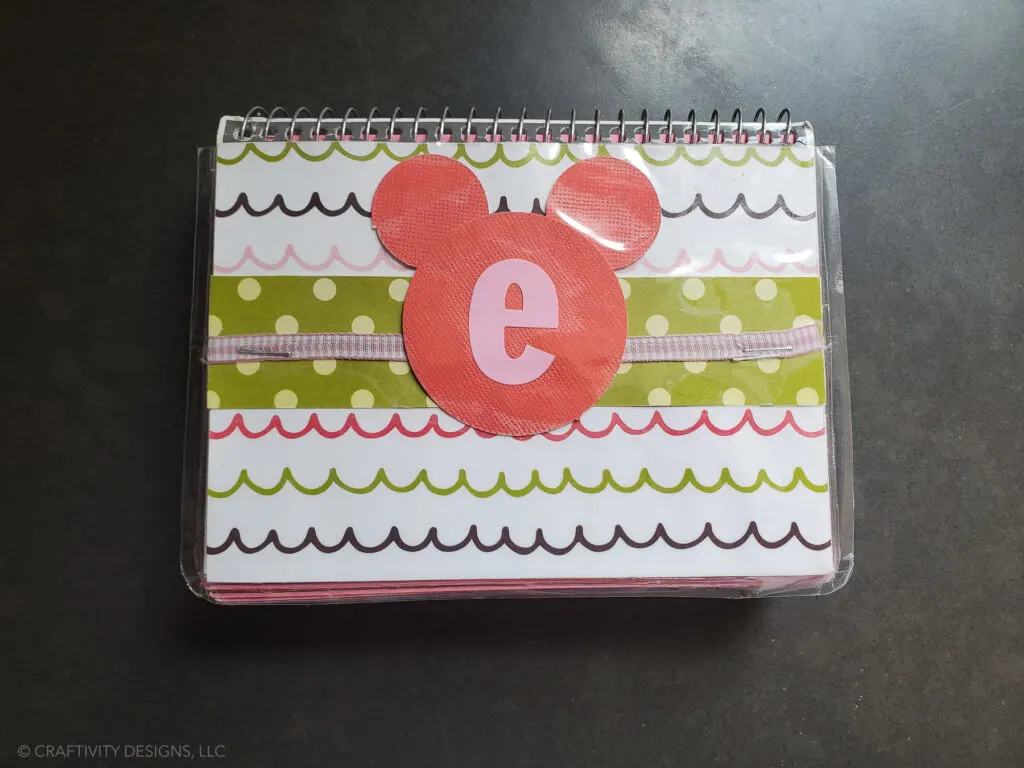
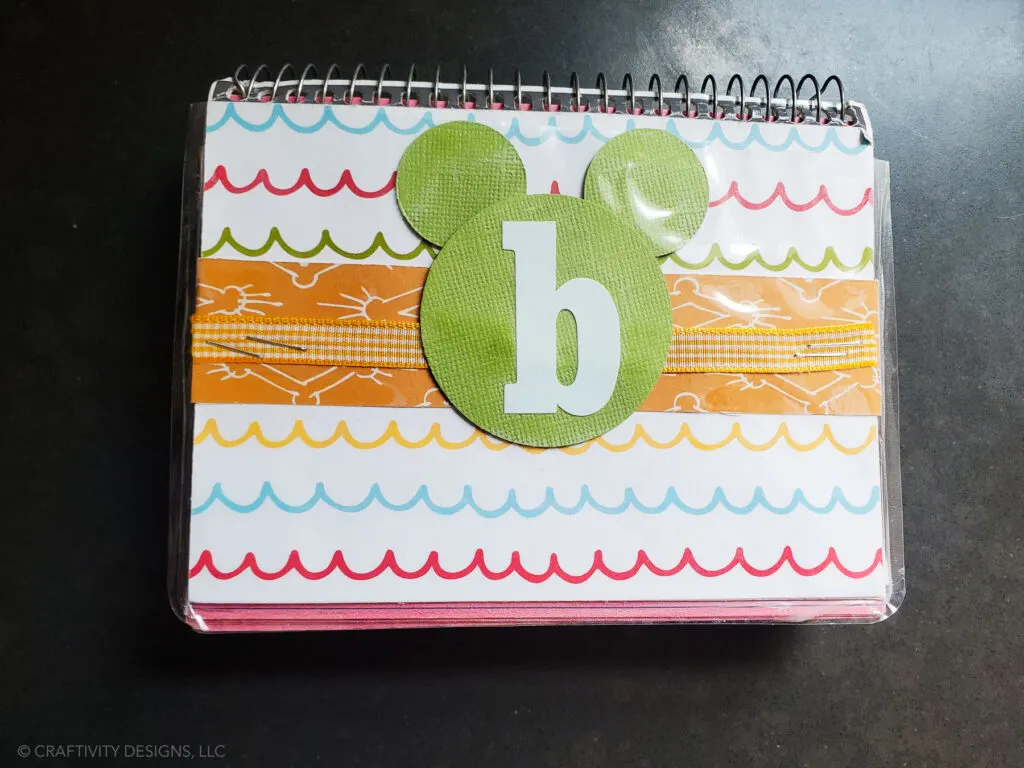
Use scrapbook paper and glue to create a colorful cover. Let your child select their favorite colors and prints from an assortment of scrapbook paper. For dimension and texture, add a strip of ribbon.
2. Make Mickey Mouse
Next, use assorted circle punches to make a Mickey Mouse to glue onto the cover. Punch two small circles for Mickey’s ears, and a large circle for Mickey’s head out of solid color scrapbook paper.
Once the Mickey Mouse is glued in place, add a letter sticker for your child’s first name.
3. Laminate the Cover
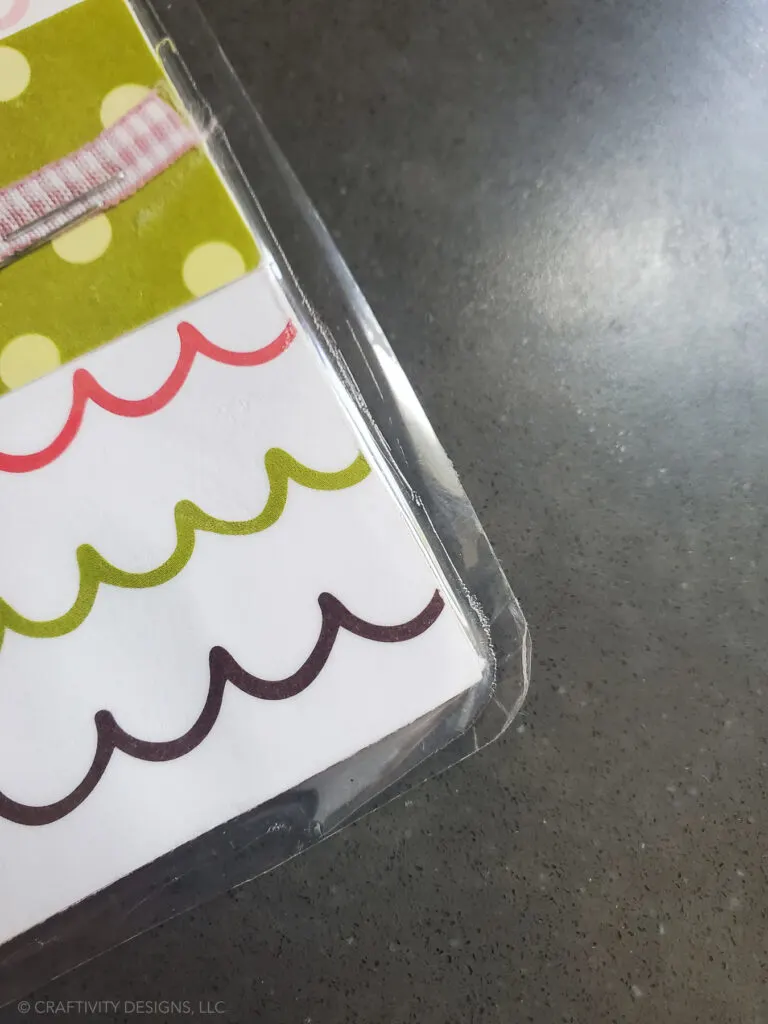
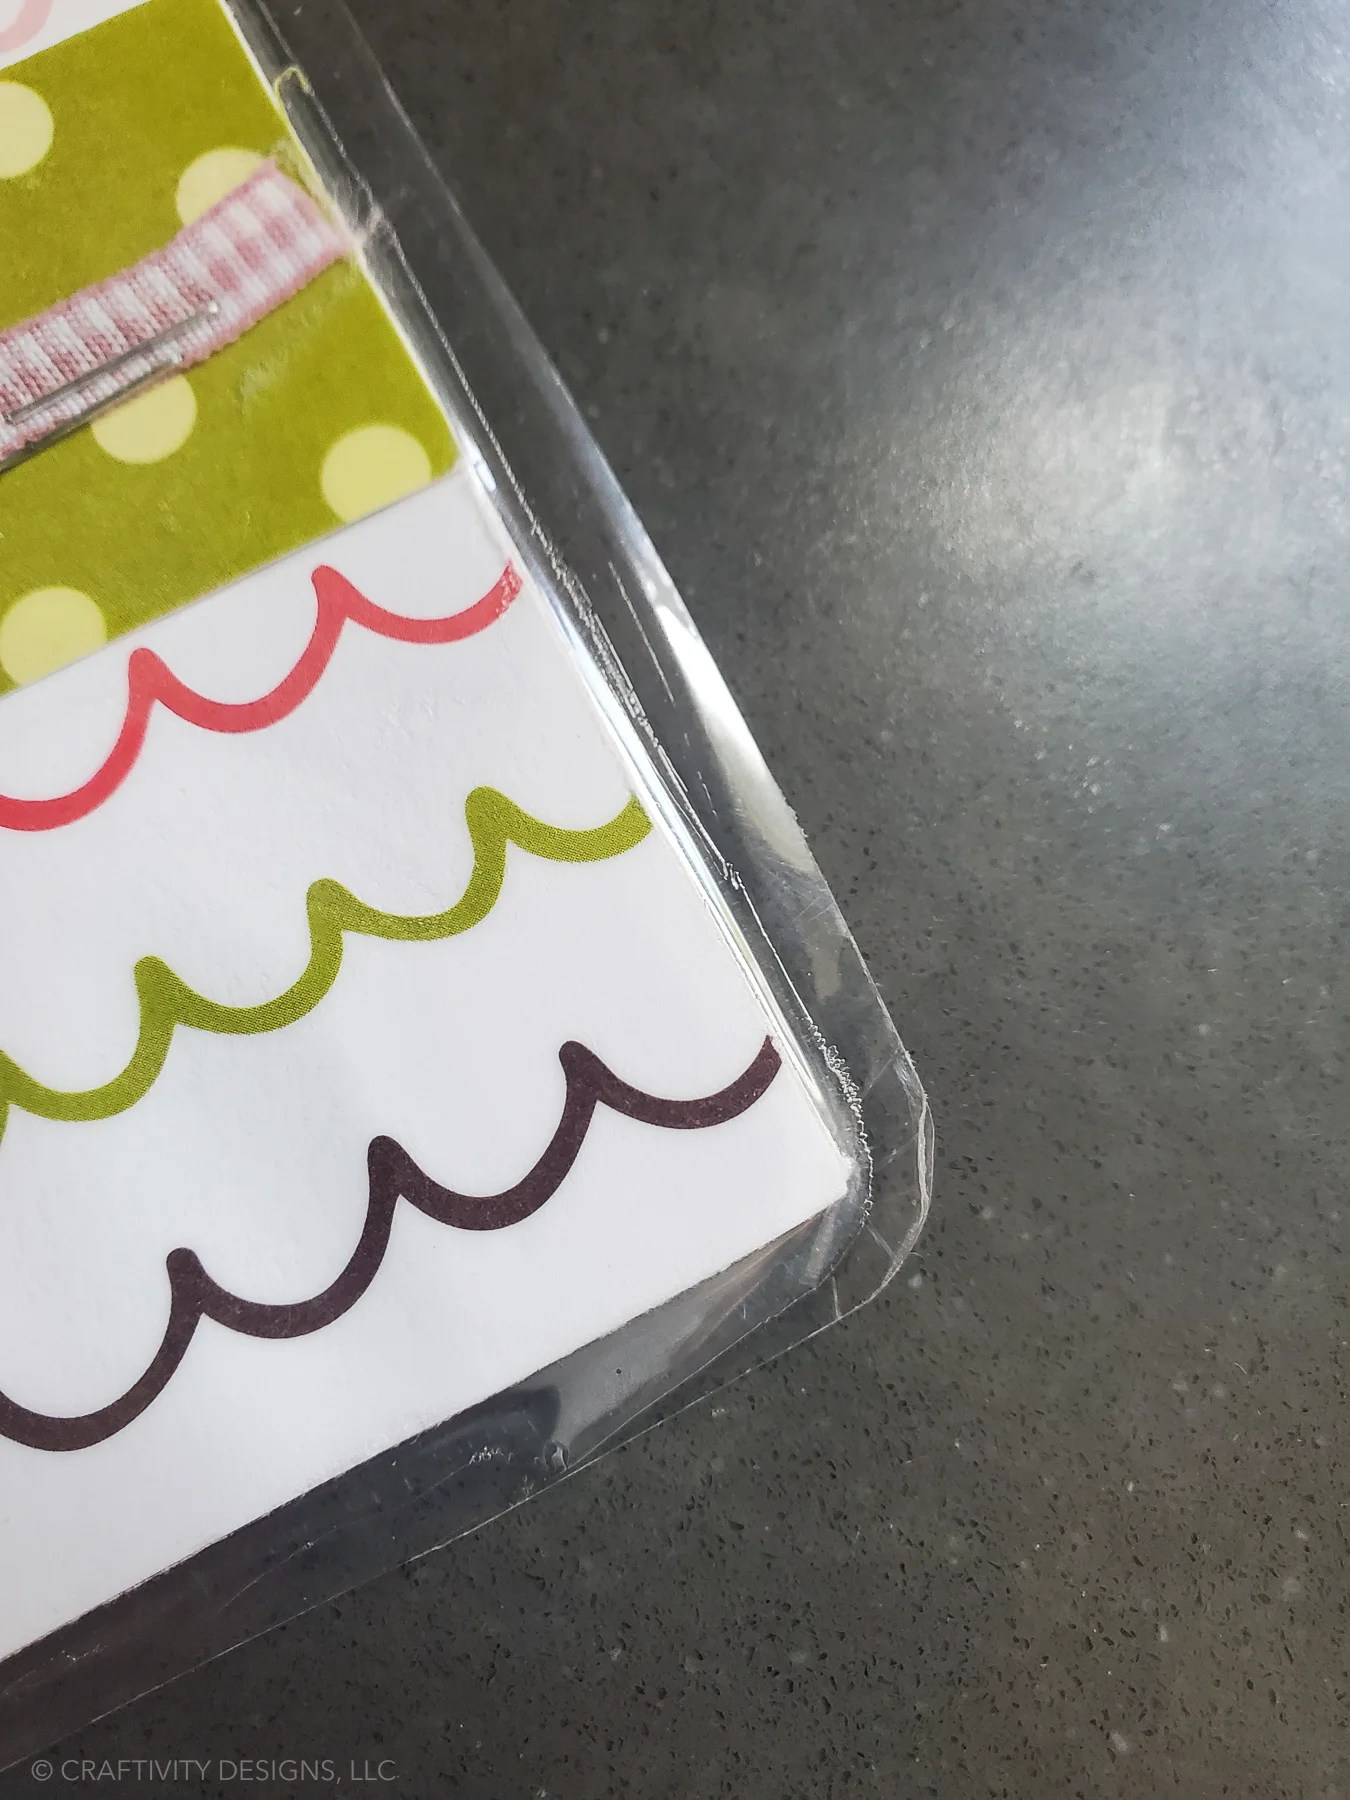
To protect the cover, laminate it with self-sticking laminate. With self-sticking laminate, you don’t even need a machine! Follow the directions on the box.
Round the corner of the laminate with scissors, so that there are no sharp edges.
4. Bring a Sharpie
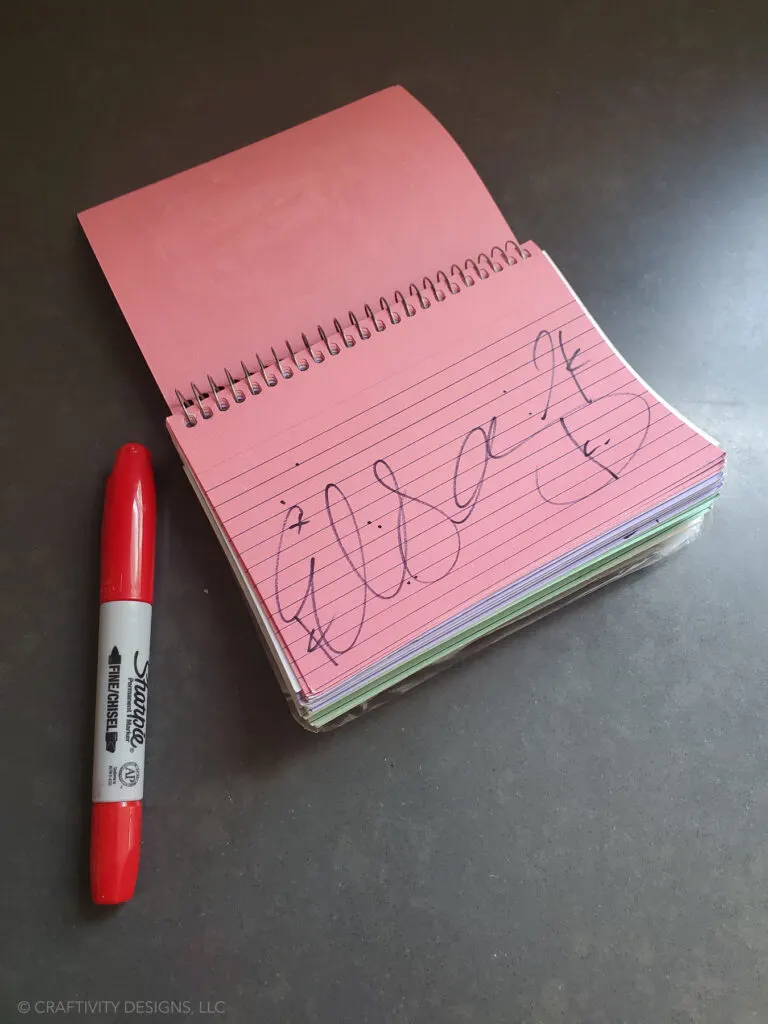
Don’t forget to bring a jumbo sharpie with you on your vacation. A jumbo sharpie is easier for the non-face characters to hold when signing. Additionally, it fits perfectly in the bound notecard book.
5. Get Signatures
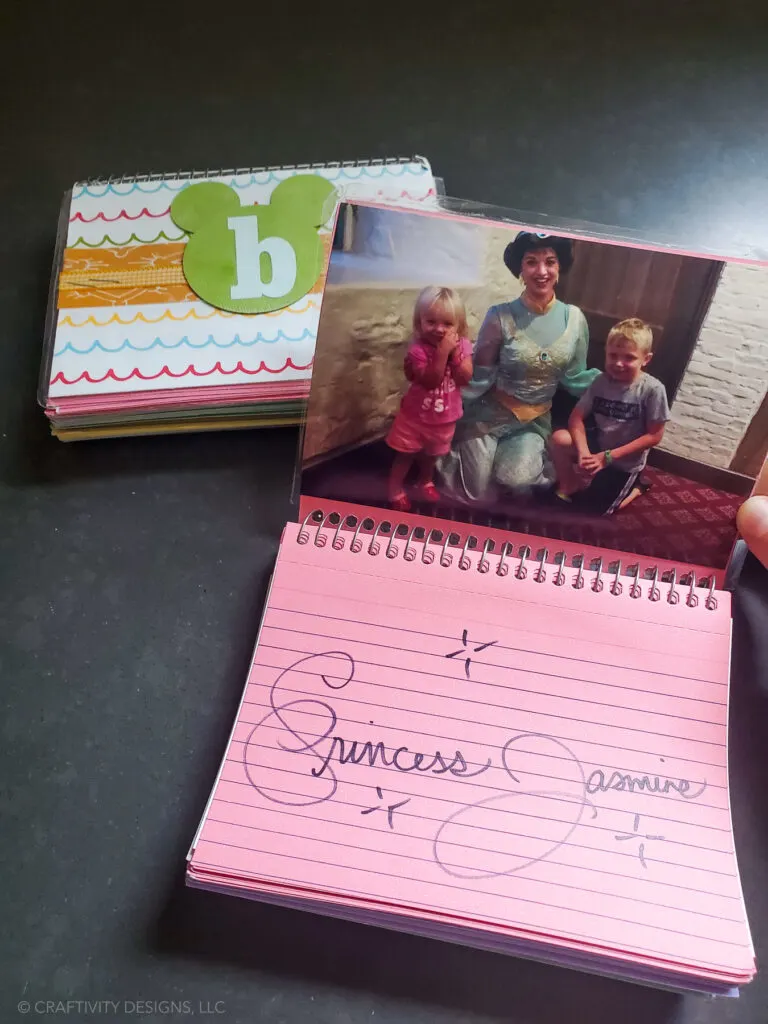
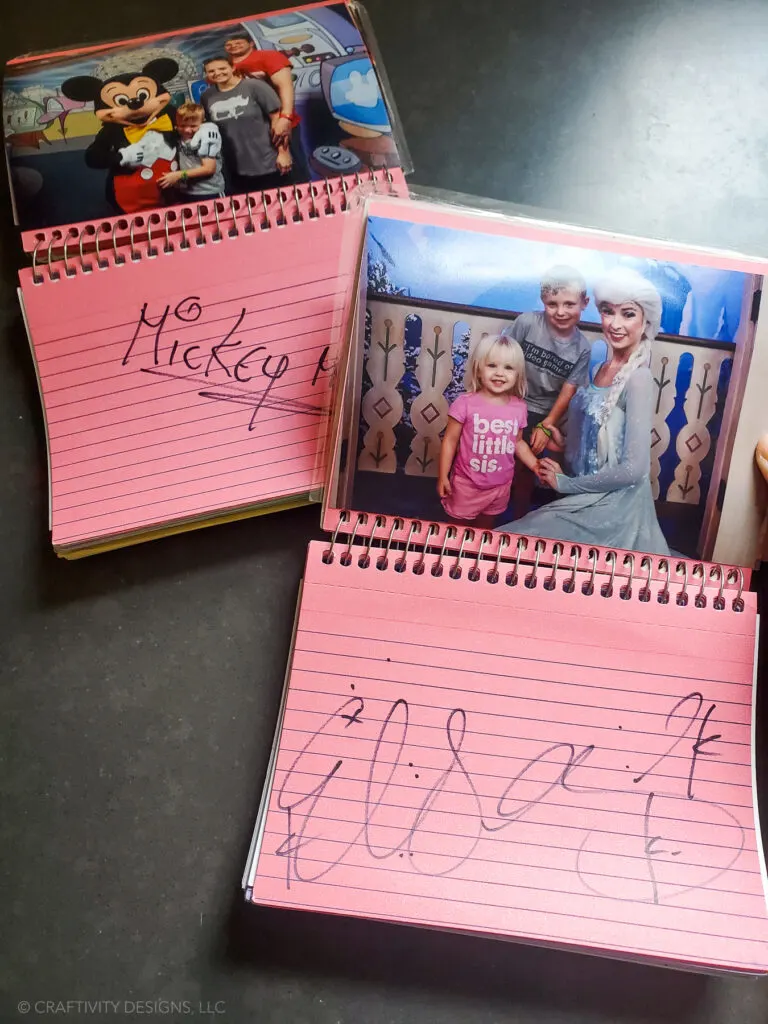
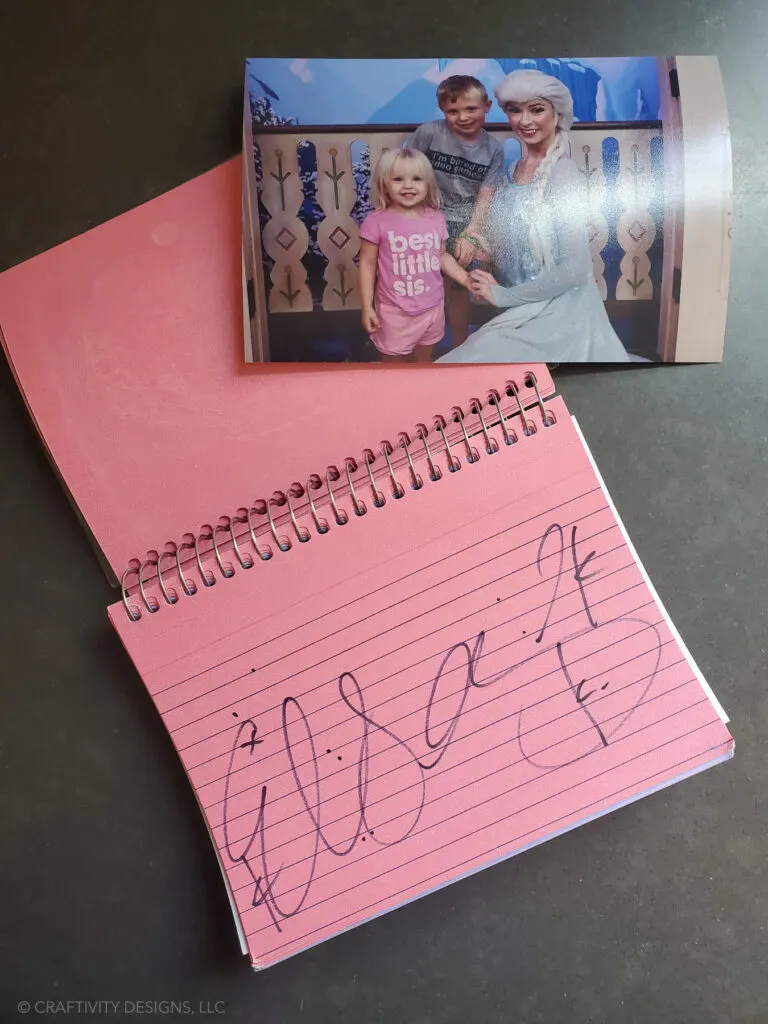
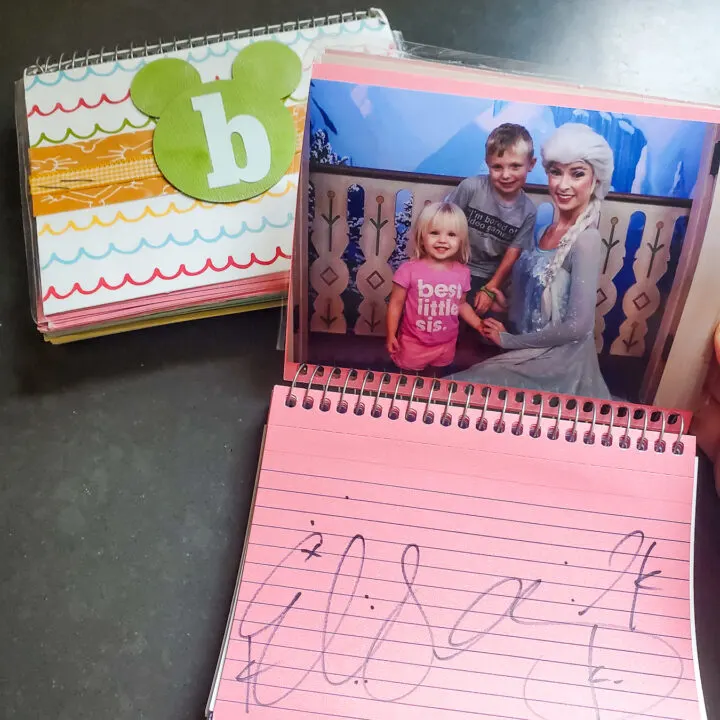
As you bump into Disney characters and visit Meet and Greets, have them sign every other page in the book. We used the book lengthwise and did autographs on the right and saved the left-side pages for photos.
6. Finish the Book
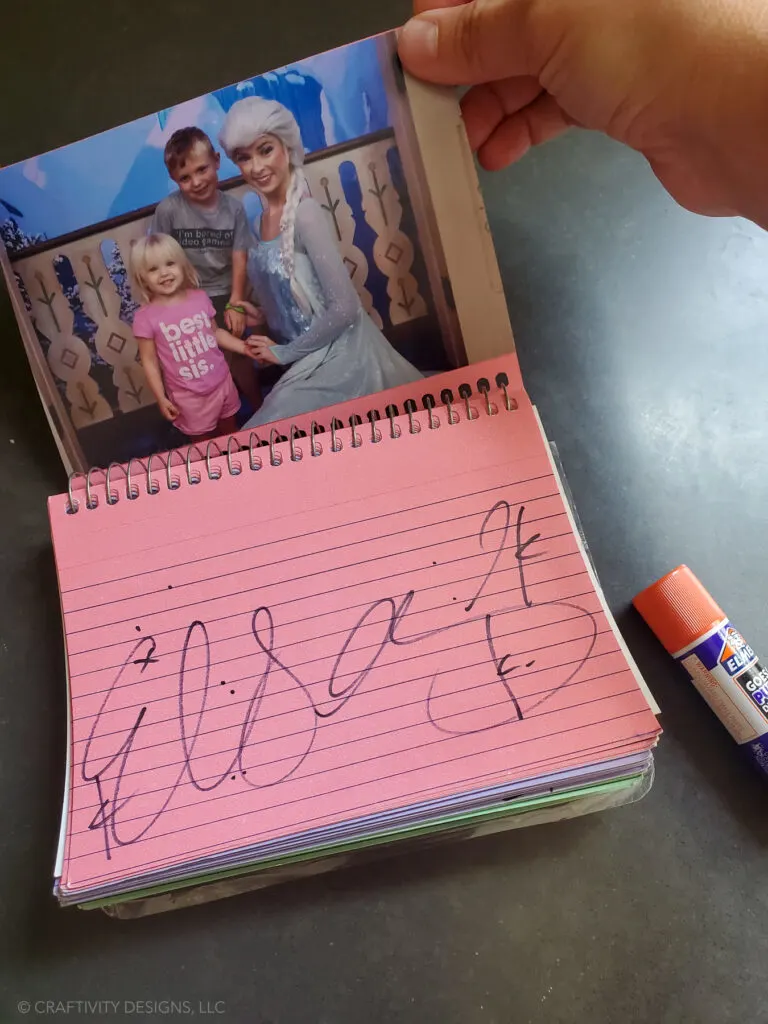
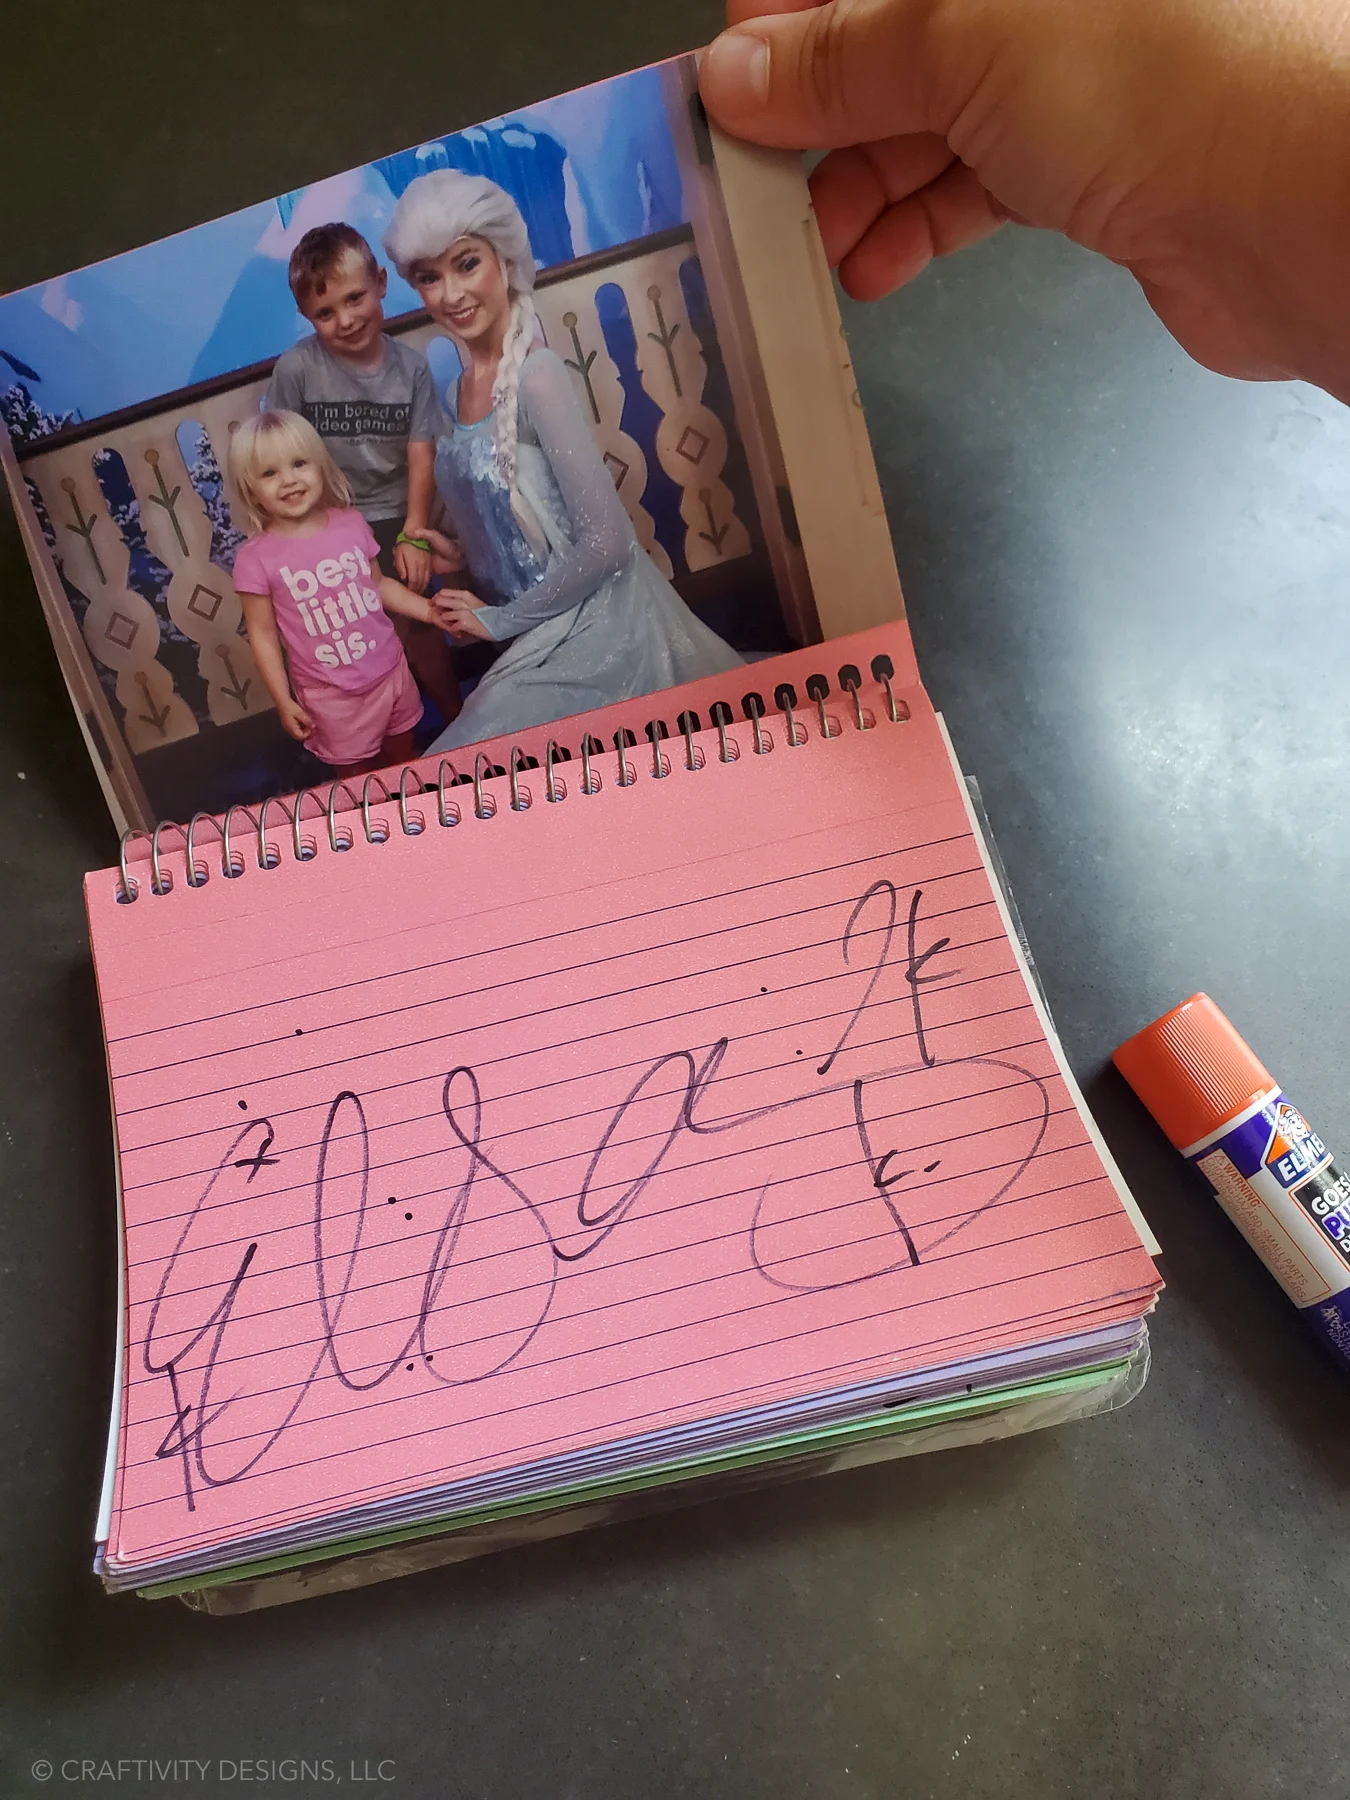
When you get home, add photos to each page that coordinates with the autographs. These can be pictures you took with the characters, or pictures you print from online. Your kids will love adding photos to their books, and looking back at the photos for years to come!
Tip: Add a date below each signature. Then, use this book year after year to see your child grows through their Disney trips!
Alternative Disney Signature Book
Definitely get the kids involved in this cute little Disney autograph book. They may have additional decorative ideas to add. You can follow the directions as closely as possible, or you can get creative!
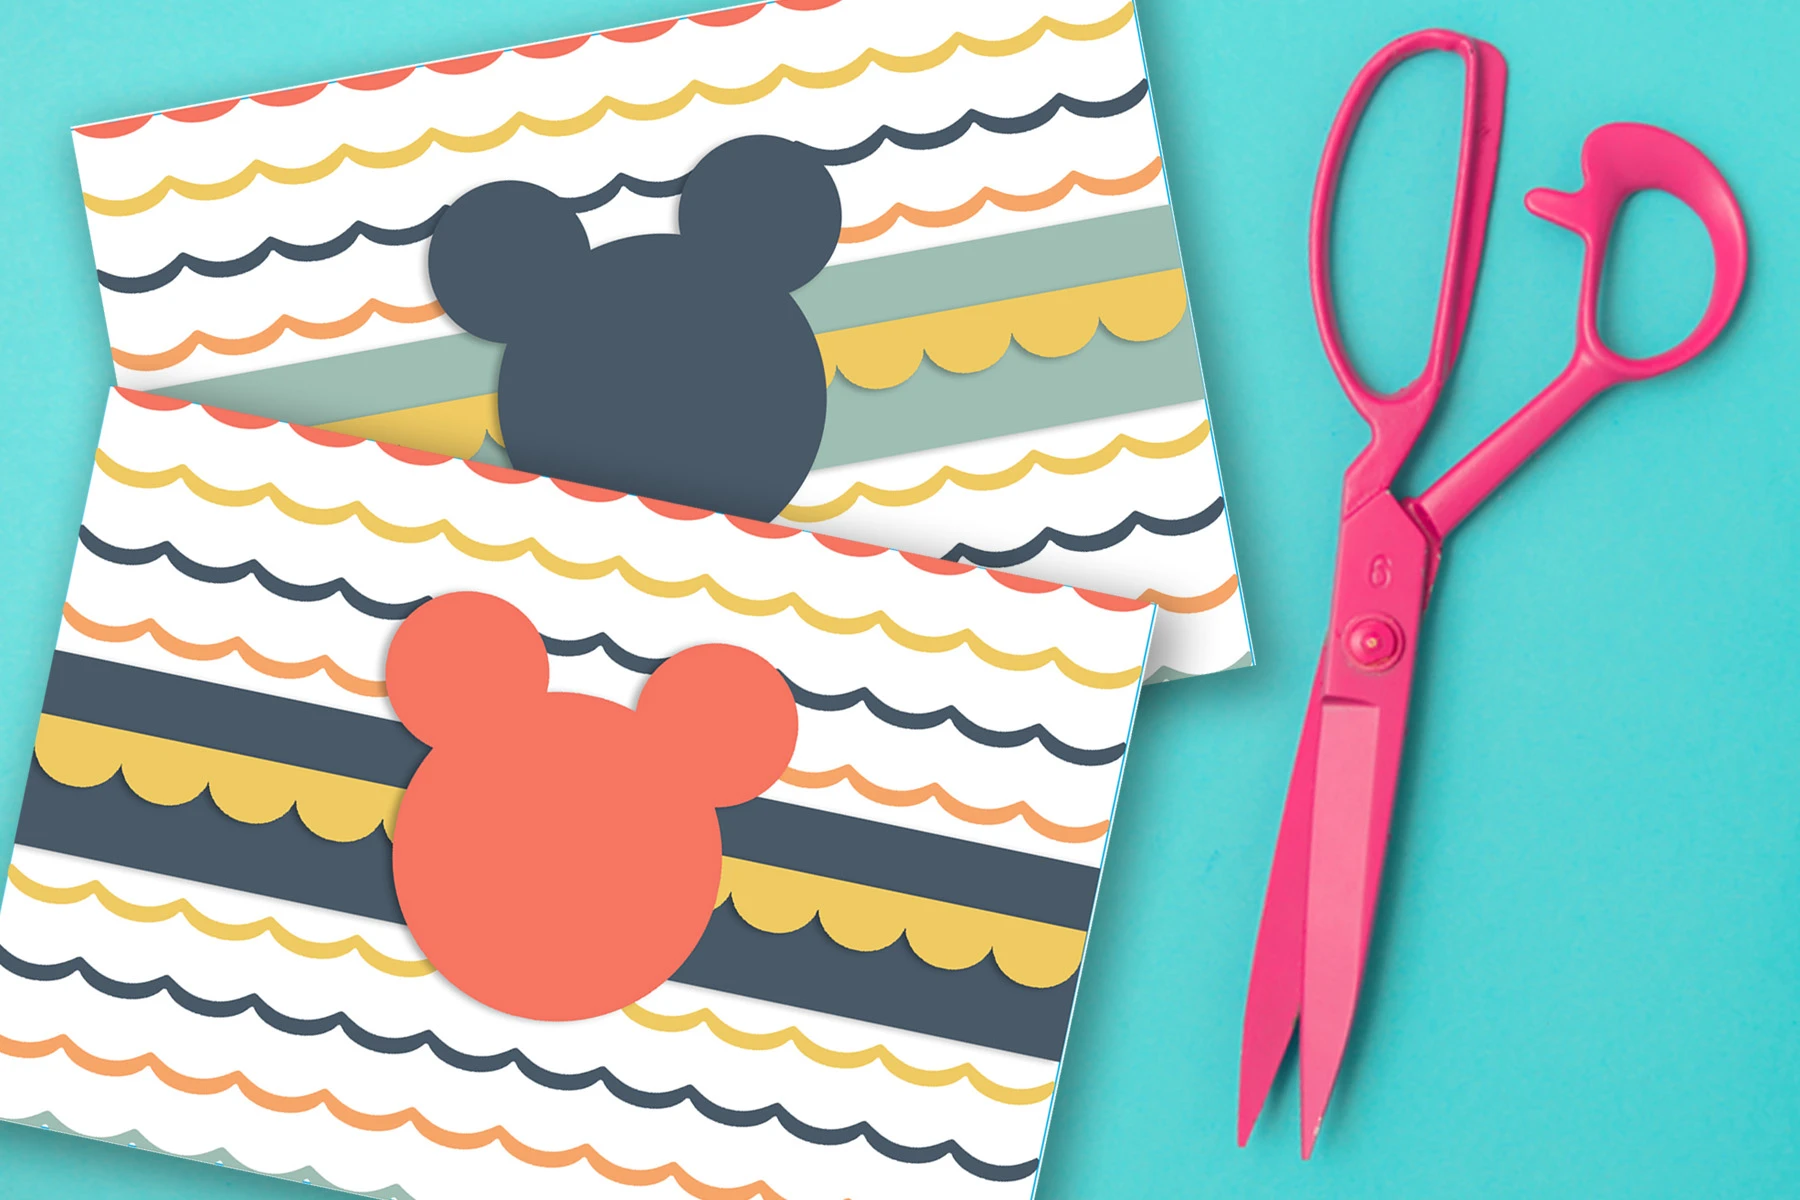
If you are about to leave for your plane, and don’t have time to for crafting, you can use this free autograph book cover to make a quick and easy autograph book. Simply print the cover, trim to size, and attach it to the spiral bound index card book.
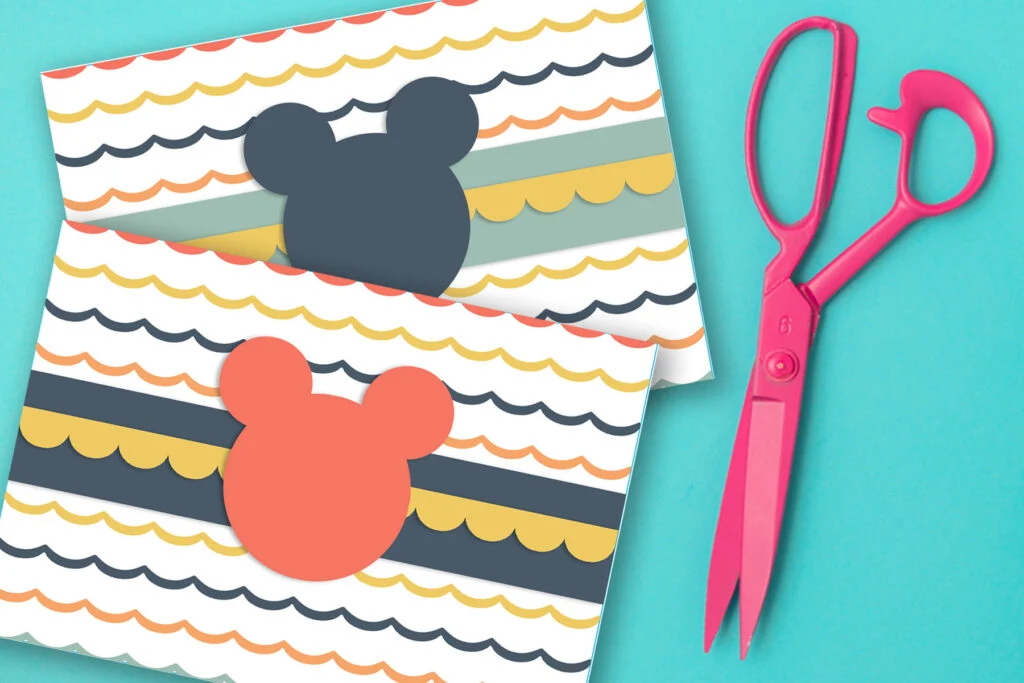
Follow the instructions, below, to download your copy of the Disney Autograph Book free printable.
Would you like to download the free printable? Click the button, below, to sign up for our newsletter and gain access to the freebie library. Once subscribed, you will receive an email with instructions to access the library.
If you have any problems signing up, please send an email to loragreen@craftivitydesigns.com, and I will sign you up manually.
DIY Disney Autograph Book
Learn how to make a Disney autograph book for your next trip to Disney World, Disneyland, or Disney Cruise Line. Your kids will loving collecting signatures from Disney characters and adding their photos for years of memories, too!
Materials
- Spiral-Bound Index Cards
- Scrapbook Paper
- Glue Stick
- Ribbon
- Letter Stickers
- Self-Sticking Laminate
- Jumbo Sharpie
Tools
Instructions
- Decorate the cover using scrapbook paper and glue.
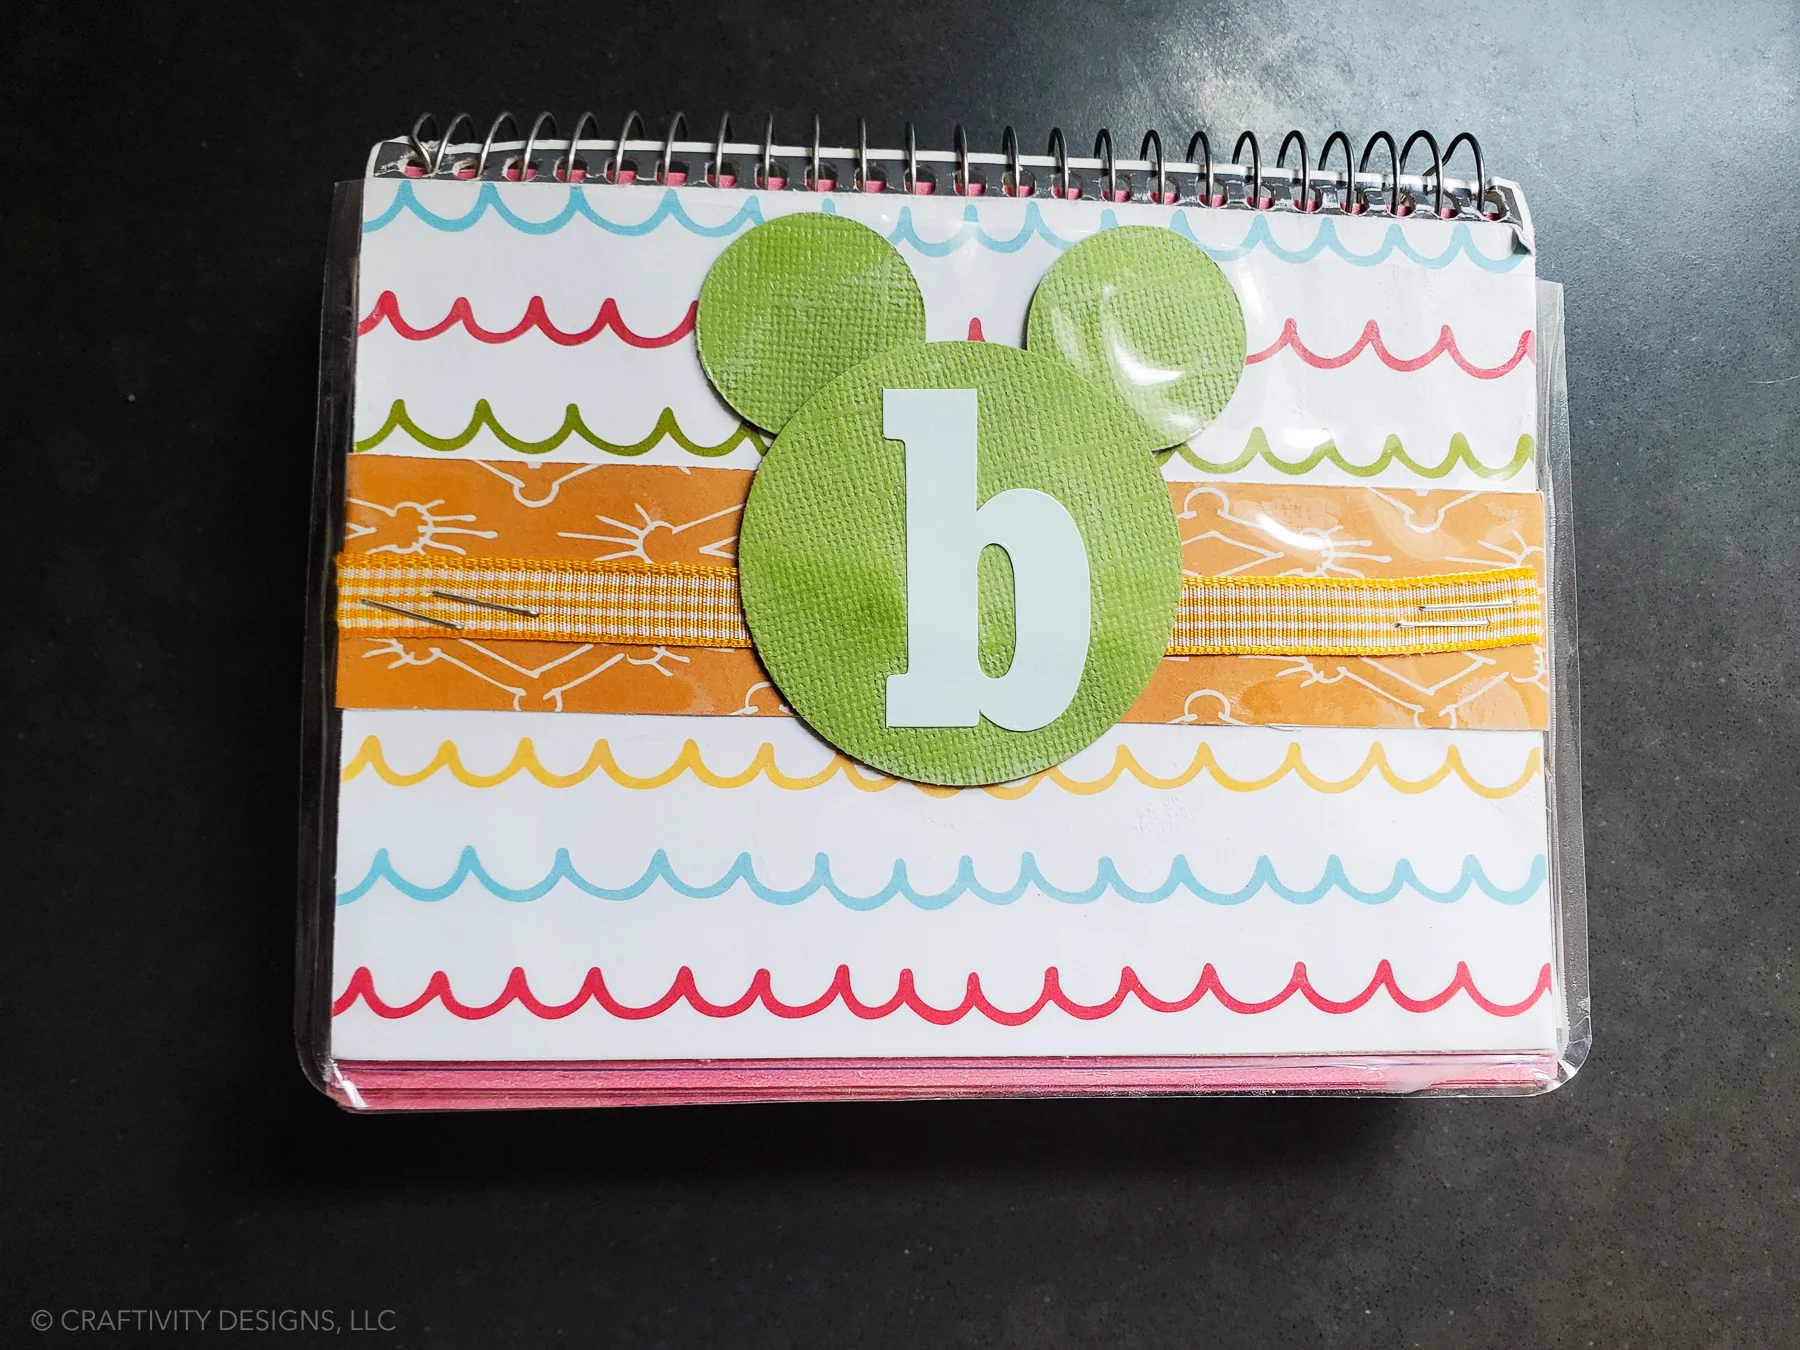
- Use assorted circle punches to make a Mickey Mouse to glue onto the cover.
- Laminate the cover with self-sticking laminate.
- Bring a jumbo sharpie with you on your vacation.
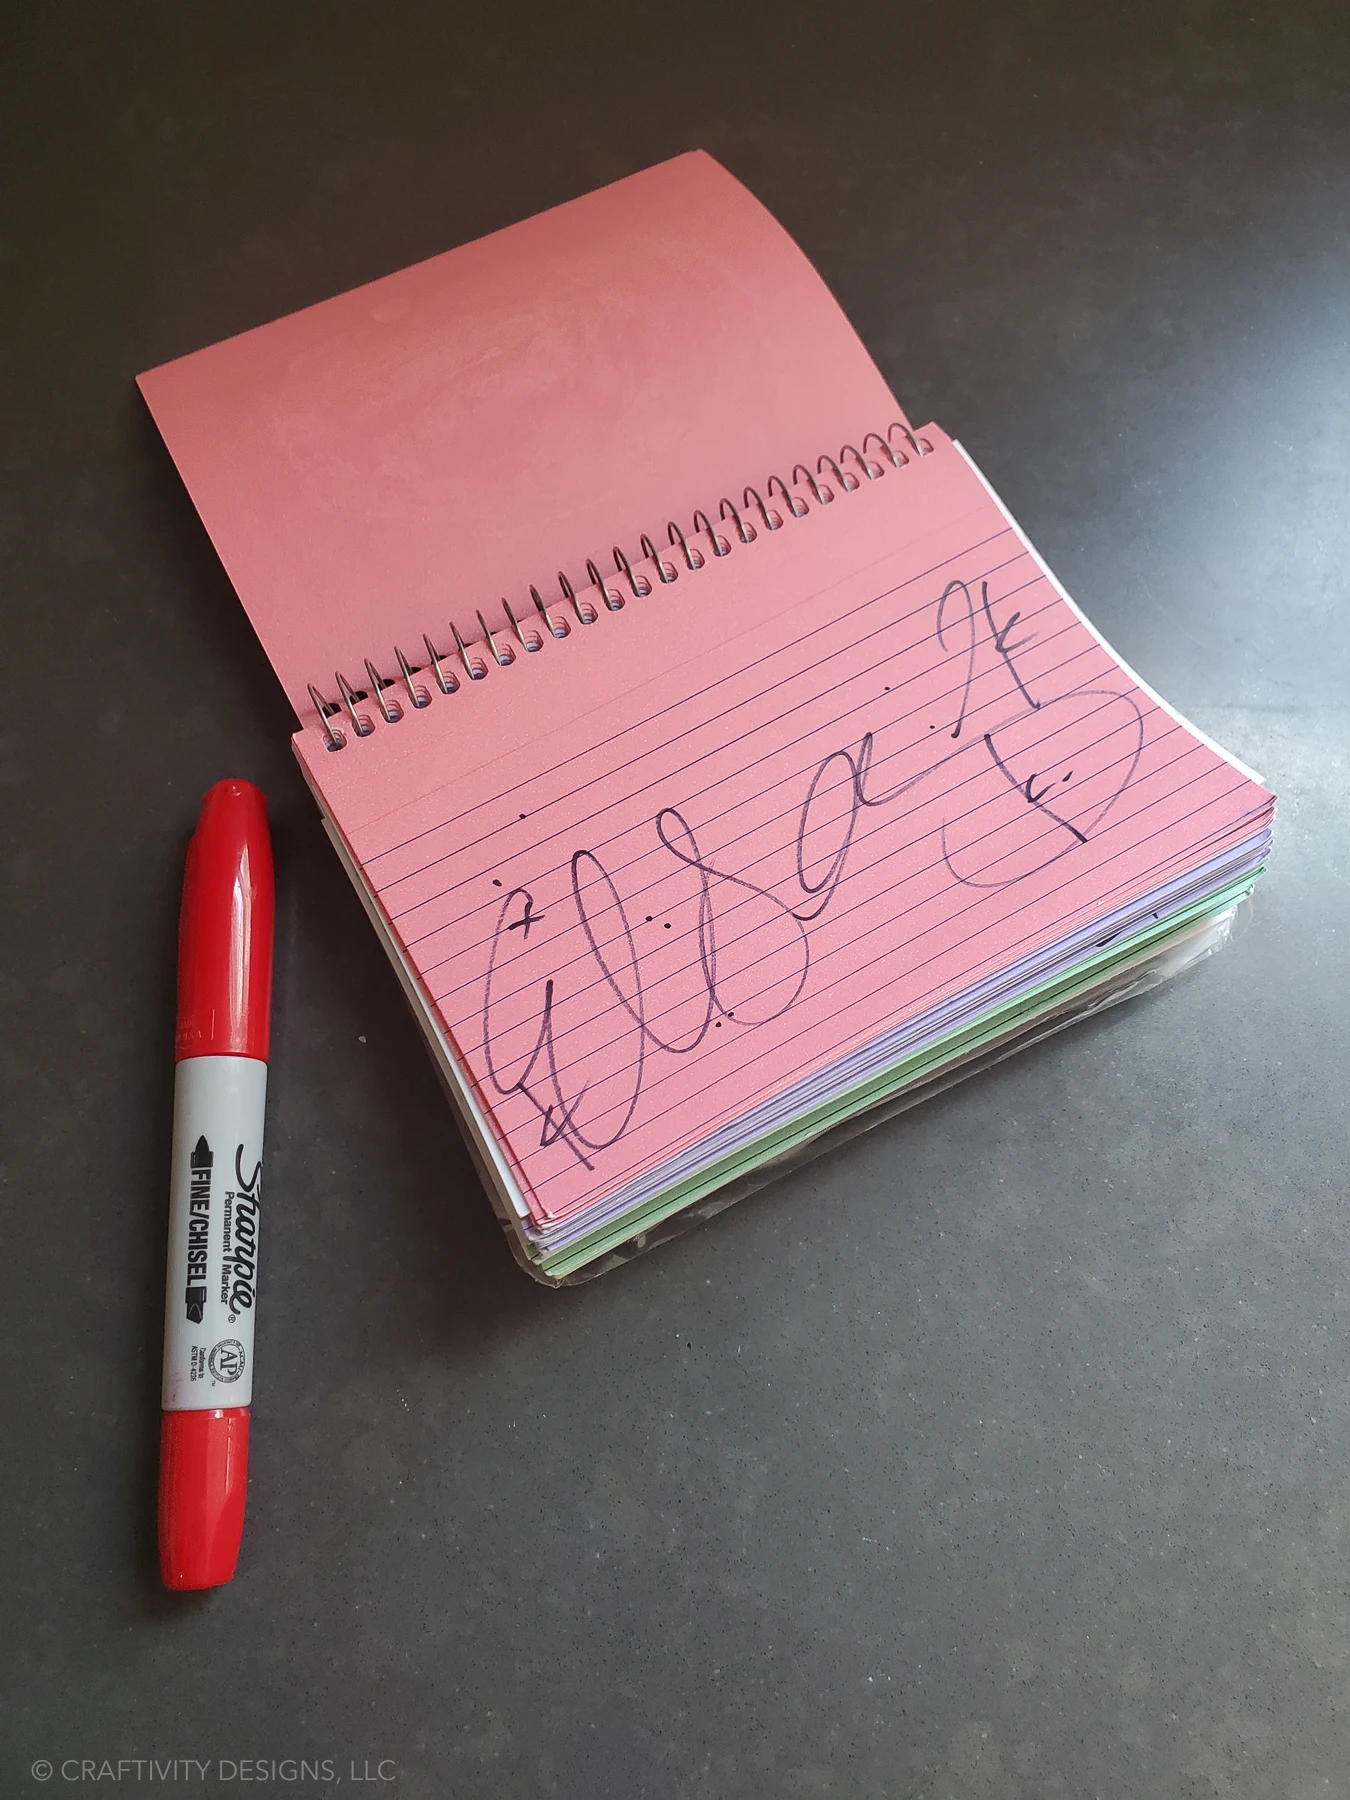
- Have the Disney characters sign every other page in the book as you bump into them at the park.
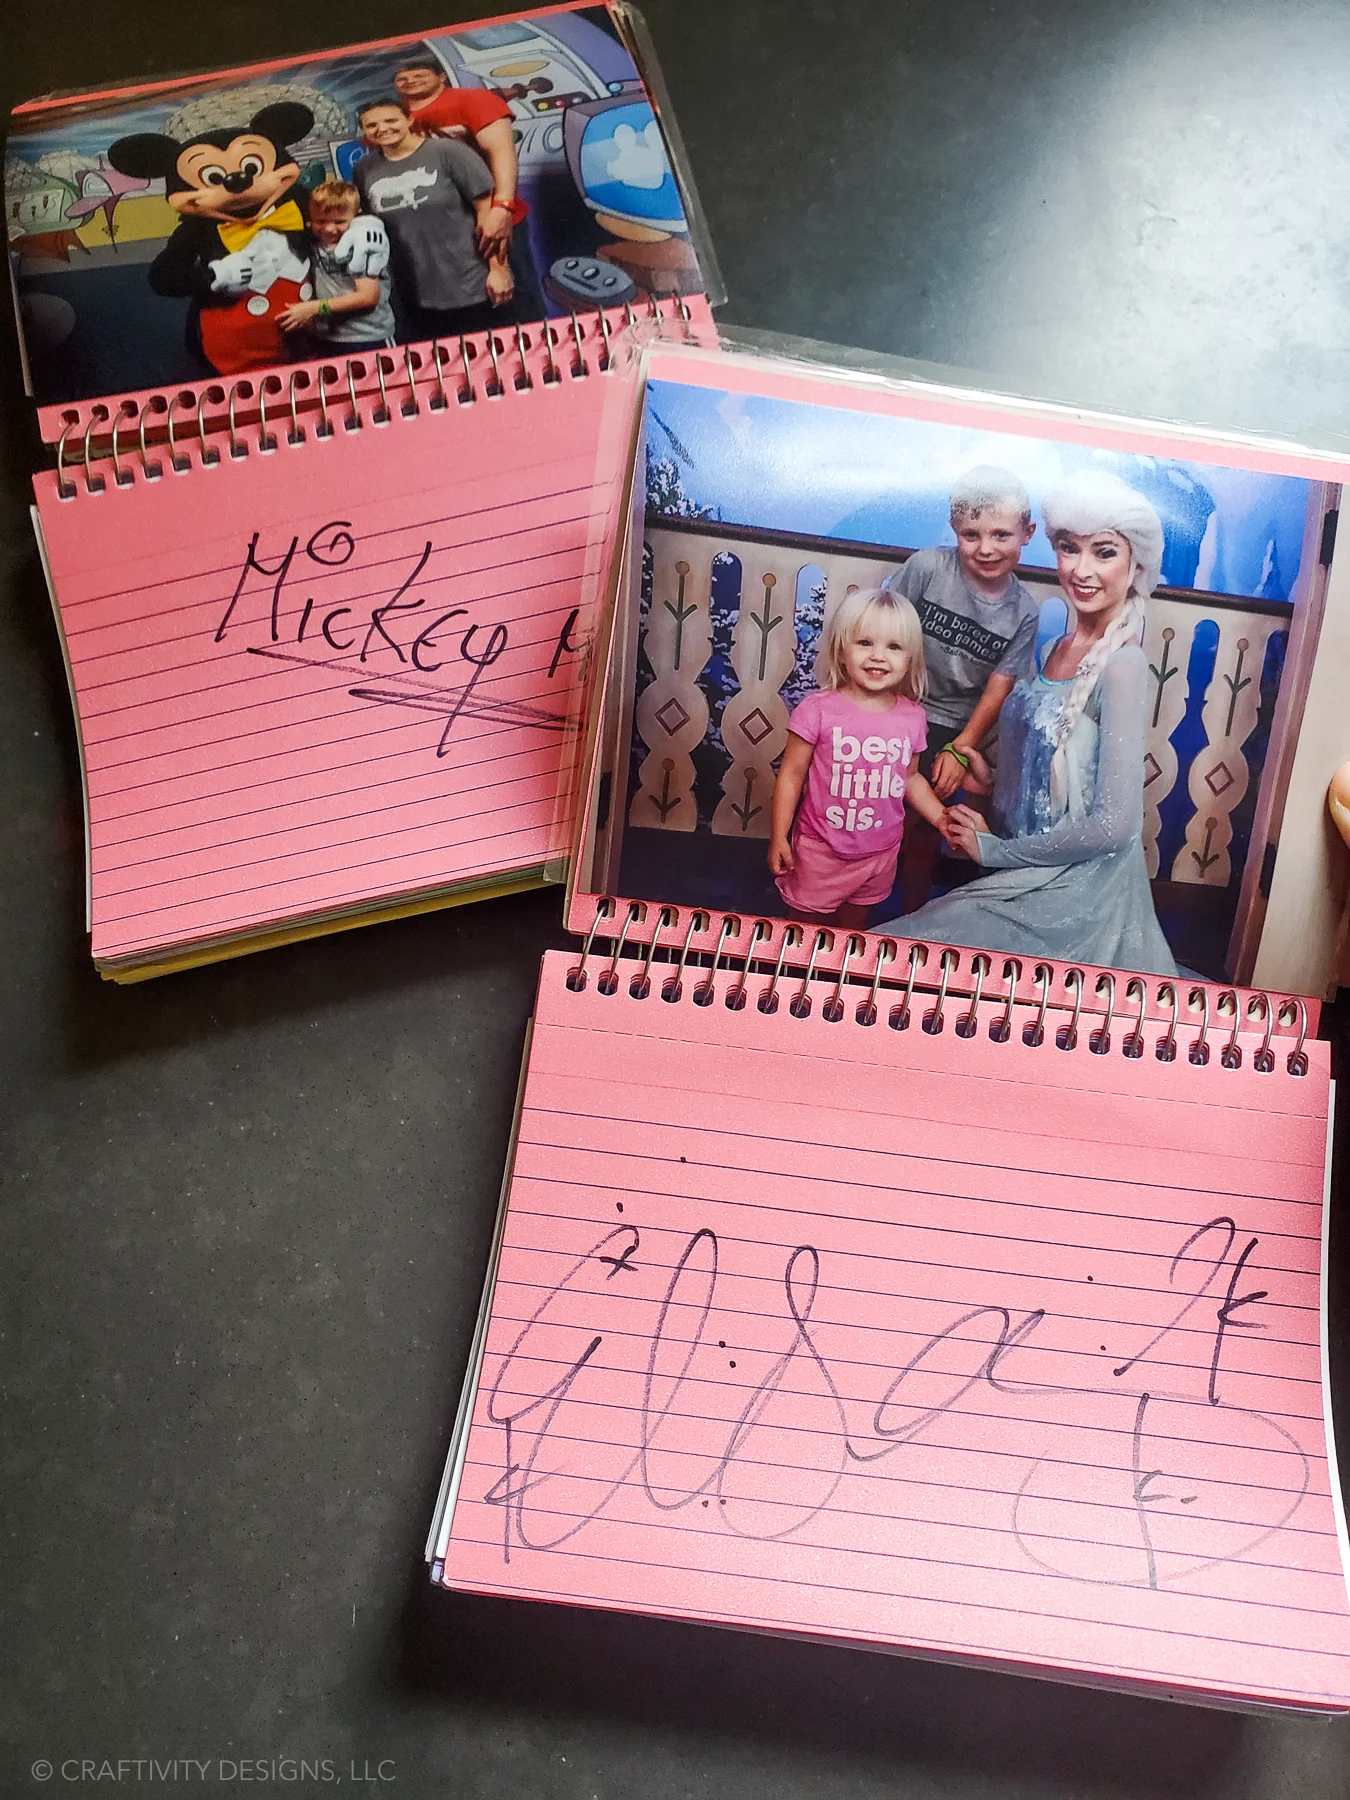
- Finish the book when you get home by adding photos to each page that coordinates with the autographs.
If you liked this creative Disney ideas, you may also like:
- Unique Disney Shirt Ideas that You Haven’t Seen Before
- Tiki Decor Ideas Inspired By Disney’s Enchanted Tiki Room
- How to Make a Disney Countdown Calendar
- 20+ Disney Costume Ideas for Mickey’s Not So Scary Halloween Party

