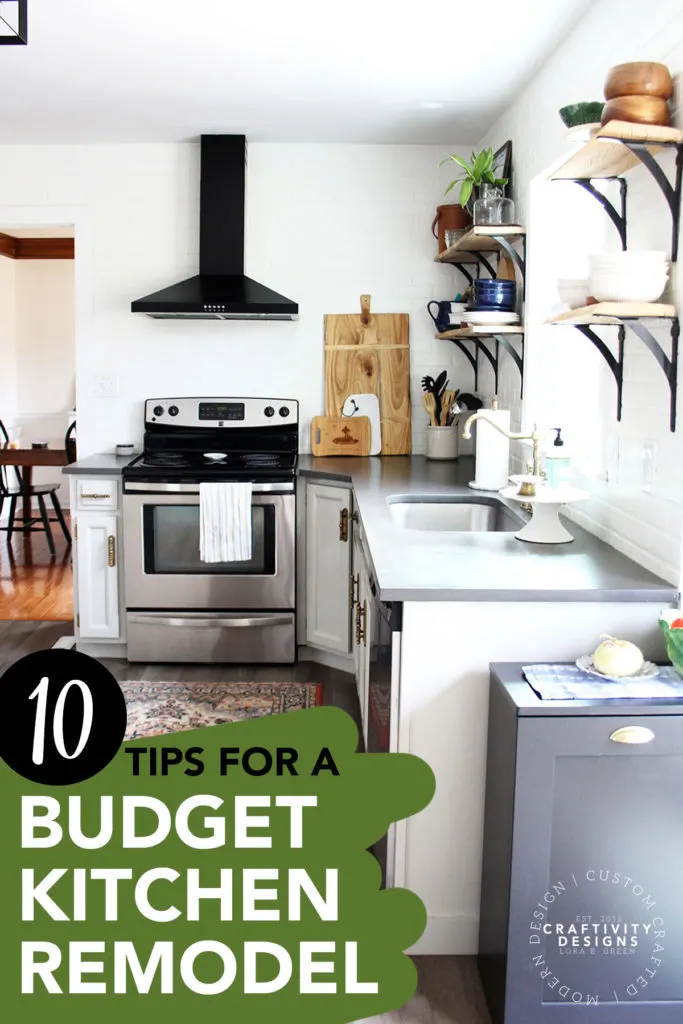
Need to remodel your kitchen on a budget? These 10 tips will help you save money creatively with a budget kitchen remodel that you’ll love!
In the thick of renovating the exterior of our cottage-style fixer-upper, we faced an unfortunate truth: the kitchen is in sore shape, too. Shucks. With no funds allocated, it’s time to be creative and complete a budget kitchen remodel.
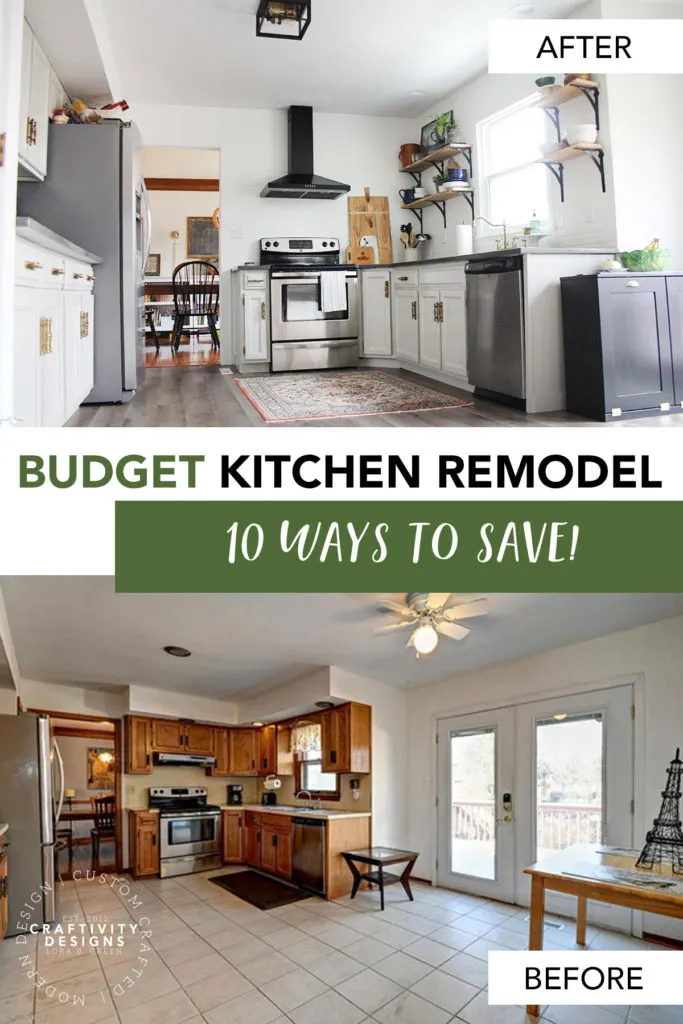
So, what’s in sore shape? Well, the biggest – and most urgent – issues in the kitchen are the following:
- an uneven tile floor,
- the patio door doesn’t open (due to the uneven tile), and
- the laminate counter and backsplash are peeling.
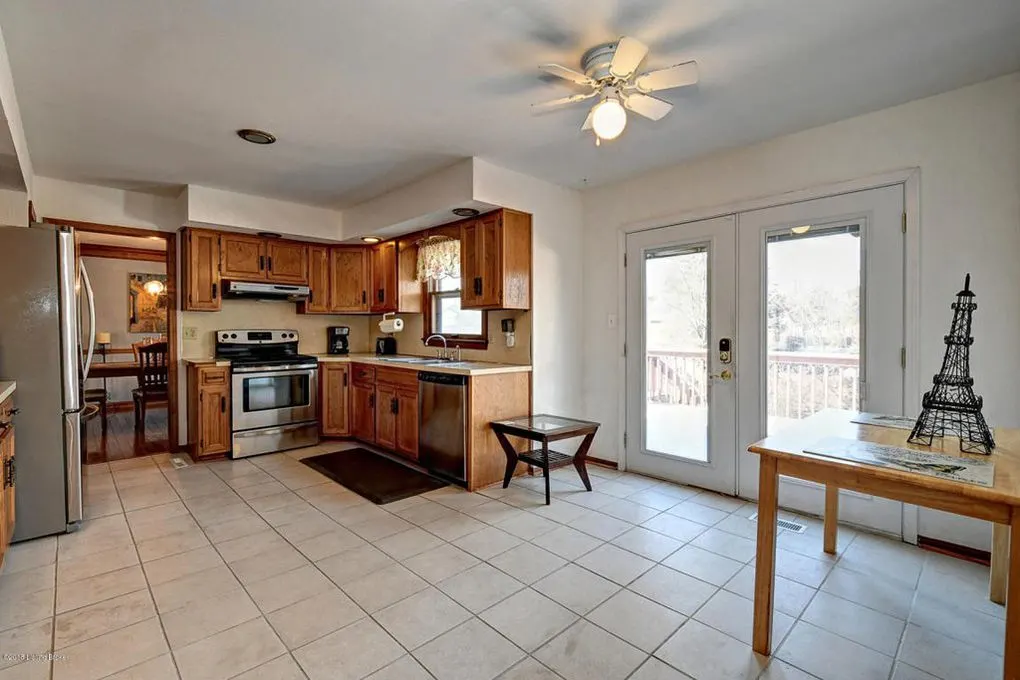
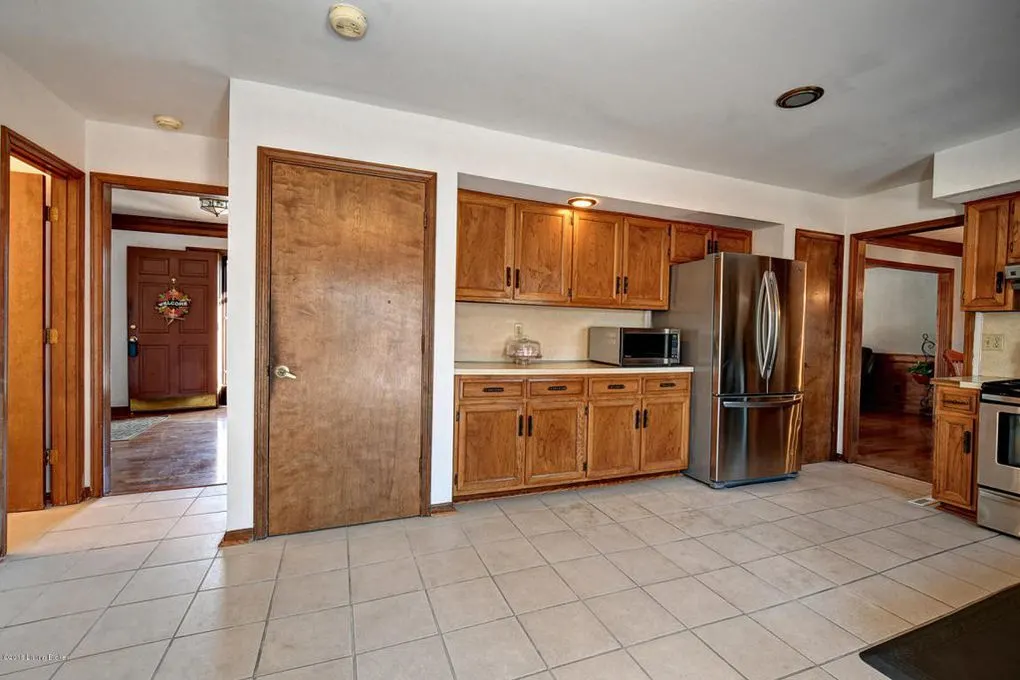
Thankfully, I’m always up for problem-solving when it comes to DIY and decor. My husband and I pulled together a list and kicked off a budget kitchen renovation that’s packed with style!
How to Remodel a Kitchen on a Budget
#1: Prioritize the Budget
Before you kick off a budget kitchen remodel, take time to prioritize the project elements. Ask yourself the following questions:
- Which portion(s) of the project must be completed first?
- On which design elements can I compromise to save money?
- On which design elements would I prefer not to compromise?
In our case, replacing the floor and counter/backsplash falls into the “must be completed first” bucket. In terms of budget, I’m willing to compromise with affordable flooring but not willing to compromise on counters.
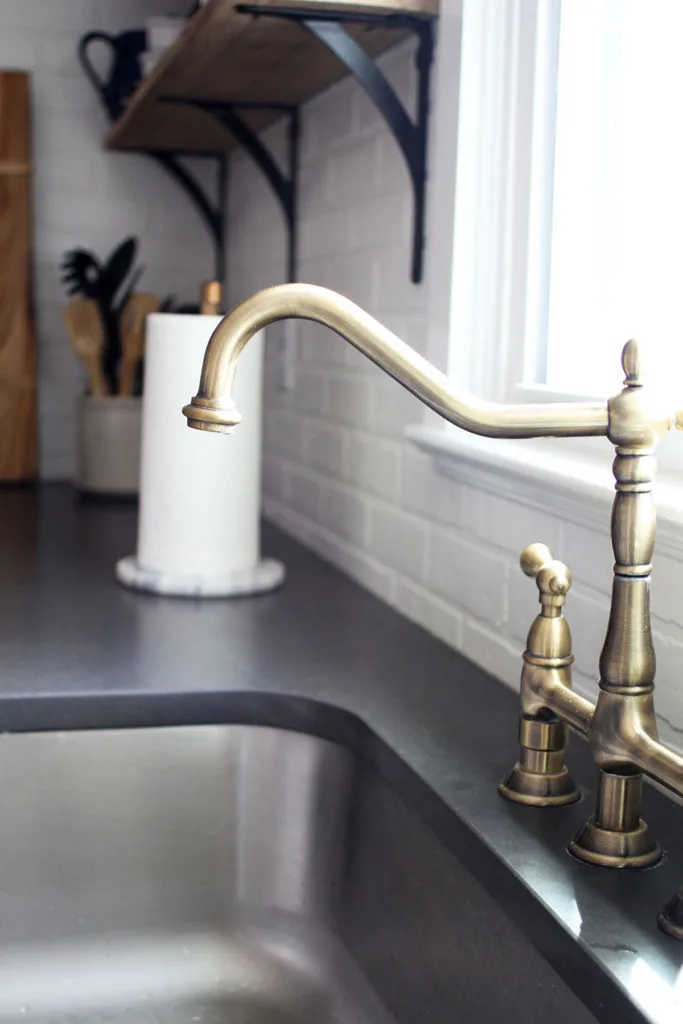
I chose dark quartz counters which are incredibly durable and stain-resistant. In terms of budget, quartz is comparable to marble and granite.
For the flooring, we chose a stylish vinyl plank that fits within our budget… I’ll go into more detail below (see budget-saving tip #4).
#2: DIY Demo
Whether you are contracting all – or part – of your kitchen remodel; save money by completing the demo.
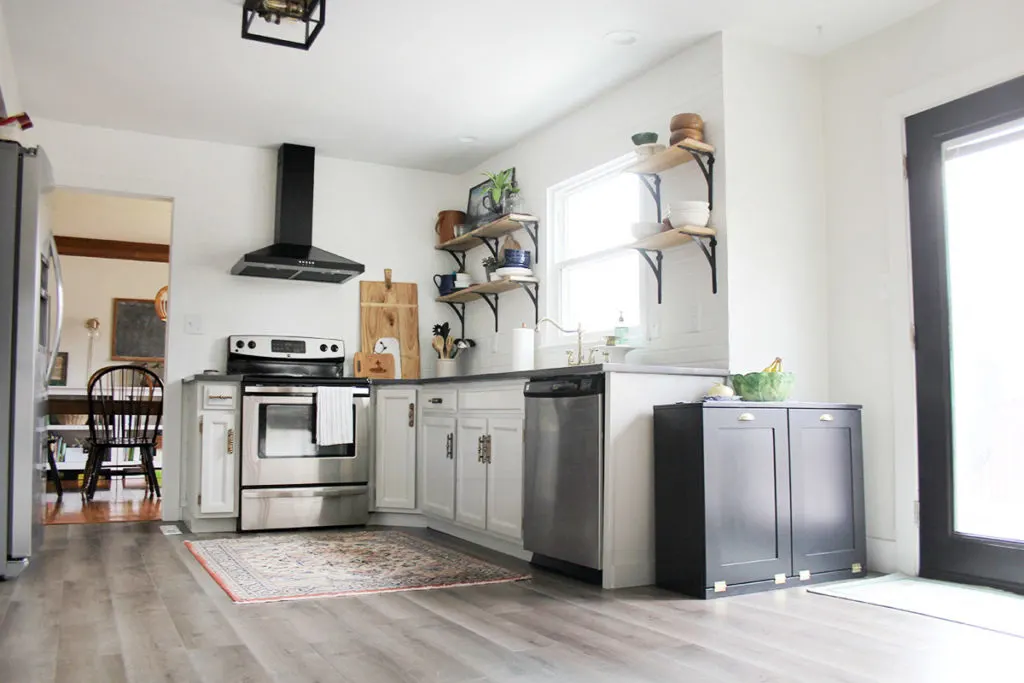
In our budget kitchen renovation, we are removing the:
- upper cabinets,
- backsplash,
- and countertops.
In the case of the counters, we are working with a contractor. While we have many DIY skills, cutting quartz countertops is not within our skillset.
Therefore – rather than have the contractor demo the counters – we saved a couple hundred bucks by completing the demo beforehand.
#3: Take a Phased Approach
One oft-overlooked way to save money is to complete a project in phases. In order to manage a budget kitchen remodel, break the renovation into parts which distributes the costs over a longer period of time.
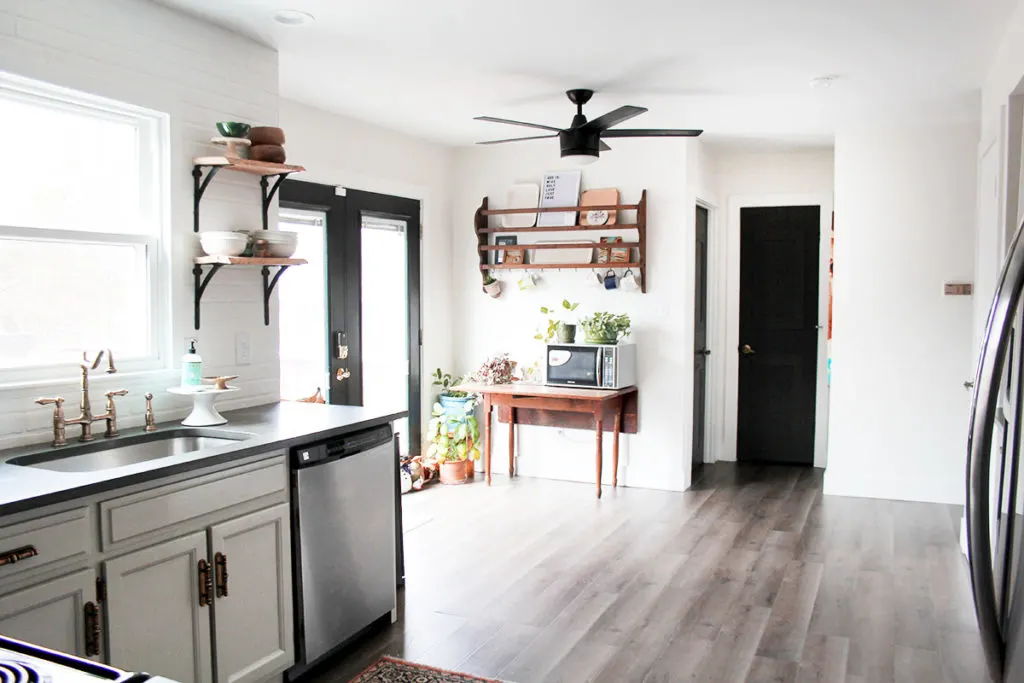
For example, we divvied our budget kitchen makeover into the following phases:
- Phase 1: Counters and Backsplash
- Phase 2: Flooring and Trim
- Phase 3: Open Shelves and Range Hood
- Phase 4: Cabinetry and Interior Doors
- Phase 5: Lighting and Decor
#4: Consider Vinyl Plank Flooring
Vinyl plank is an affordable mid-range option for kitchen floors. In terms of price, it falls somewhere in between inexpensive laminate and pricey hardwood. As a bonus, it’s incredibly durable and resistant to water damage (i.e. great for kitchens).
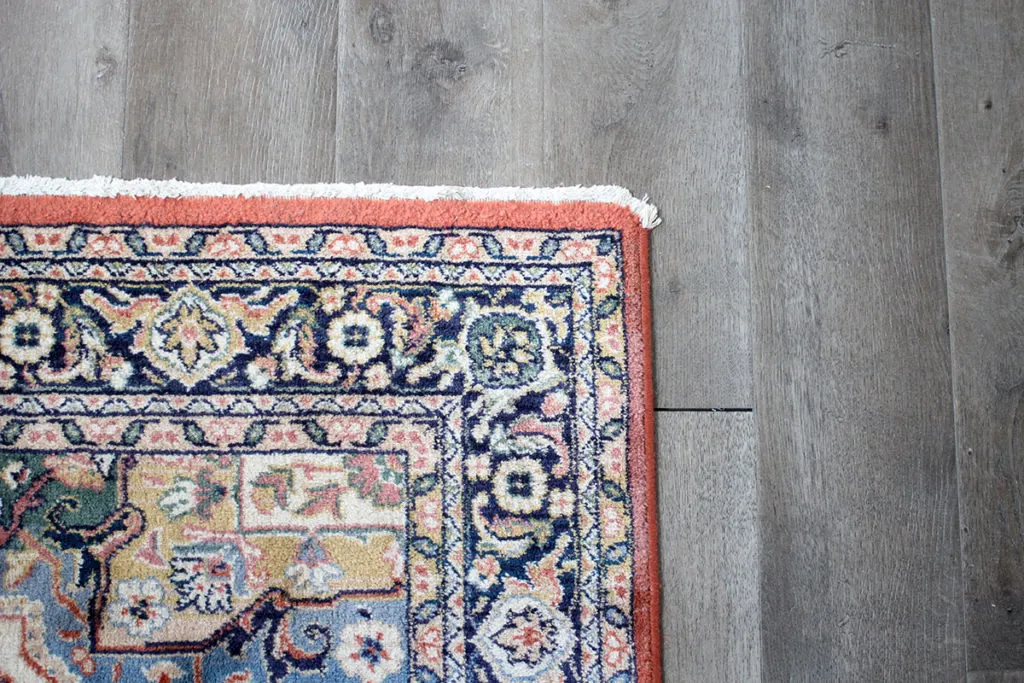
I’m not going to lie, I love hardwood floors. The light hardwood floors in our last home were a favorite feature of the house. However, at typically $4+ per square foot, hardwood is outside the budget for this kitchen remodel.
My second choice (maybe first?) for the kitchen is a large stone-like tile floor. While tile is available in a wider range of prices from low to high, the associated labor costs are high. Floor tile isn’t friendly to the average DIYer… I’d classify it as an expert-level DIY project. Plus, our floors aren’t even, which makes it difficult to lay tile.
That being said – of vinyl plank, hardwood, and tile – the vinyl plank is the most durable option. Therefore, if you are looking for quality flooring and budget-friendly, make sure to check out vinyl plank.
#5: Choose an Inexpensive Backsplash
If you need to remodel a kitchen on a budget, you can save a ton of money with backsplash choices – from sizes to materials.
For example, in our kitchen remodel we did a counter to ceiling backsplash in faux brick for less than $150. Other affordable materials include:
- shiplap
- classic subway tile
- tin ceiling tile
- peel and stick tile
- etc.
TIP: Learn how to arrange classic subway tile in 11 different patterns.
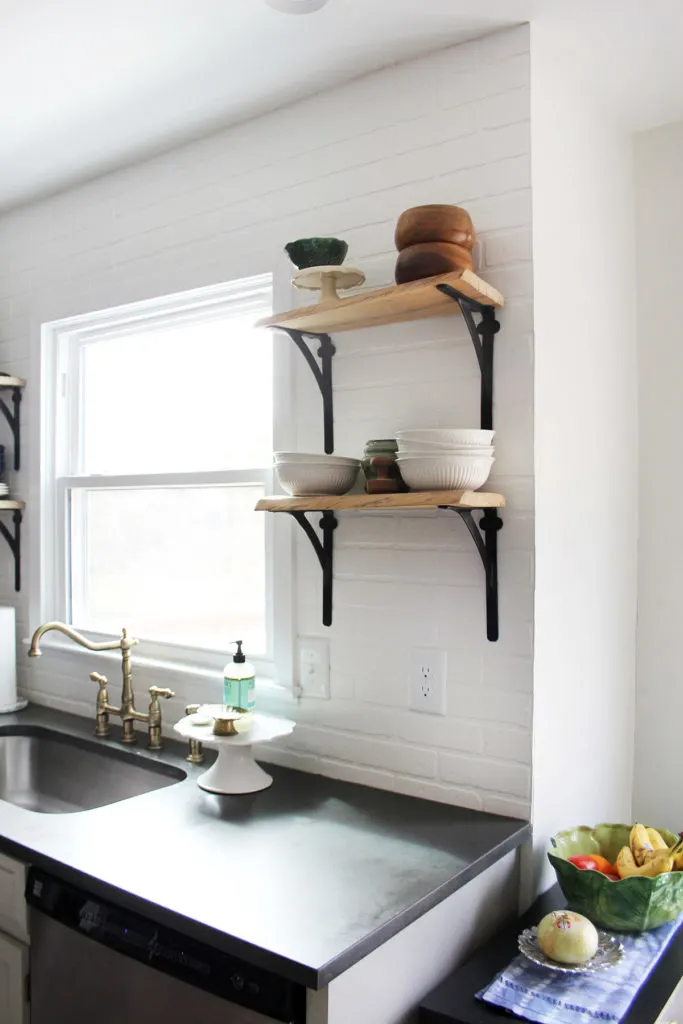
If a tile is a must-have, you can still save on backsplash costs by reducing its size. Rather than counter to ceiling, install a short 4-8″ backsplash or only extend backsplash to the base of upper cabinetry/shelves.
#6: Install Open Shelving
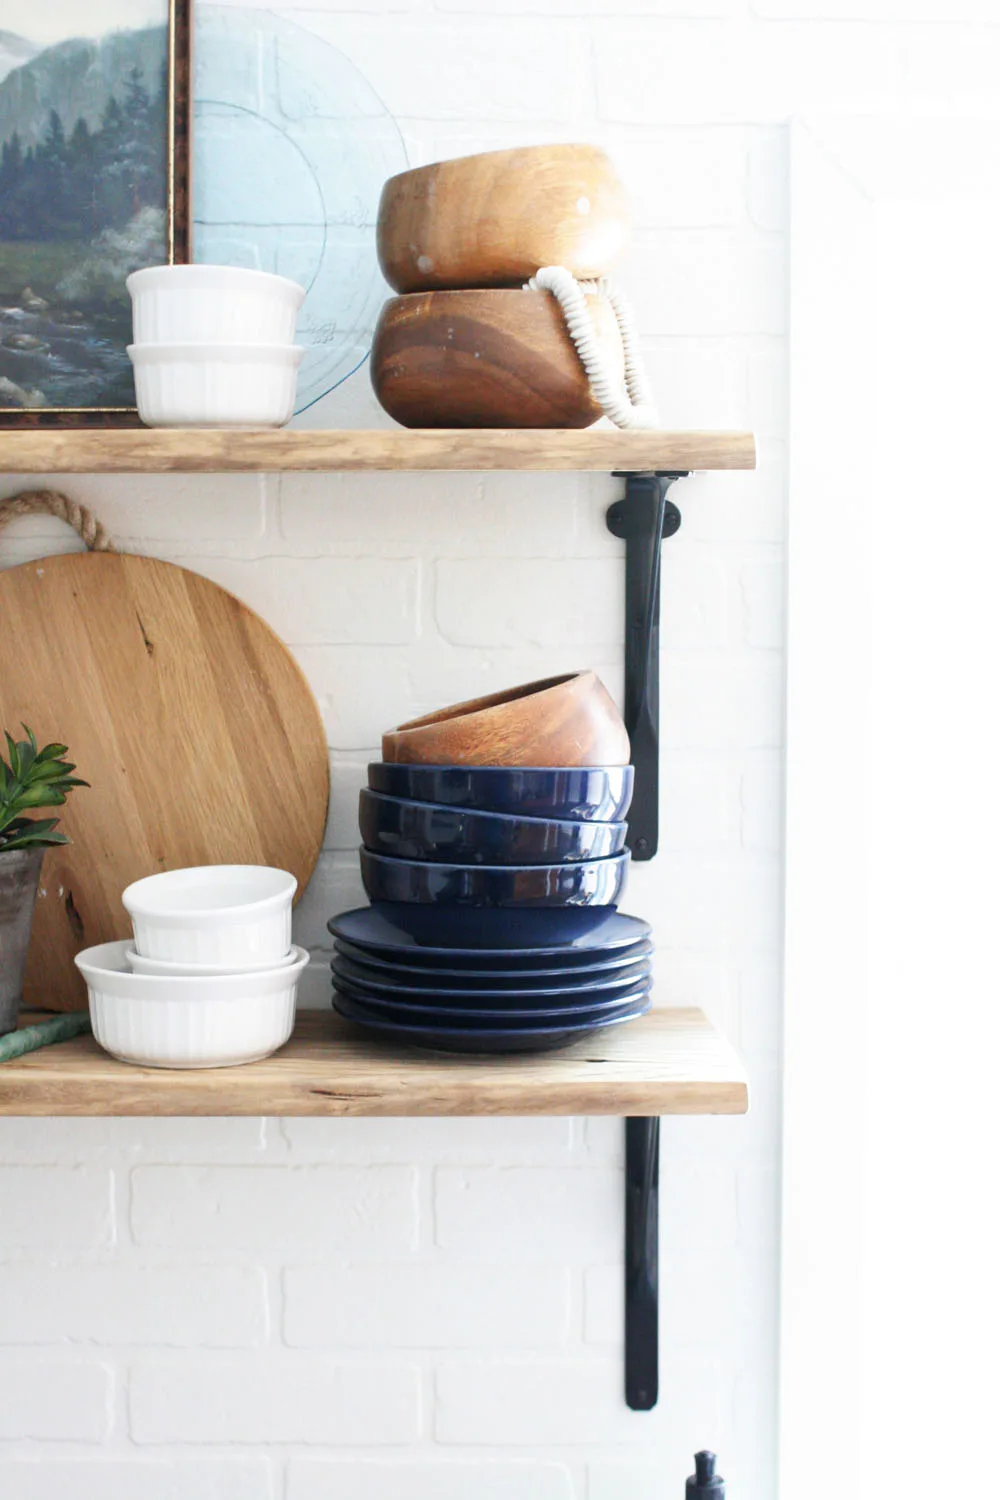
Installing open shelving in a kitchen has been trendy for a while, and it’s not just due to looks. Open shelves are significantly cheaper than upper cabinets.
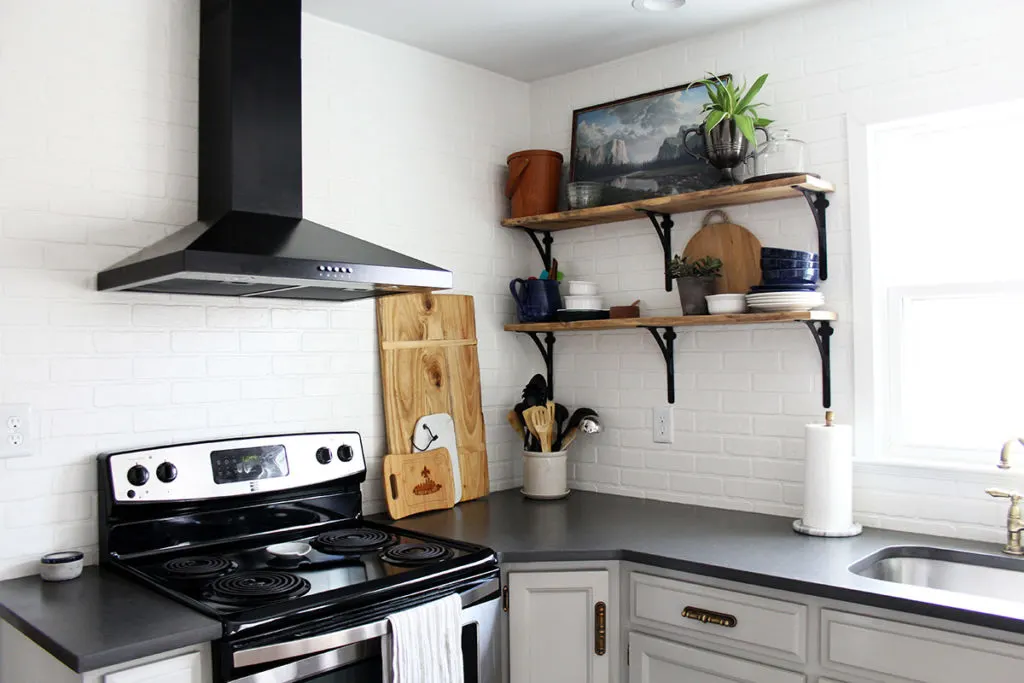
At well over $100 a pop for a single cabinet, an entire wall of shelving can be completed for near that price. Yes, you’ll sacrifice some storage space, but you’ll save tons of money, too!
You might also like: Learn how to install wall shelves for kitchens and how to organize open shelving in a kitchen.
#7: Paint the Existing Cabinets
Painting kitchen cabinets – in lieu of replacing cabinetry – will save $1000+ in a kitchen remodel. In general, I’d recommend painting existing cabinetry if the following conditions apply:
- the existing cabinetry is quality solid wood,
- the kitchen layout works well, and
- the color or style of the cabinets is outdated.
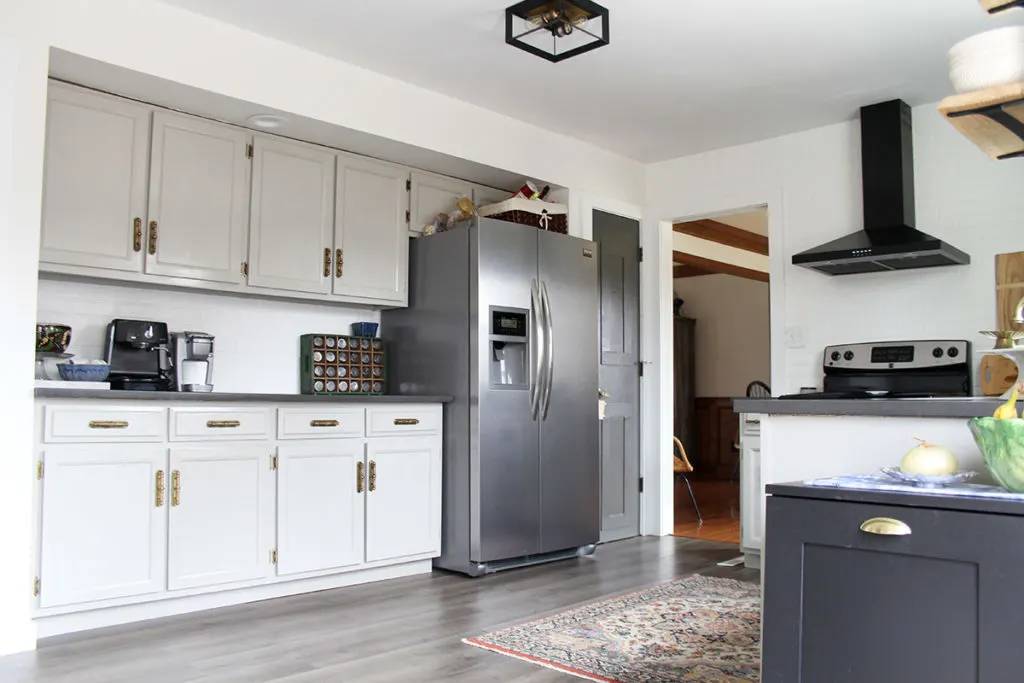
In our kitchen, we painted all of the cabinets with a single $60 gallon of high-quality cabinetry paint in Mindful Gray from Sherwin Williams.
#8: Refinish the Existing Hardware
If your hardware tastes are pricey (mine are!) consider refinishing the existing hardware. Older homes, in particular, may have solid brass hardware that just needs a bit of cleaning up.
Plus, cabinet hardware – as long as the existing dimensions are standard hole widths – can be replaced down the road. So if you have your eye on an expensive style, save for it. In the meantime, simply refinish the existing knobs and pulls.
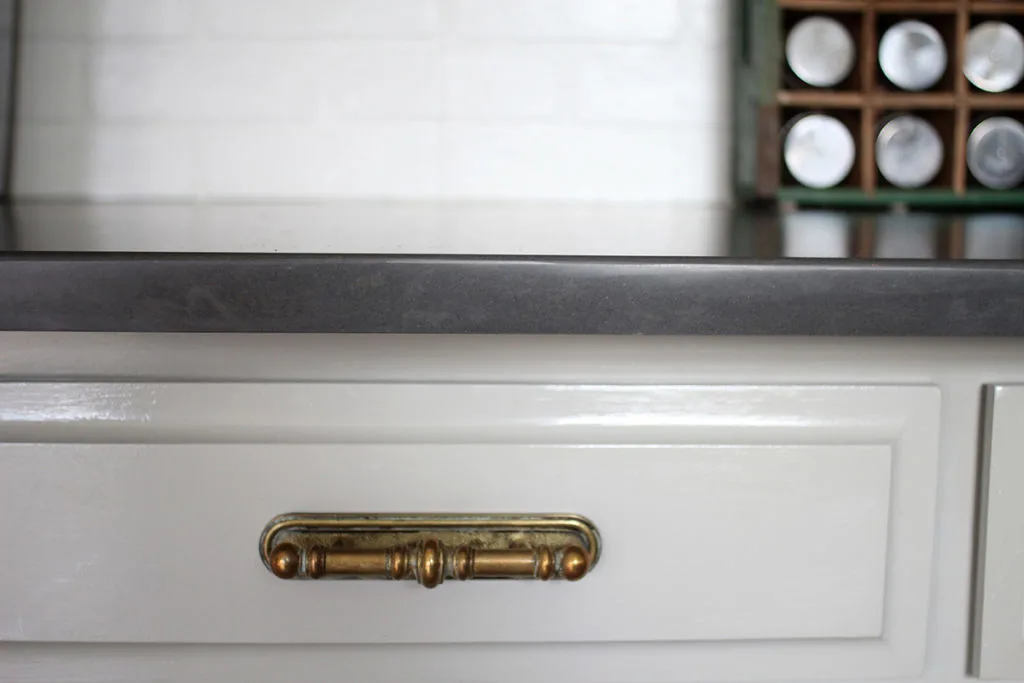
In our kitchen, solid brass pulls (and backplates!) look like antiqued brass after a bit hours of elbow grease. Worth it though, this pull/plate combo would cost $20+ each (!) if we purchased them new.
#9: Utilize Furniture
Rather than purchasing custom cabinetry, buy furniture to serve the same purpose. Here are a few examples:
- an antique bar or work table can serve as an island
- a dining hutch can act as additional cabinet storage
- an antique pie safe can provide pantry space
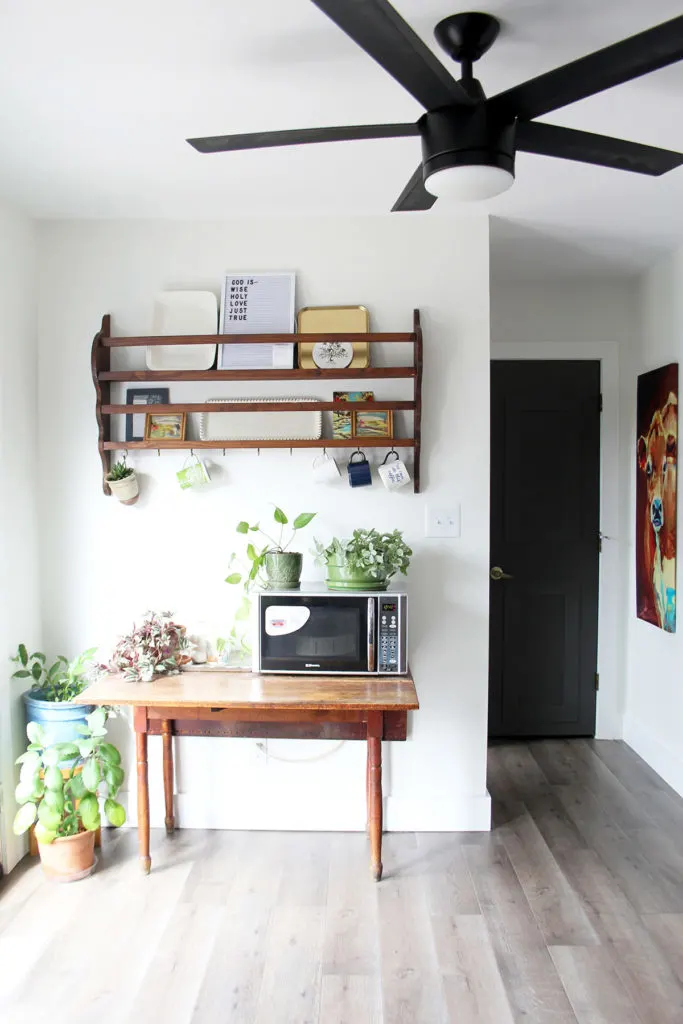
In our budget kitchen remodel, the microwave sits atop an old drop-leaf table and a vintage plate rack displays dishware.
TIP: Learn how to add under-cabinet hooks for mug storage.
#10: DIY Storage Solutions
Opt for creative storage solutions in lieu of custom cabinetry and high-end storage solutions. There are plenty of DIY storage solutions that improve a kitchen’s functionality on a budget.
Here are a few of my favorite examples, from our kitchen:
- organize spices in a soda crate
- build a simple cabinet for trash and recycling
- make a marble paper towel holder
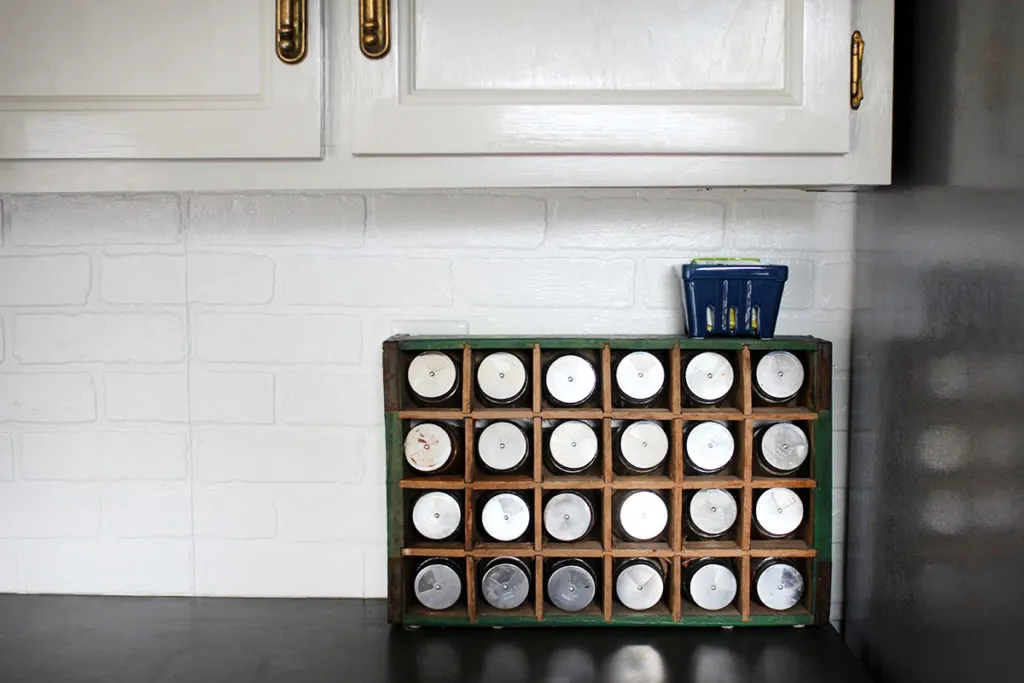
Budget Kitchen Remodel
What is the best, and most difficult, way to save money on a kitchen renovation? Patience. Hiring a general contractor is the fastest (and easiest) way to complete any renovation, but it comes with a price tag.
We were in need of new counters and new floors… but our cabinetry, layout, appliances, and hardware were in good shape. It’s not fun having a partly finished kitchen for months, but it provided time to:
- comparison shop for best prices,
- learn new DIY techniques,
- and think through each decision.
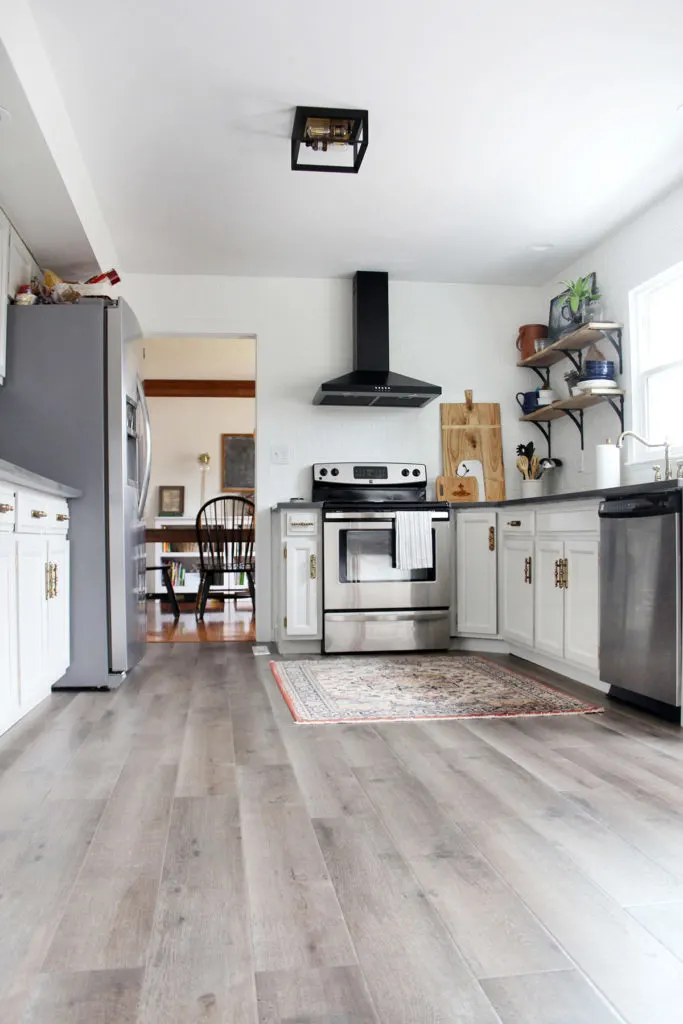
It wasn’t always fun (washing dishes in the bathroom sink… cooking over a stove in the middle of the kitchen… walking on underlayment), but being patient resulted in a remodeled kitchen for under $5000.
Want to know what goes into that total? Here are the details:
| Project Element | Material | Labor |
|---|---|---|
| Remove Tile + Level Floor | – | $700 |
| Vinyl Plank Flooring (300 s.f.) | $750 | DIY |
| Door/Window Trim + Base Trim | $100 | DIY |
| Gray Honed Quartz Countertops (80 s.f.) | incl. | $1575 |
| Stainless Steel Sink (Single Basin) | incl. | $125 |
| Paint (3 Gallons – Wall, Trim, Cabinets, Doors) + Caulk | $150 | DIY |
| Remove Soffit + Repair Drywall + Replace 3 Recessed Lights | incl. | $725 |
| Remove Upper Cabinets | – | DIY |
| Faux Brick Backsplash (75 s.f.) | $150 | DIY |
| Open Shelves (11 ft Reclaimed Wood + 10 Brackets) | $200 | DIY |
| Range Hood | $150 | DIY |
| Lighting (Fan + Flush Mount) | $200 | DIY |
| Interior Door Makeover (4 Doors) | $120 | DIY |
| Total | $1820 | $2425 |
Did you like this budget kitchen remodel? Save it for later!
If you liked this renovation post, you might also like:

Sonia
Wednesday 12th of October 2022
Hello! Loved all your tips and ideas. Question - Did you remove your tile flooring or put the vinyl over the tiles?
Lora Green
Thursday 20th of October 2022
Thank you, Sonia! Yes, we did. The tile floor was very uneven (it didn't appear to be installed correctly), so we had to remove it before installing the vinyl.
Qiana
Friday 10th of July 2020
Love your budget-friendly approach. Your ideas for the kitchen are perfect!
Lora Green
Wednesday 15th of July 2020
Thank you!!!