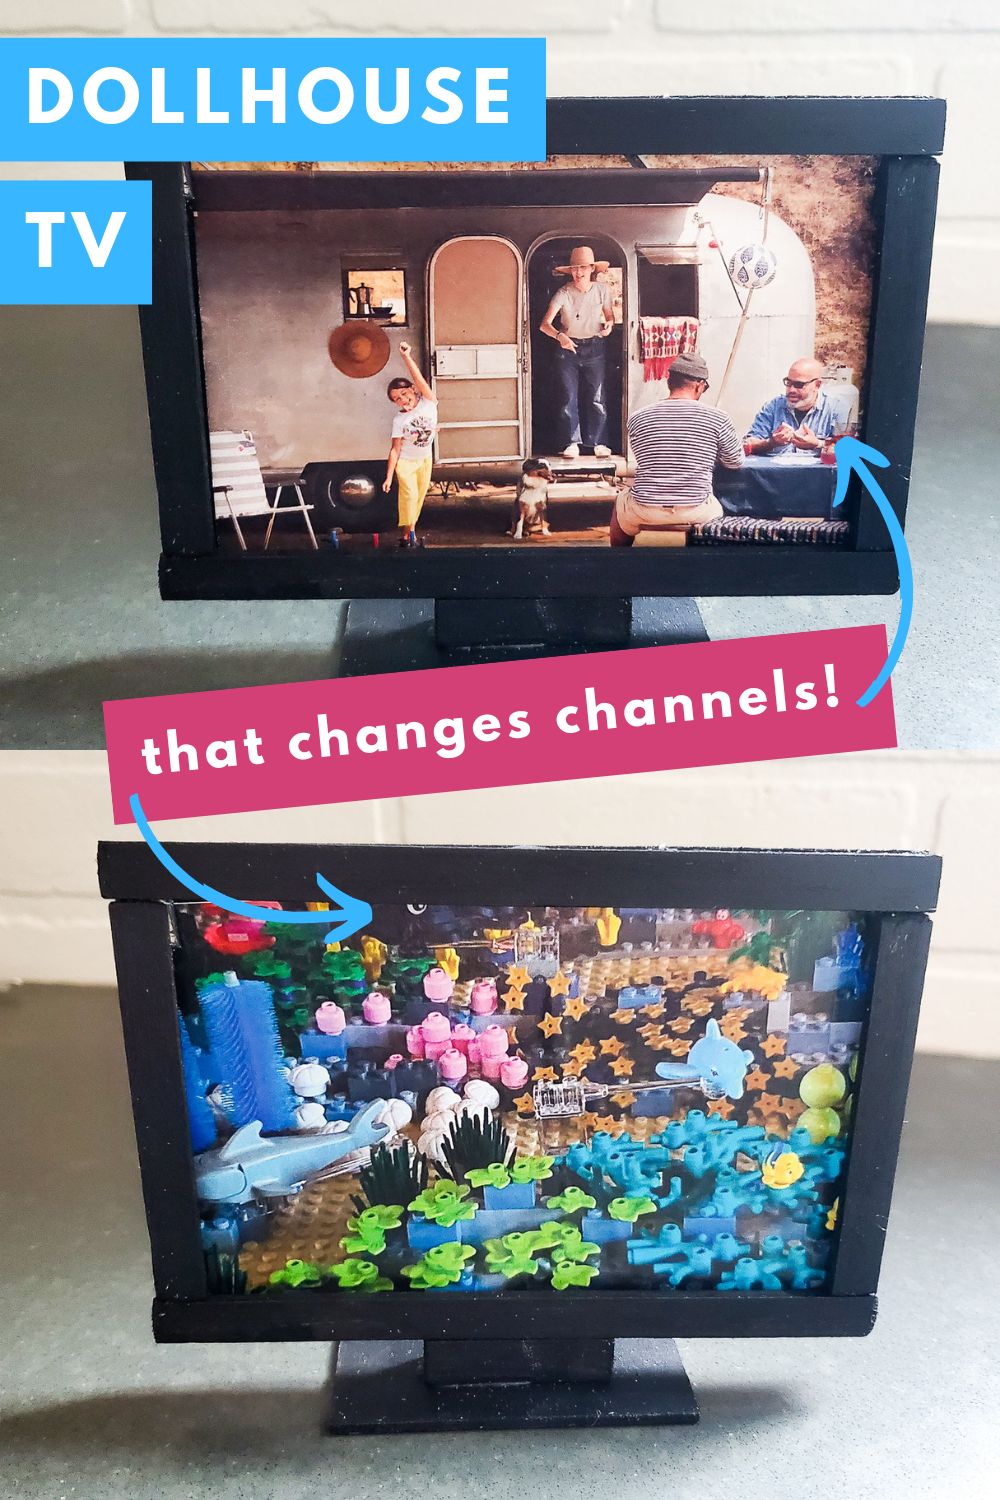
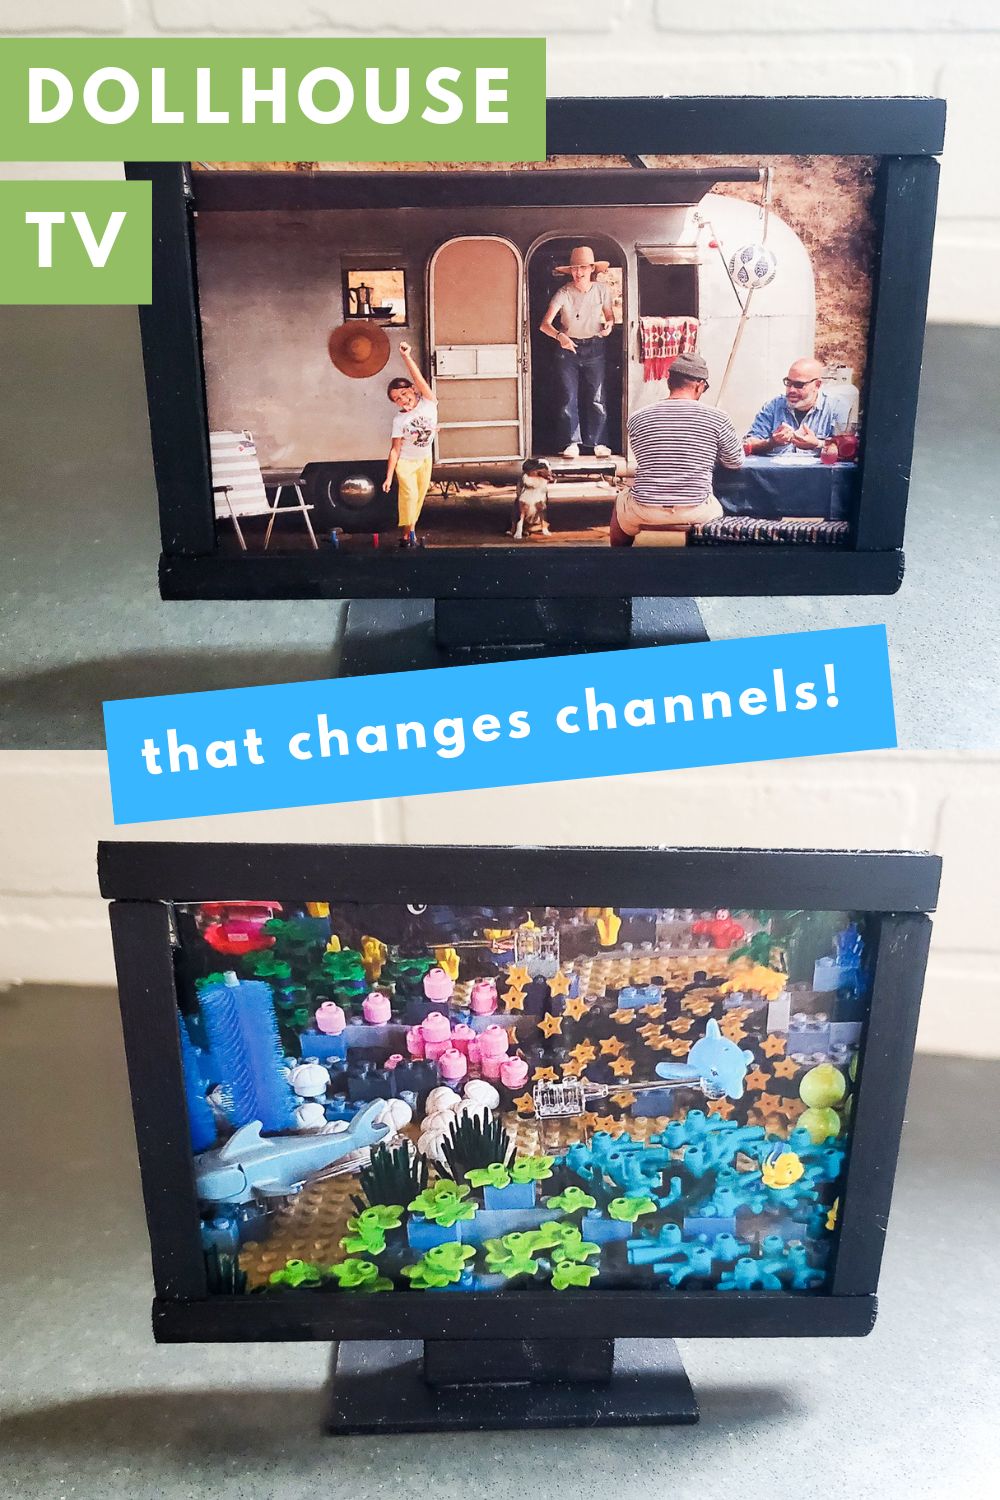
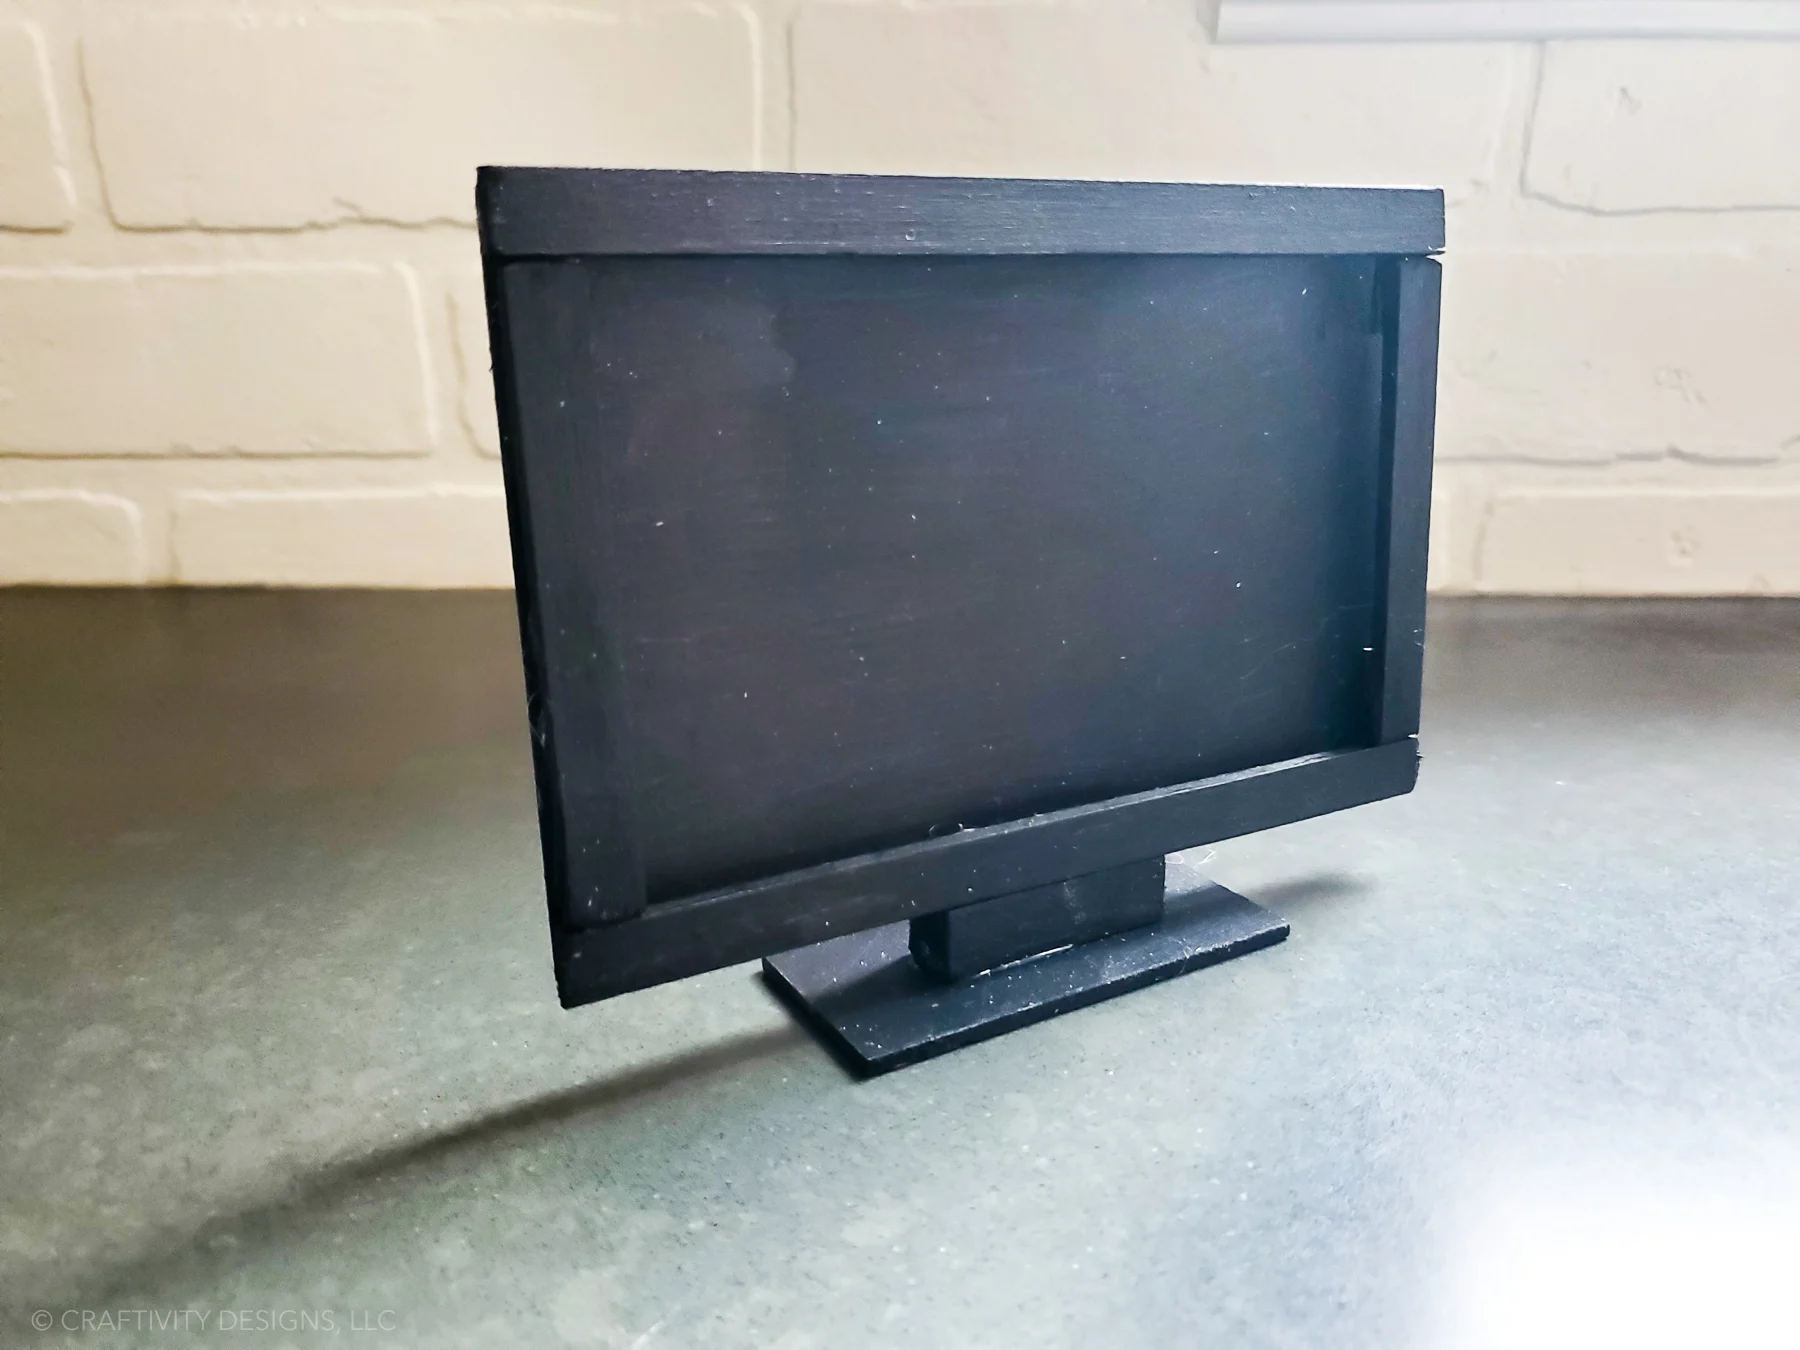
Learn how to make a DIY dollhouse TV for your little one. This dollhouse television is so lifelike that your child can even change the channel!
Once we finished the dollhouse fireplace for the living room, my daughter already knew what was next on her list. A dollhouse TV to place over the mantel! After all, Barbies like to relax on the couch and watch TV, too, right?
With a few items from your local craft store, you can make a TV for you child’s dollhouse living room. Dollhouse furniture is a great gift idea for your child. Or, you can make doll furniture with your child’s help – they’ll love helping create their own toys!
Disclosure: This page includes affiliate links.
My daughter’s handmade wood dollhouse sits in the corner of her pink bedroom. The white paint and light blue trim ties in well with the decor in her sweet, little girl’s bedroom. But, the inside hasn’t received any love and it’s time to build some handmade dollhouse furniture.
In the living room, we made dollhouse curtains, placed DIY dollhouse plants in the corners, and built a doll fireplace with mantel. We already owned a couch and chair set, as well as a side table. So, now it is time to build a doll-sized television.
Dollhouse Living Room Design
Be creative when designing decor and furniture for your child’s dollhouse! They’ll enjoy fun colors (like teal kitchen cabinets), but they’ll also enjoy having miniature versions of things found in their own home.
For my daughter’s dollhouse, we often use decor in our real home as inspiration, such as:
- the dollhouse fireplace is a creamy white just like the german smear fireplace in our living room
- the dollhouse plants are placed in African baskets just like the baskets in our eclectic bedroom
- the dollhouse wallpaper is a leftover piece from our bathroom’s jungle wallpaper
And, the television is no exception. My daughter wanted it over the mantel, much like the location of the TV in our home. Plus, she also wanted to be able to change the channels.
Wait, what?! That sounds like a tall order.
Channels for a Dollhouse TV
It took a little brainstorming, but we figured out how to make a doll TV that has channels. For my daughter’s dollhouse, we only made 2 channels. But, you could make as many as you want.
Selecting the channels is a great way for your child to get involved with this craft project. I gave my daughter a Lego magazine (we are big lego fans in this house) and a home decor magazine. I asked her to find several photos that would make a good TV show.

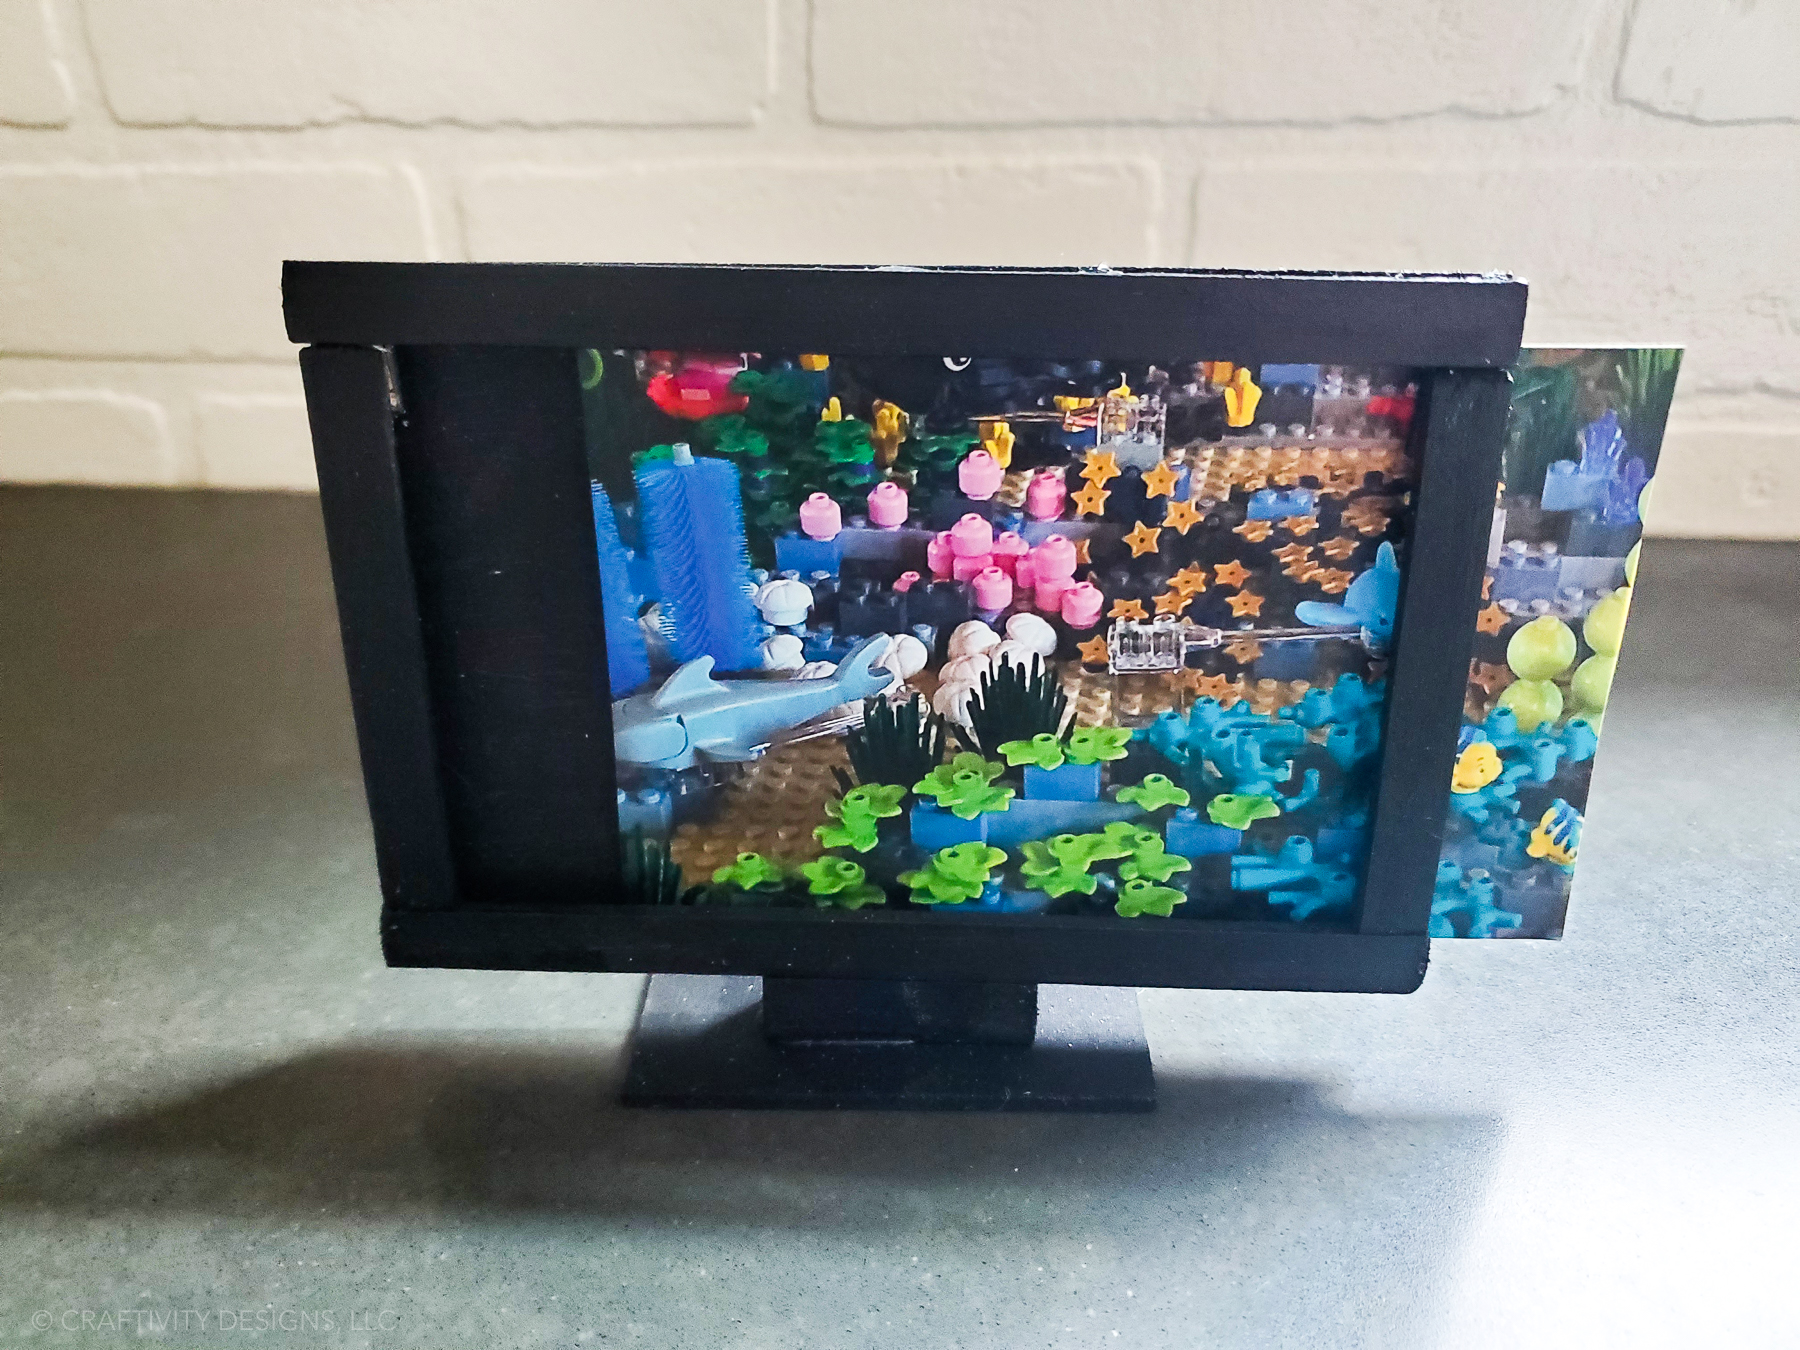
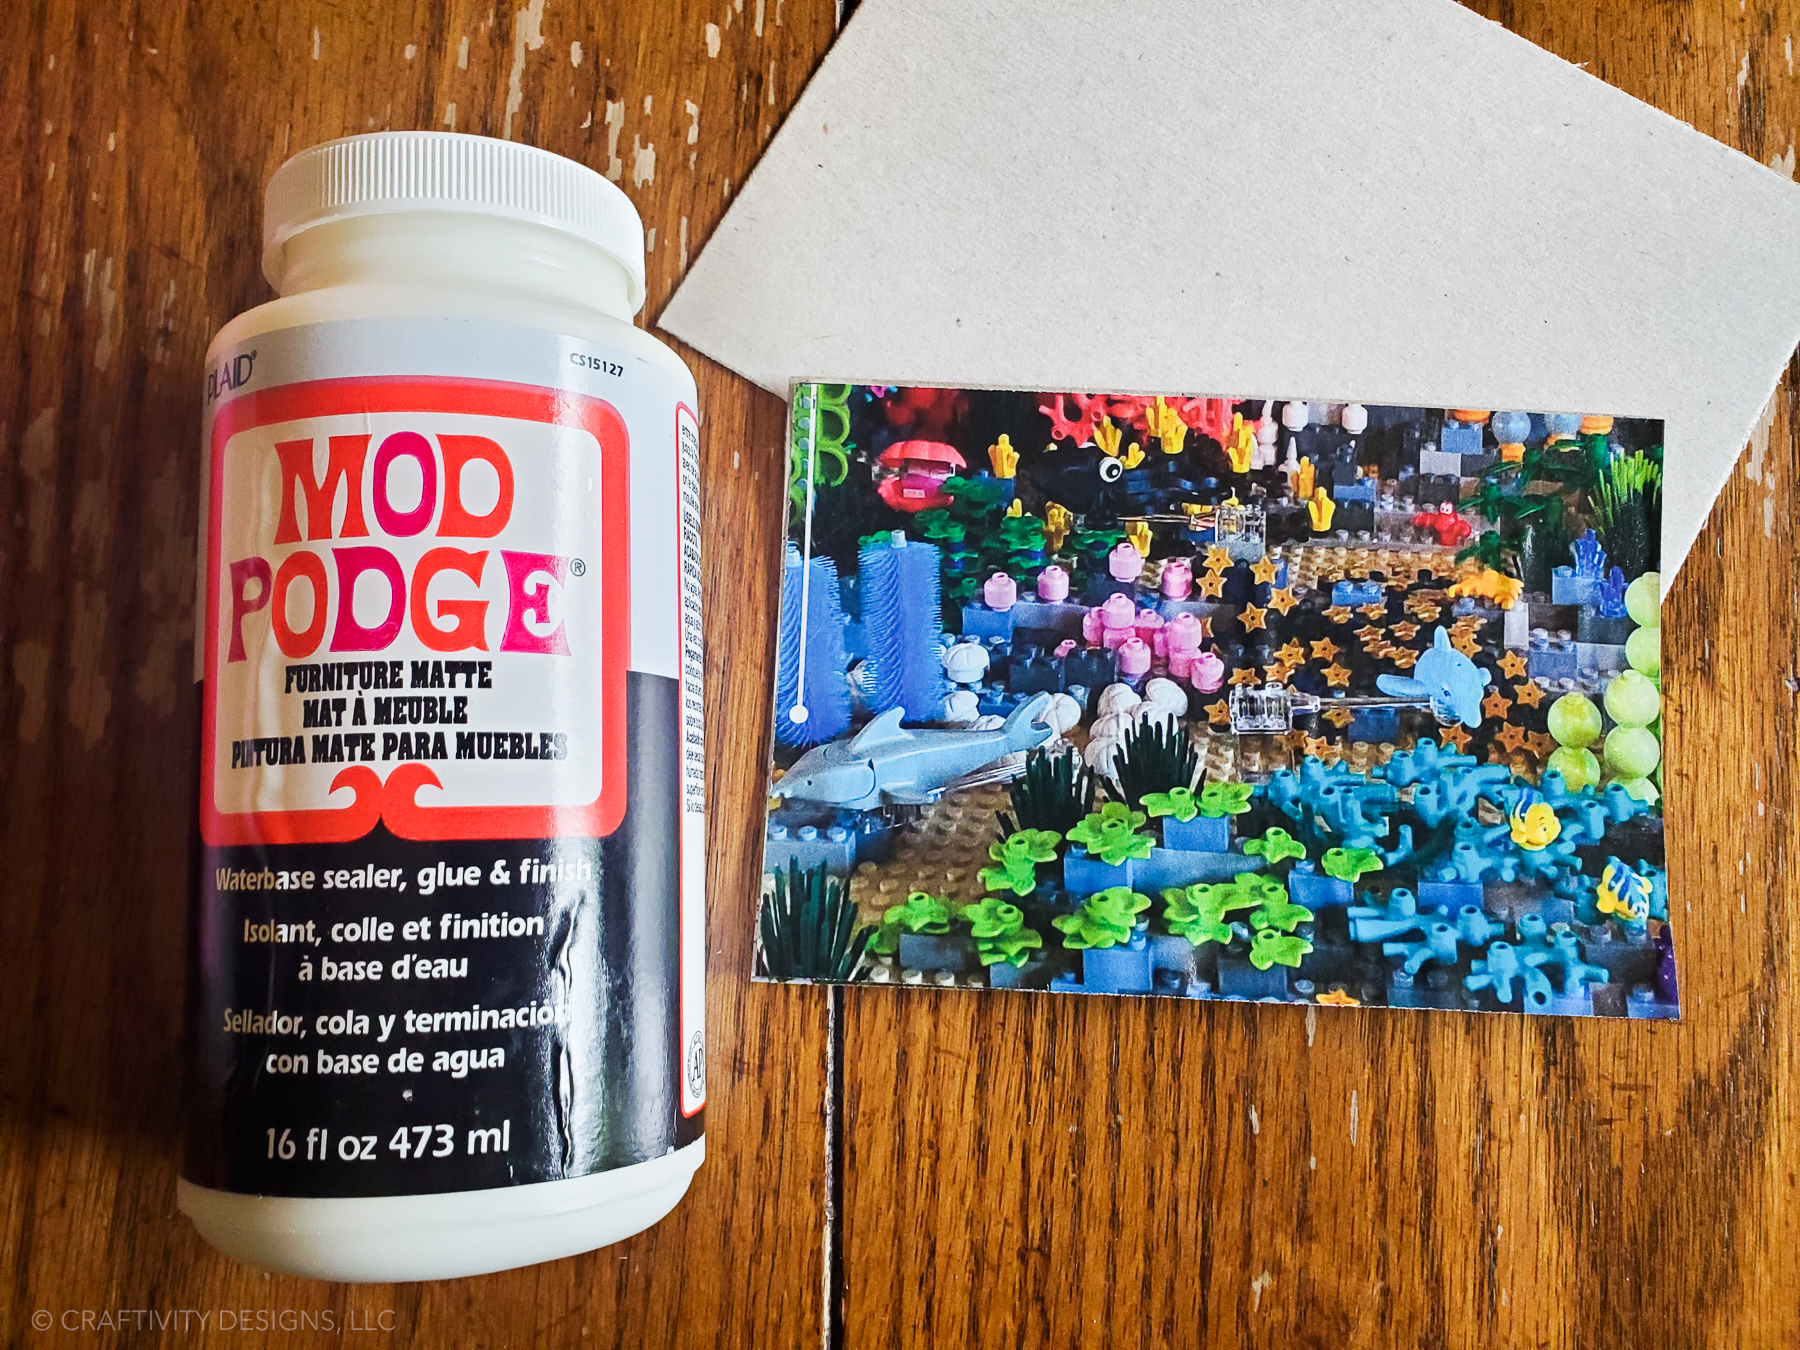
First, she selected a photo from the Lego magazine because it was an ocean scene. It looks much like the YouTube videos she streams of kids building detailed Lego scenes – perfect for her dollhouse TV!
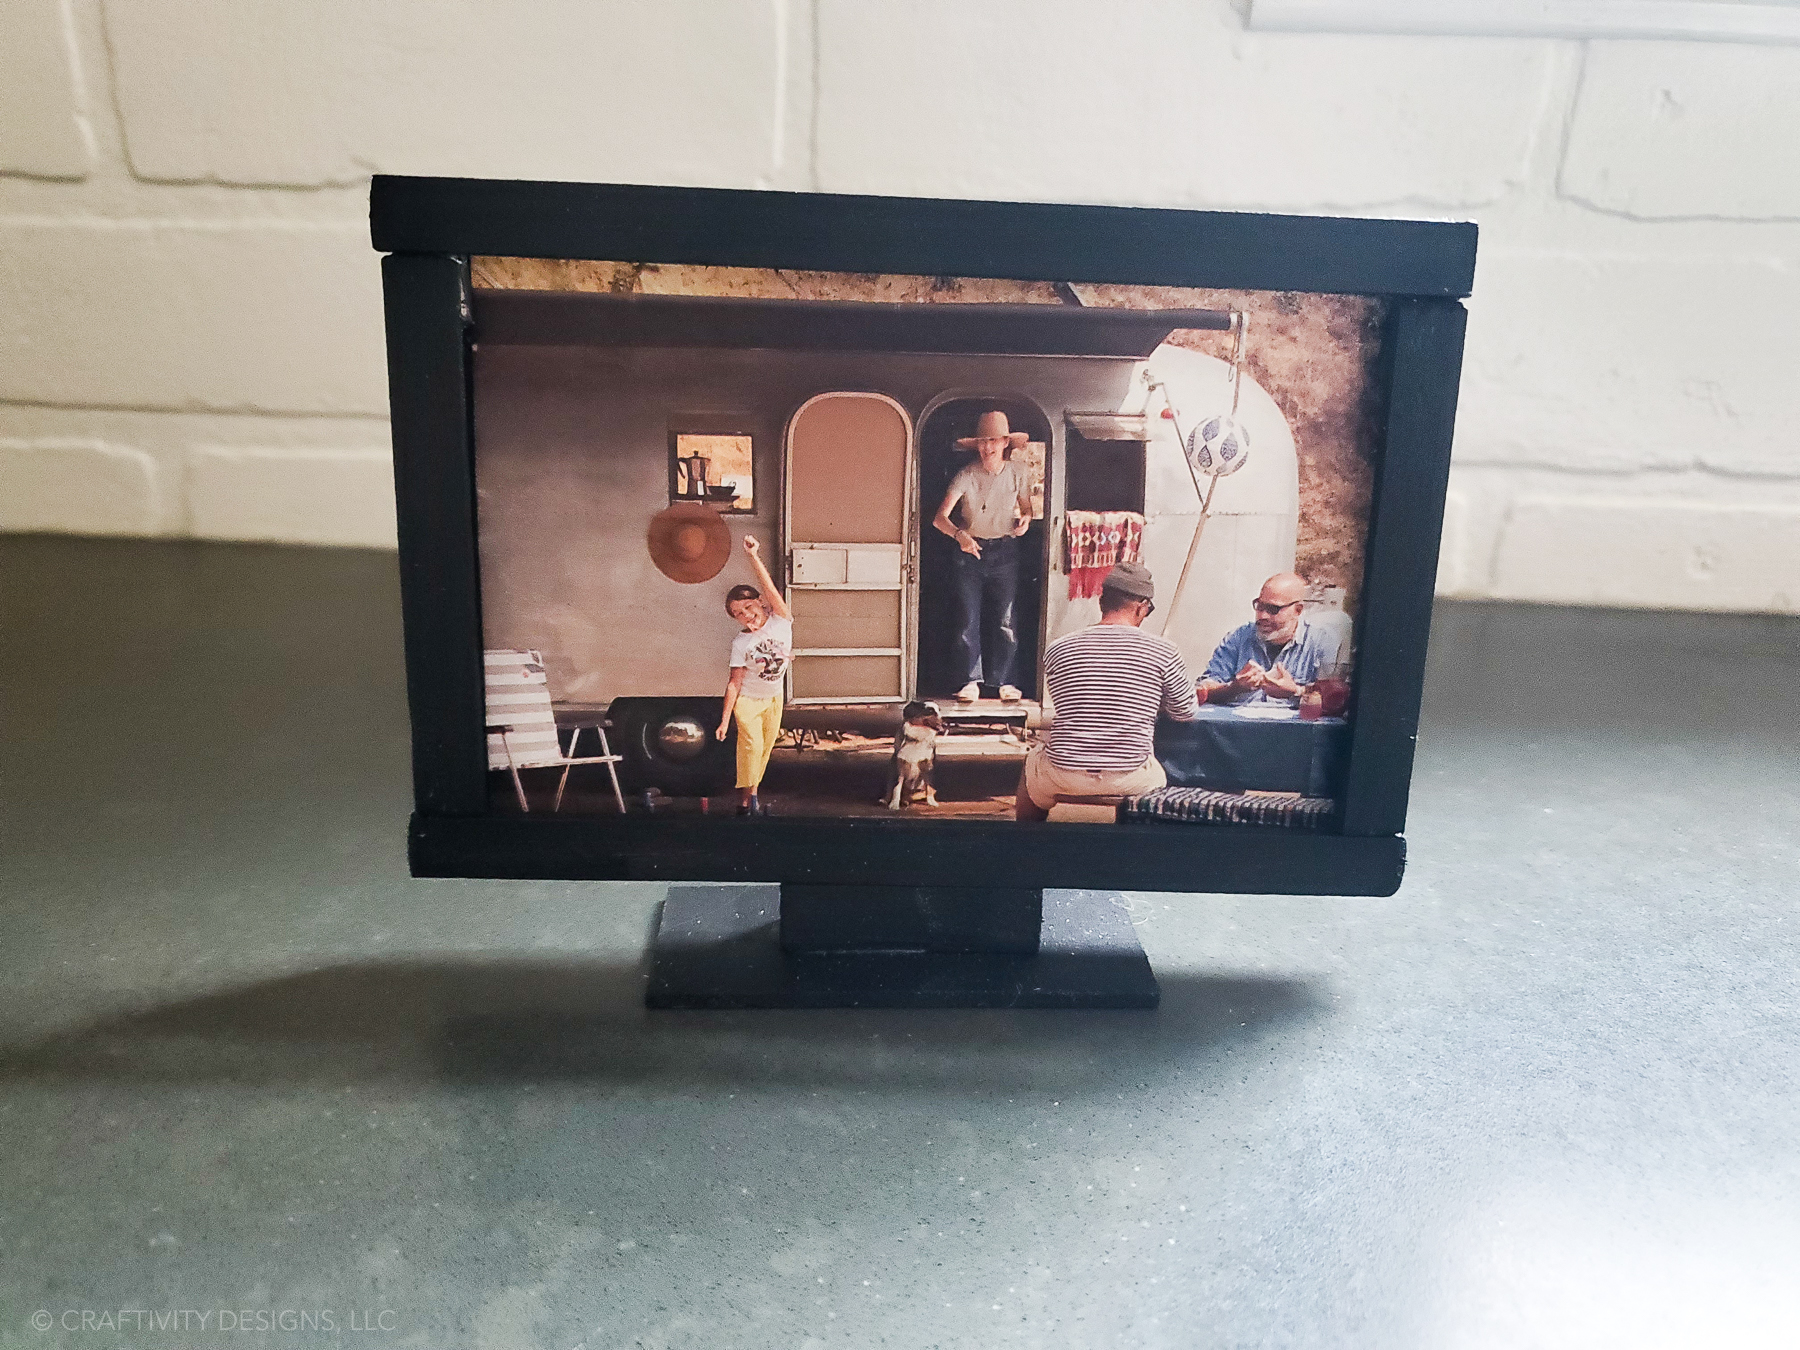
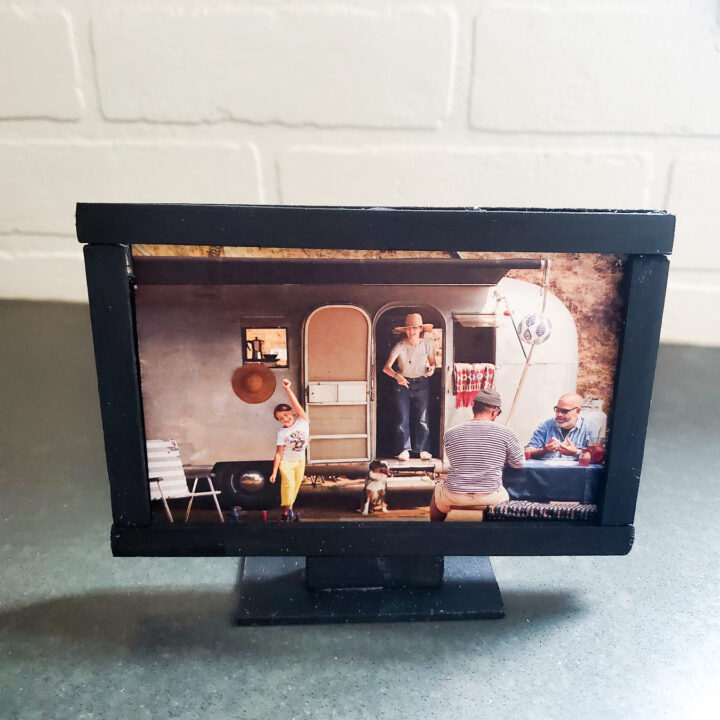
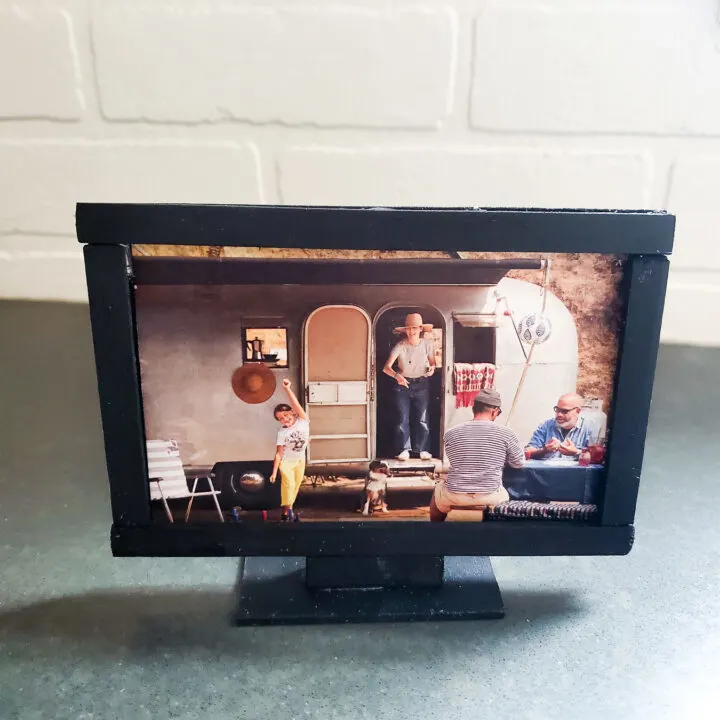
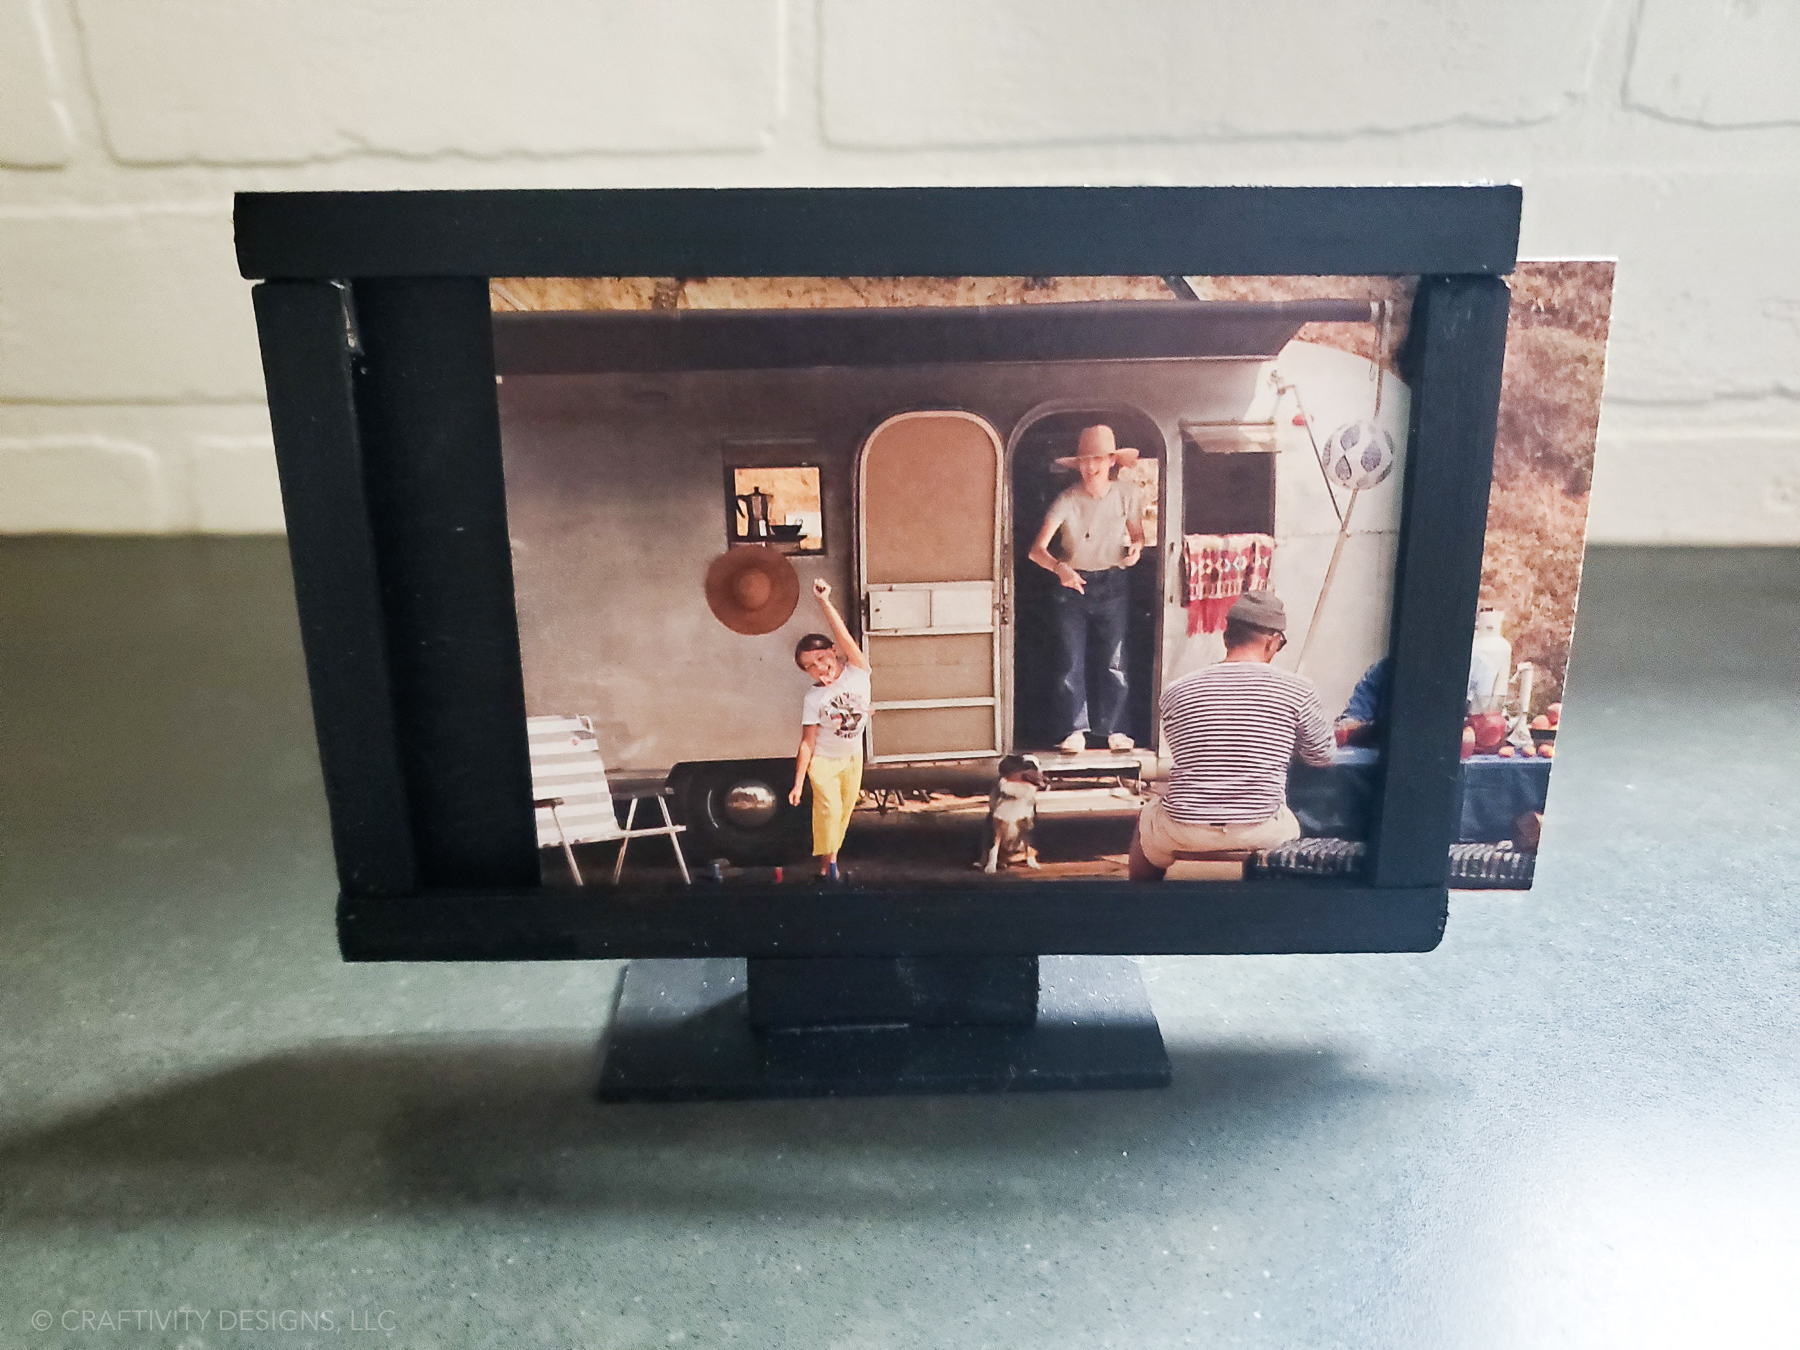
Next, she chose a family outside a camper because RVing is her dream travel method. Guess we may have to make that dream reality and expand our travel map, right?!
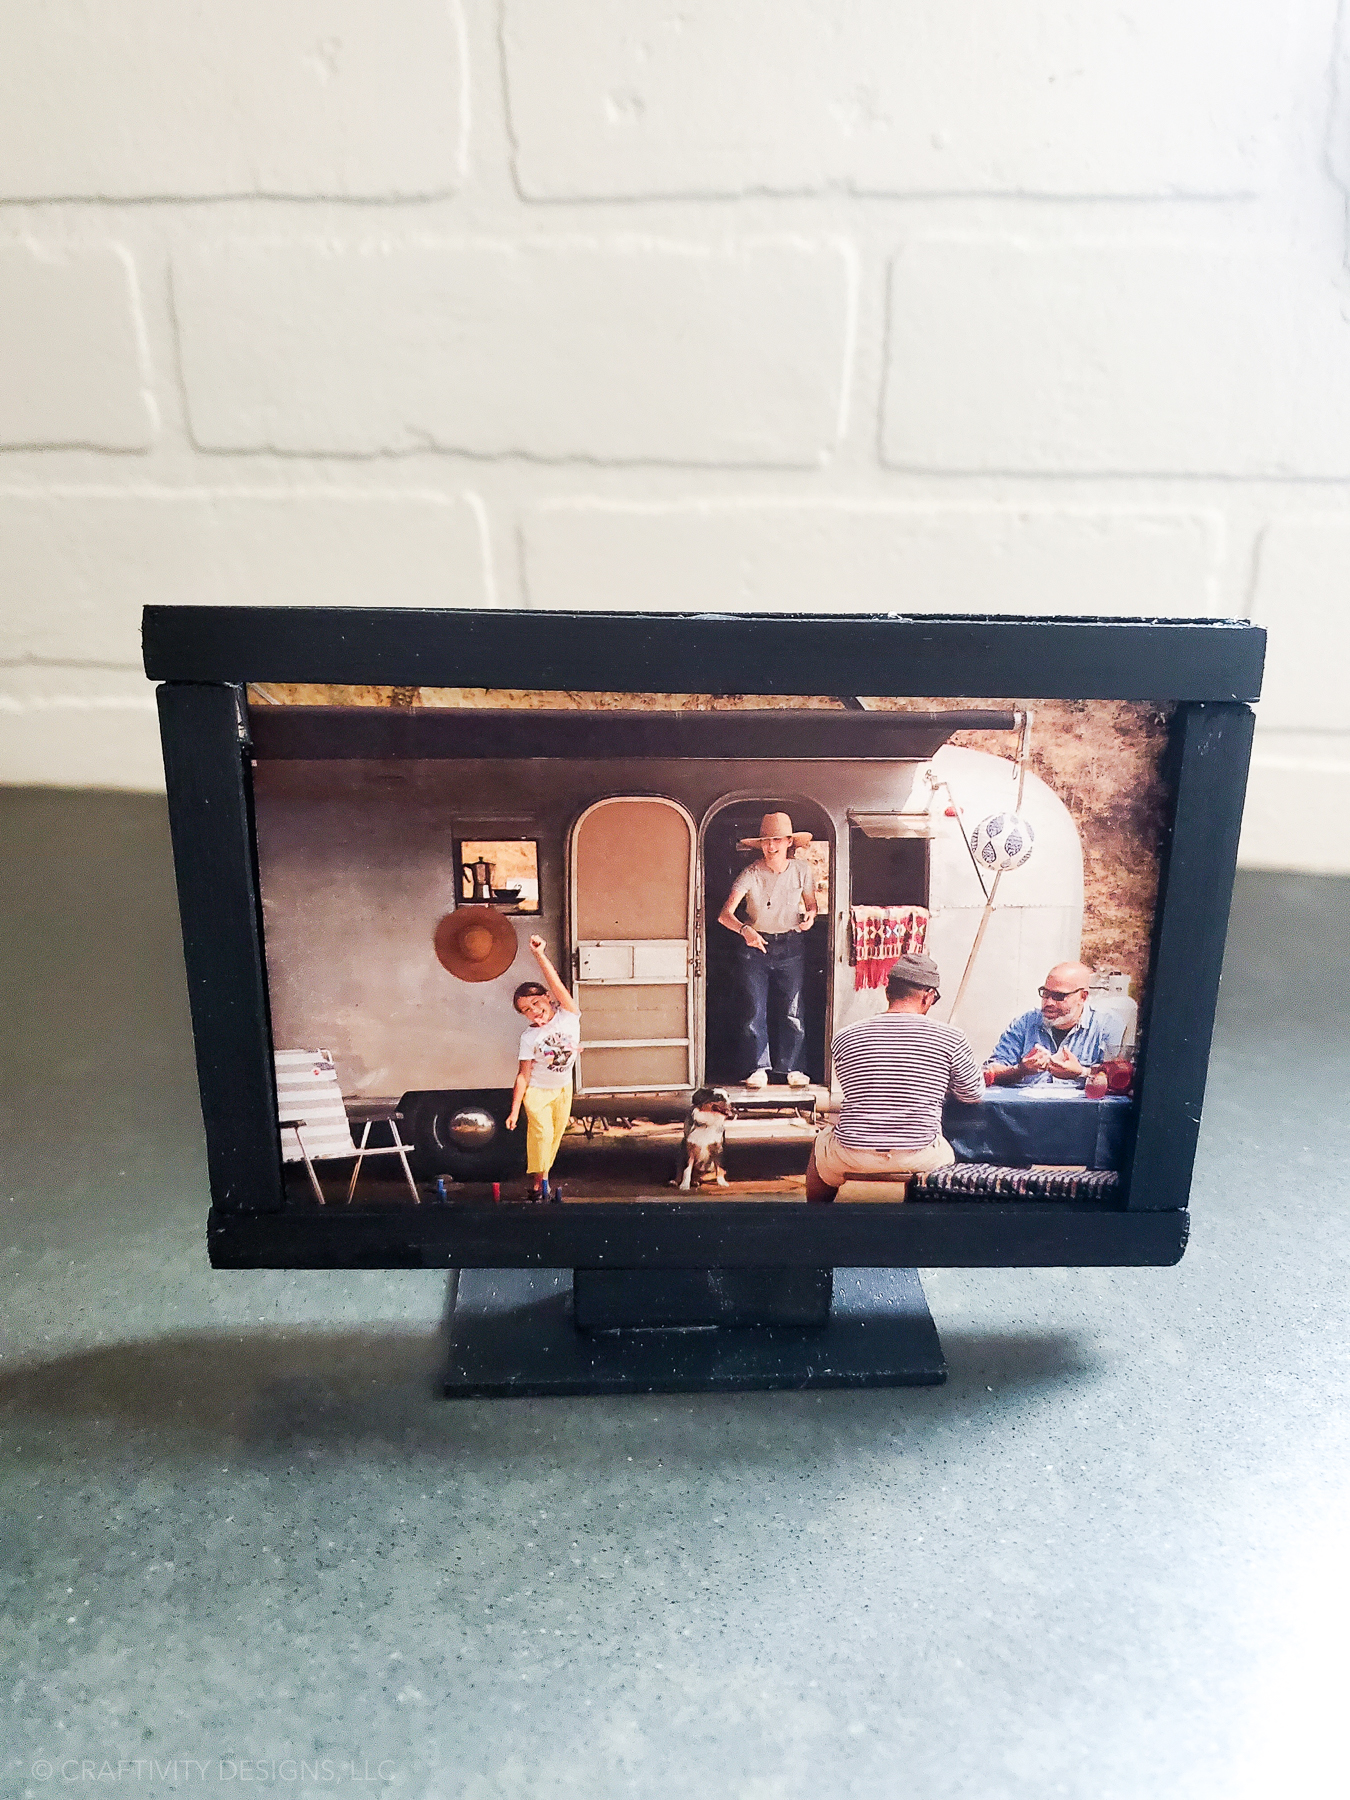
The TV “channels” are attached to a single piece of chipboard that is double-sided. The chipboard can be pulled in and out, allowing the child to change the show as they play.
If you’d like more than 2 channels, just create more pieces of chipboard and select more magazine images.
How to Make a DIY Dollhouse Television
Before you begin this project, be sure to measure your dollhouse space to figure out the dimensions you’ll need for the TV. Then, head to your local craft store and look for suitable wood supplies.
For this project, you can use wood products such as balsa wood strips, scrap wood, and even popsicle sticks!
How to Make a Dollhouse TV
Learn how to make a DIY dollhouse TV for your little one. This dollhouse television is so lifelike that your child can even change the channel!
Materials
Tools
- Ruler
- Utility Knife
- Foam Paint Brushes
- Detail Sanding Tool
- Miter Box
- Hot Glue and Glue Gun
- Scissors
Instructions
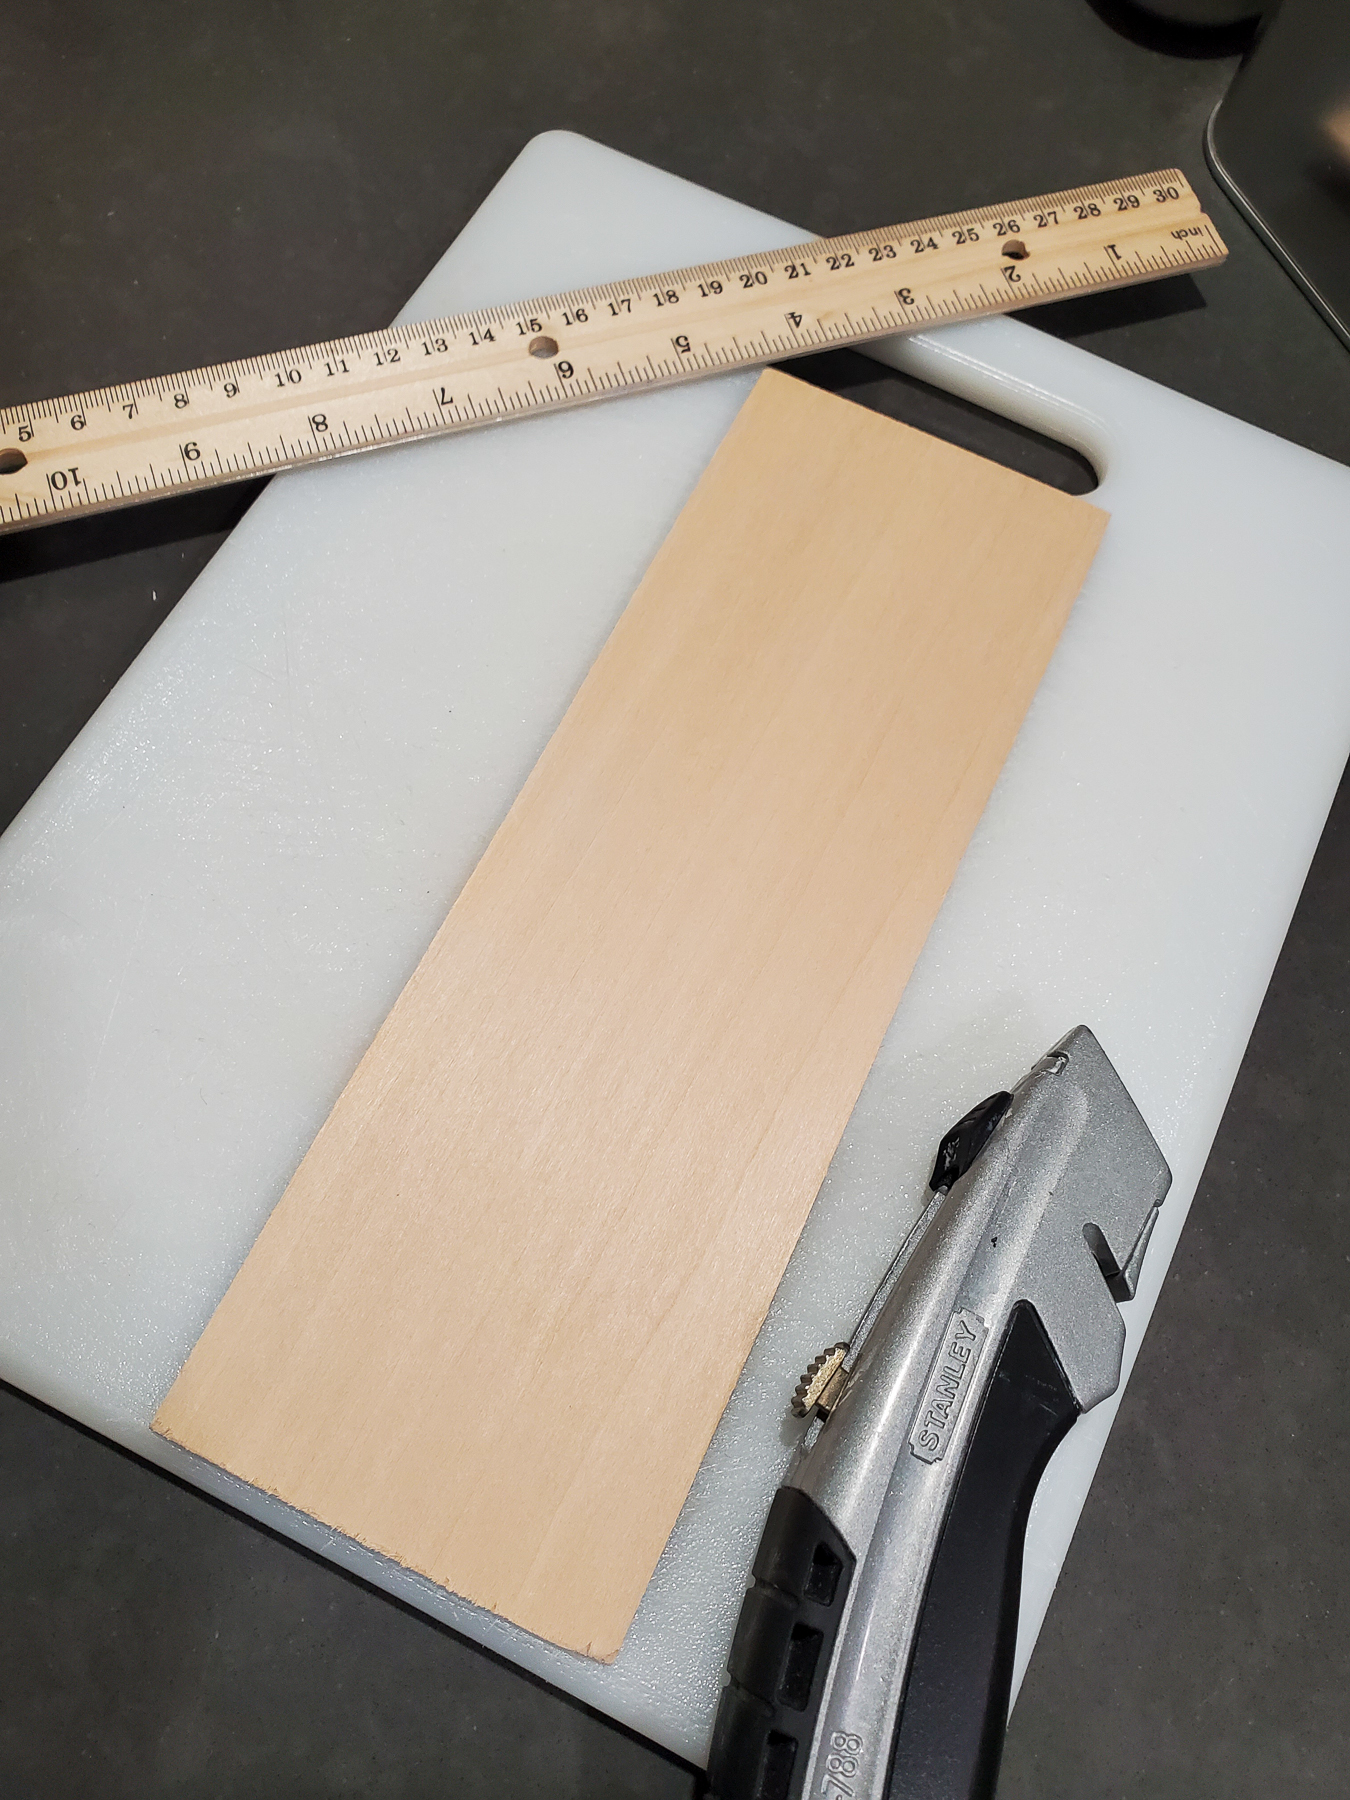
- Measure the dollhouse and determine the dimensions of the TV.
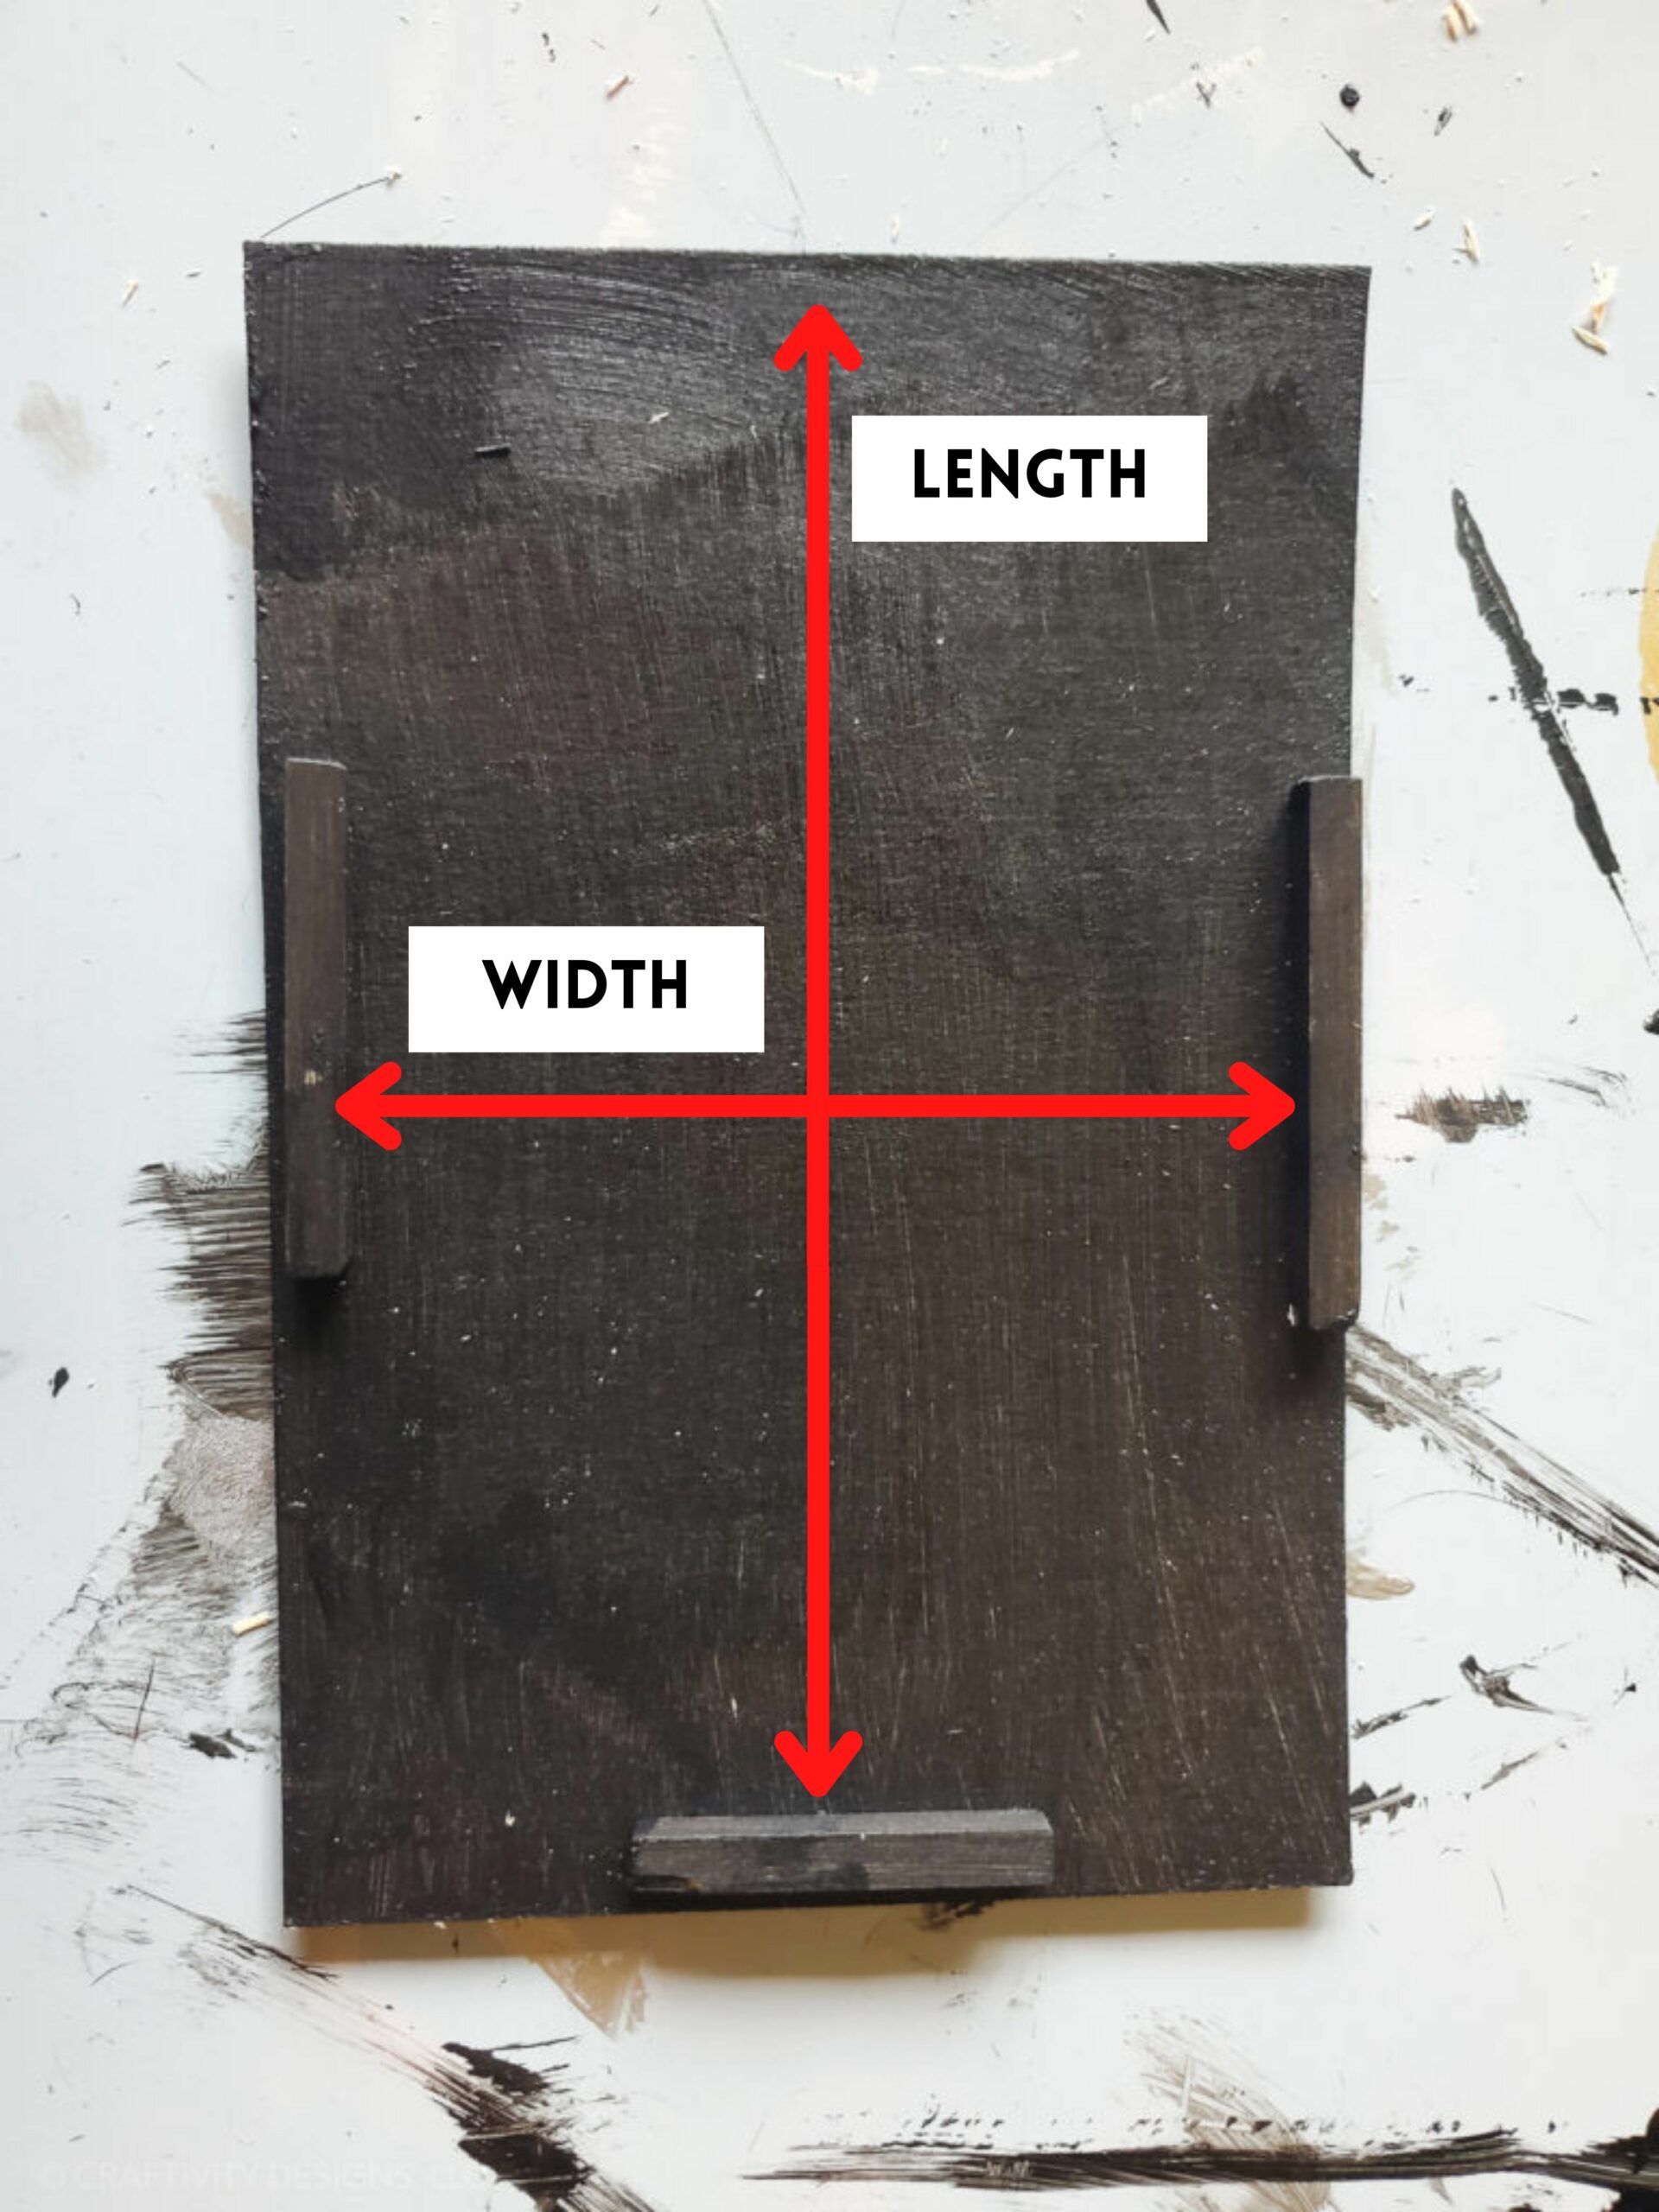
- Cut a sheet of balsa wood with a utility knife to the dimensions from step #1.

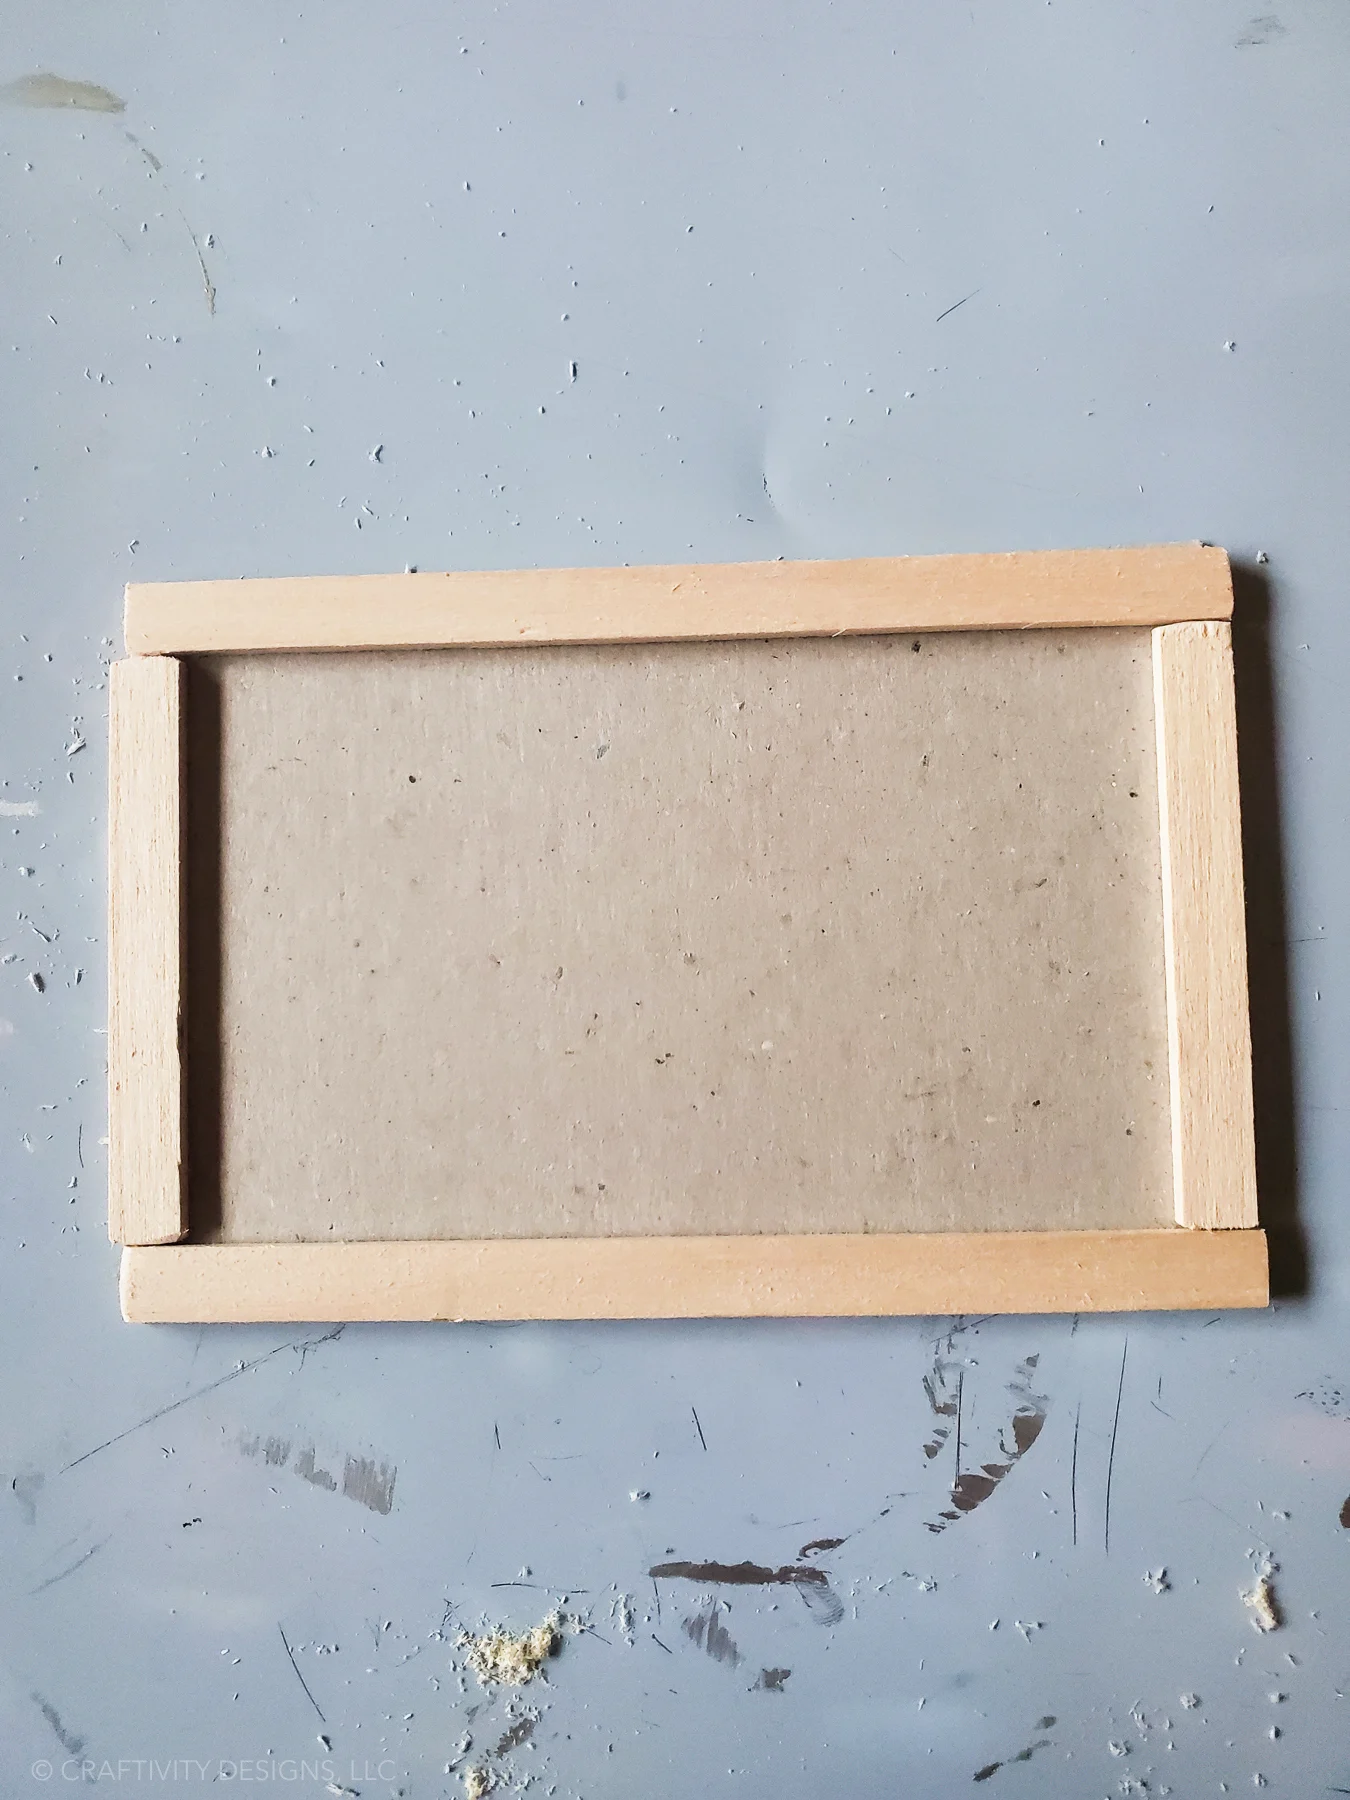
- Cut balsa strips to size to build a frame that fits the TV. Do not attach the frame yet.

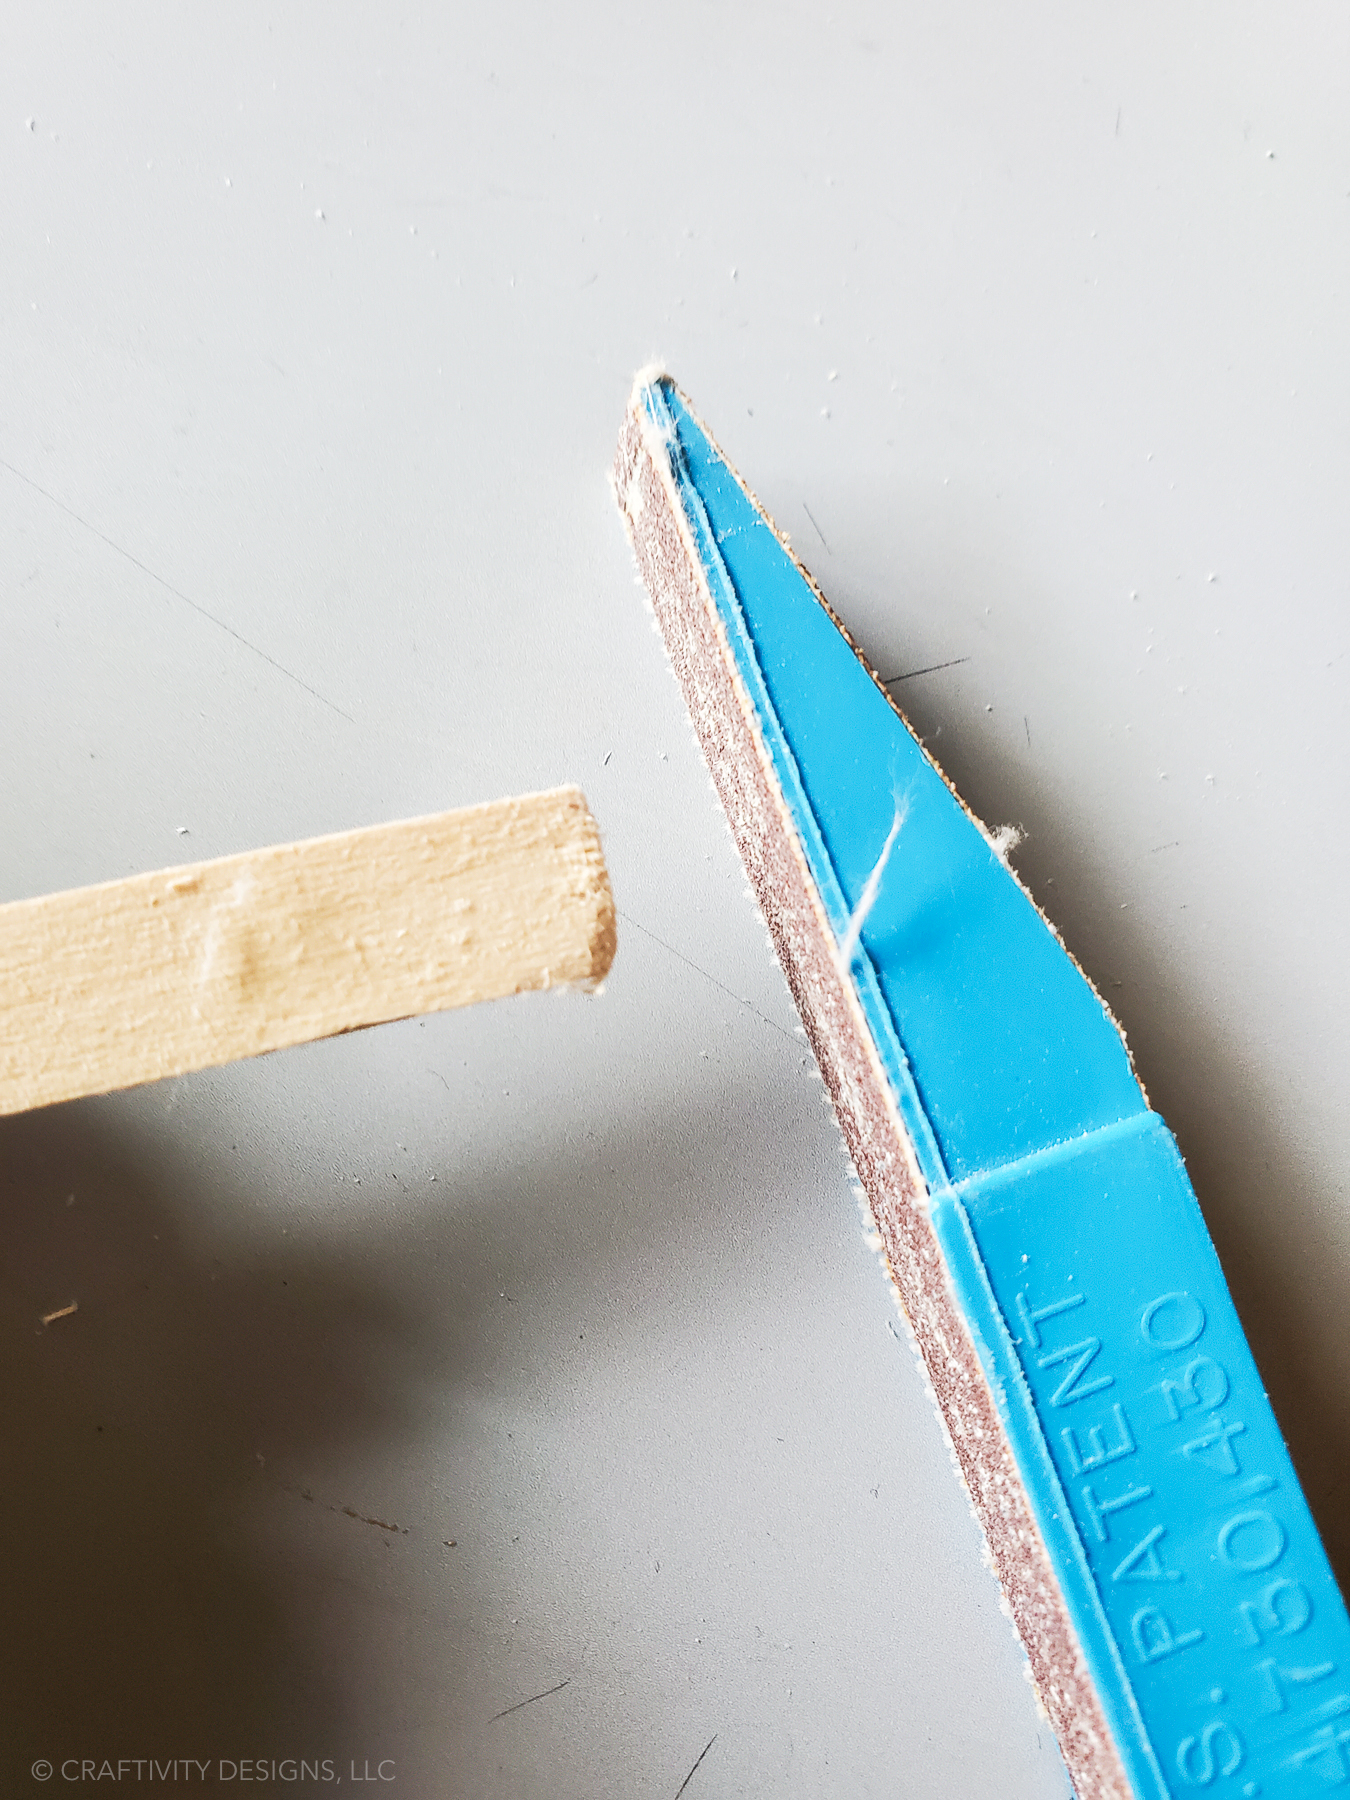
- Sand edges of the frame to smooth.

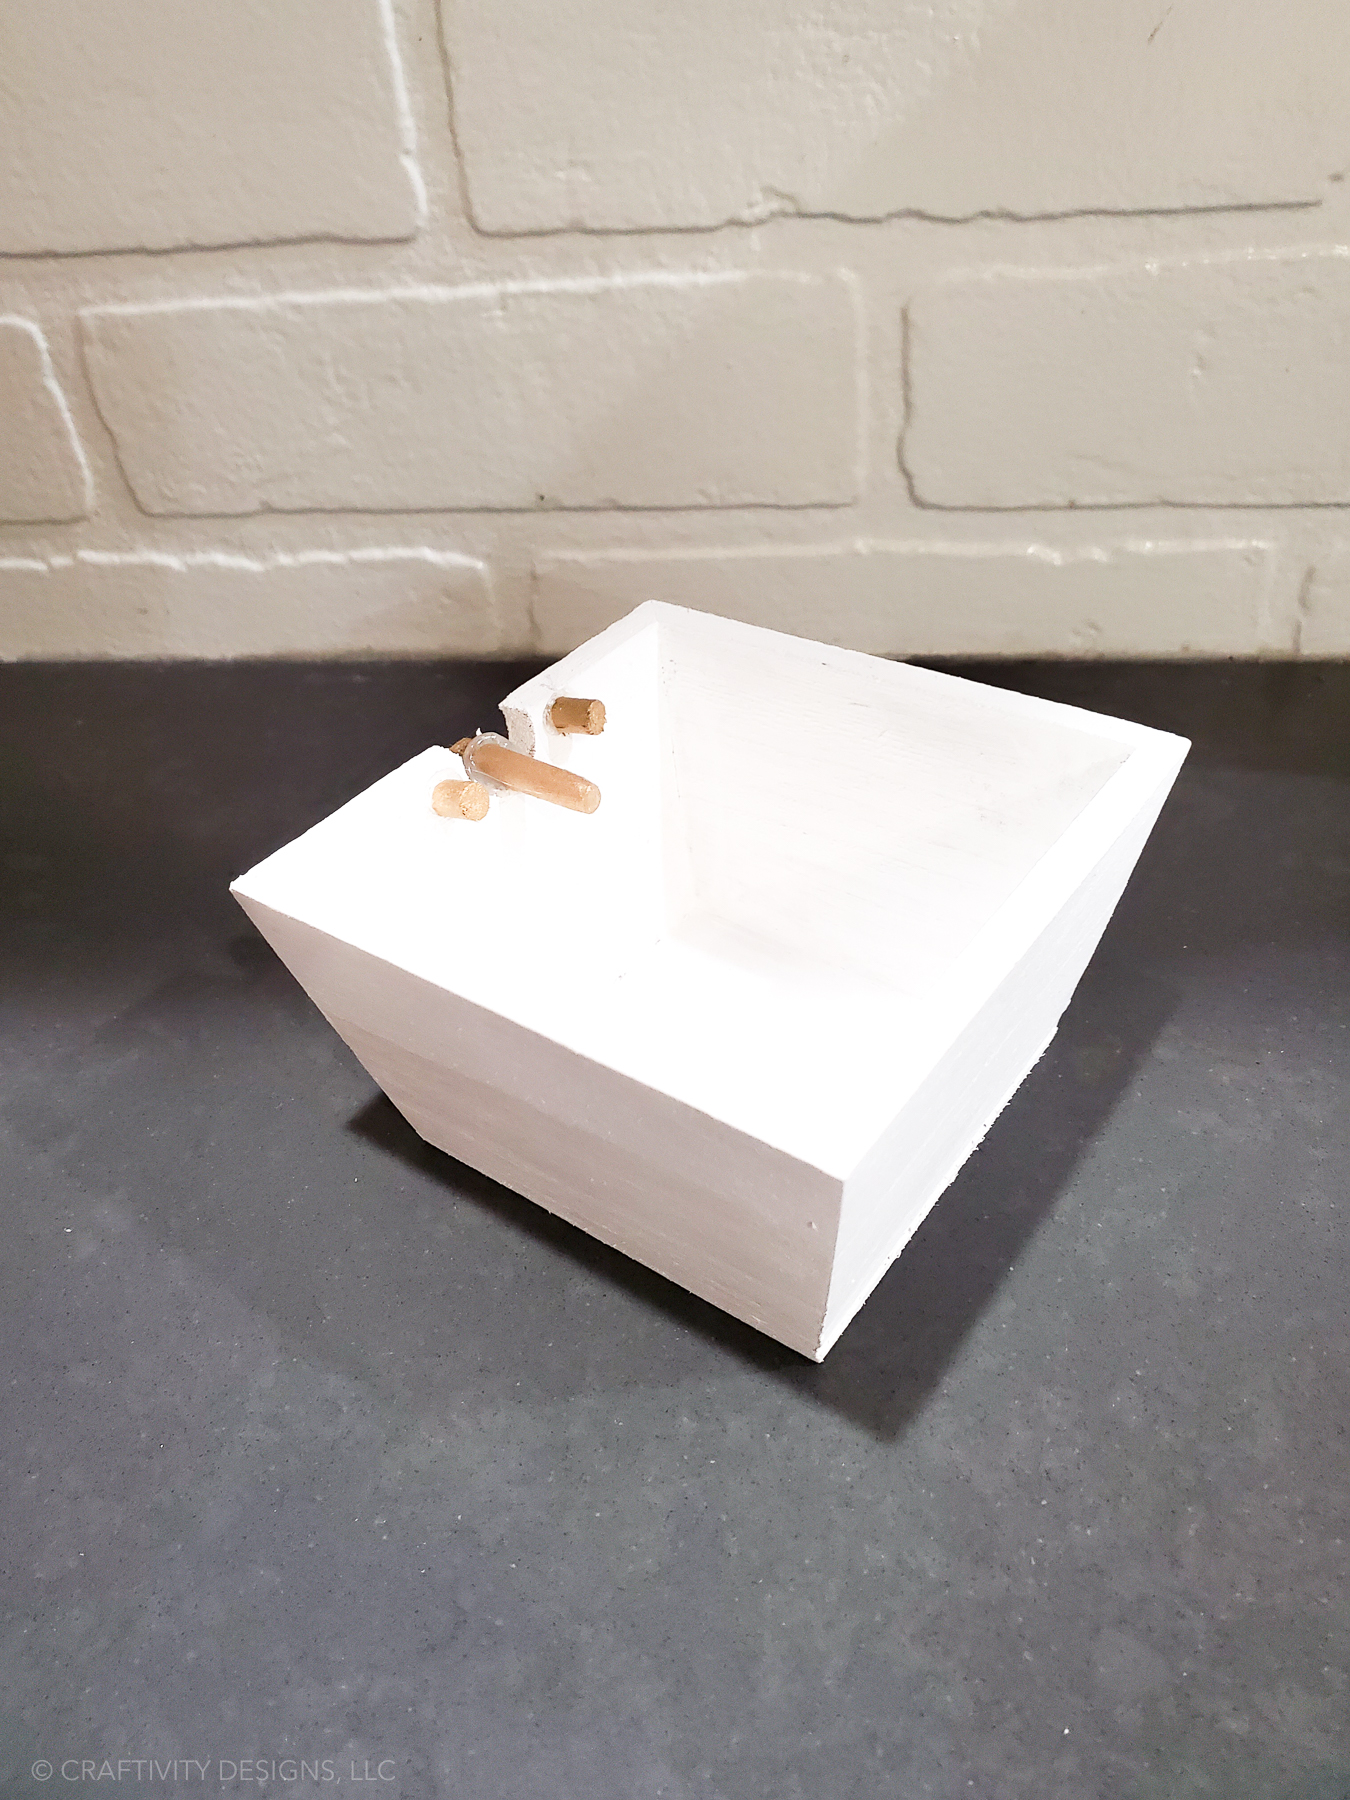
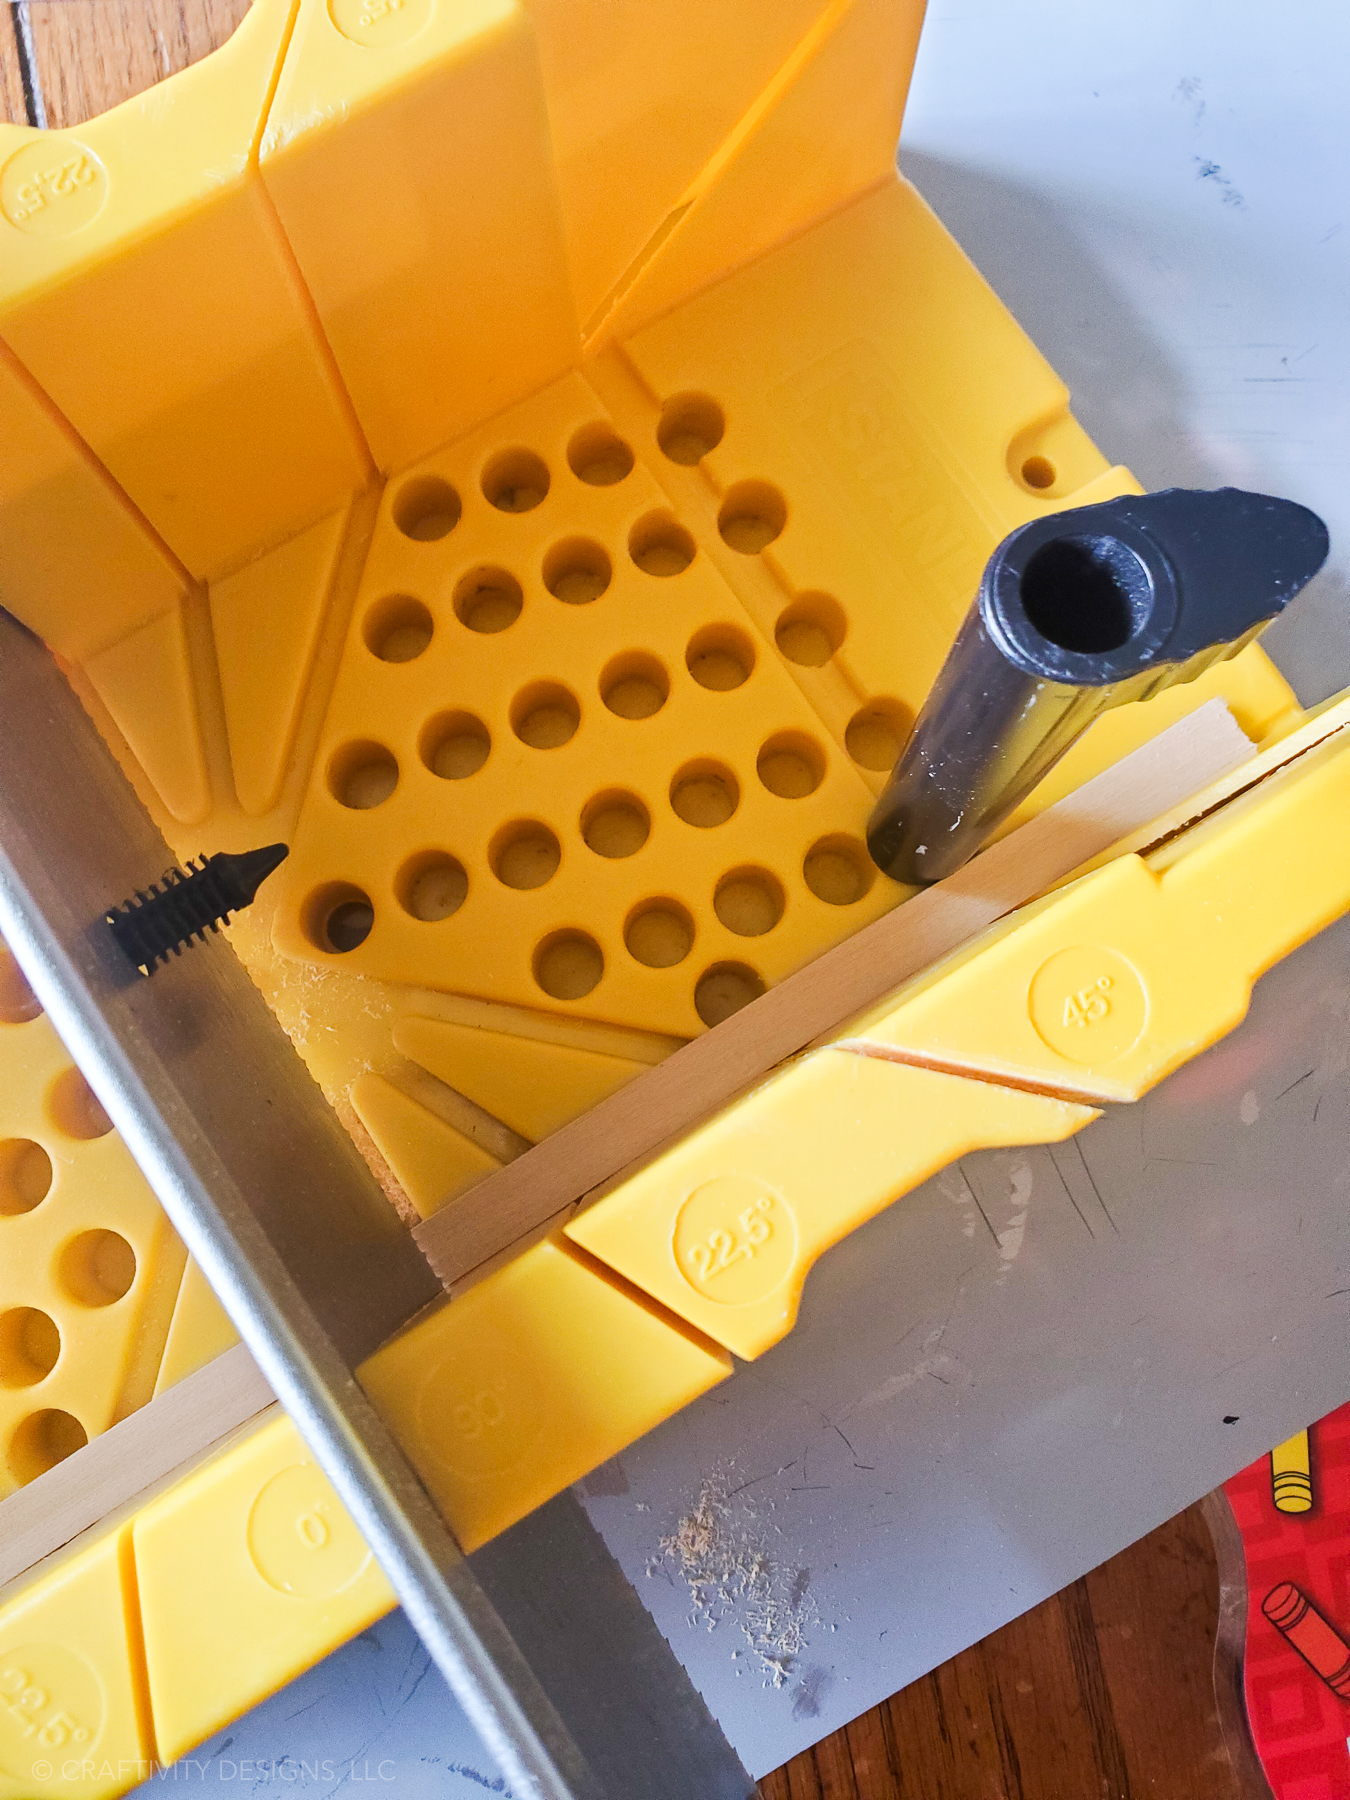
- Cut 3 square balsa dowels with a miter box to create spacers between the back of the TV and the frame. Hot glue the spacers to the TV on 3 sides. Note: The dowels should be thinner than the frame.
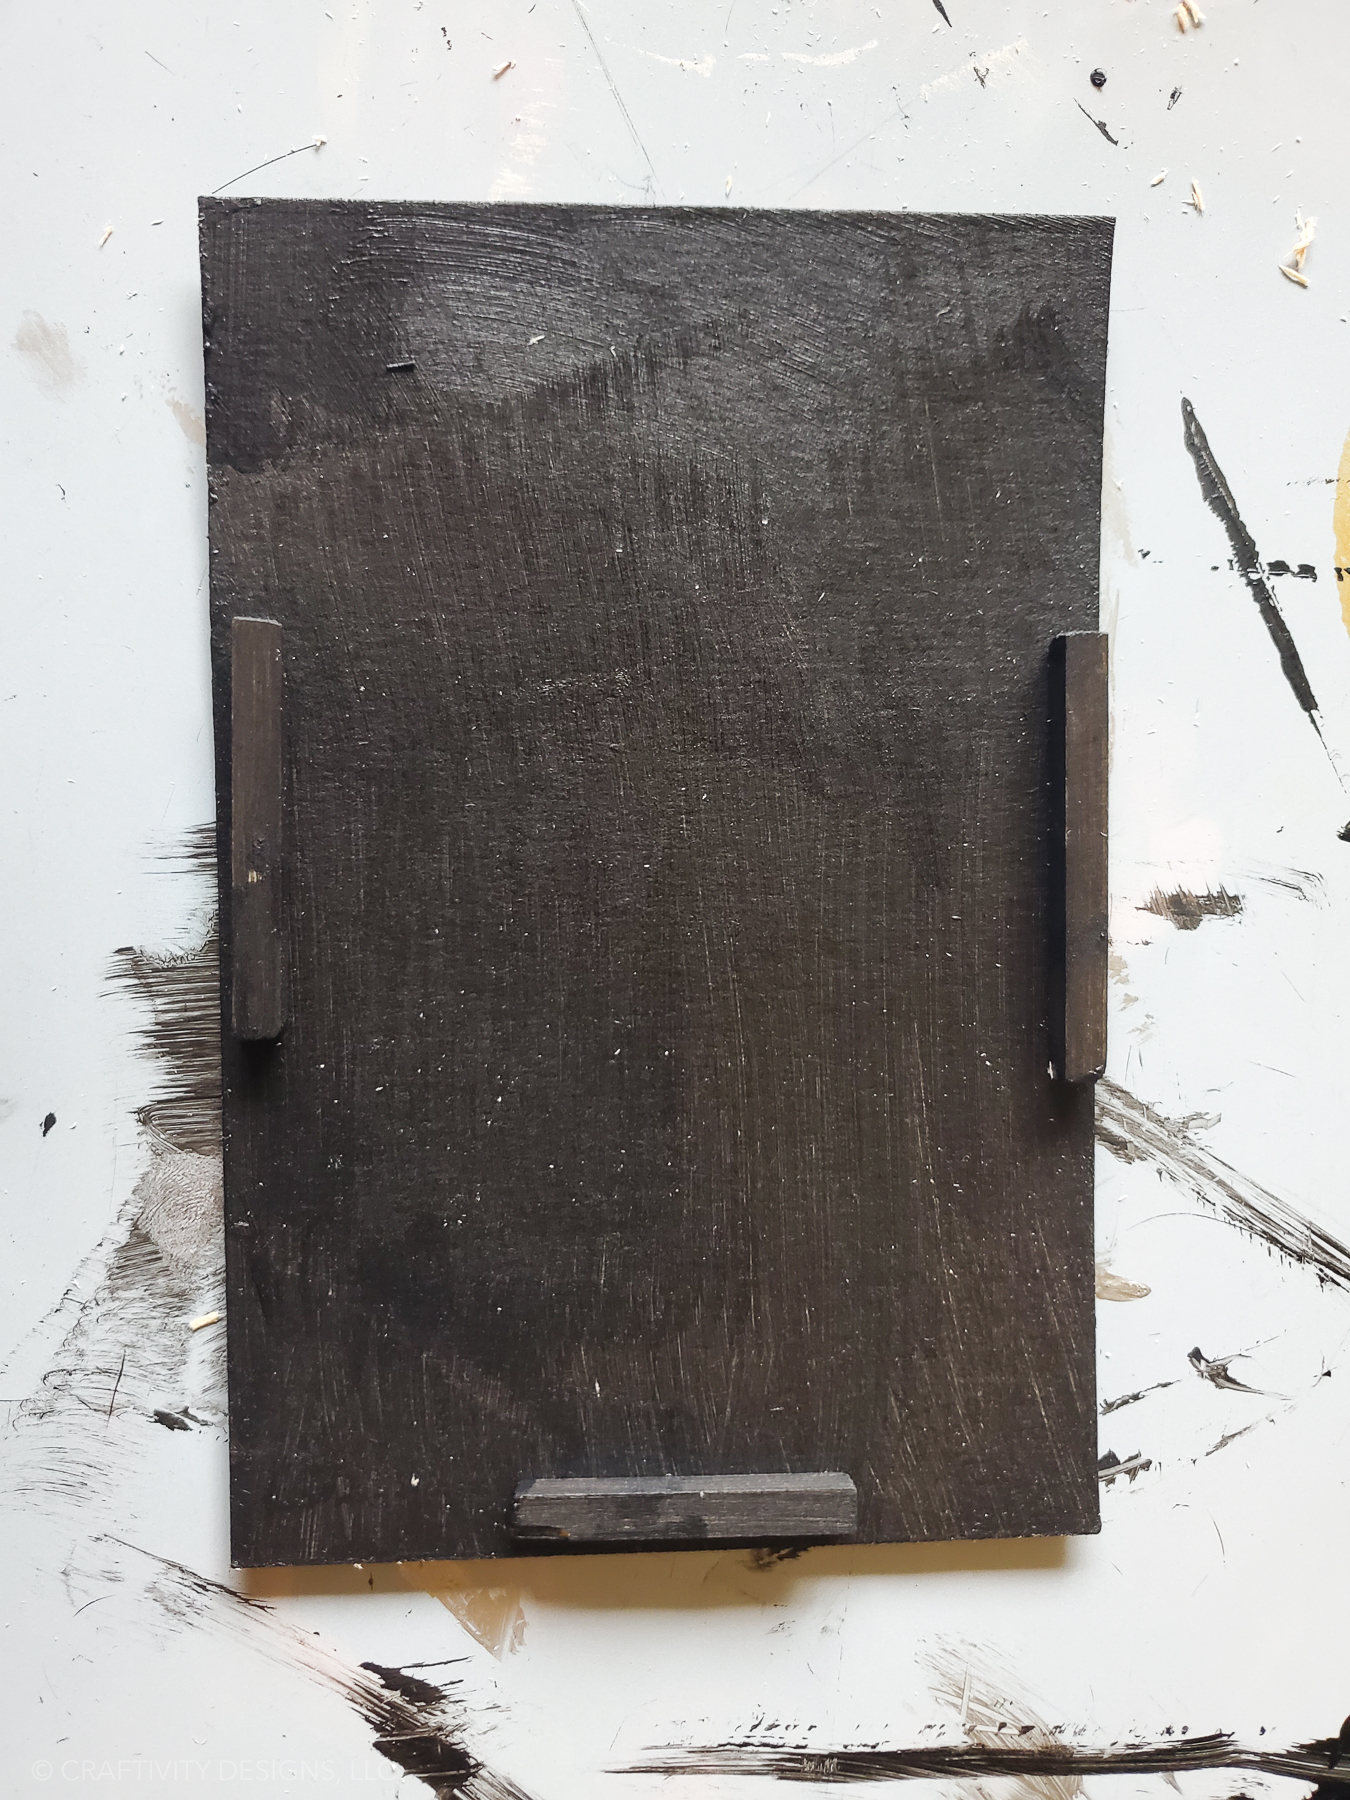

- Cut a balsa strip and square dowel to size to create the base of a TV stand. Hot glue together.
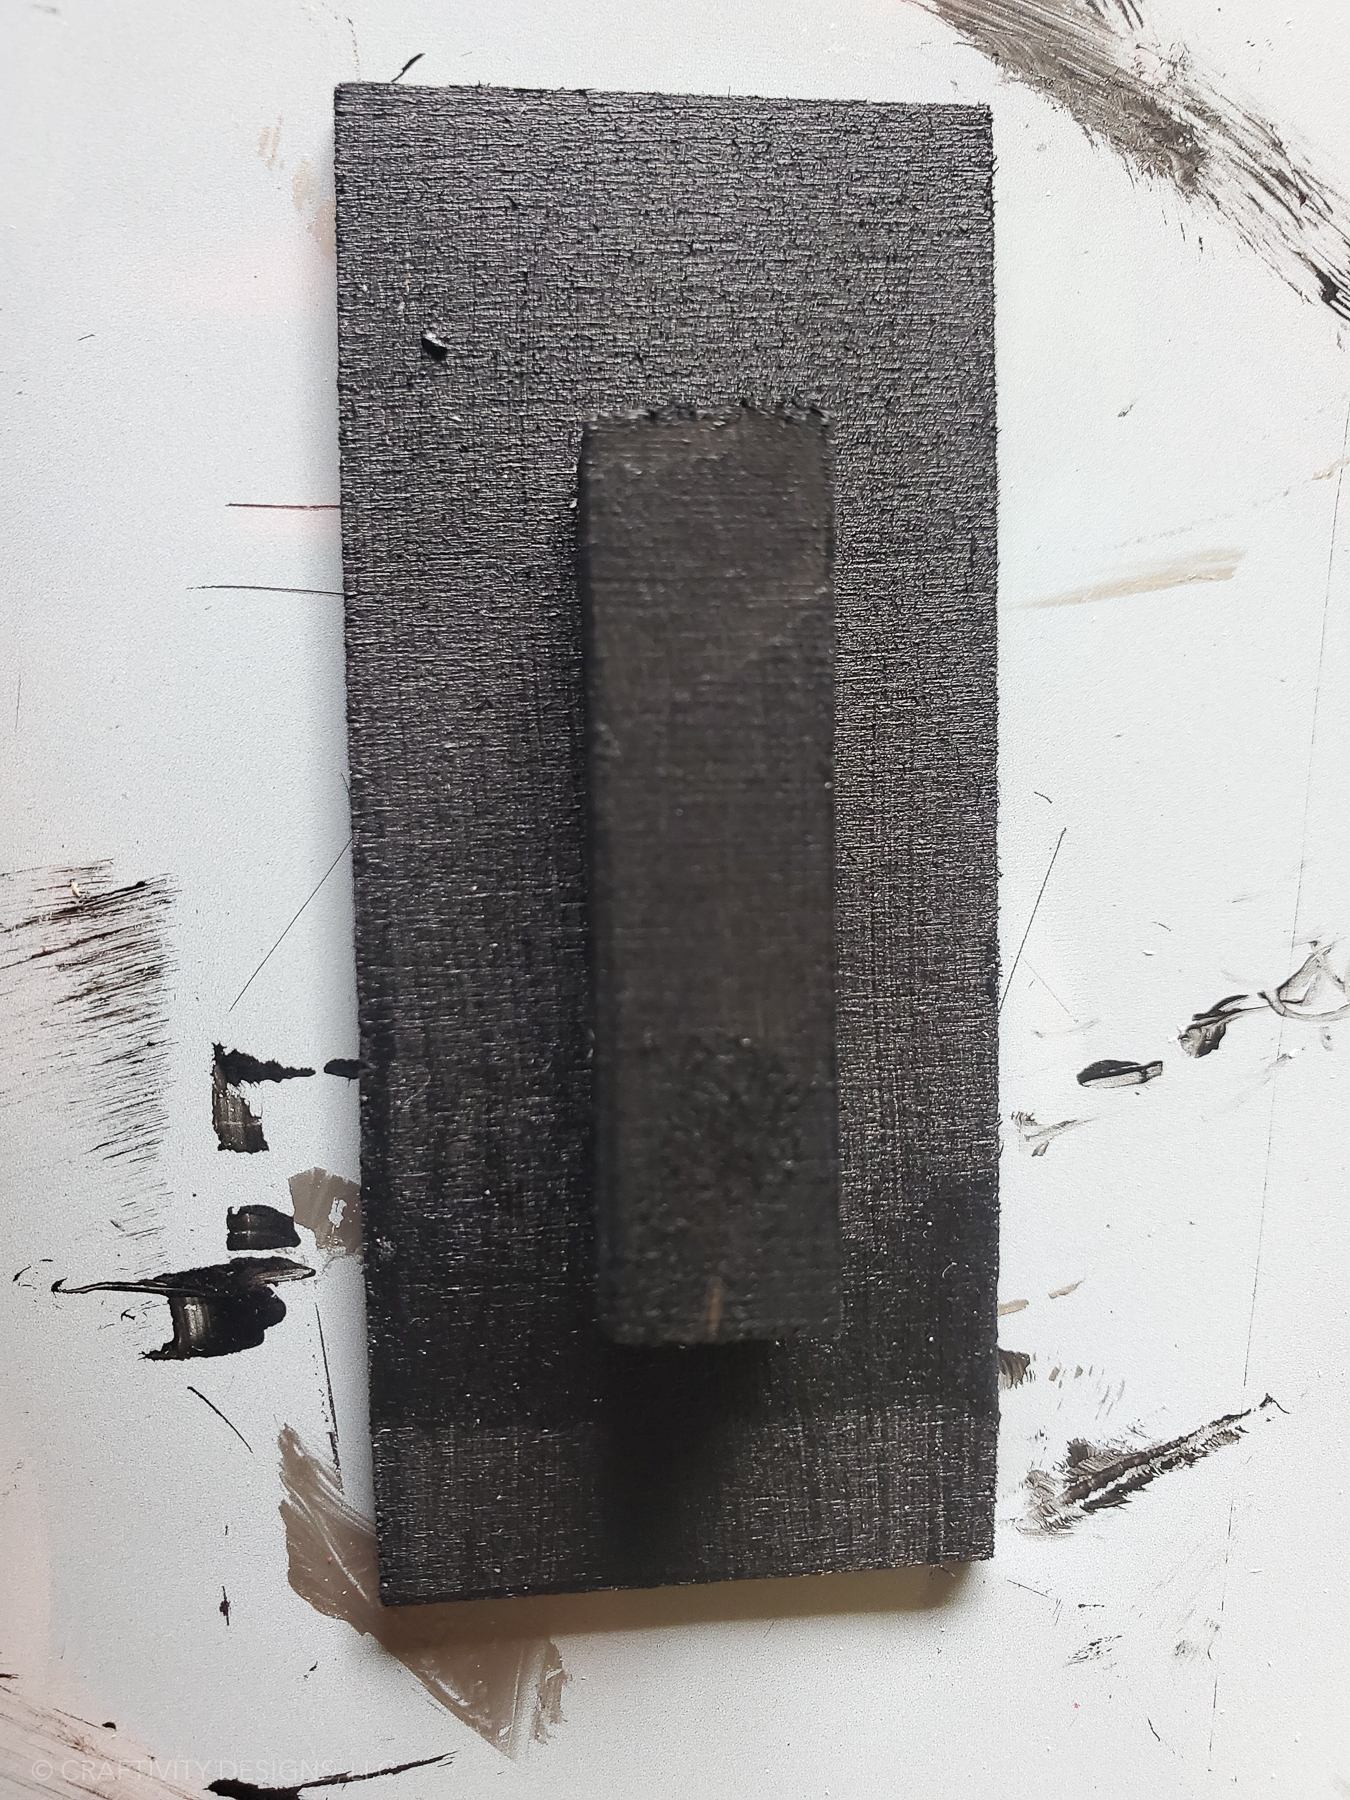

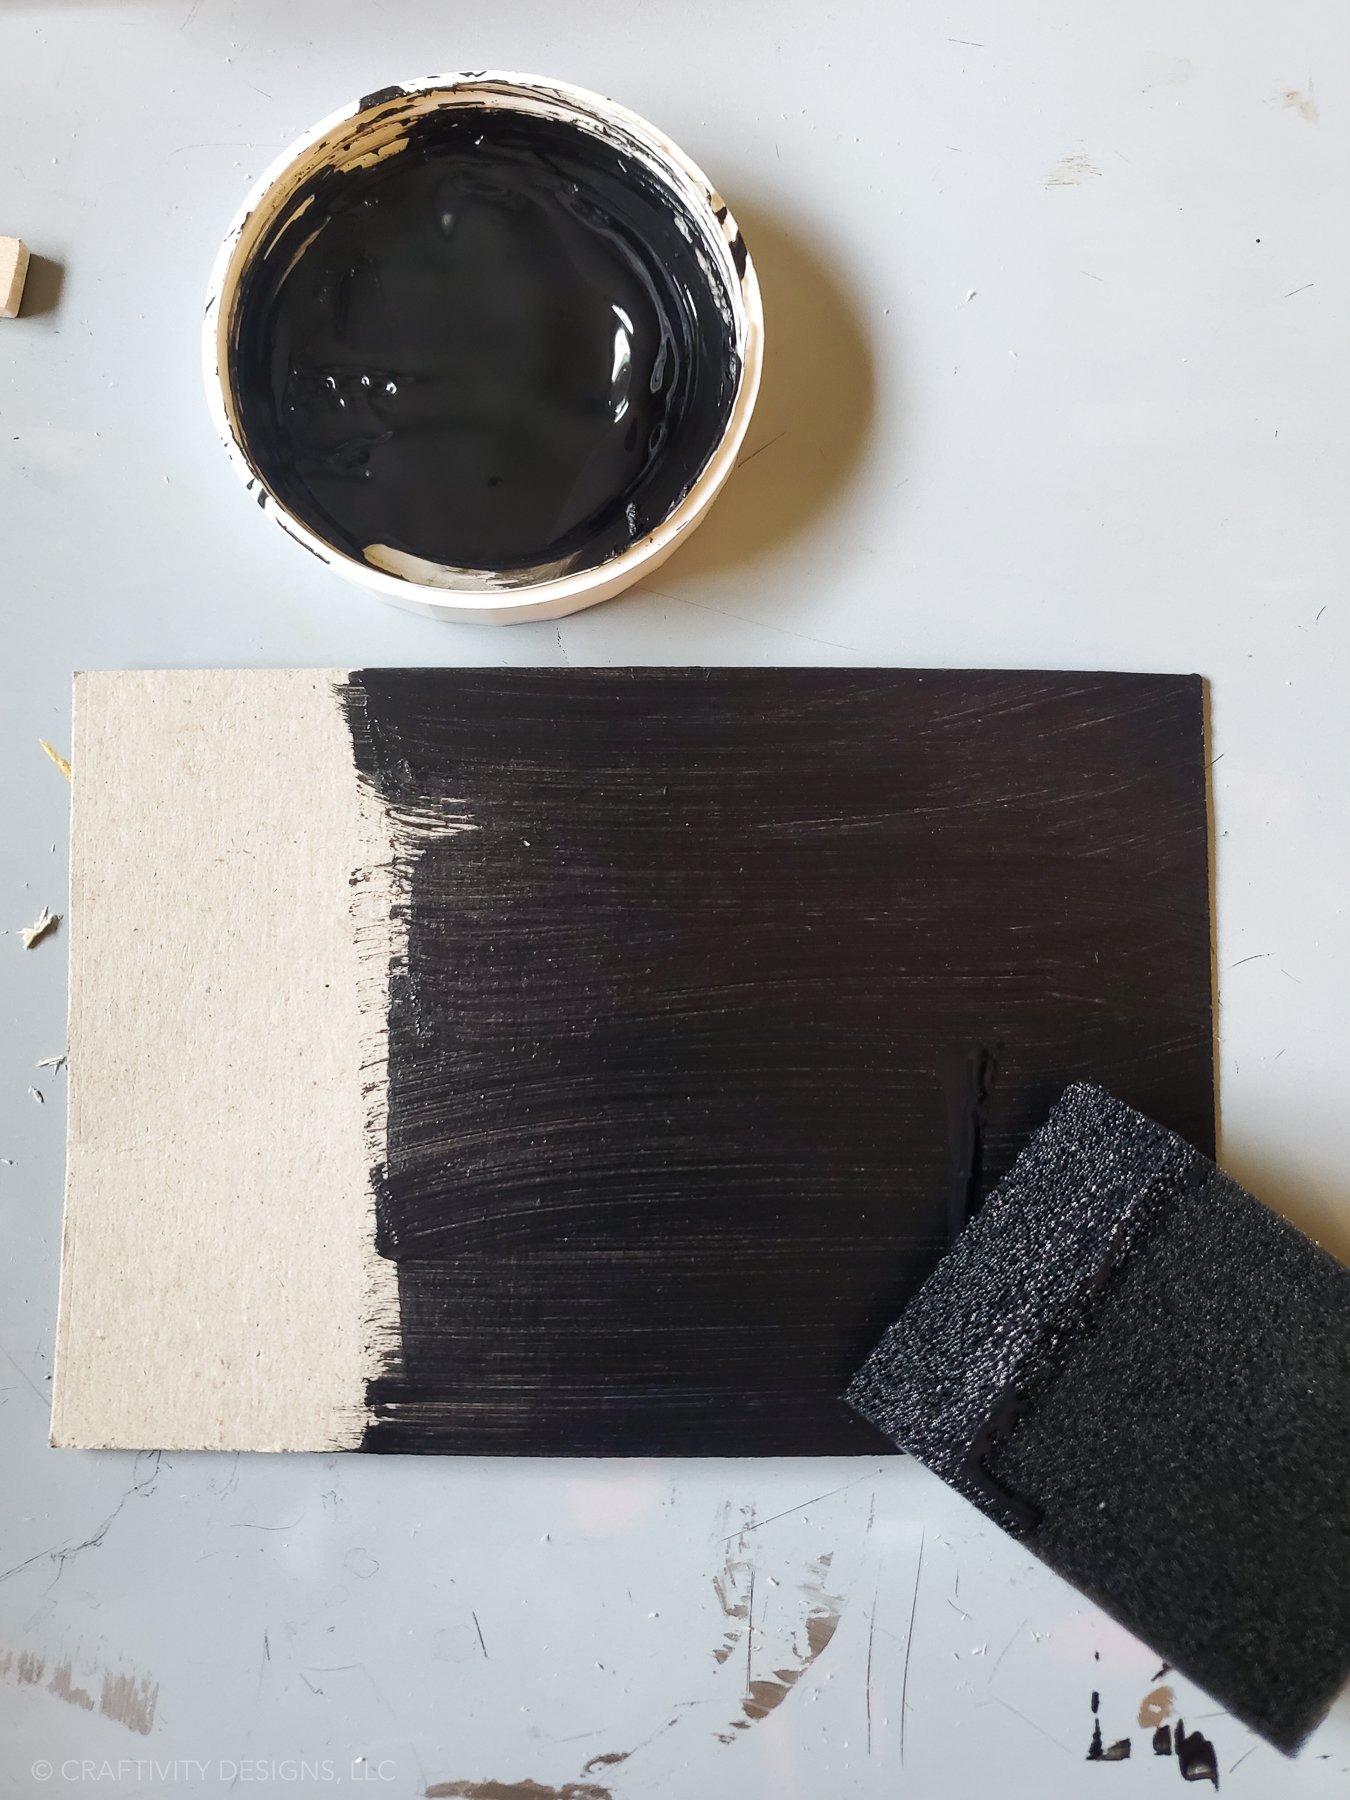
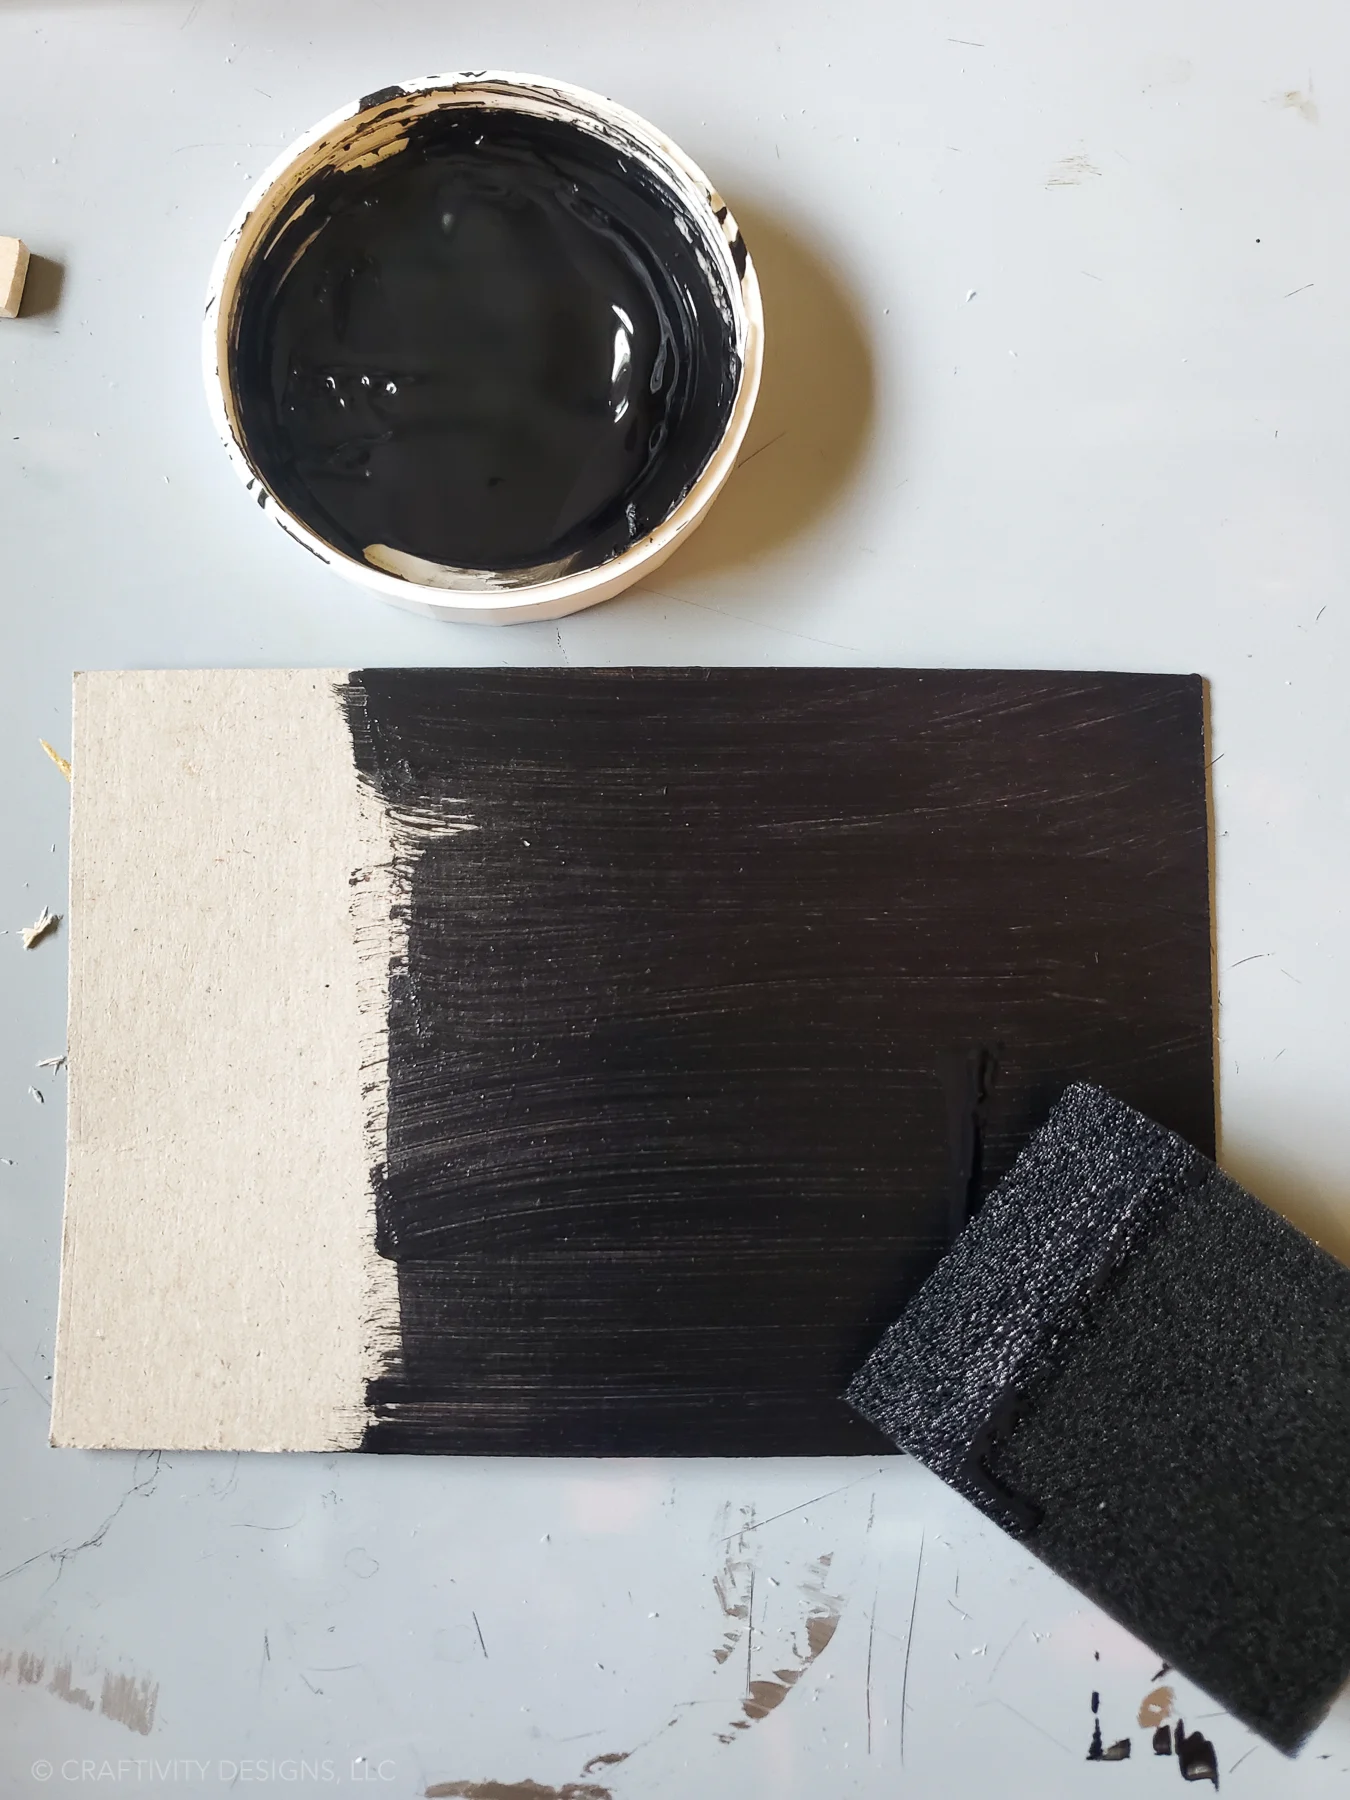
- Paint everything black.
- Hot glue the frame to the TV back. Hot glue to the TV stand.

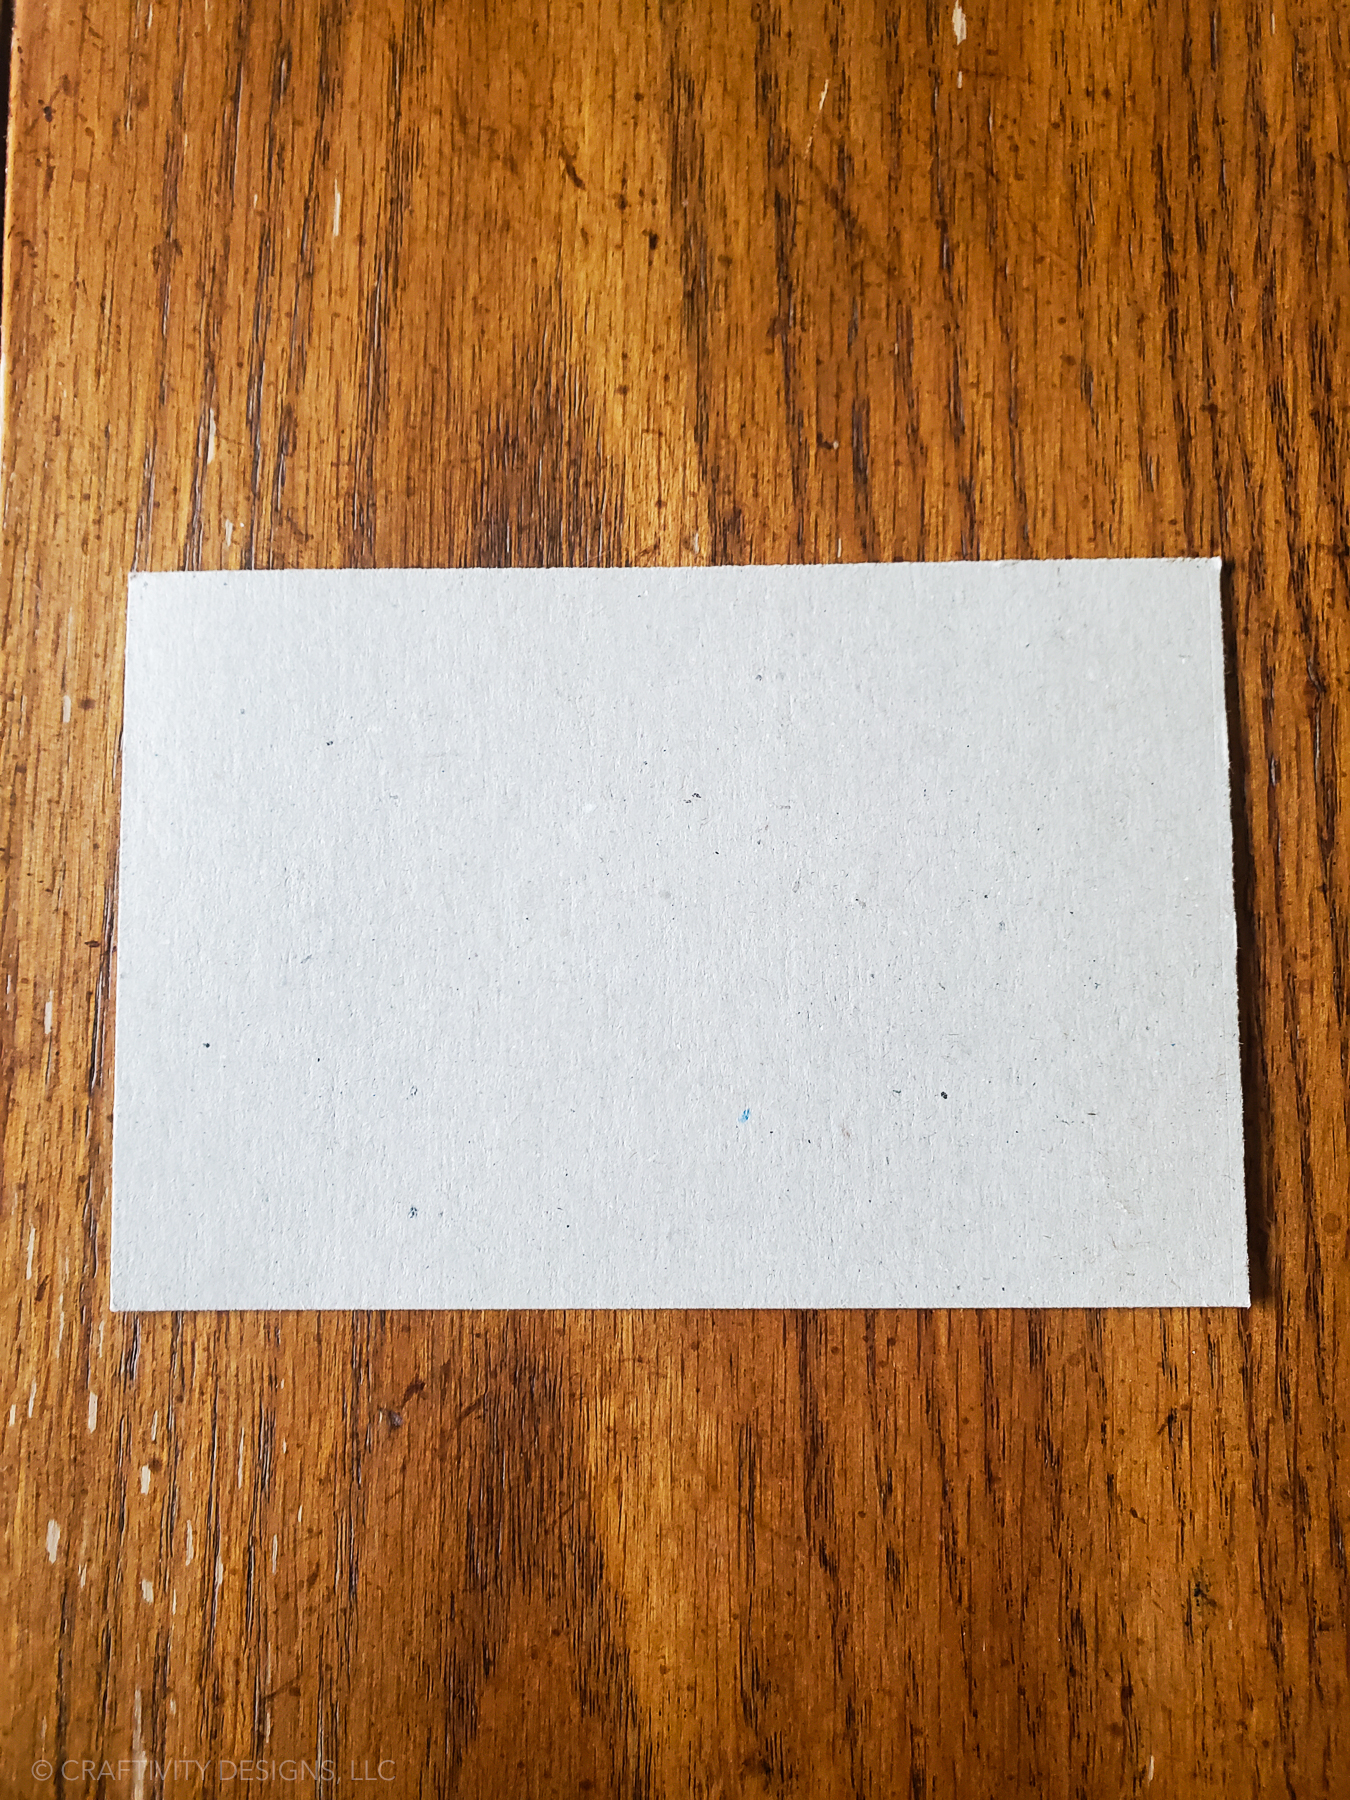
- Measure the size of the TV screen. This is the distance between the spacers, not just the inside of the frame.

- Cut chipboard with a utility knife to the dimensions measured in step #9. Cut multiple sheets of chipboard if you'd like more than 2 TV channels.
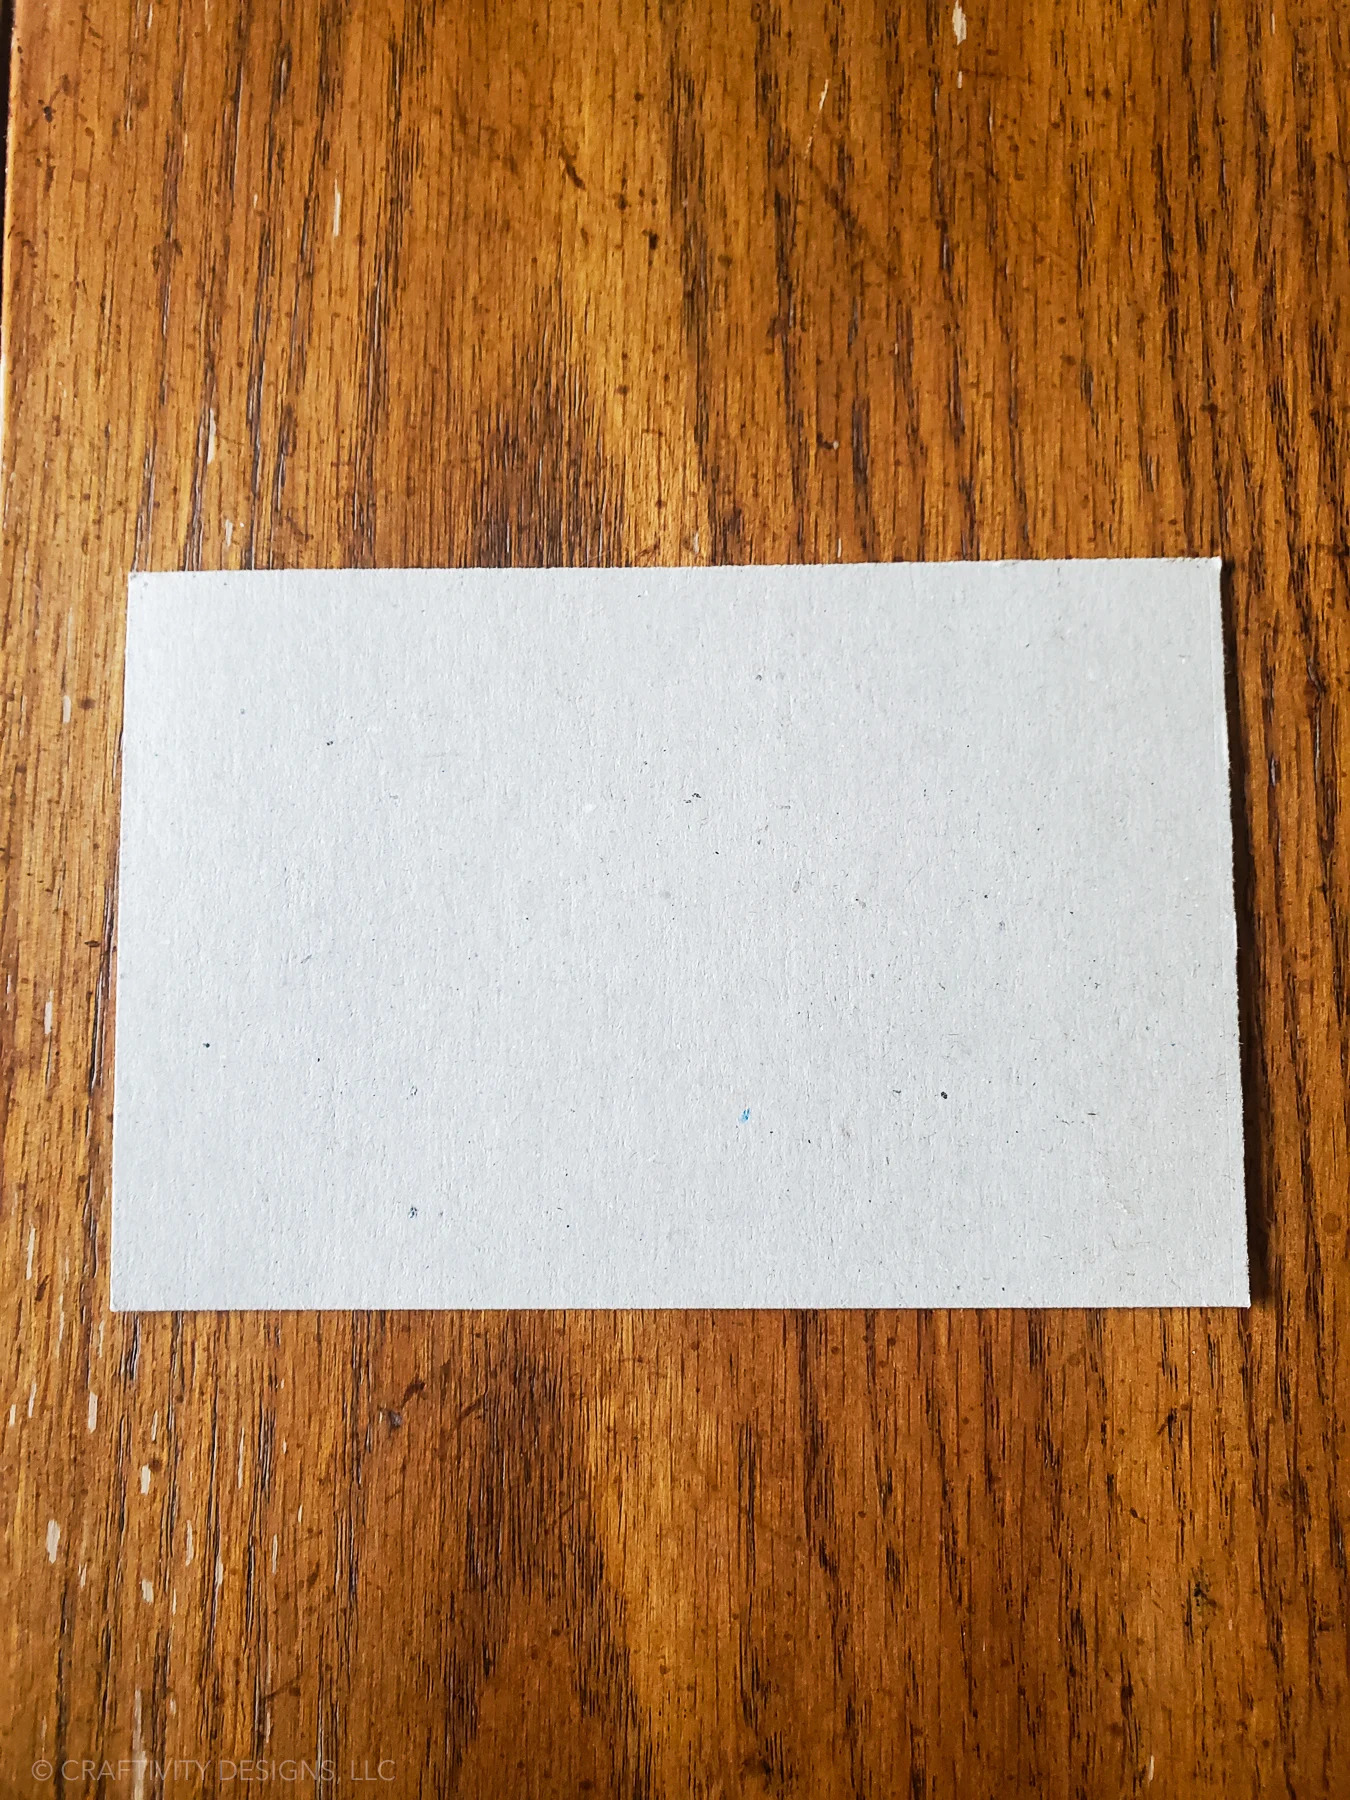
- Have your child pick TV channel images from magazines. Cut images out of the magazine to size of the chipboard.


- Attach the magazine images (TV channels) to the chipboard with mod podge and a foam paint brush.
- Once dry, apply several light coats of mod podge to the surface of the TV screen to protect the pictures from damage.
- Repeat steps #12-13 for the backside of the chipboard, and for any additional pieces of chipboard.

- Finally, once completely dry, slide the TV channels in and out of the dollhouse TV to change the channel.

If you liked this craft for kids, you might also like:
- Make a DIY Flower Press for Kids
- How to Display Lego Minifigures in Minutes!
- Map My Trip for Kids (Free Travel Kit)
Want to save this DIY dollhouse TV? Pin it!